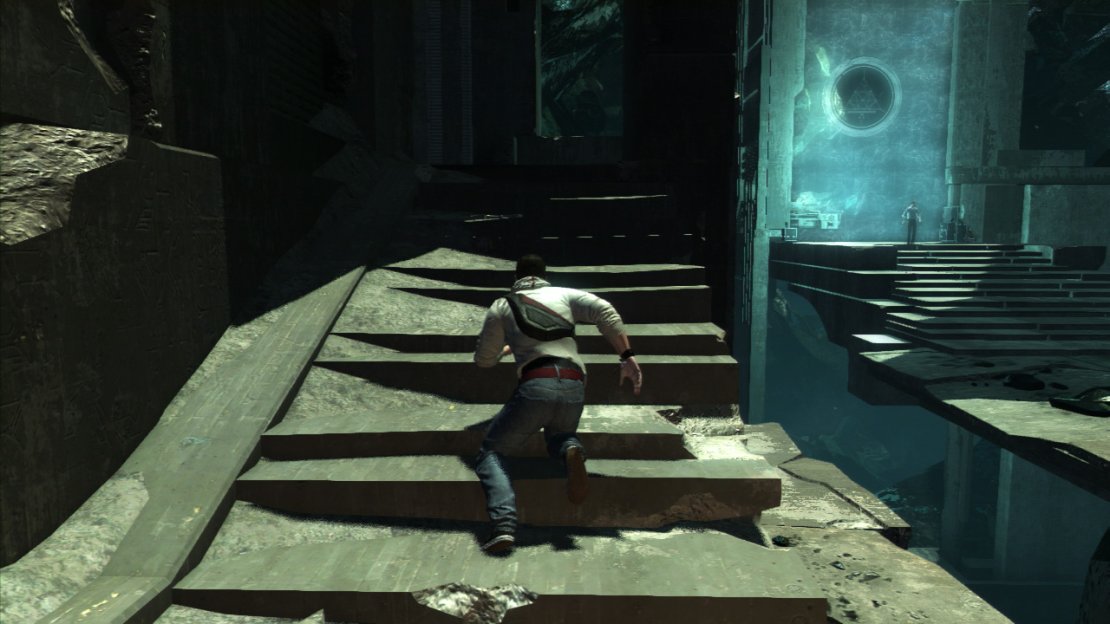
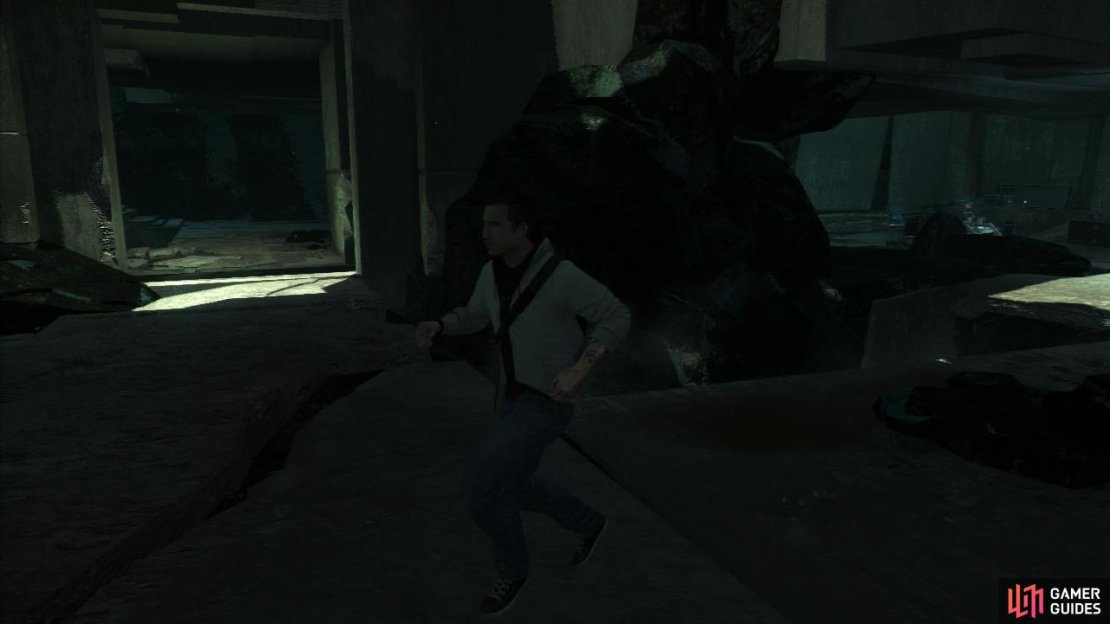
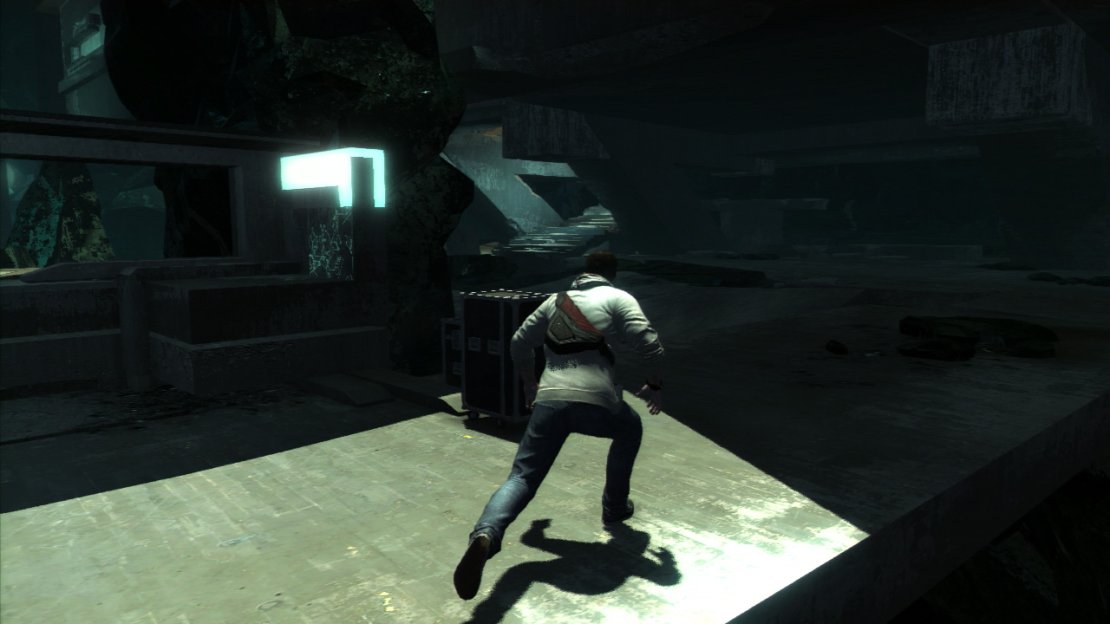
Once you have returned from any one of your Desmond road trips, you will have obtained a power source that can be used to power up the ancient temple. There are three different control panels that we will need to insert the power sources into. Placing a power source into a socket will open a route to the subsequent power source panel. Once all three of the sources have been inserted, a bridge will form beyond the blue holographic wall.
Power Source 1
Whilst looking at the blue door, look to the left to see a platform across the gap. Jump across tot he ledge on the other side. Climb the set of stairs here and enter the room to the left at the top. You will see a short story scene. Afterwards, climb the stairs at the back of the room to the very top. Jump across to the metal platform on the left and follow it around to the right. Climb the wall at the end and shimmy accross the metal bar to the left. Jump over to the next metal bar and follow it to the right and jump over to the platform. Another story scene will play. Head through the open door to the right and interact with the corner panel here to insert the power source. This will open an area which will give us access to the next power source slot. Return to the main room.
Power Source 2
Standing next to the animus whilst looking towards the blue door. Turn 180 degrees and you should be able to see an open doorway to the left. Head on inside for a story scene. Once the scene is done, hop up the broken stairway to the left and then again up to the next level. Continue up the next set of broken stairs for another story sequence. Afterwards, continue up the next set of broken stairs and enter the open door to the right at the top. You’ll be on an upper level platform overlooking a room below. Drop down to the ground floor and look at the main structure in the centre of the room, there are square doors here. The farthest door to the left is open. Head on inside and climb up and into the hole in the wall. At the very top, head on over to the left to find the console. Insert the power source and then return to the main area.
Power Source 3
Standing next to the animus whilst looking towards the blue door. Look to the right to see a pair of slanted supports. If you have inserted the two previous cores, you will now see a set of stairs between them. Head over here and climb the stairs. Turn right and jump across to the other side of the broken walkway. Continue up the next set of stairs and into the room at the top for a short scene. After the scene, note the glowing pillars on the far side of the room, use these to access the upper platform at the back of the room on the left. Run through the passage here and go through the door to the left. Jump down to the poles below and across to the other side of the room. Climb the shimmering wall here to the top. Turn to the right and move to the end of the platform for another story scene. Once the scene has run its course, run and jump to the glowing wall accross the gap in front. Work your way along the walls and suspended glowing pillars to the right until you reach another platform. Drop down and follow it to the end to find the final power source socket. Inser it and then return to the main room. After you have completed all of the animus sequences, Desmond and co. will automatically go and retrieve the key. When you regain control, you can walk over to the blue door and open it. Inside run across the bridge until a scene plays.


No Comments