

Search the lakeside for cryptids
#Key Information
| Side Quests | Location |
|---|---|
| Do Me This Favor (Hidden) | Xin - Crossbell City - Harbor |
| Sub Events | Location |
|---|---|
| Radio Story #3 | Shanshan - Long Lao Tavern & Inn |
| Landscape Photo #4 | East Crossbell Highway |
| Items | Location |
|---|---|
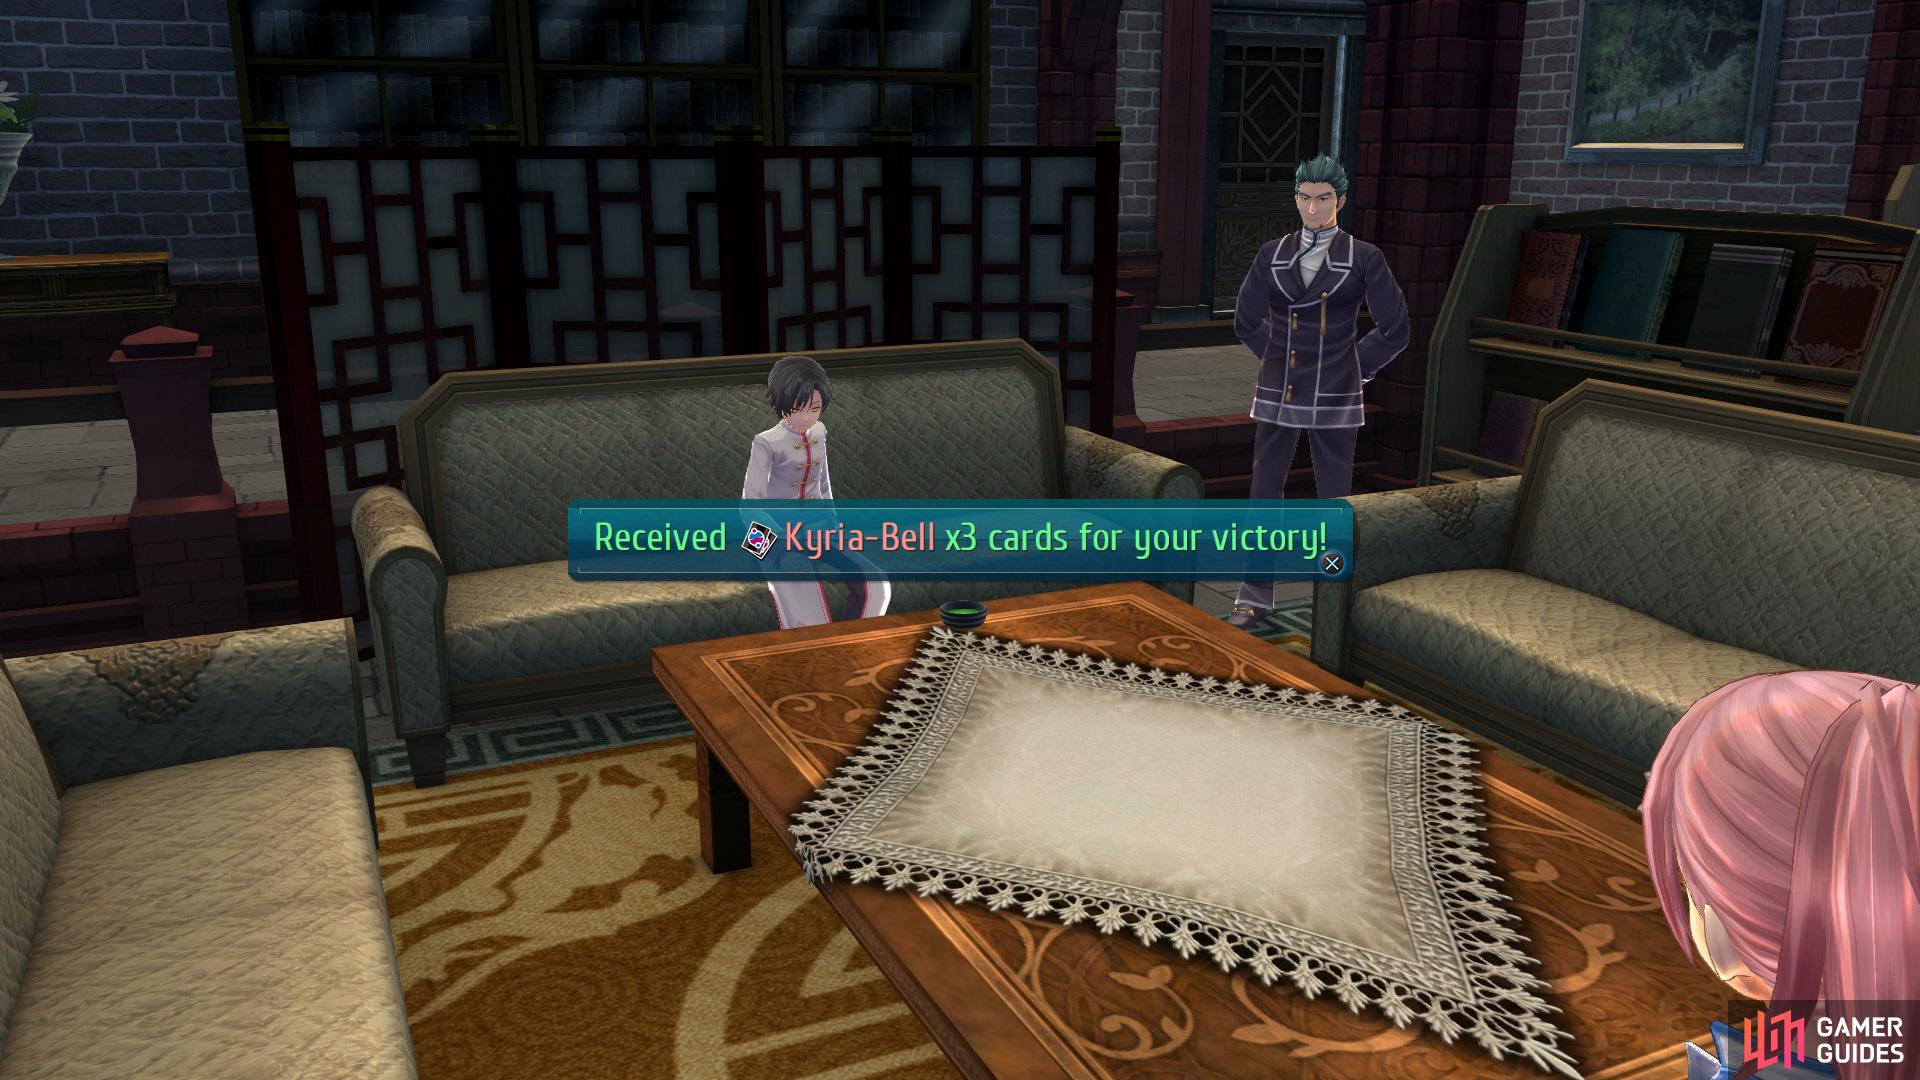
| Kyria-Bell (Vantage Masters Card) | Crossbell City- Heiyue Building - Beat Xin |
| Treble Hook (Fishing Gear) | Speak to Freddy after catching 12 different types of Fish |
| New Fish | Location |
|---|---|
| Type #11 - Snakehead | East Crossbell Highway 2 |
| Type #13 - Hide Shark | Ursula Road 2 |
| Type #15 - Noble Carp | East Crossbell Highway 2 |
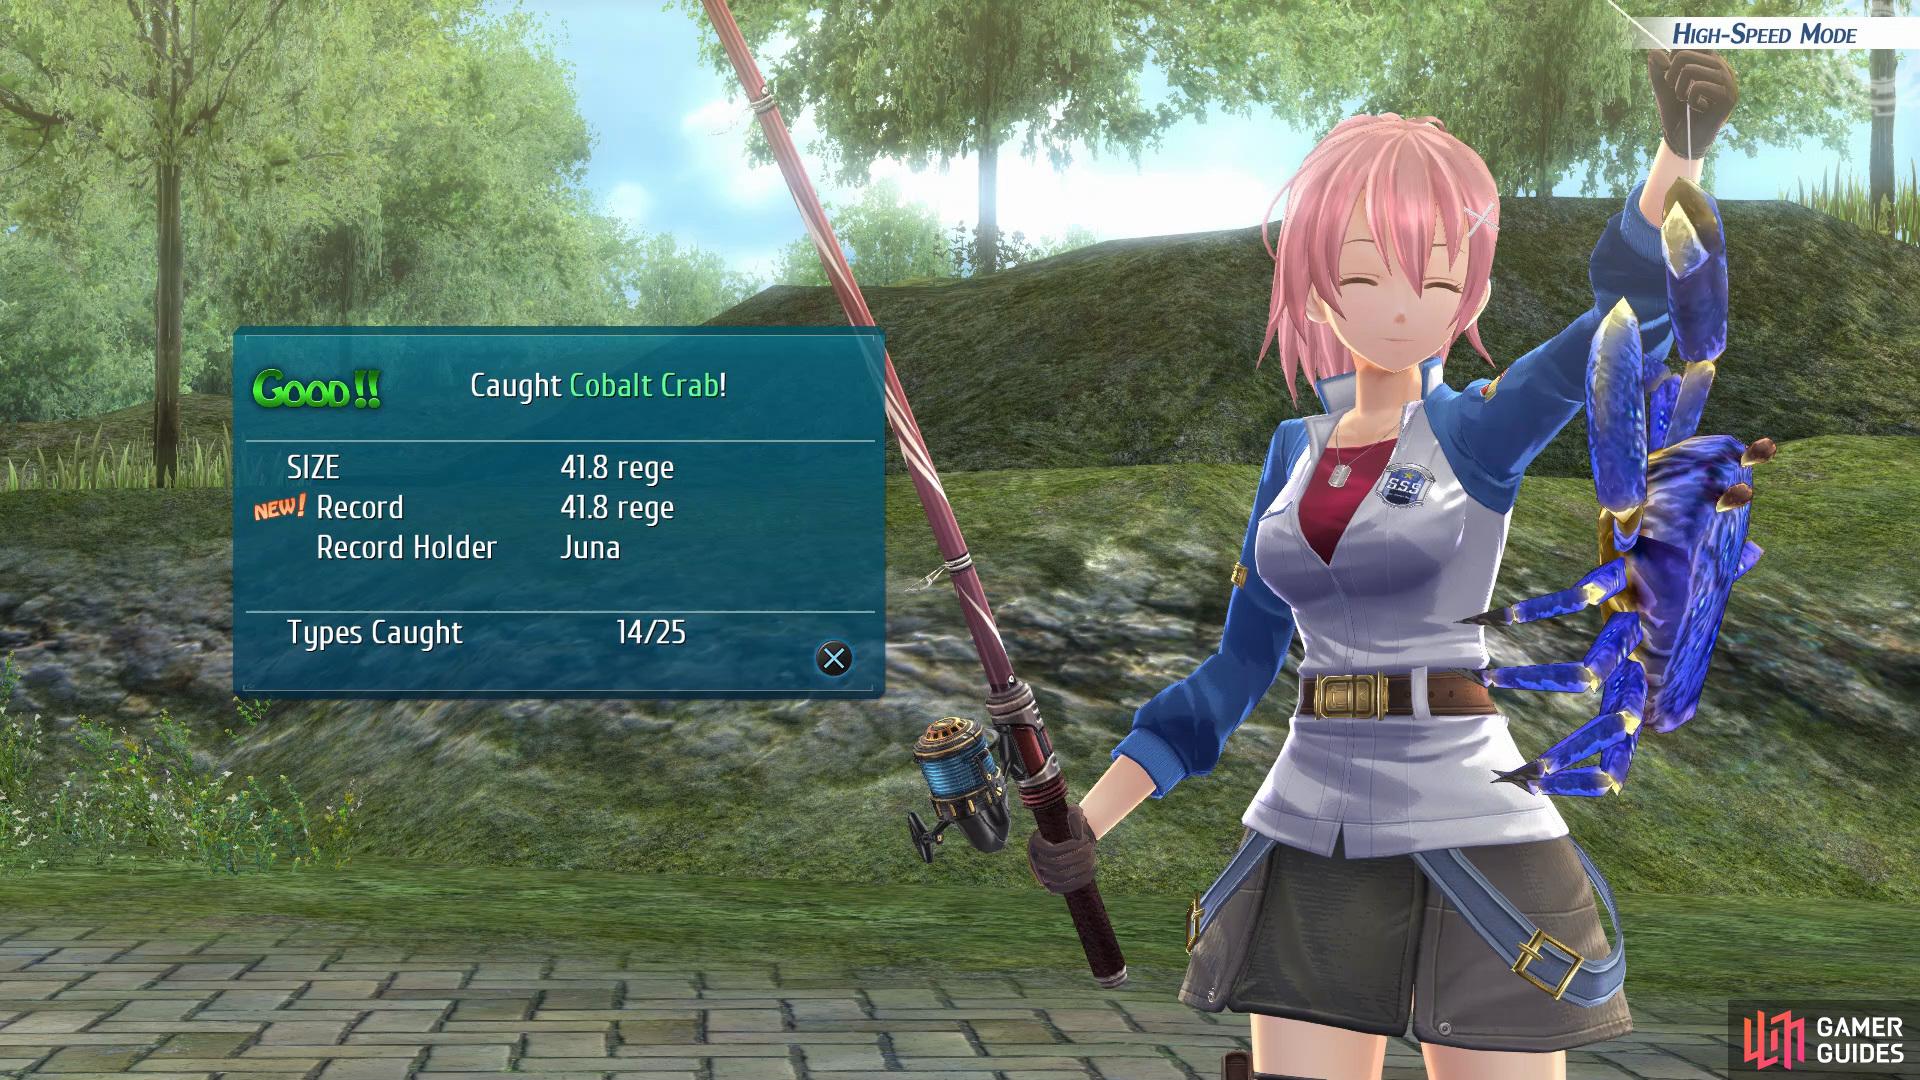
| Type #16 - Cobalt Crab | Ursula Road 1 (Fish with Juna) |
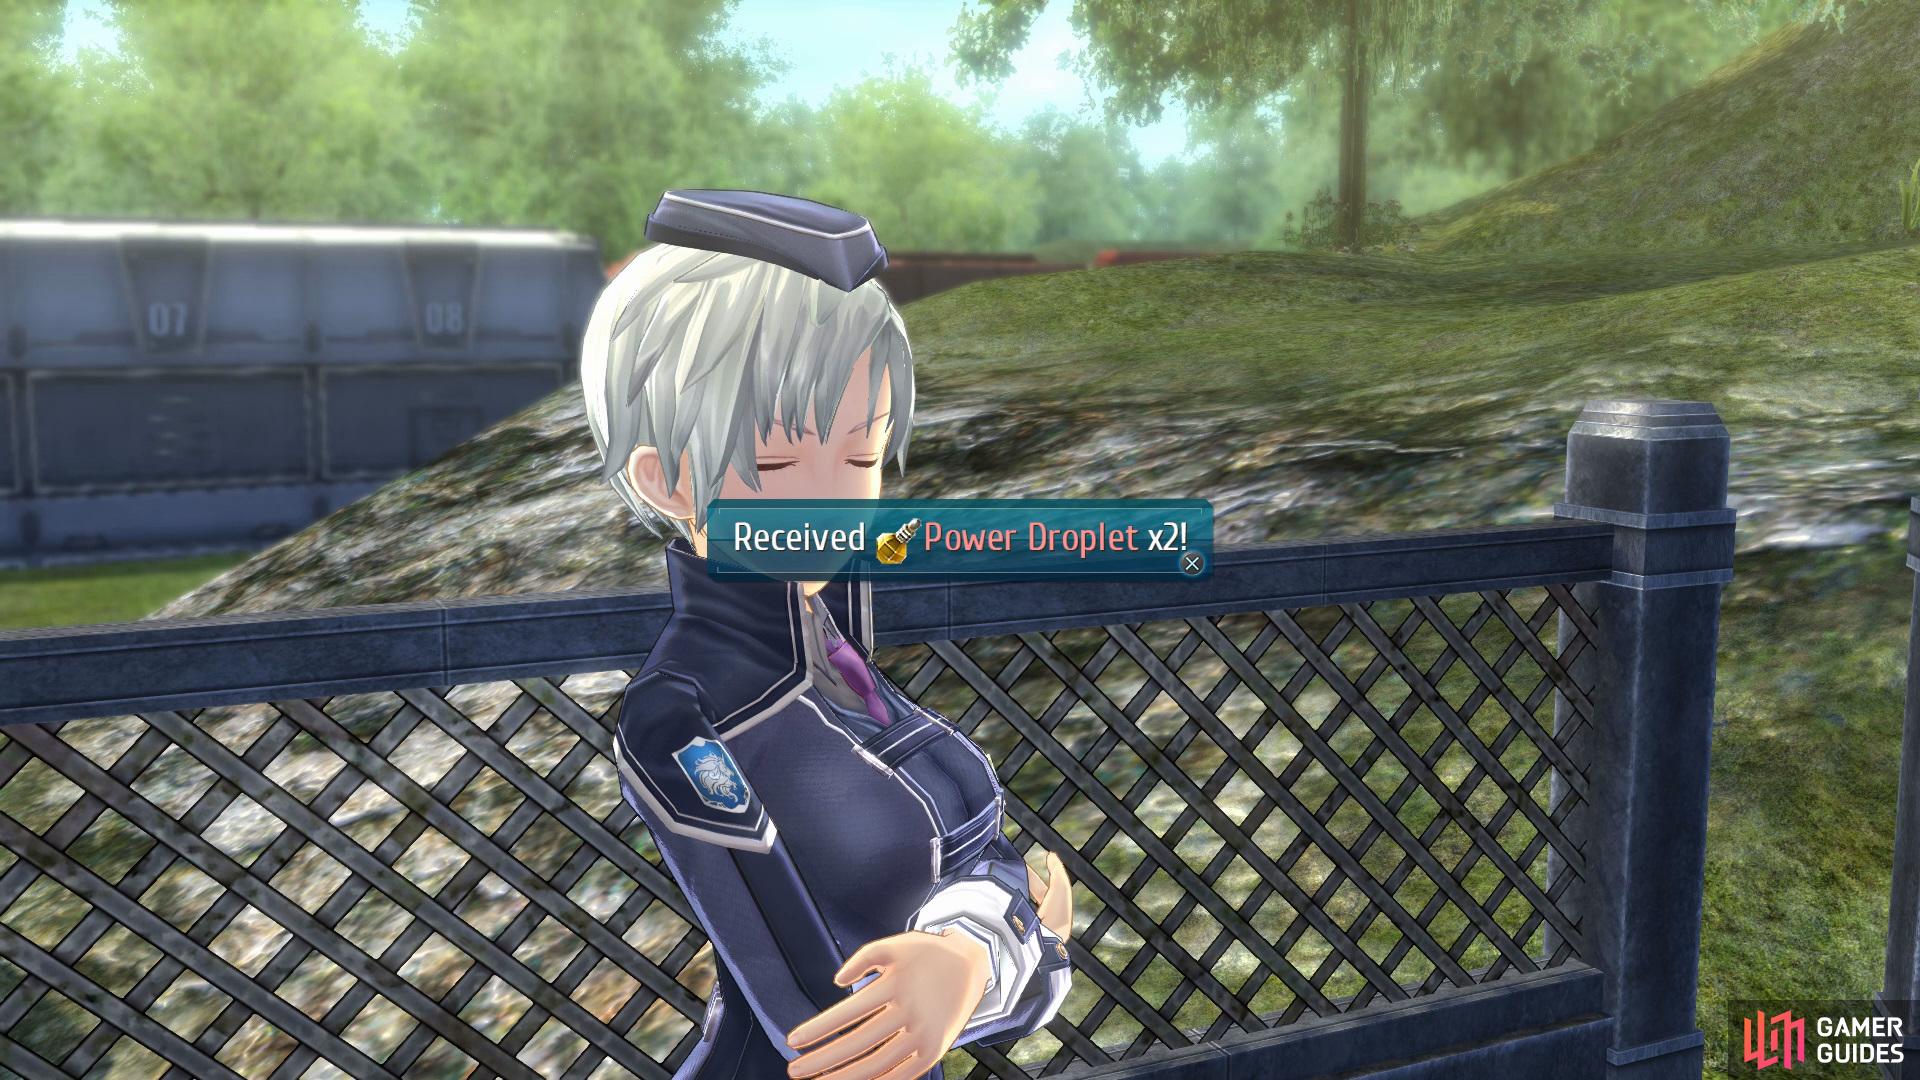
Once you’ve returned to the EX Camp after the Morning’s tasks have been fulfilled, speak with Louise outside of Car 3 to complete the Mishy Merch Branch Campus Quest. Head into Car 3 and show Tatiana the Book Notes to retrieve some Magic Droplets x2 for having 18 entries, now head up the hill outside and show Valerie the Battle Notes to be given some Power Droplets x2 for having 75 entries or more.
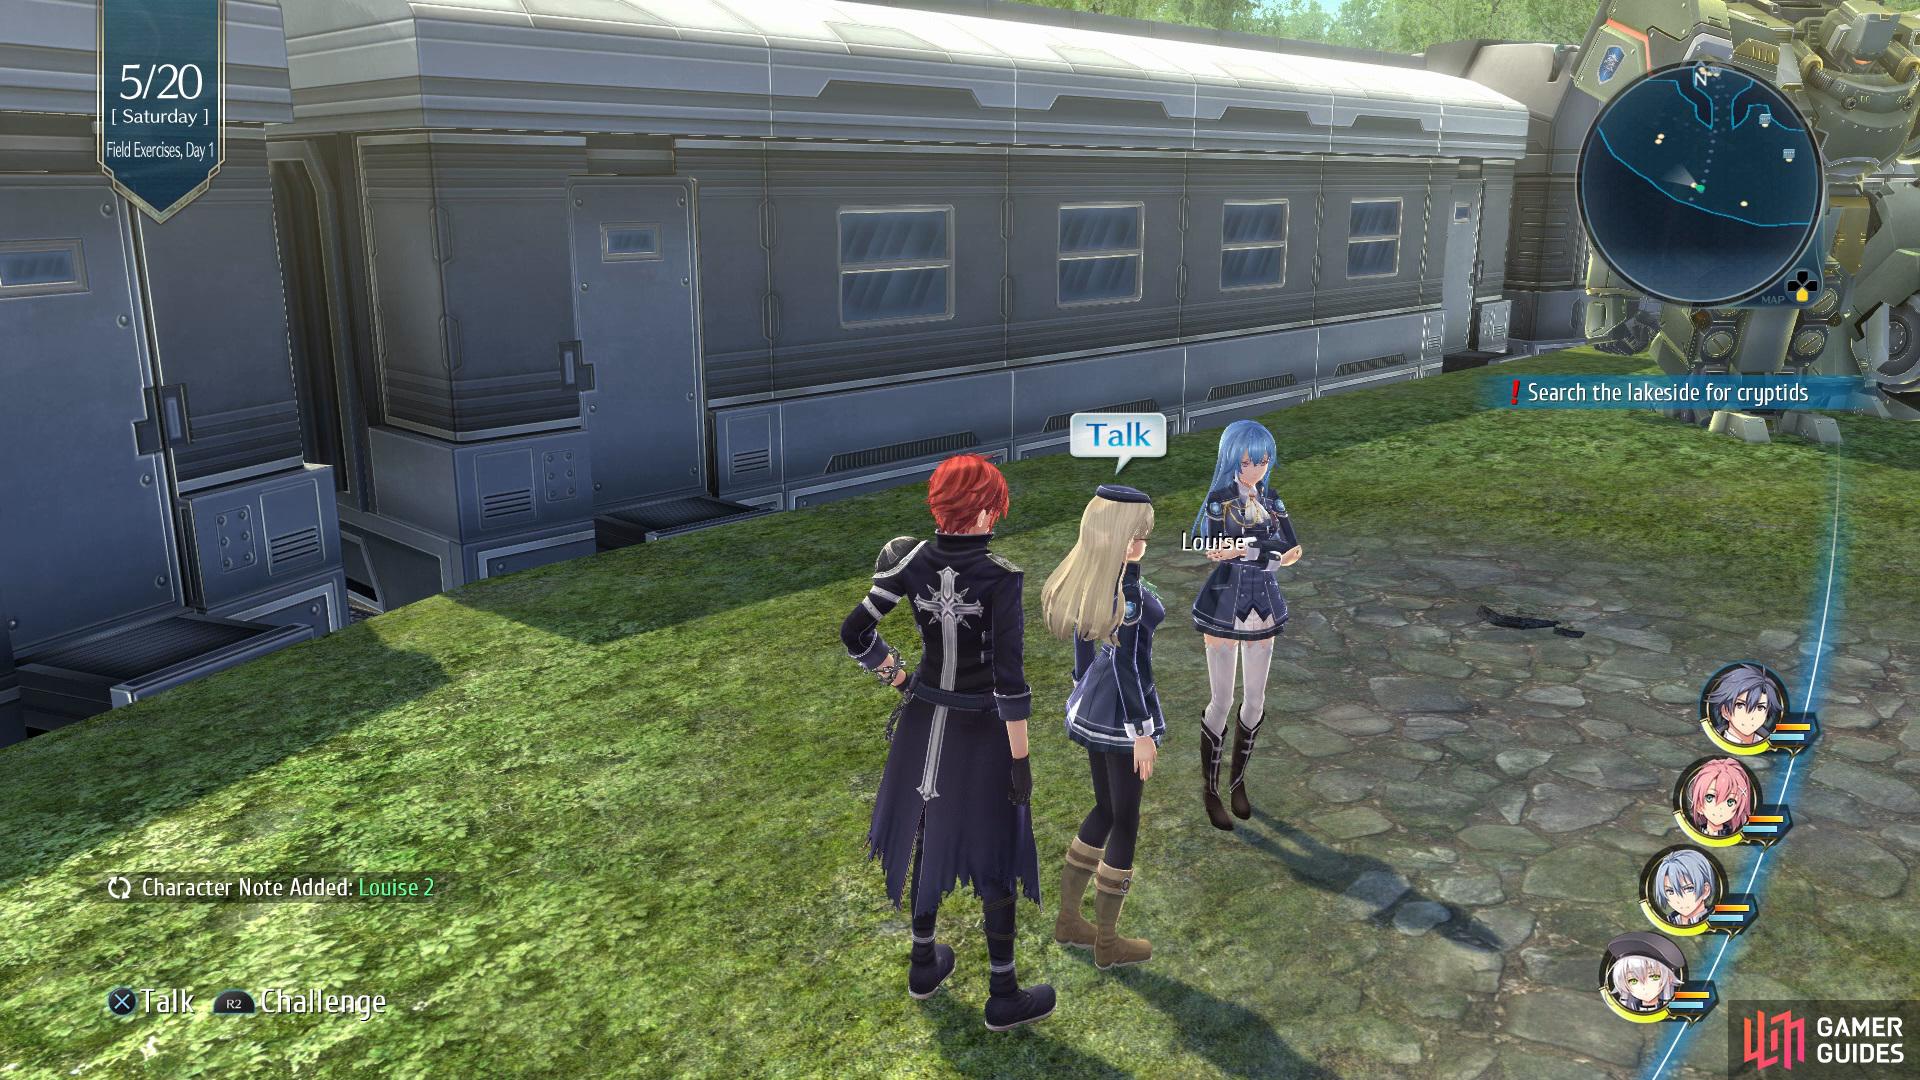
(1 of 2) Speak with Louise outside Car 3 to complete her quest
Speak with Louise outside Car 3 to complete her quest (left), then go out the hill to show Valerie the Battle Notes. (right)
Before taking the Orbal Bikes out of the Camp you’ll want to speak with Tio and Randy in Car 3 a couple of times for a Sub Event and then Alisa in Car 5 for another Sub Event. Exit the EX Camp and take the Southeast Exit into Ursula Road 2.
- Explore Ursula Road 2
| Enemy | HP | Slash | Thrust | Pierce | Strike | Elemental Efficacy | Item Drop |
|---|---|---|---|---|---|---|---|
| Bracken Monkey | 2962 | ☆☆☆ | ☆☆☆☆ | ☆☆ | ☆ | E - 120, WA - 60, F - 120, WN - 180 | Hearty Powder, Plant Bits |
| Death Scorp | 4538 | ☆ | ☆☆ | ☆☆☆☆ | ☆☆ | E - 80, WA - 140, F - 120, WN - 100 | Chitinous Shell, Bee Larvae |
| Terribrous | 7116 | ☆☆ | ☆☆ | ☆☆☆ | ☆ | E - 160, WA - 120, F - 80, WN - 100 | Globby Fat, U-Material |
| Stray Sheep | 7120 | ☆☆☆ | ☆☆☆☆ | ☆☆ | N/A | E - 120, WA - 80, F - 100, WN - 160 | Sleep, Faint |
| Gordi Ossa | 19524 | ☆☆ | ☆☆☆ | N/A | ☆☆ | E - 80, WA - 120, F - 100, WN - 160 | La Forte, Heat Up |
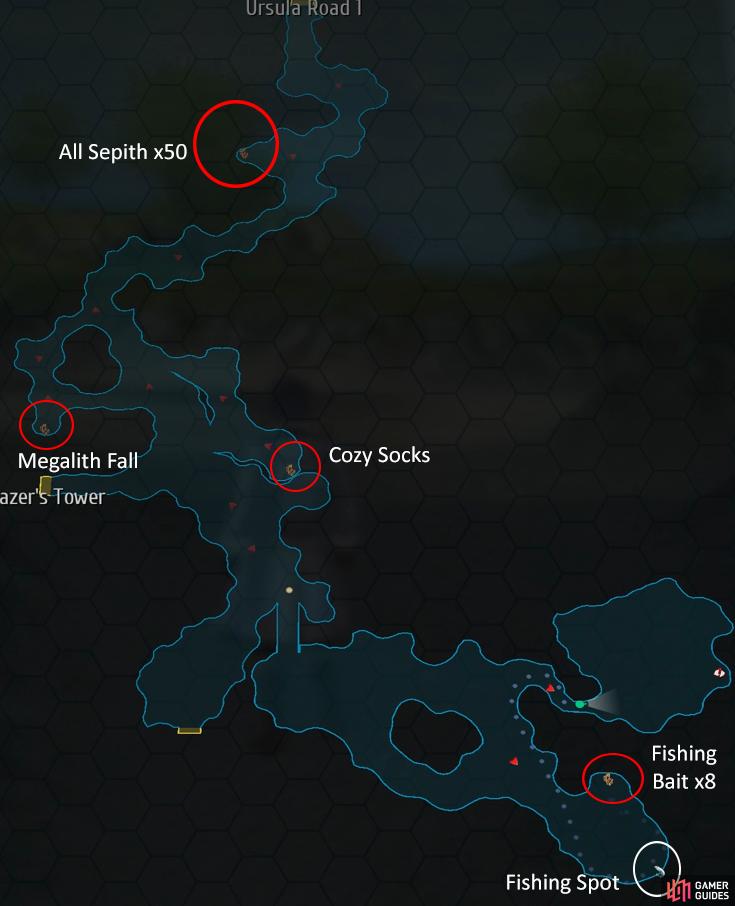
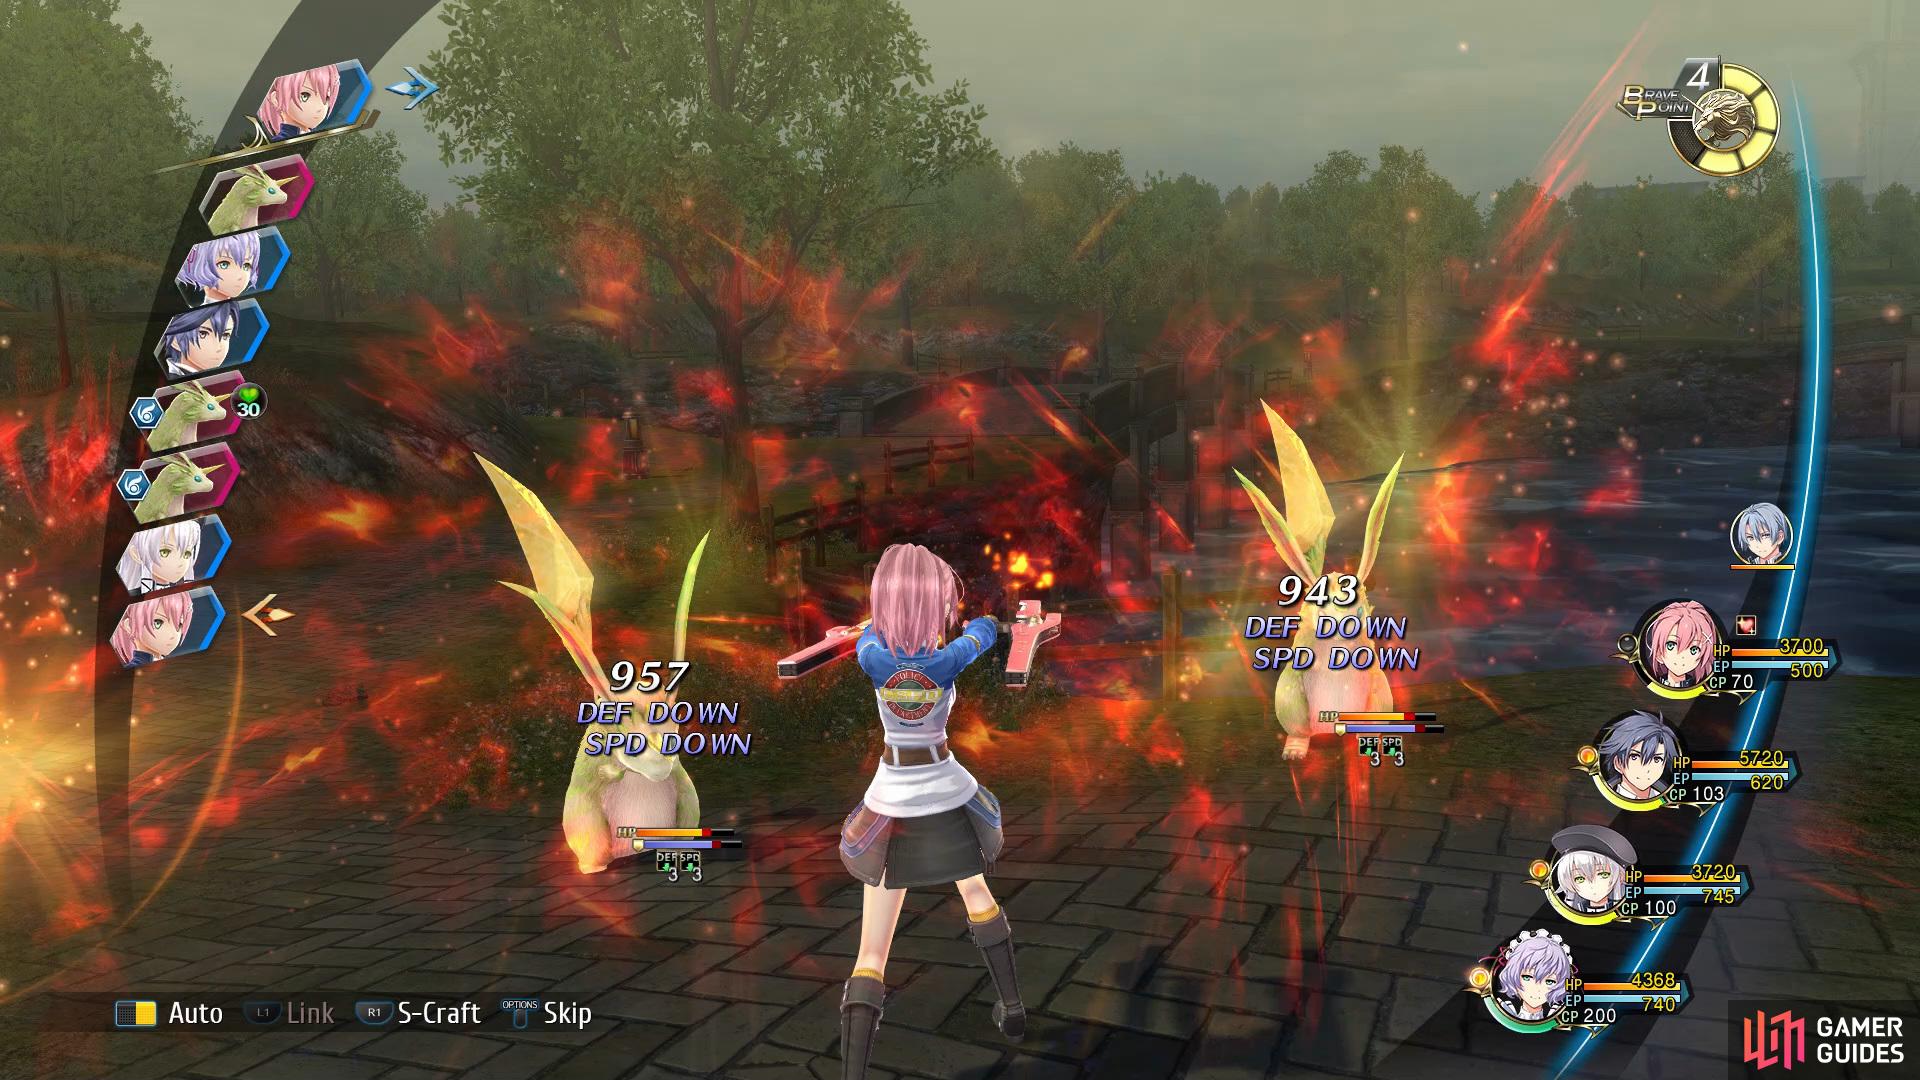
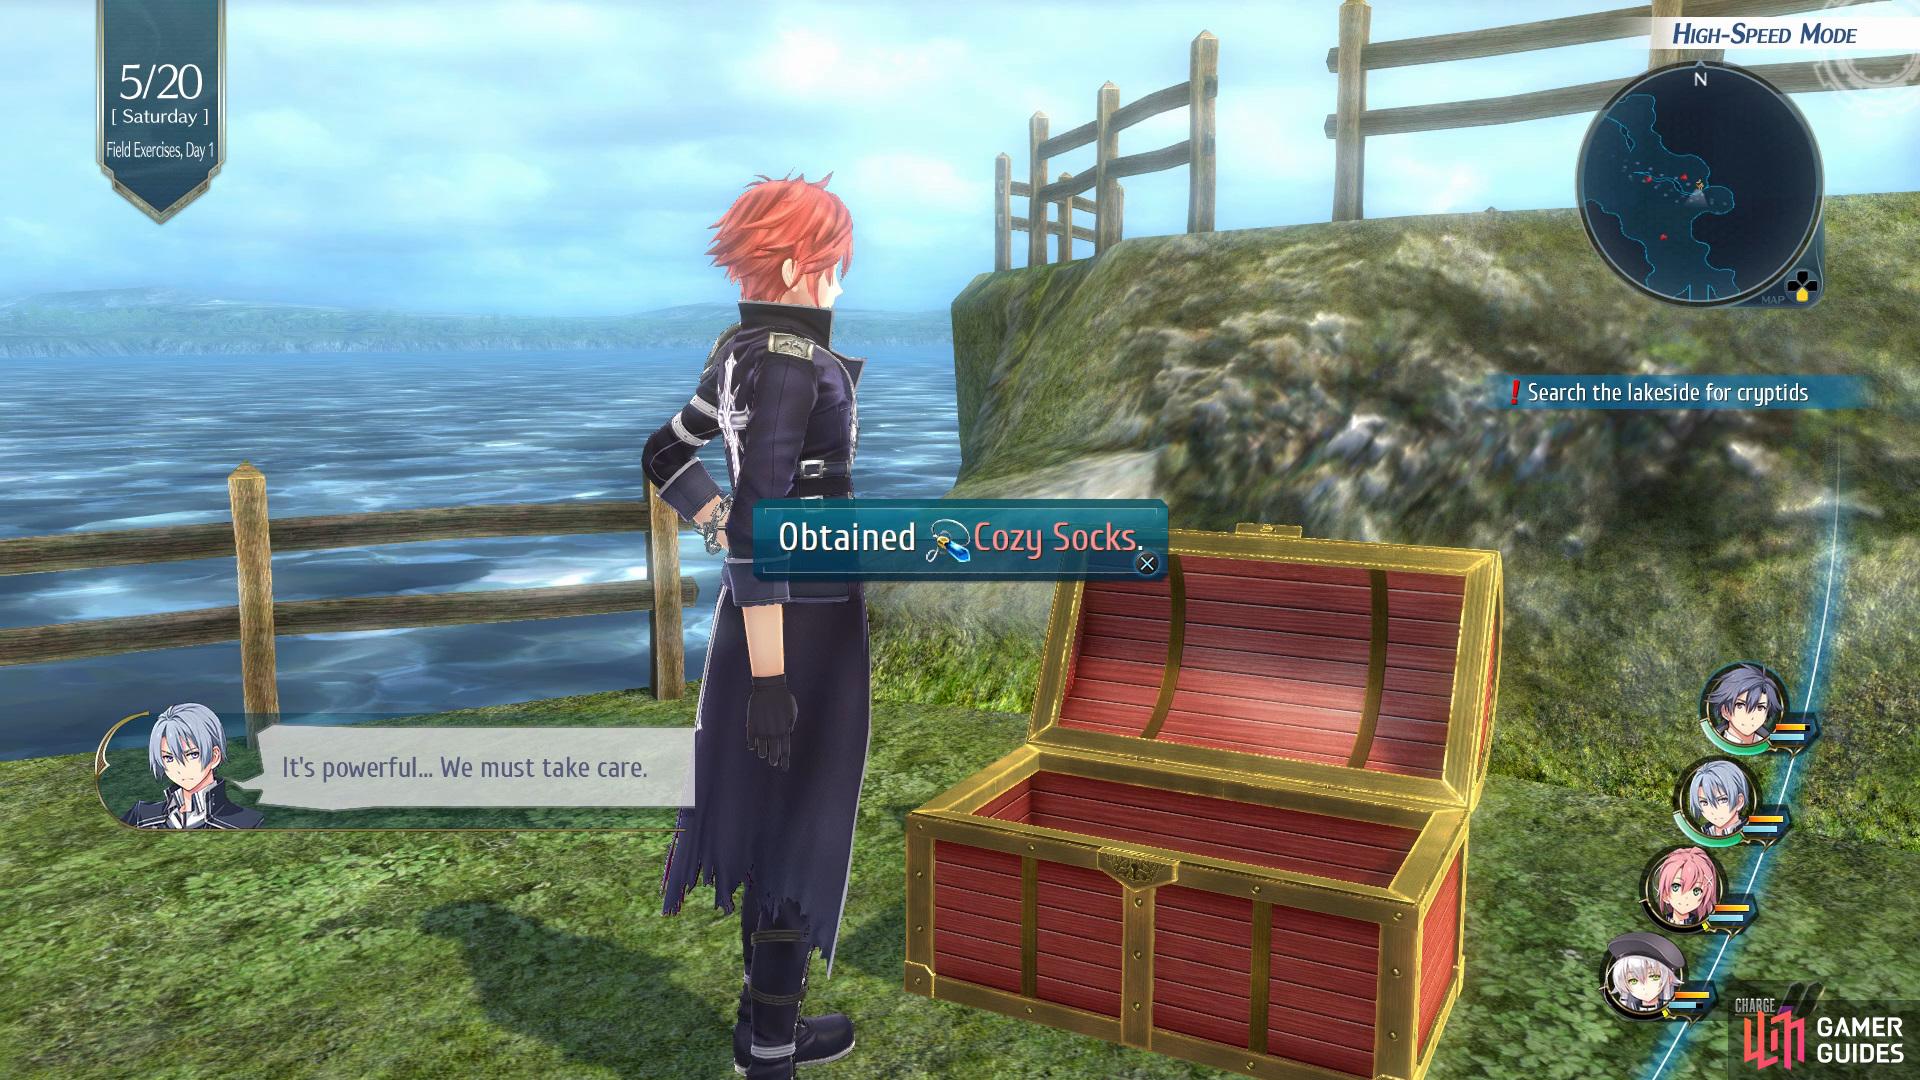
Follow the path around and you’ll find the first Chest tucked in the corner on the right that contains All Sepith x50, continue along the path and take the next right to find the second Chest that is holding a Megalith Fall, this Quartz will lower the defense of enemies on the battlefield by 50%. Now take the left path to find another Chest which contains Cozy Socks.

(1 of 4) Battle your way through Ursula Road 2 until you reach a second right
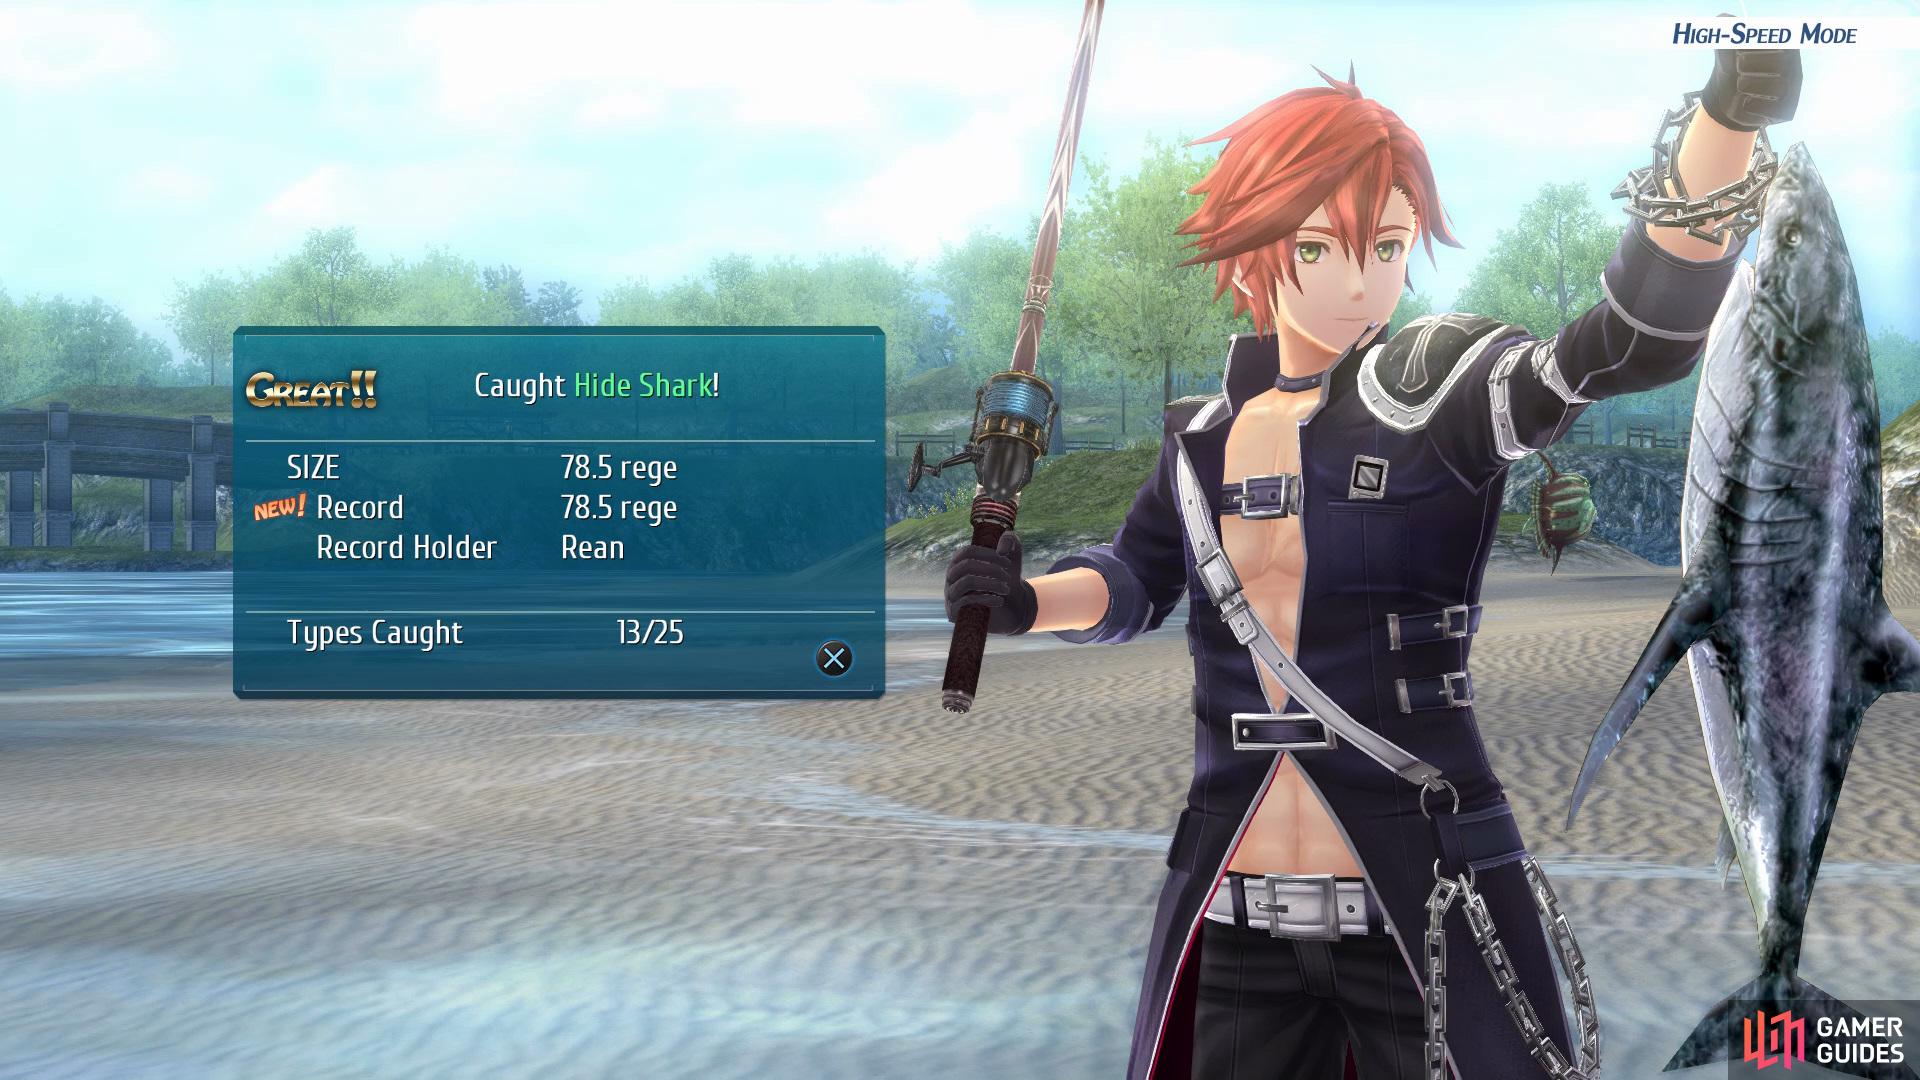
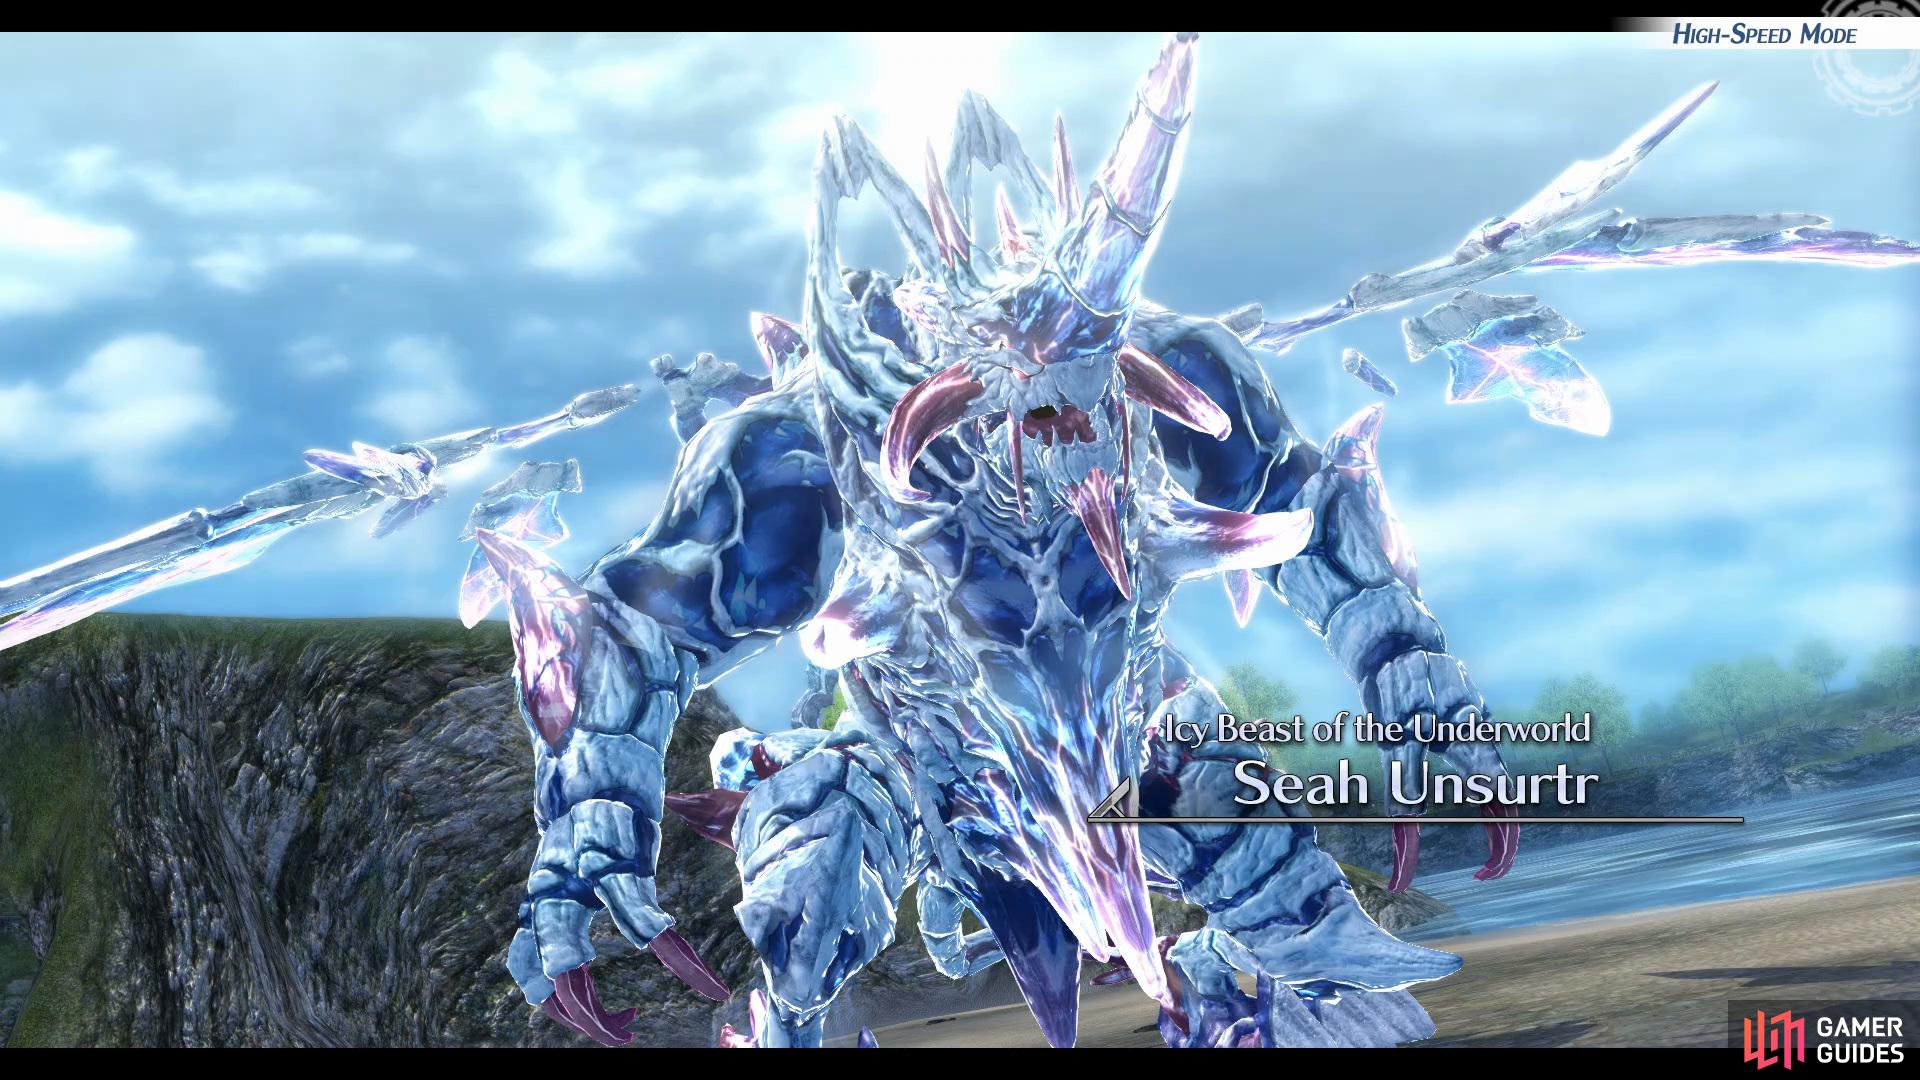
Make your way down onto the beach and then take the southeast path to find the last Chest that contains some Fishing Bait x8, use the Fishing Spot to catch yourself a Hide Shark, then go back and take the other path. Interact with the plant to initiate a battle against, Seah Unsurtr.
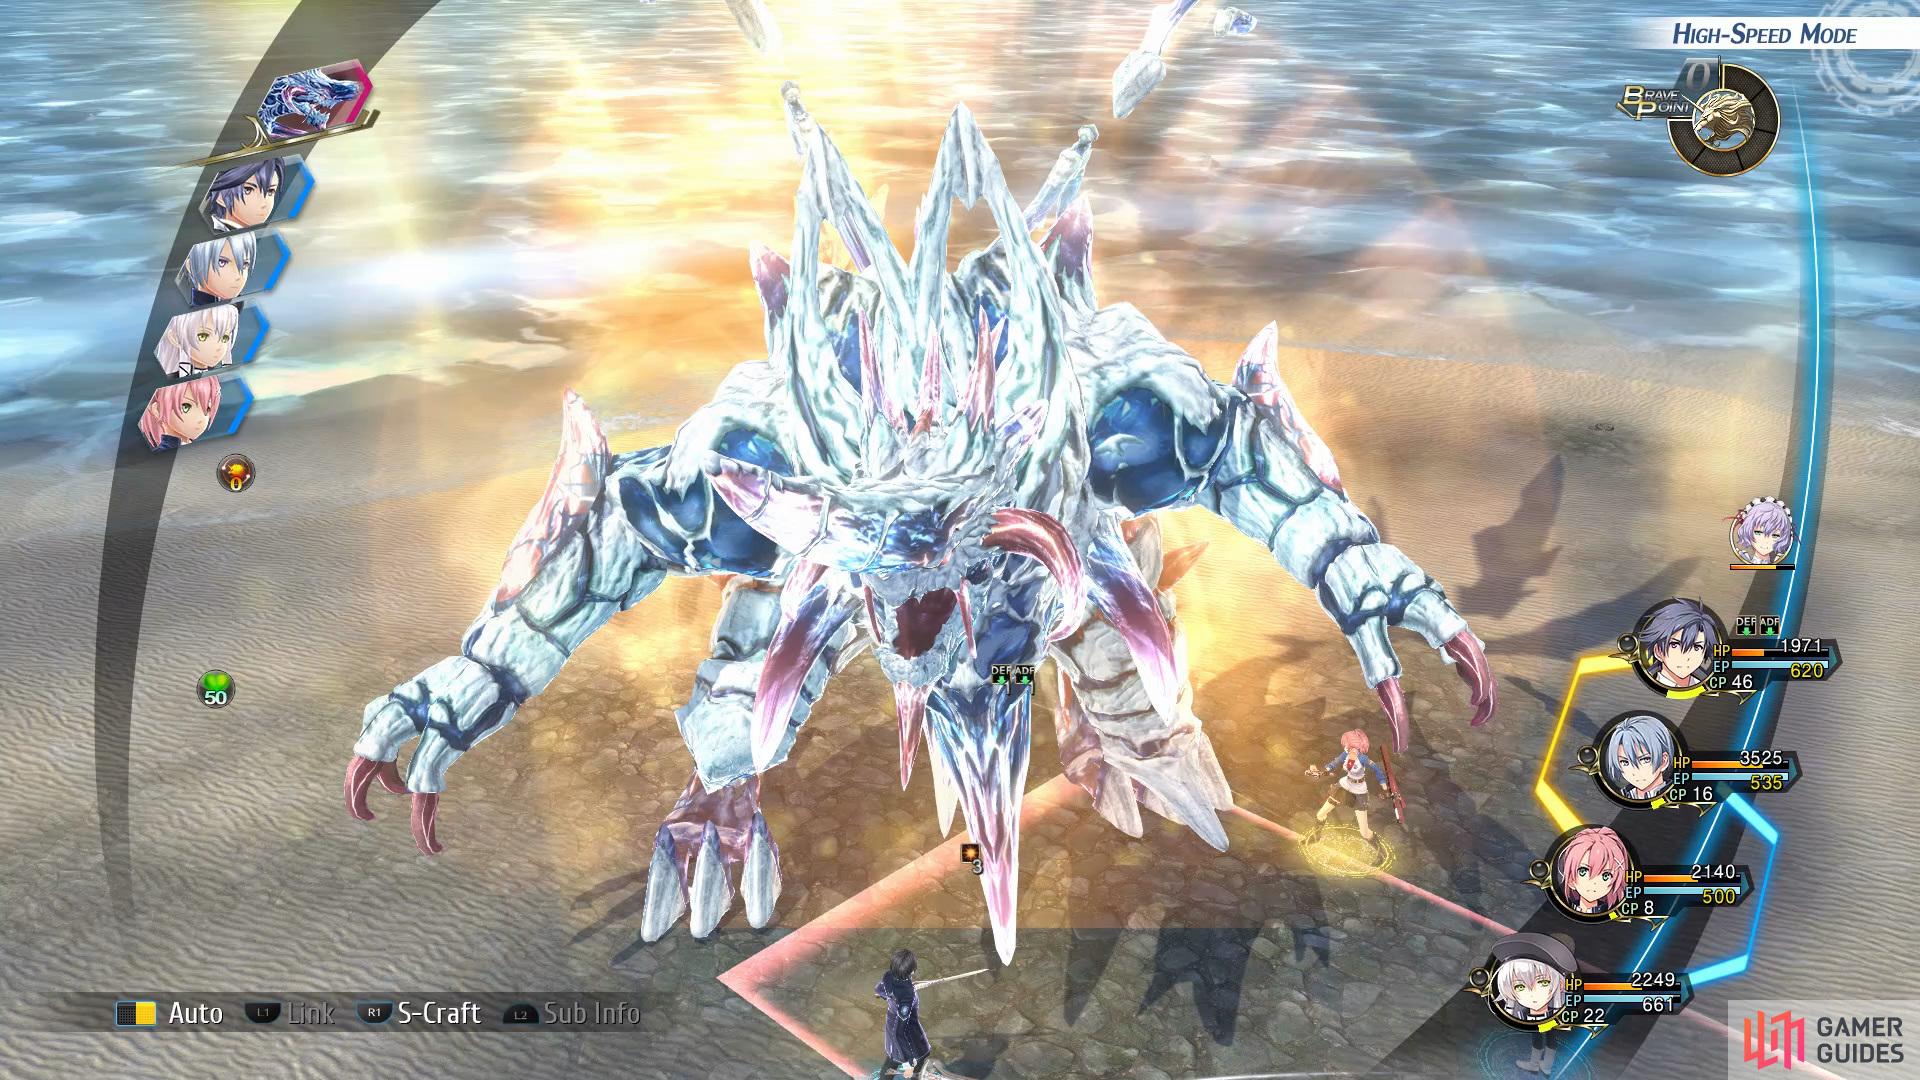
Boss: Seah Unsurtr
| Enemy | HP | Slash | Thrust | Pierce | Strike | Elemental Efficacy | Item Drop |
|---|---|---|---|---|---|---|---|
| Seah Unsurtr | 53304 | ☆ | ☆☆ | ☆☆☆ | ☆ | E - 200, WA - 100, F - 50, WN - 100, TI - 80, SP - 150, MI - 100 | Freeze III |
Like in the previous battle against the Magic Knight Heavy Ruby, you’ll want to use the same tactics you used to defeat him here. Begin the battle by activating Juna’s Brave Order, Sledgehammer and then work on putting him in the Break Status.
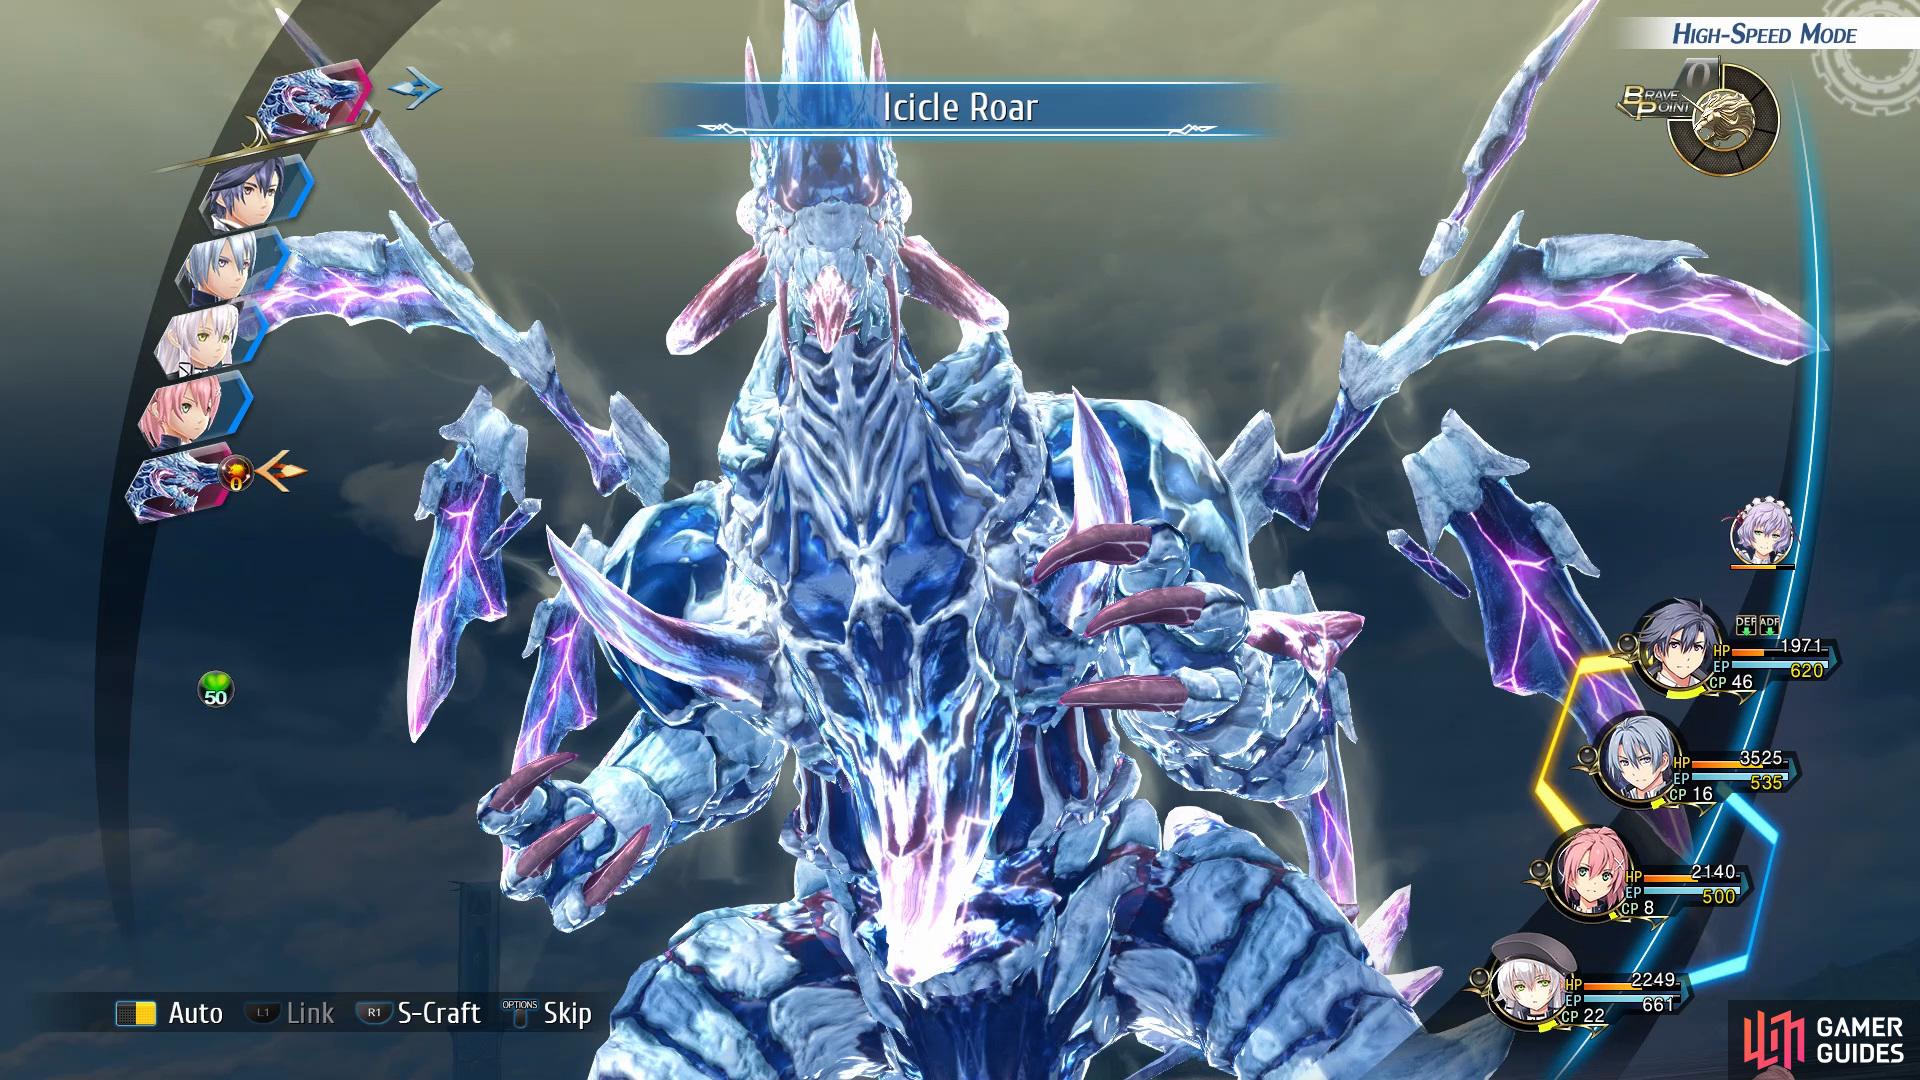
(1 of 2) When Seah Unsurtr begins to charge up Icicle Roar attack
When Seah Unsurtr begins to charge up Icicle Roar attack (left), you’ll want to quickly impede it or heal the team up to full HP. (right)
Once he is in the break status you’ll want to use Wind Blade and then keep using normal attacks to gain back any used BP, before Seah Unsurtr is about to take another turn you’ll want to use the Raging Fire Brave Order to increase your damage by 20% and then use any S-Crafts to finish off the remaining HP. If Seah Unsurtr manages to have another turn you’ll want to make sure you impede him if possible and activate Ebon Crest to deflect any damage.
- Nightmare Strategy
Make sure Sharon is in your party at Altina’s expense and get to work on the usual Sledgehammer tactic of trying to break Seah. If you have the extra BP and you’re running low on CP, make full use of Sharon’s Phantasmal Butterfly, this will allow you to evade most of Seah’s attacks (especially Kurt if you’ve been building him with Evasion in mind) while restoring 50 CP to everyone. Once you break Seah, make use of Wind Blade to delay it further but get ready to activate Phantasmal Butterfly as soon as it reaches Enhanced status. Only activate Sledgehammer again if you have at least four turns before Seah’s next turn otherwise, stick with the extra evasion. As for Seah, his regular attacks hit a wide range so attempt to spread out your characters if possible. Once it’s enhanced, it’s magic attacks will be devastating so be sure you Impede it at all costs.
Return to camp
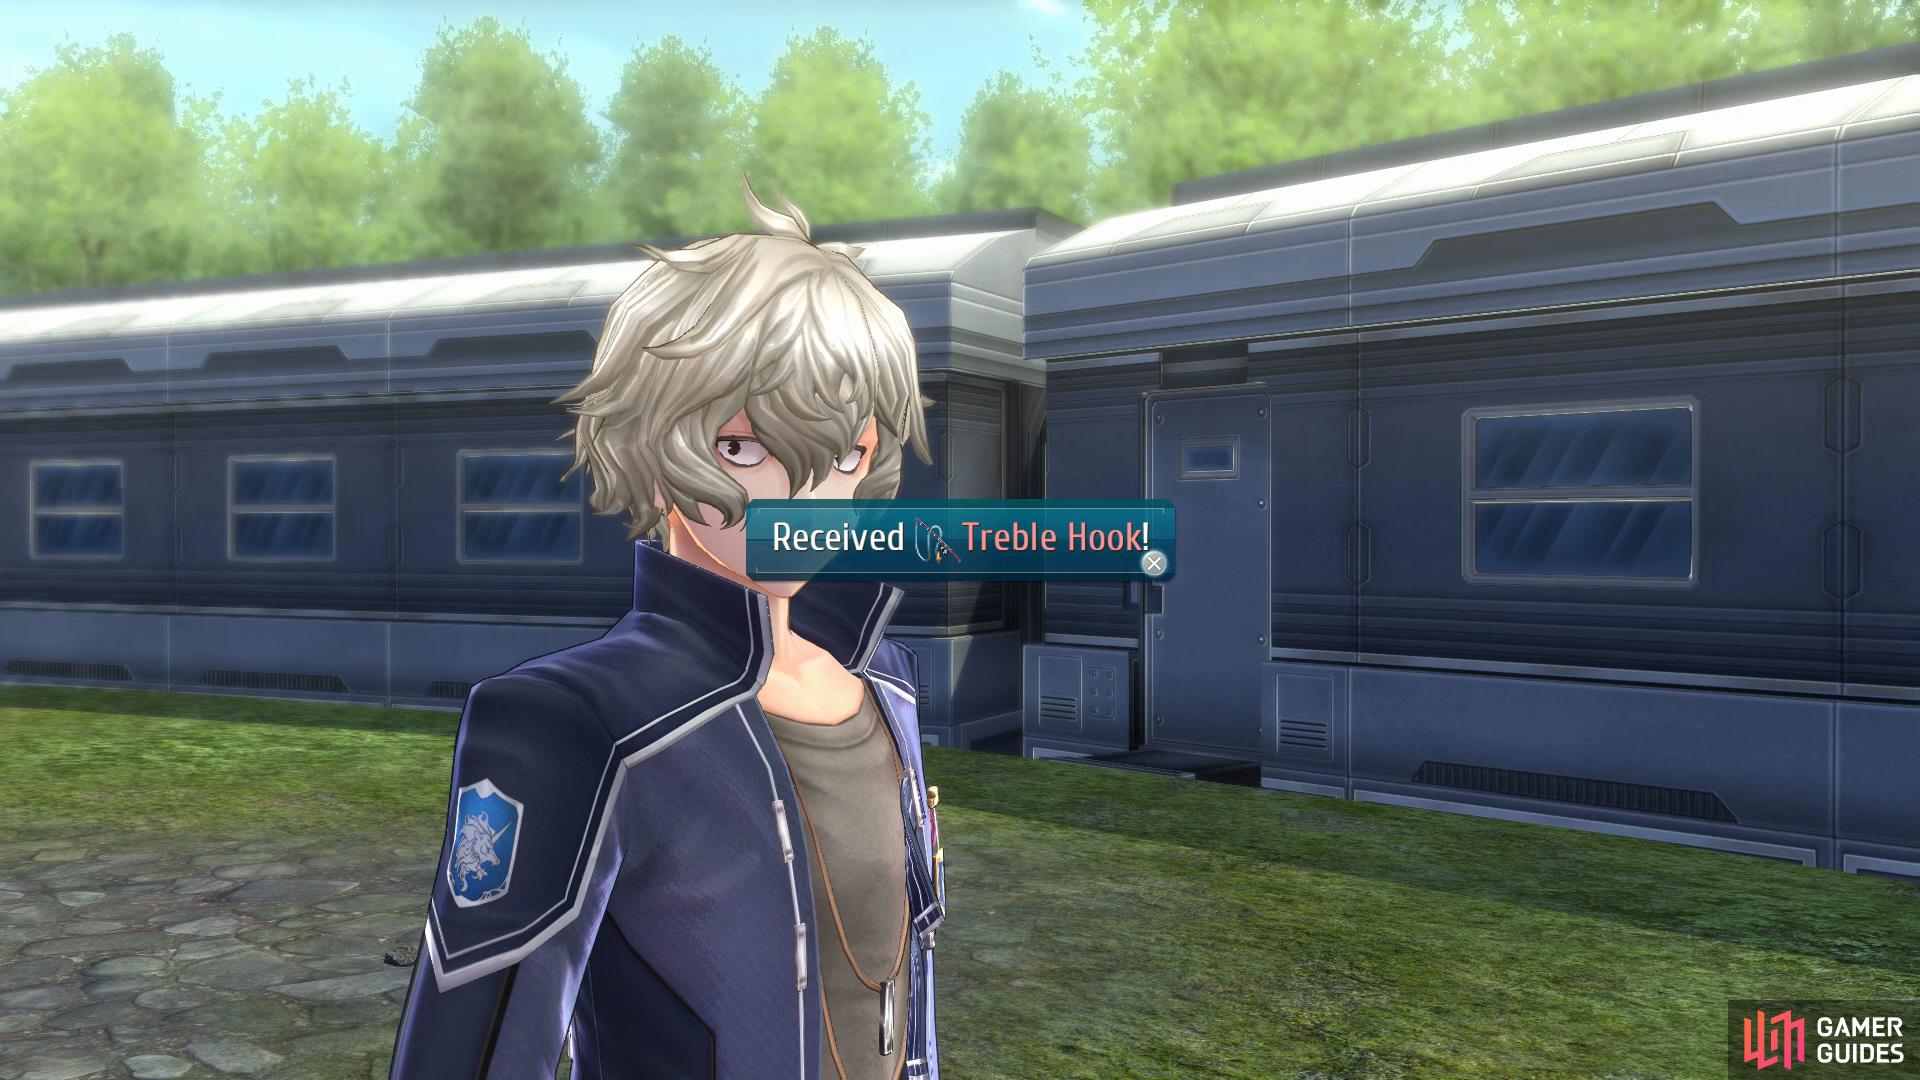
Collect the Treble Hook Fishing Gear from Freddy in the EX Camp for having caught 12 or more fish.
Go back to the EX Camp and you’ll view a few cutscenes, after you’ve regained control of Rean speak with Freddy and he’ll give you the Treble Hook Fishing Gear for catching 12 or more fish. Now go to Station Street to view a scene, then go into Central Square for another cutscene. Make your way into the Harbor District and then enter the Heiyue Trading Ltd. to accept the Do Me This Favour Side Quest.
Side Quest: Do Me This Favor
(1 of 3) Drop into Heiyue Trading Ltd. and speak with Xin to accept the quest
Head over to Ursula Road 1 and go south towards Ursula Road 2 to find a spot on the left that can be investigated, here you’ll want to switch your Character over to Juna and catch the Cobalt Crab that is guarding the case. After you’ve obtained the Case and returned it you’ll gain Nightgleam as your reward for completing the Quest. This Quartz increases your first Magic Art attack by 50% and has a 10% chance to K.O. enemies.
Head to the East Crossbell Highway
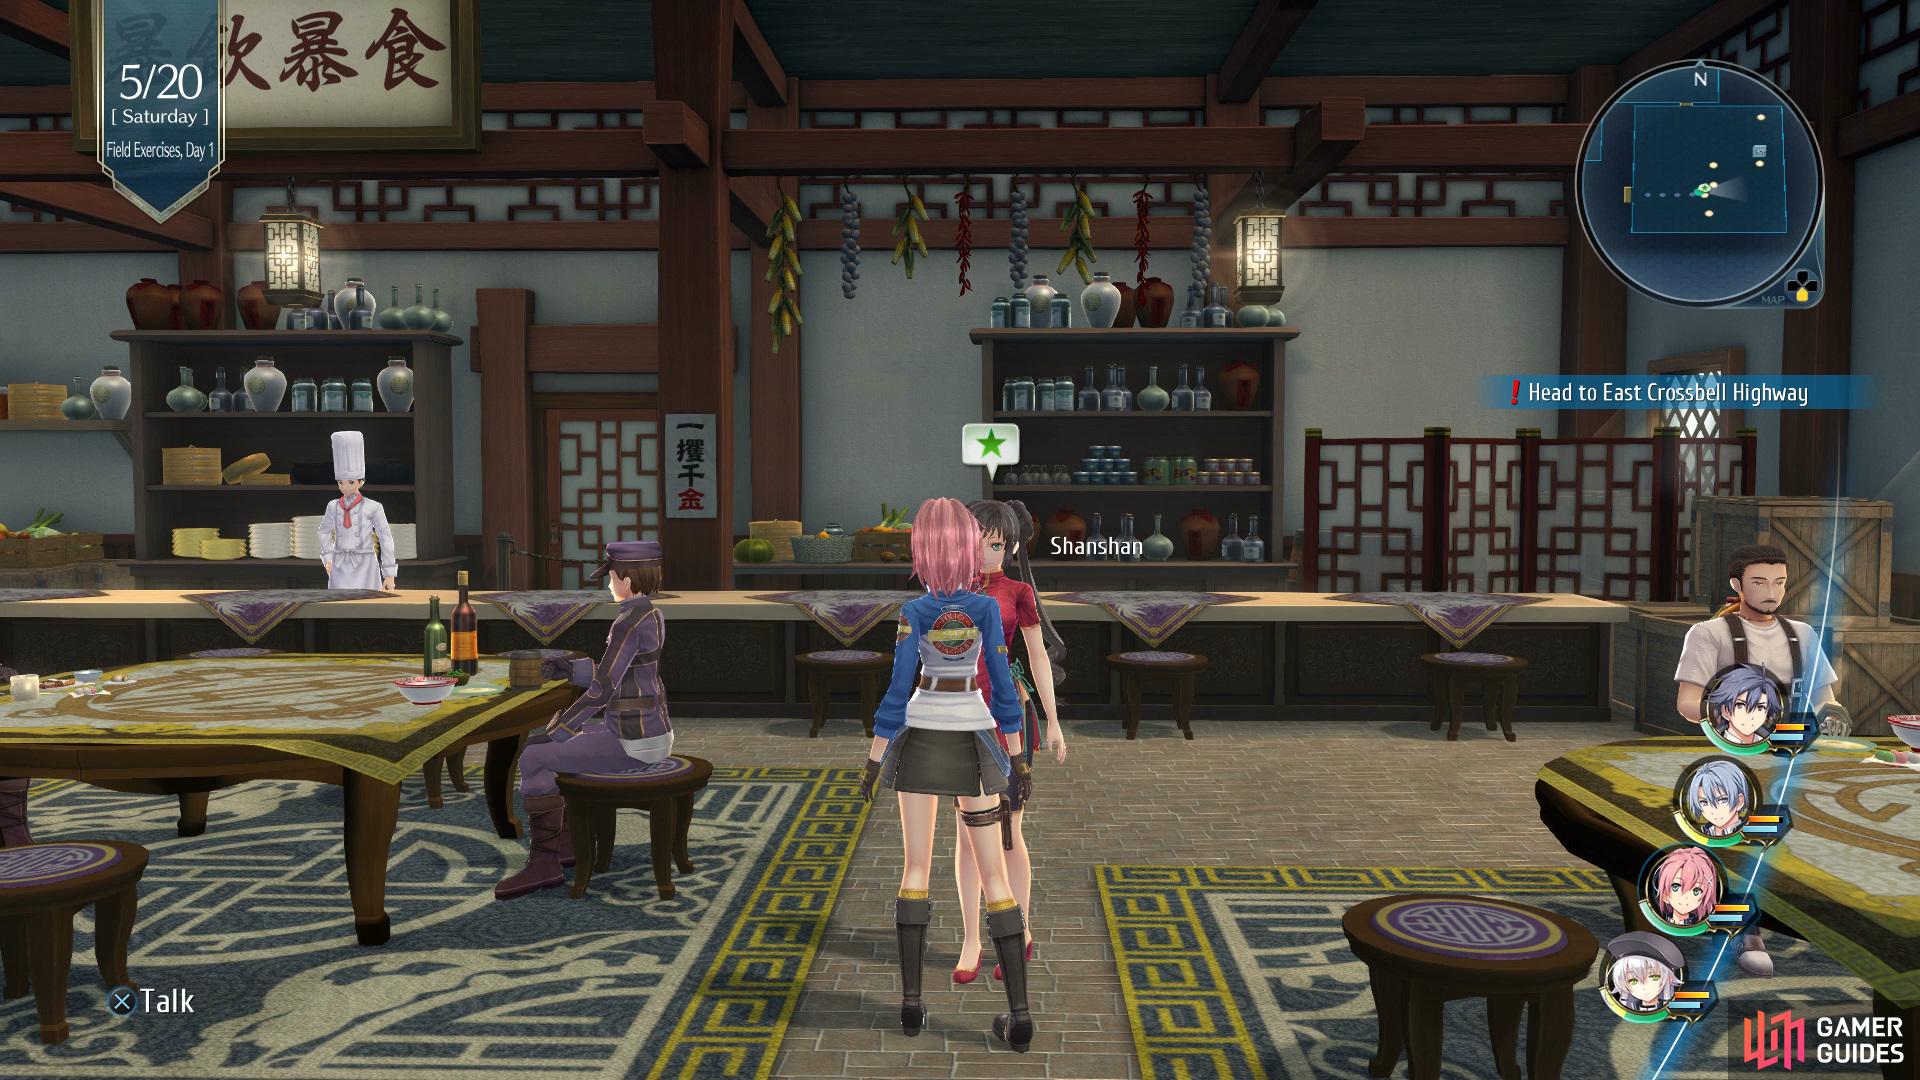
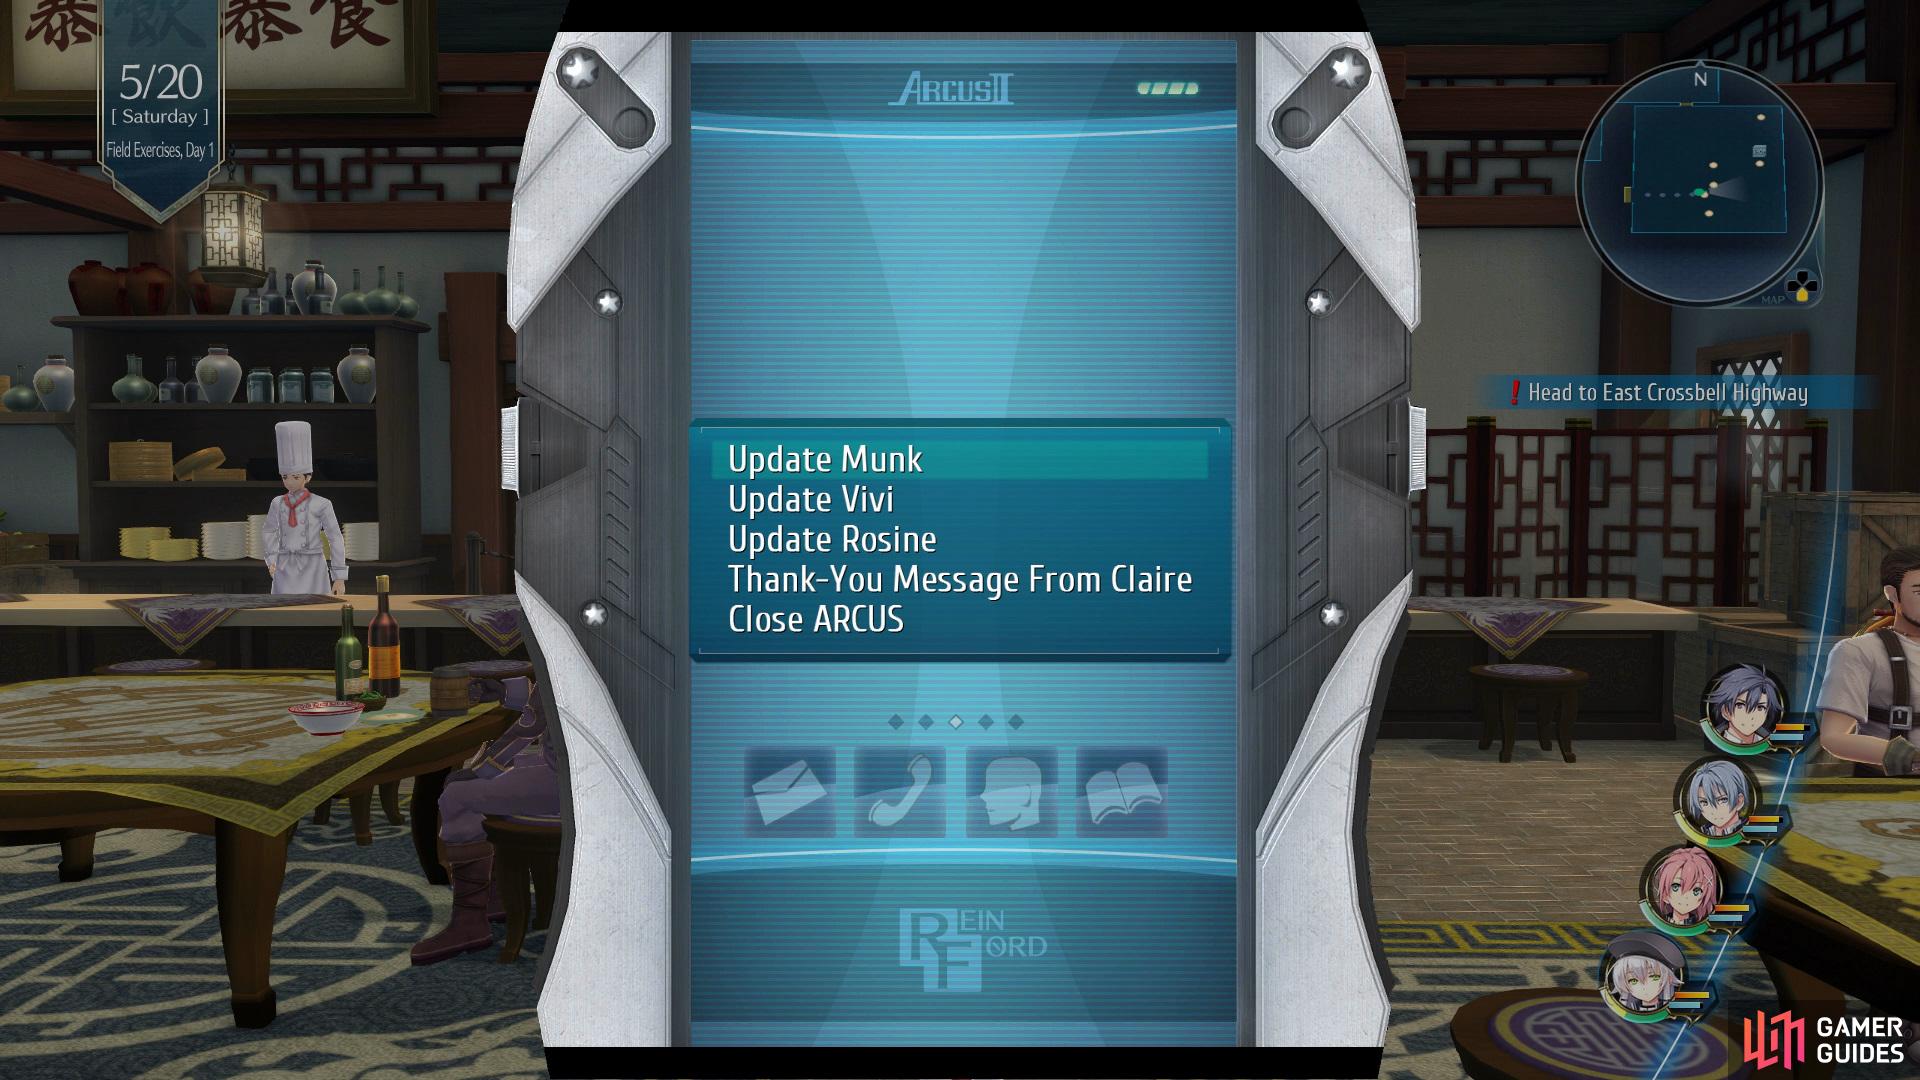
(1 of 2) Speak with Shanshan in Long Lao Tavern & Inn to get some gossip for the radio
Speak with Shanshan in Long Lao Tavern & Inn to get some gossip for the radio (left), and then send it over Munk via the Arcus II. (right)
Before Leaving, challenge Xin to a game of Vantage Masters and you’ll obtain the Kyria-Bell Card upon winning. Make your way to the entrance of Orchis Tower and speak with Vivi to obtain her Character Note, then drop into Long Lao Tavern & Inn and talk to Shanshan to acquire Radio Story #3. Go out of the east exit of East Street to find yourself in East Crossbell Highway.
- Explore East Crossbell Highway
| Enemy | HP | Slash | Thrust | Pierce | Strike | Elemental Efficacy | Item Drop |
|---|---|---|---|---|---|---|---|
| Magma Drone | 3067 | ☆☆☆☆ | N/A | ☆☆☆ | N/A | E - 140, WA - 200, F - 140, WN - 80 | Clear Gelatin, EP Charge I |
| Ogrefly | 4717 | ☆☆ | ☆ | ☆☆☆☆ | ☆ | E - 100, WA - 180, F - 120, WN - 60 | Hearty Powder, Curia Balm |
| Coco Panda | 4716 | ☆☆ | ☆☆☆ | ☆ | ☆ | E - 110, WA - 60, F - 180, WN - 110 | Beast Flesh, Plant Bits |
| Harimander | 4714 | ☆☆☆ | ☆☆ | ☆ | ☆ | E - 120, WA - 100, F - 80, WN - 160 | Globby Fat, Rock Tripe |
| Neo Fall Eagle | 7644 | ☆☆ | ☆☆ | ☆☆☆ | N/A | E - 60, WA - 180, F - 140, WN - 100 | Beast Flesh, U-Material |
| Blade Fang | 13162 | ☆☆ | ☆☆☆☆ | N/A | ☆☆☆ | E - 120, WA - 80, F - 100, WN - 160 | Chitinous Shell, Shield Potion |
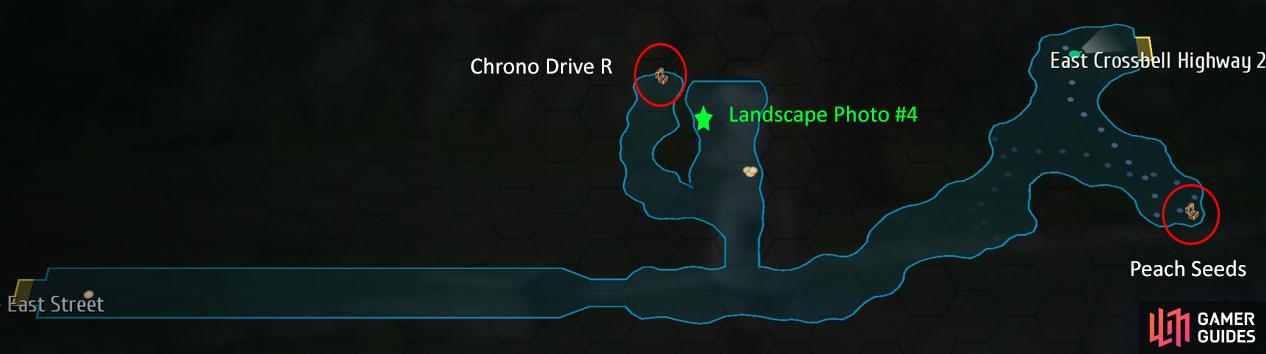
Travel across the bridge and take a left, here you’ll be able to speak with Albert and find Landscape Photo #4, send the photo to Vivi then go over to the path below to find a Red Chest that has Chrono Drive R inside. This Quartz raises Speed/Movement when equipped. Continue down the main path and take the next right to find the final Chest which contains a few Peach Seeds. Now proceed into East Crossbell Highway 2.
- East Crossbell Highway 2
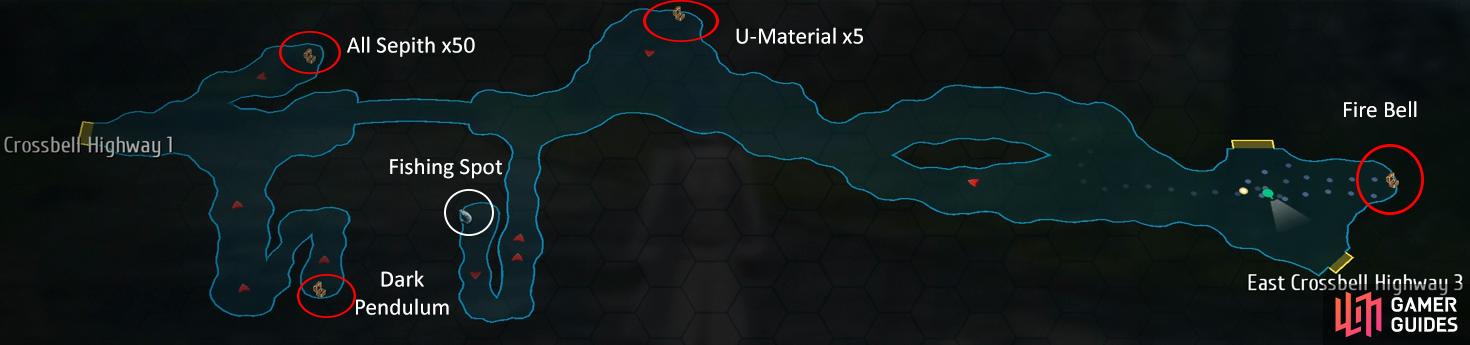
Once you’ve made it into East Crossbell Highway 2, go up the path on the left to find the first Chest which contains All Sepith x50, now take the right path to find a Red Chest that is holding a Dark Pendulum, this prevents Deathblow, Delay, and Vanish when equipped. Go back onto the main path and cross the bridge, here you’ll have multiple paths to take. To begin, go down the path on the right to find a Fishing Spot that you can use to catch the Snake Head.
Go back and take the left path to find a Chest with U-Material x5 inside, continue through the area until reach the end and you’ll find the final Chest which contains a Fire Bell, this halves the delay when using Fire Arts. Now enter East Crossbell Highway 3 on the right.
- East Crossbell Highway 3
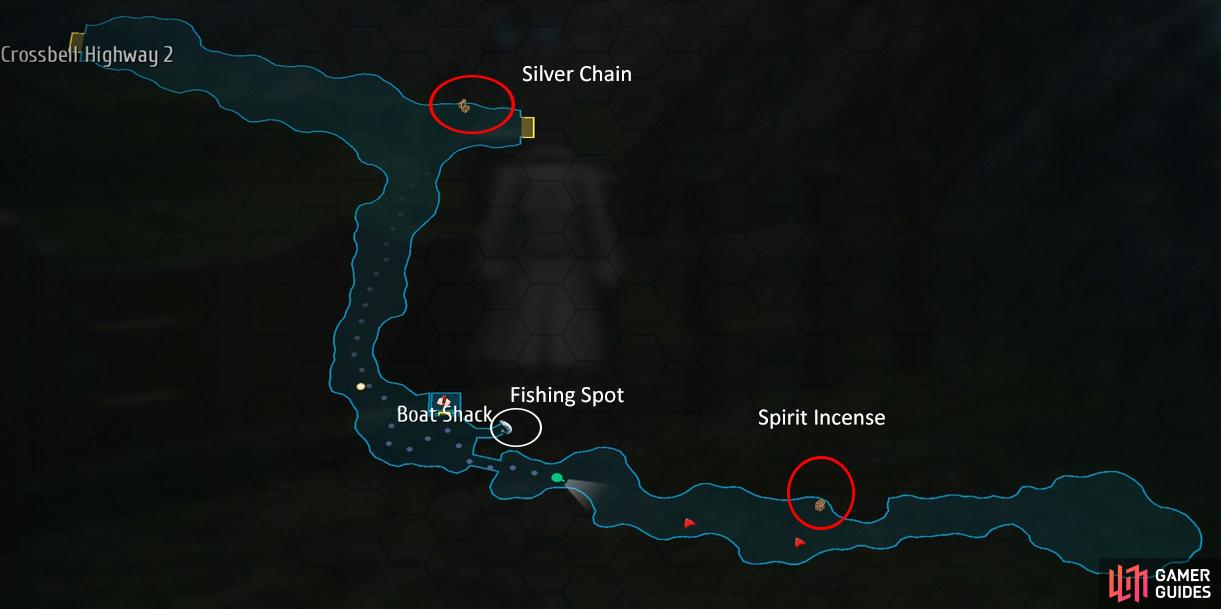
Follow the path all the way to the end to find a Red Chest that contains a Silver Chain, now follow the path south and enter the Boatshack to view a scene. Go back outside and use the Fishing Spot to catch yourself a Noble Carp. Continue further down the path to find the final Chest of this area which contains a Spirit Incense before making your way to the end of the path to initiate a battle against, Mordreian.
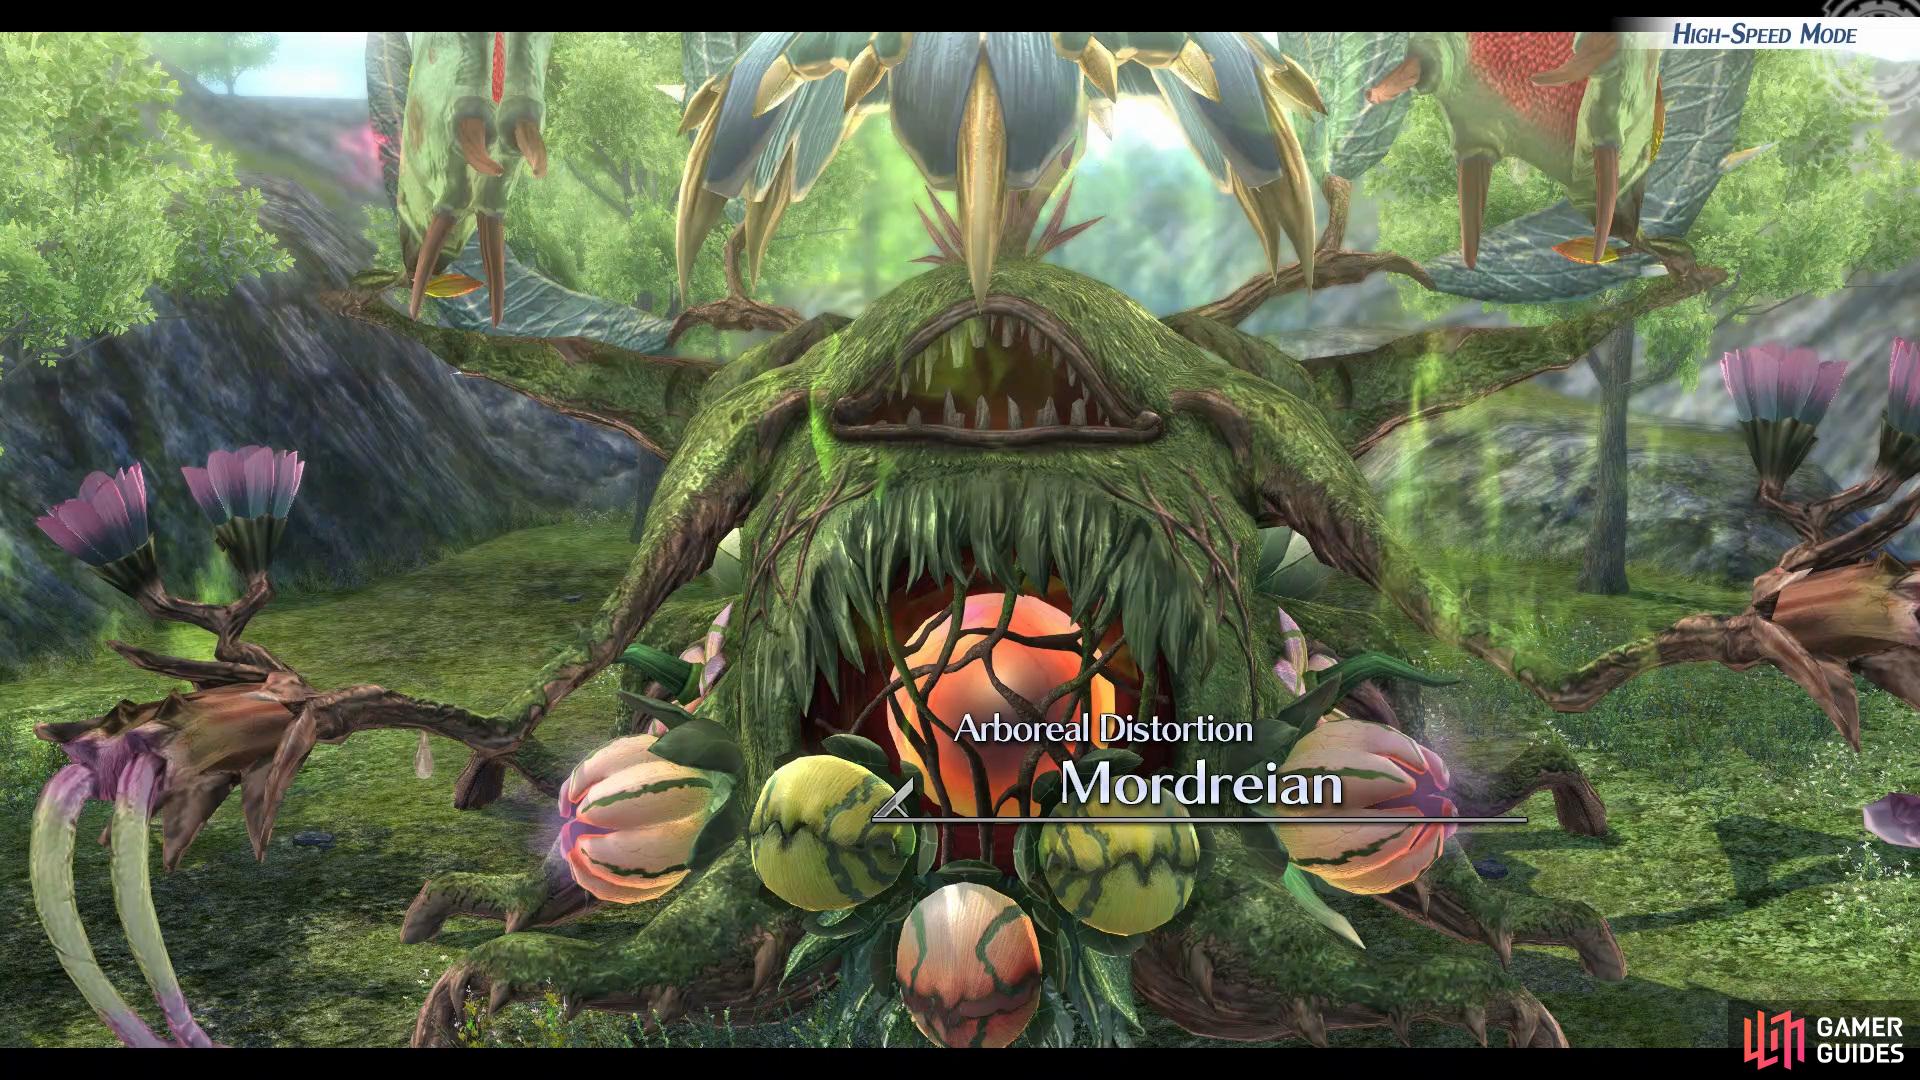
Boss: Mordreian
| Enemy | HP | Slash | Thrust | Pierce | Strike | Elemental Efficacy | Item Drop |
|---|---|---|---|---|---|---|---|
| Mordreian | 57012 | ☆☆☆ | ☆ | ☆ | ☆☆ | E - 100, WA - 50, F - 100, WN - 200, TI - 100, SP - 80, MI - 150 | Dragon Vein |
Begin this battle by activating the Sledgehammer Brave Order, and then work on putting Mordreian in the Break Status. Once you’ve done that you’ll want to put on Wind Blade and then keep using normal attacks to gain more BP. Keep repeating this cycle until Mordreian is about to take another turn and then use your S-Crafts to finish it off. If you find yourself taking alot of damage during this battle you’ll want to put on Ebon Crest to deflect it.
- Nightmare Strategy
This is not as difficult as it may seem as Rean will be in his Ogre status for the duration of the battle. This means he’ll have increased stats across the board and his Crafts will be enhanced with greater effects. It goes to stand then that Rean is your most useful member here so focus on using him to break the boss with the Sledgehammer Brave Order activated. Mordreian’s biggest threat is the ability to hit a wide range of attacks so be sure to Impede him at any given chance, if he hits all of your party members, he’ll recover large amounts of HP which isn’t ideal. Of course, if you have the BP and CP available, make use of Raging Fire and S-Crafts when you do manage to break it.
Examine the Orbal Bike to return the girls to Crosbell and then time will advance to night.
Head to the inspection team
Once you’ve made it to Orchis Tower and regained control of Rean you’ll want to head into the second room on the left to view a cutscene, then go into the last room on the left after for another scene. Once you’ve wrapped up your chat, head to the end of the corridor to be taken down to Floor 34. Speak with Freddy to acquire his Character Note, then exit the room and go to the elevator to the southeast to view a scene, now go to the emergency staircase to view a few more cutscenes.
| Enemy | HP | Slash | Thrust | Pierce | Strike | Elemental Efficacy | Item Drop |
|---|---|---|---|---|---|---|---|
| Sneak Gunner G | 5052 | ☆☆ | ☆ | ☆☆☆ | ☆☆☆ | E - 80, WA - 100, F - 160, WN - 120 | Tear Balm, U-Material |
| Sneak Gunner R | 5062 | ☆☆ | ☆ | ☆☆☆☆ | ☆☆☆ | E - 120, WA - 80, F - 100, WN - 160 | Reviving Balm, U-Material |
| Sneak Gunner M | 5046 | ☆☆☆ | ☆ | ☆☆ | ☆☆☆☆ | E - 160, WA - 120, F - 80, WN - 100 | Curia Balm, U-Material |
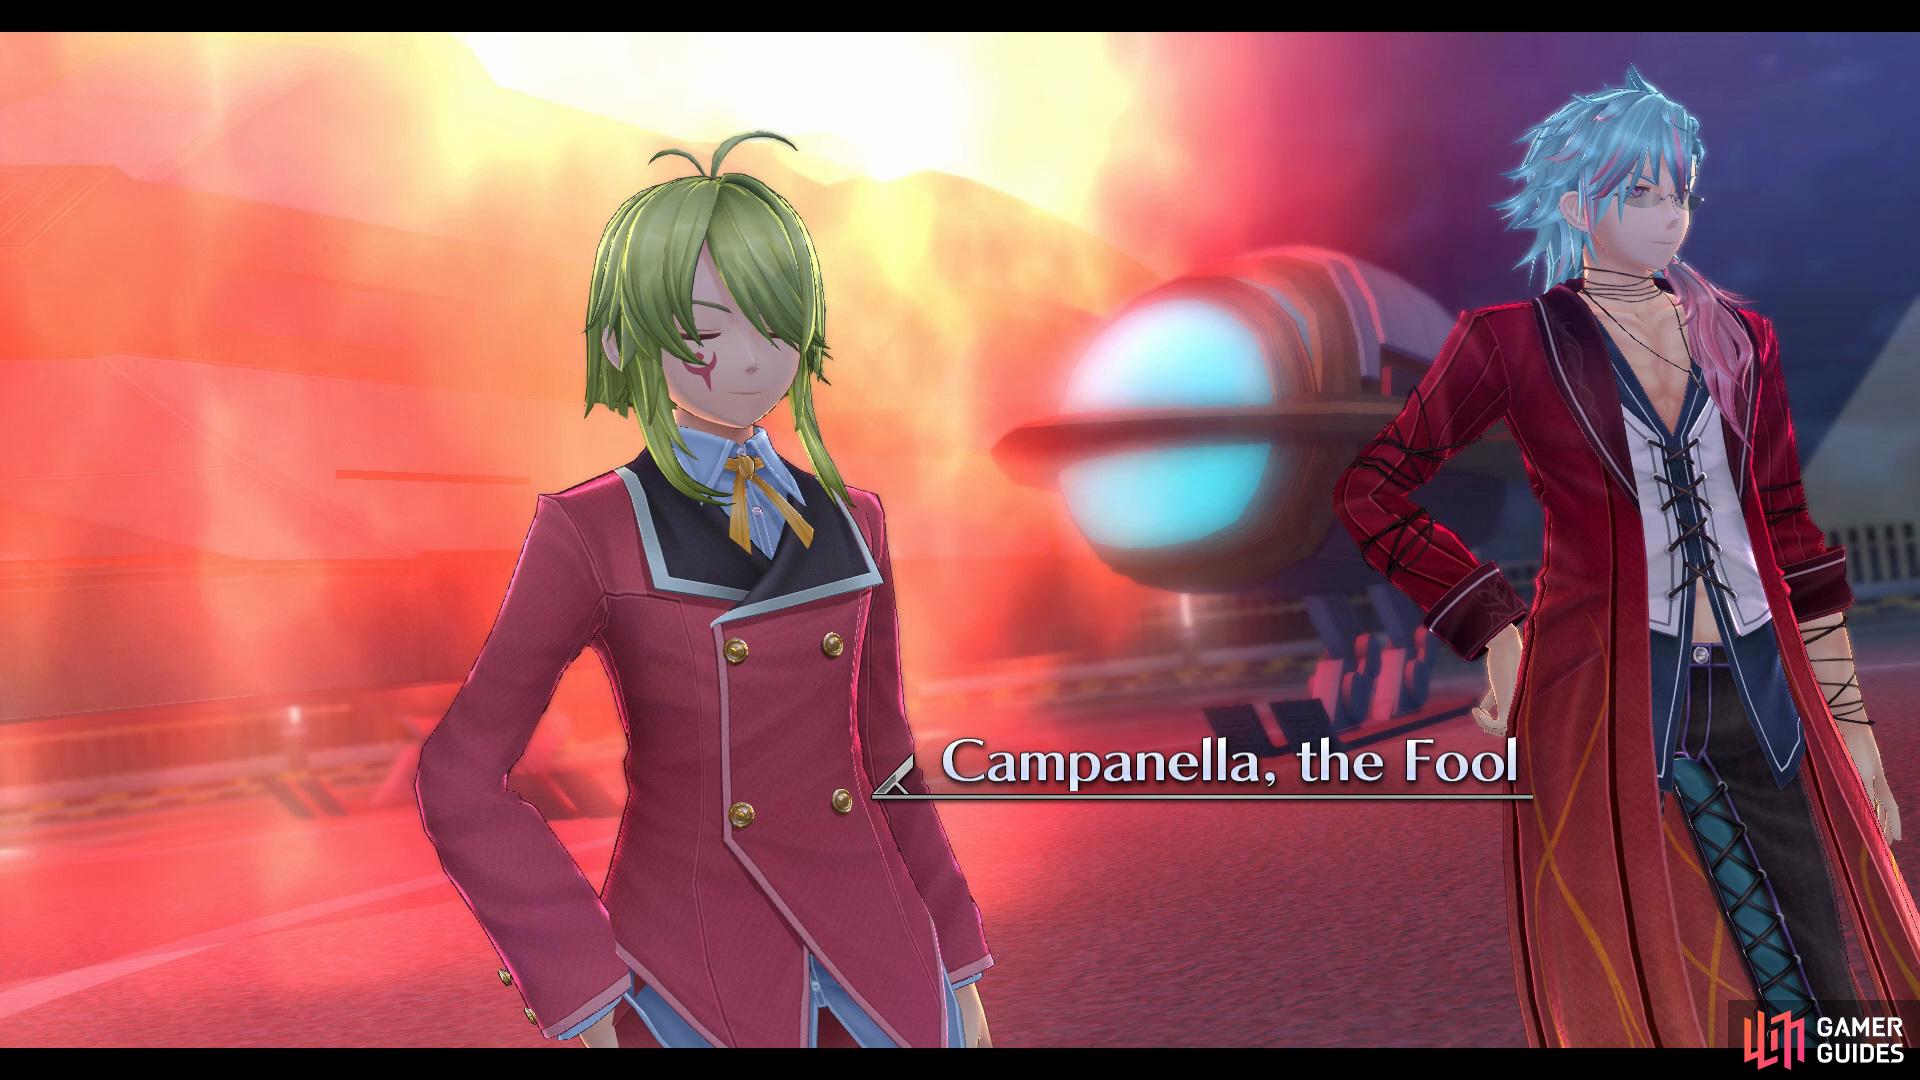
Take out the Sneak Gunners by using the Students and then you’ll regain control of Rean on the Rooftop. Walk up the stairs and you’ll transition back to the students, fight your way up to the roof to help Rean face Campanella and Mcburn.
Boss: Campanella the Fool
| Enemy | HP | Slash | Thrust | Pierce | Strike | Elemental Efficacy | Item Drop |
|---|---|---|---|---|---|---|---|
| Campanella the Fool | 36380 | ☆☆ | ☆☆ | ☆☆ | ☆☆ | E - 100, WA - 100, F - 100, WN - 100 | N/A |
Begin your battle by activating Sledgehammer to raise your Break Damage to 300%, after he is in the Break Status you’ll want to switch over your Brave Order to Crazy Hunt which will give you a 50% Critical Hit Chance. This is the time to make use of those Crafts with an A Rating on power to deal a lot of damage.
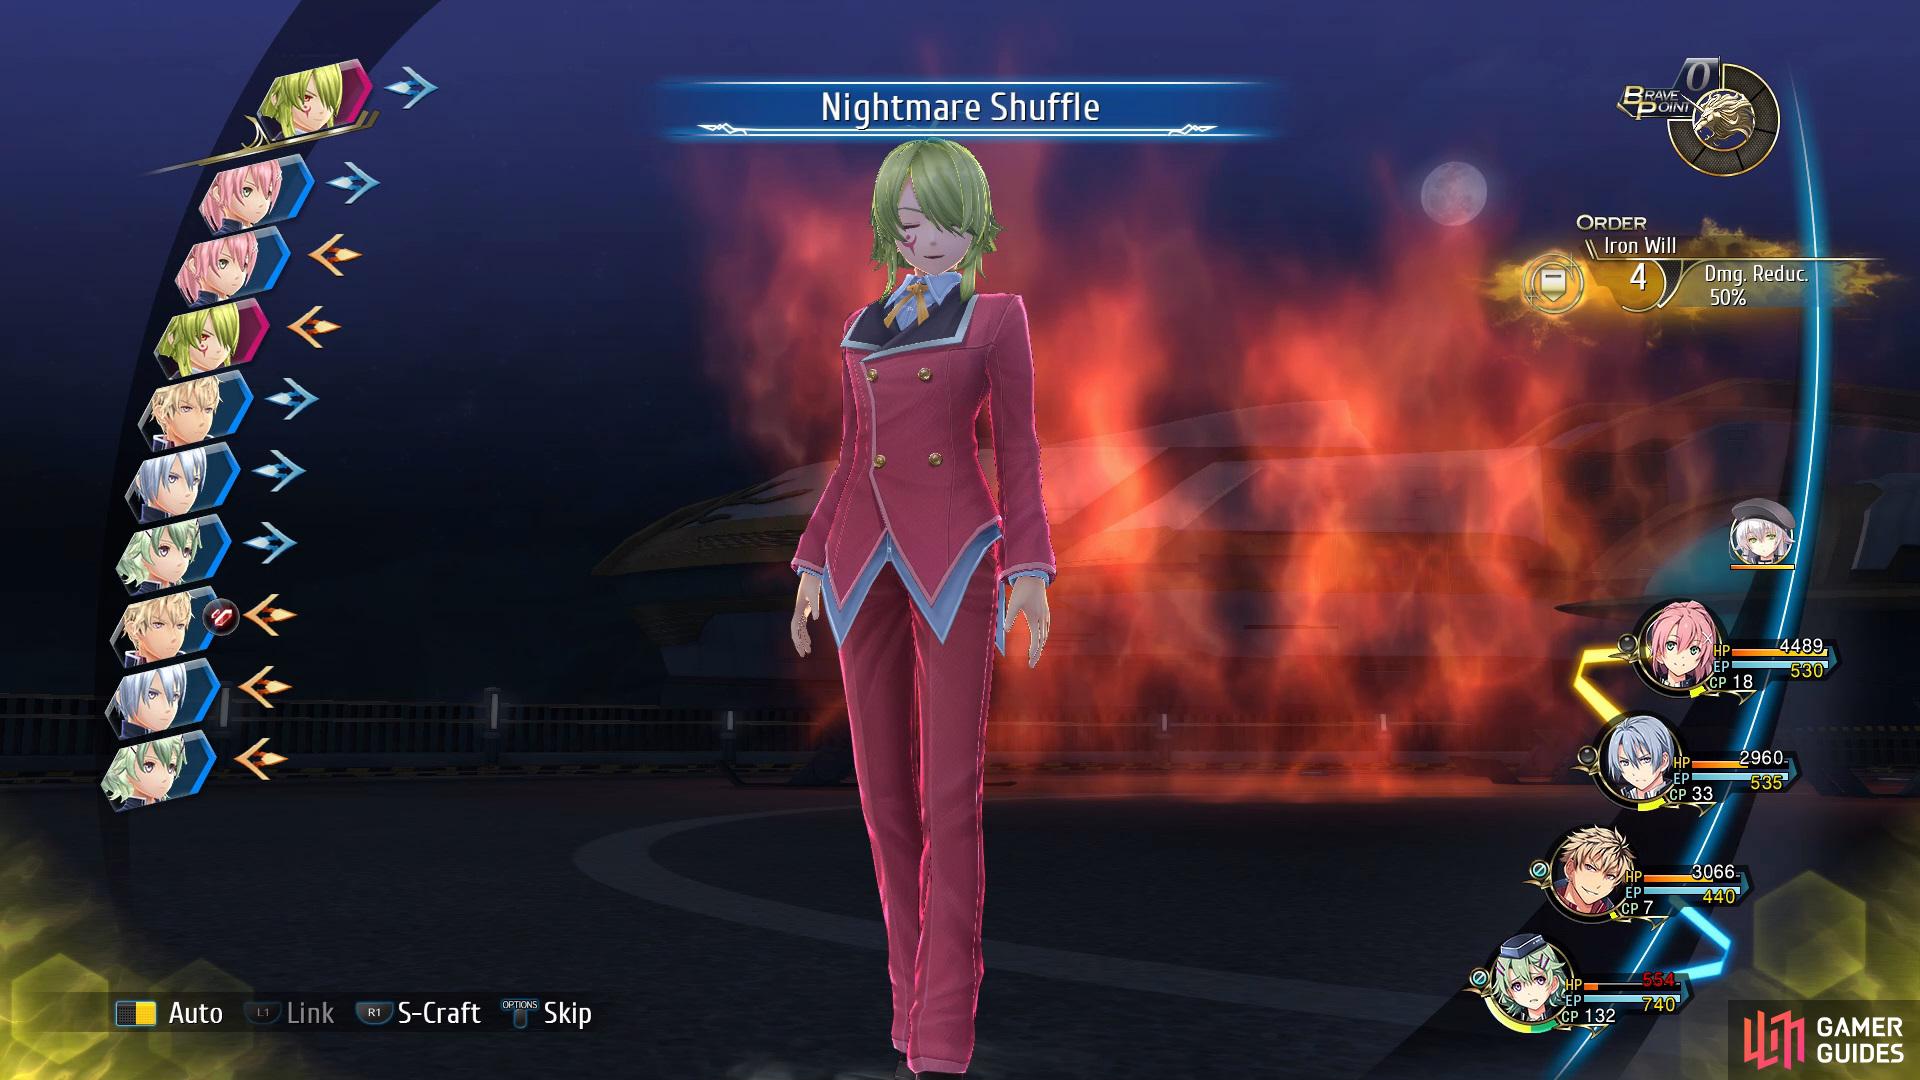
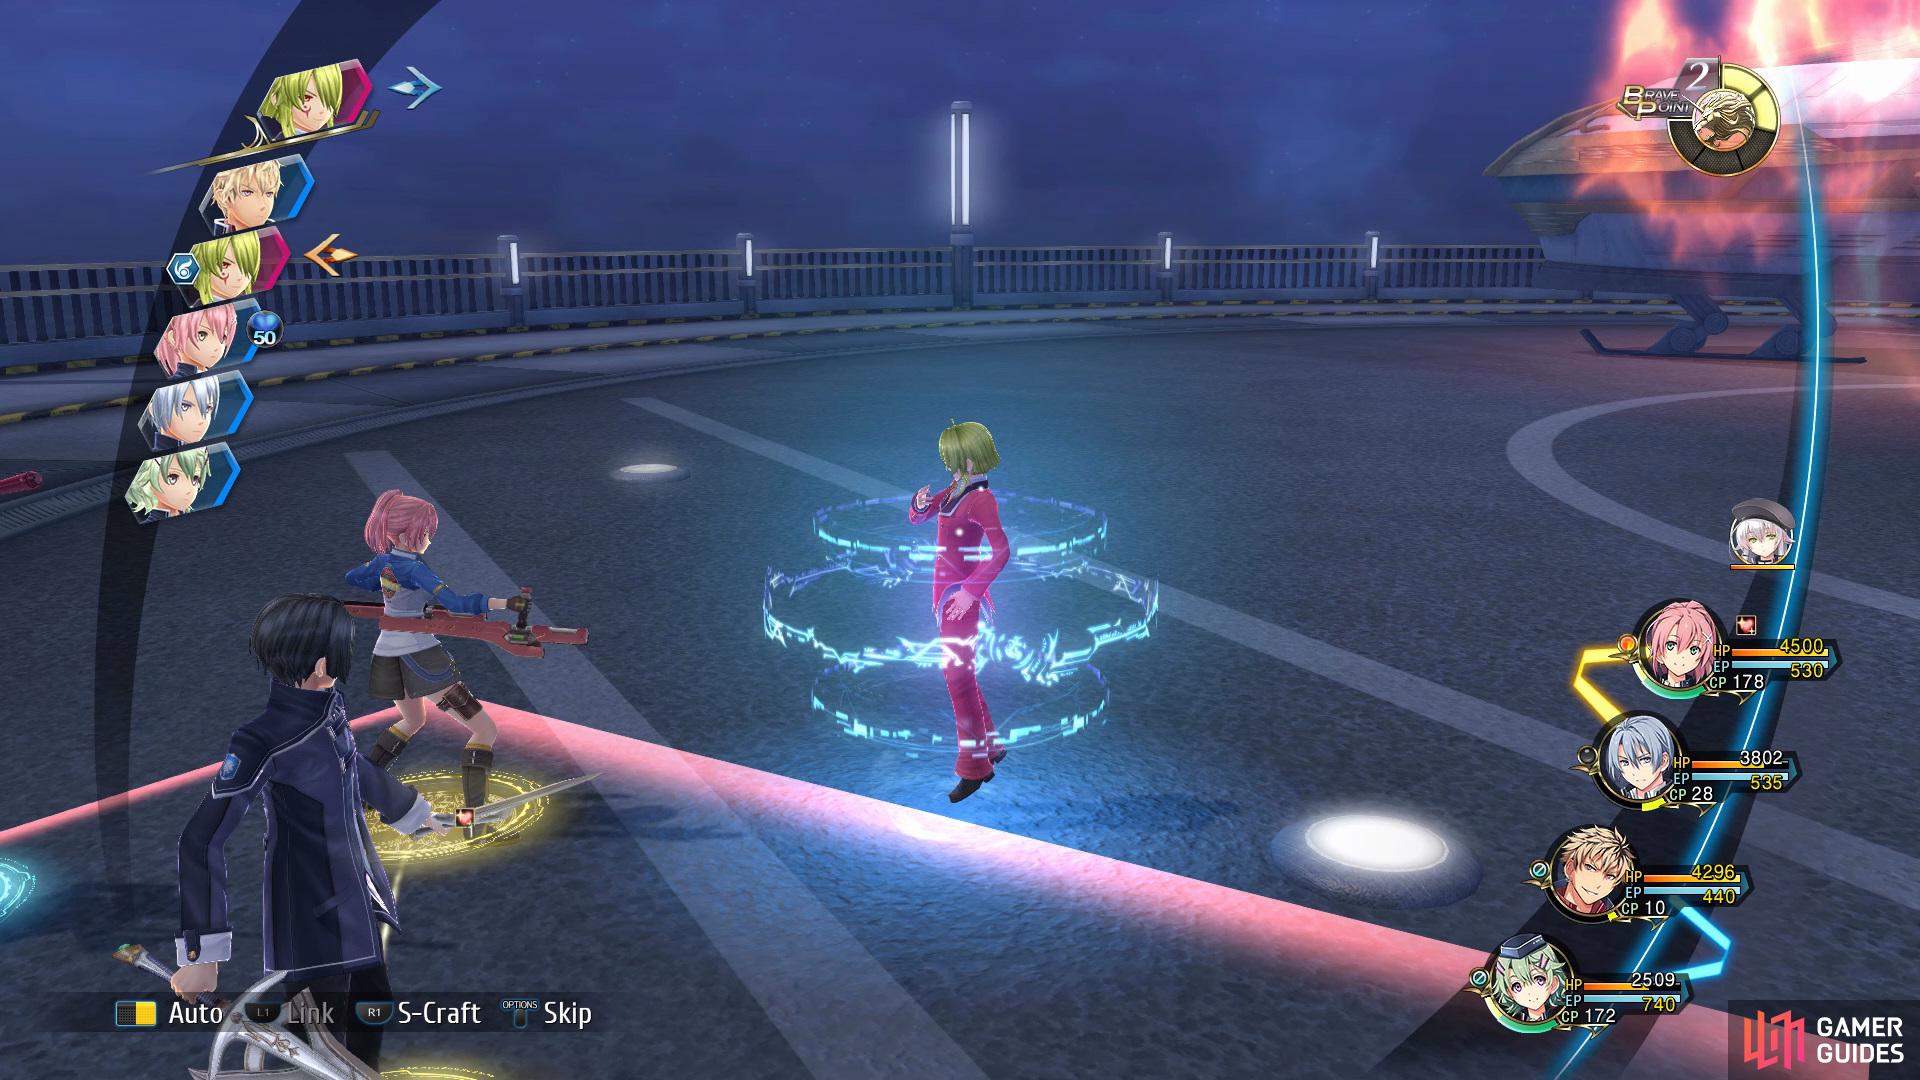
(1 of 2) During the battle he’ll use Nightmare Shuffle which will change the location of your party
During the battle he’ll use Nightmare Shuffle which will change the location of your party (left), after this he’ll charge up an attack that you’ll need to impede. (right)
Before he takes his turn you’ll want to use any available S-Crafts to get you past that 10% threshold. If you give Campanella an opportunity to have a turn he can perform a variety of irritating attacks, such as Nightmare Shuffle which will lower the teams stats as well as move them to a different location.
- Nightmare Strategy
This is an unwinnable battle so you’re in a race against time to take Campanella’s HP down to 10% for the AP+3 bonus at the end. The largest hurdle here is not having Rean in your party but Ash isn’t no slouch himself and comes along with the useful Crazy Hunt Brave Order which will up your Critical Hit Chance by 50% along with a modest boost to STR and SPD. Like always, make use of Sledgehammer to break Campanella and then make use of Wind Blade to delay his turns once you do break him. If you’re about to use Juna or Kurt’s S-Crafts, be sure to use Crazy Hunt first for the extra boost. Campanella himself isn’t too tough until he Enhances himself, it’s critical at this point you break him once again to force him out of it or he will most likely wipe you out quickly. Nightmare Shuffle will rearrange the order of your party so don’t try to reposition but Exchange will cause you all manner of problems, especially if he begins casting at the same time so be sure to Impede him immediately or whoever is hit by it will almost certainly be killed outright.
Boss: McBurn, Almighty Conflagration
| Enemy | HP | Slash | Thrust | Pierce | Strike | Elemental Efficacy | Item Drop |
|---|---|---|---|---|---|---|---|
| McBurn, Almighty Conflagration | 43772 | ☆☆ | ☆☆ | ☆☆ | ☆☆ | E - 80, WA - 80, F - 0, WN - 80 | N/A |
Your objective for the McBurn battle is to get his HP down to 70%. Begin by using Phantasmal Butterfly to give you 50% evade for four rounds, now use any available S-Crafts to take a nice chunk of HP off and then use your most powerful Crafts to get him under 70%.
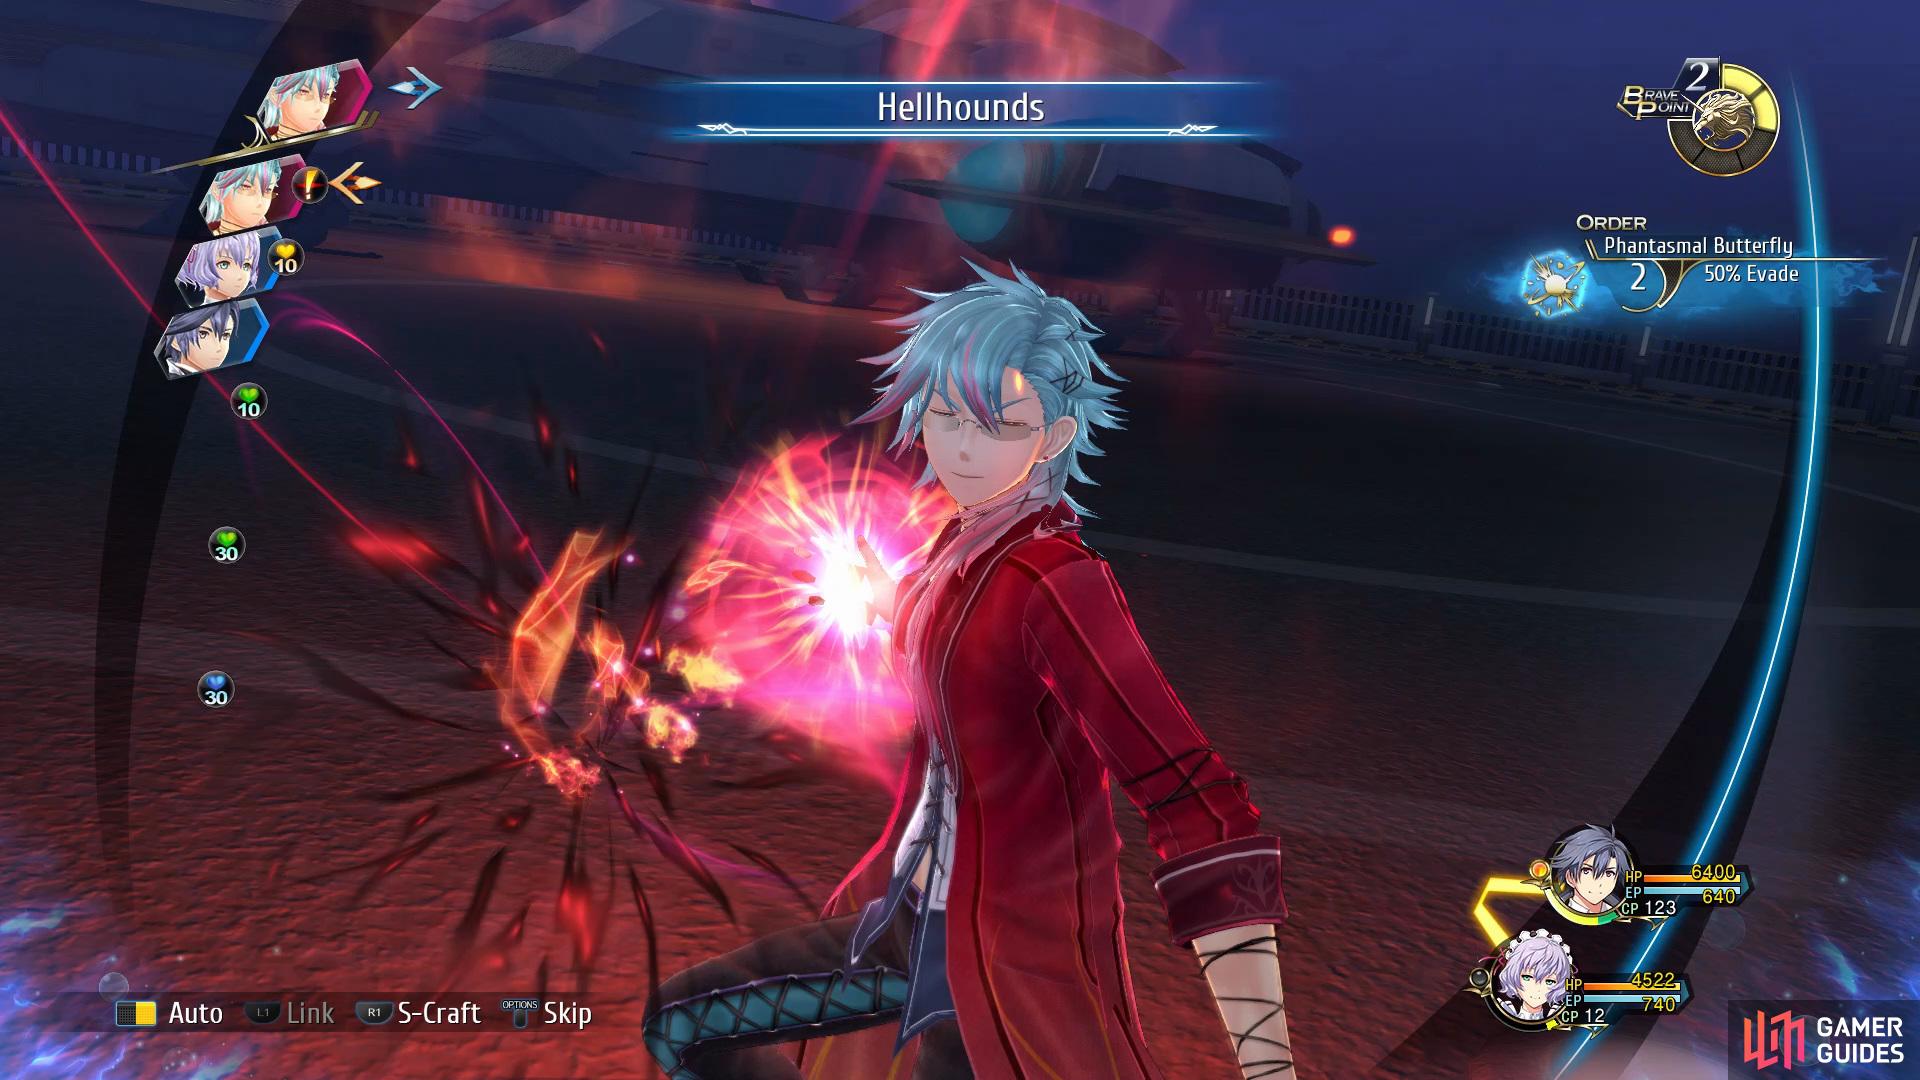
During your battle against McBurn he’ll use an attack called Hellhounds, make sure to heal up after this.
- Nightmare Strategy
For the second battle you’ll only have Rean and Sharon and McBurn is a lot more deadly than Campanella however you only need to take him down to 70% HP and there’s no bonus AP on offer. Thankfully, with Sharon in your party, you can make use of the excellent Phantasmal Butterfly Brave Order to give you a steady stream of CP and high Evasion. If you do manage to break McBurn, then activate Crazy Hunt if possible and unleash S-Crafts, this should take him down to the required limit in no time at all. As for his attacks, most of them have a high chance of inflicting the Burn status and should you have low HP, this could kill you however if you’re fairly topped up, then consider powering through it to take him down.
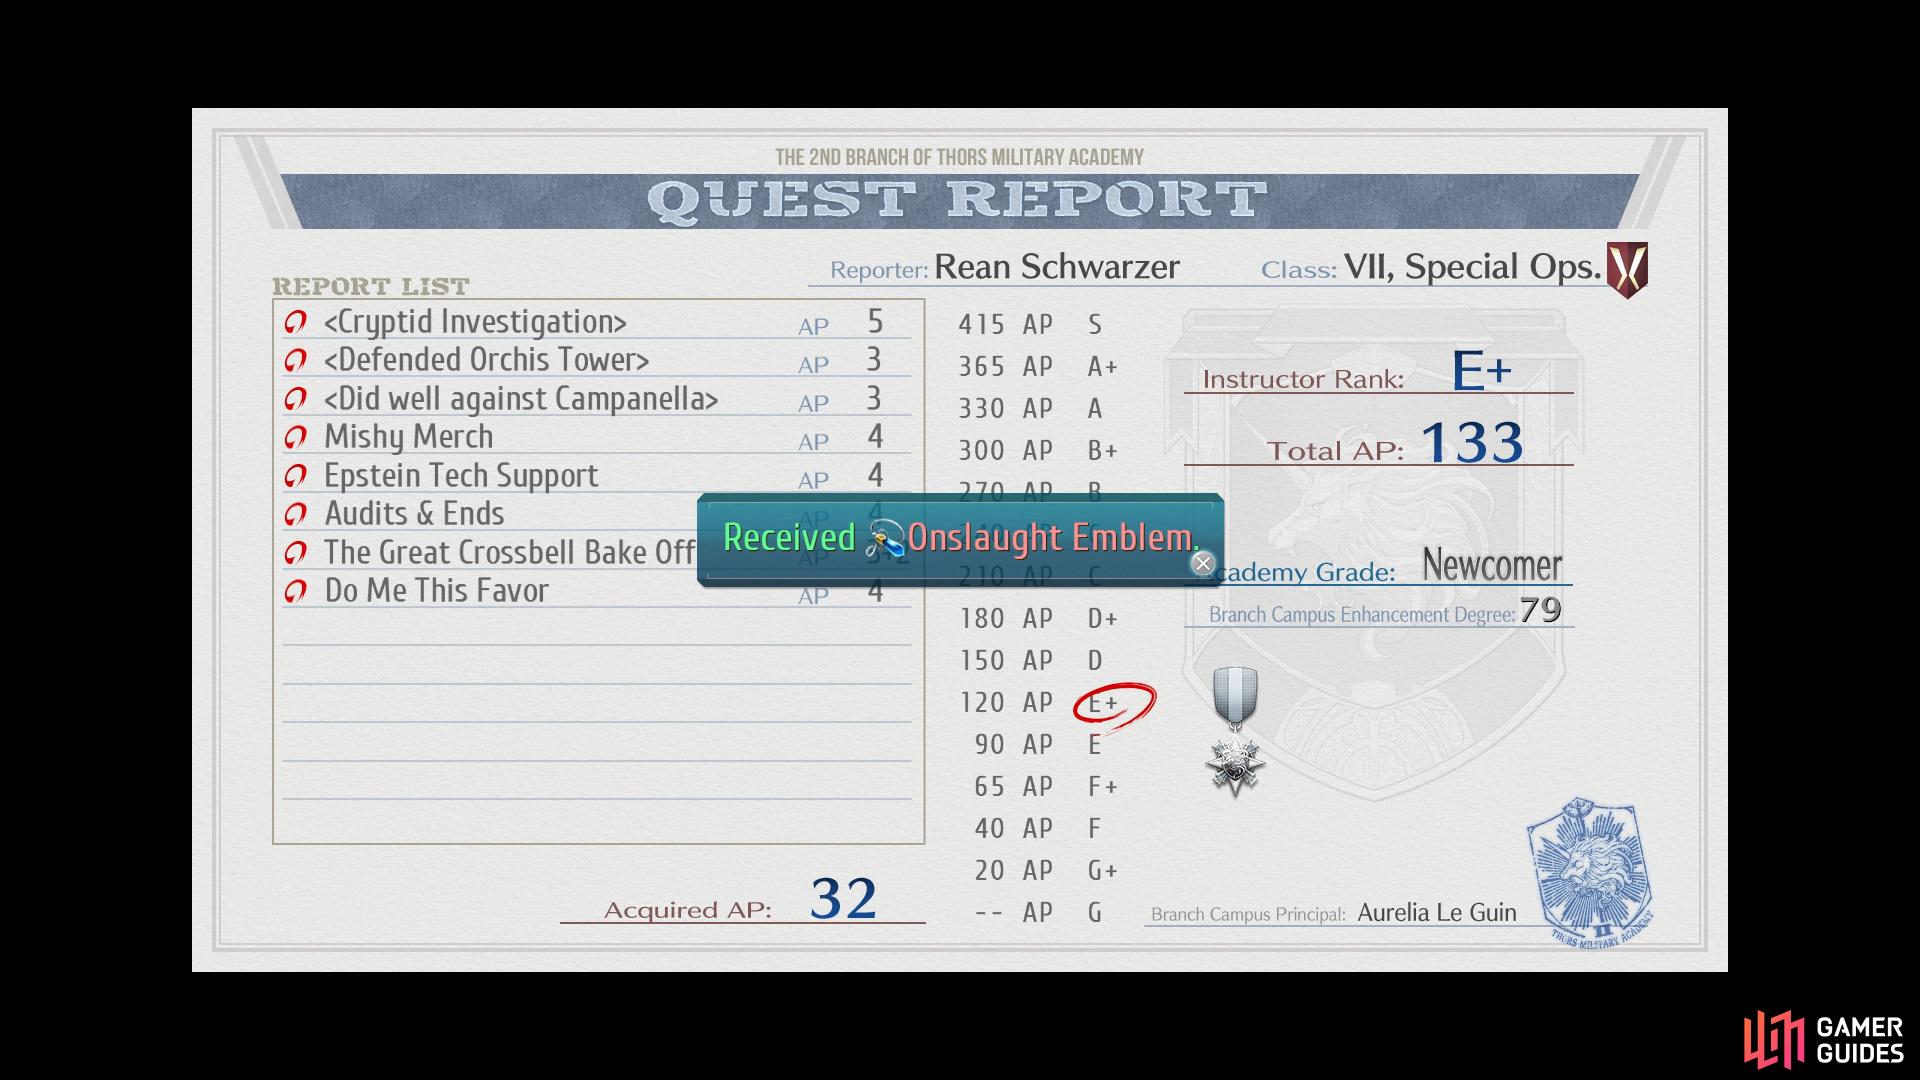
Following the end of the battle, more scenes will take place and you’ll bring the day to a close. If you’ve been following this guide correctly, you should have 133 AP and receive an Onslaught Emblem.

 Sign up
No Comments