

Head to Saint-Arkh
#Key Information
| Side Quests | Client | AP |
|---|---|---|
| Isthmia Great Forest | Bracer Guild | 4 |
| North Sutherland Highway Monster | Bracer Guild | 4 |
| Lost Wallet | Lord Quinn & Helena - Parm | 4 |
| Sub Events | Location |
|---|---|
| Landscape Photo #2 | North Sutherland Highway 2 |
| Black Records 6 | North Sutherland Highway 2 - Chest |
| New Character Notes | Location |
|---|---|
| Major Lechter | Story Progression |
| Jessica | Speak at the EX Camp |
| Items | Location |
|---|---|
| Heartless Edgar - Chapter 3 (Book) | Simone - Parm Chapel |
Once you’ve regained control of Rean, speak with Freddy to complete the Wild Recipe Side Quest and you’ll gain his Character Note. Go back outside and speak with either Mint or Tita to trigger a Sub-event, now go over to Sandy to deliver the Strawberry Seeds and she’ll give you Spirit Droplet x5 as a reward. Speak with Jessica that is standing amongst the students to obtain her Character Note, then drop into Car 6 and speak with Ashen Knight Valimar to trigger another Sub-event.


(1 of 2) Speak with Tita or Mint to view a sub-event
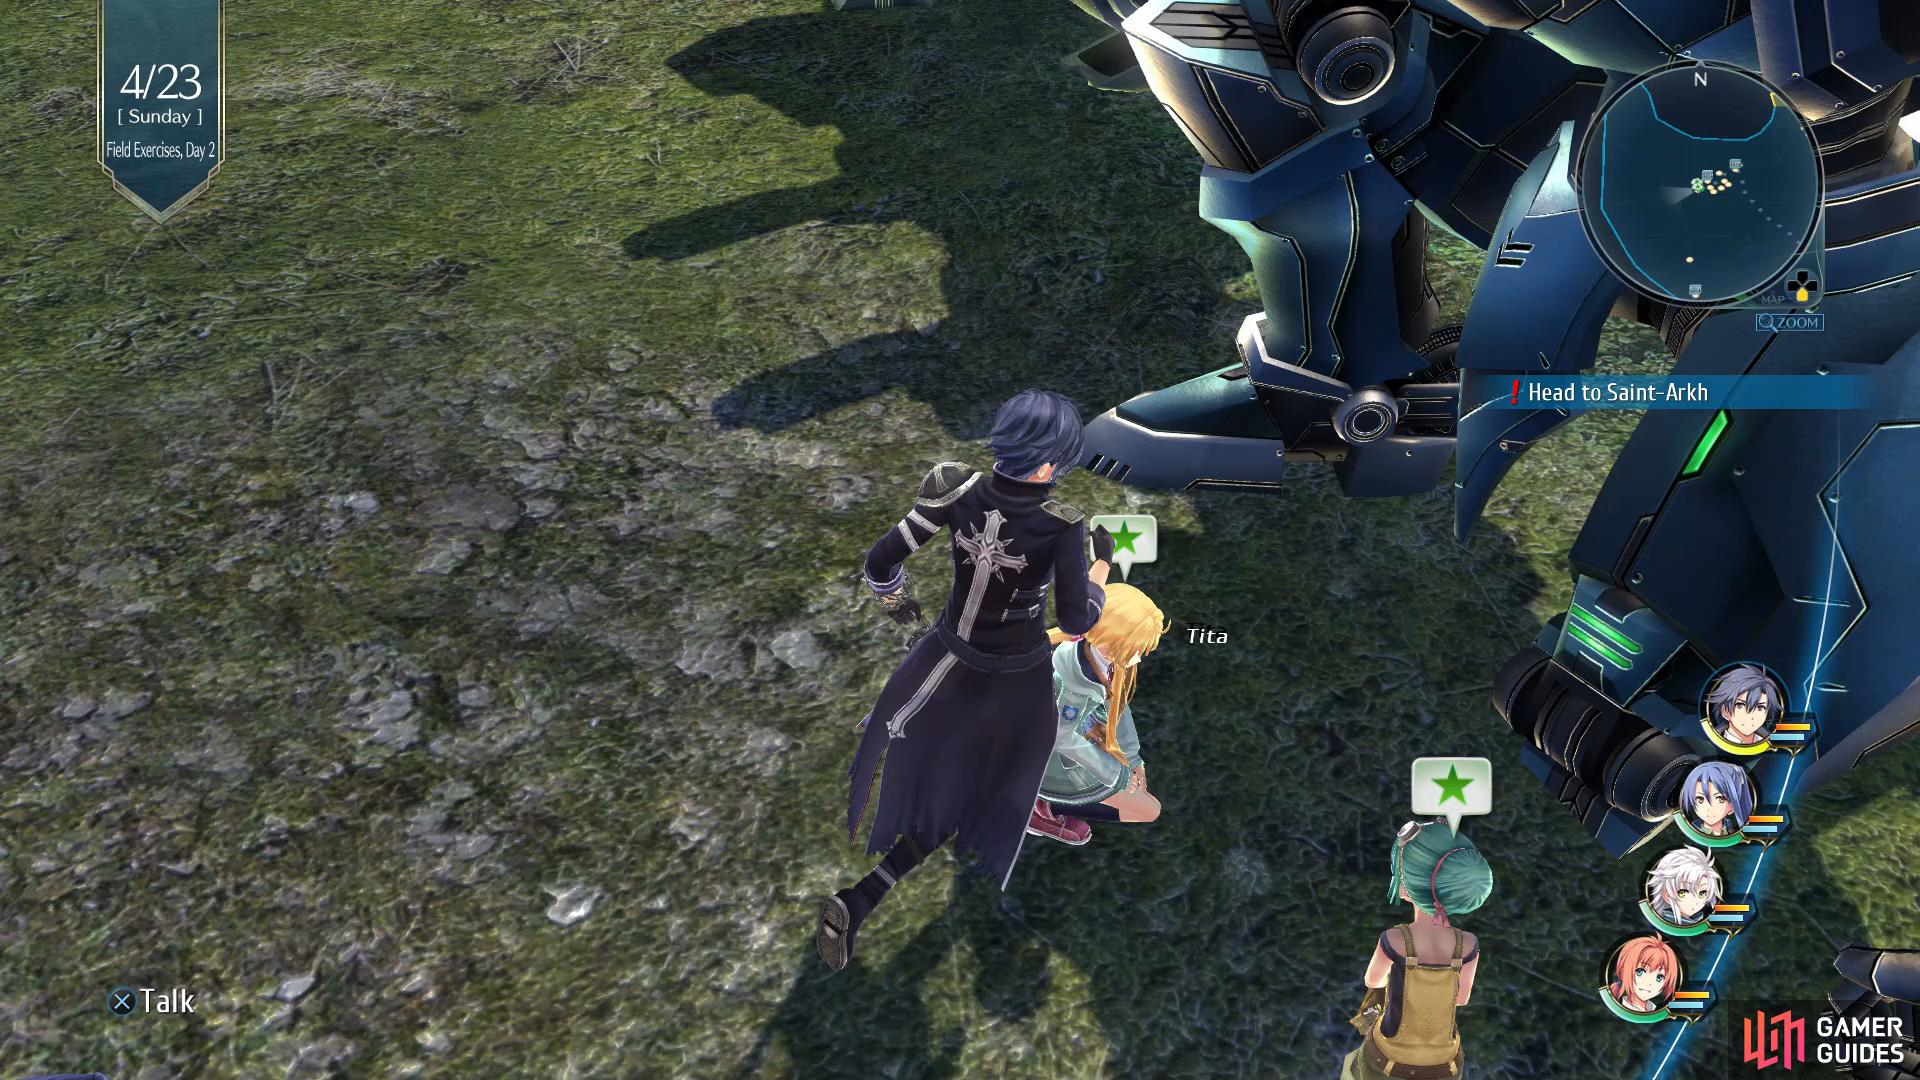
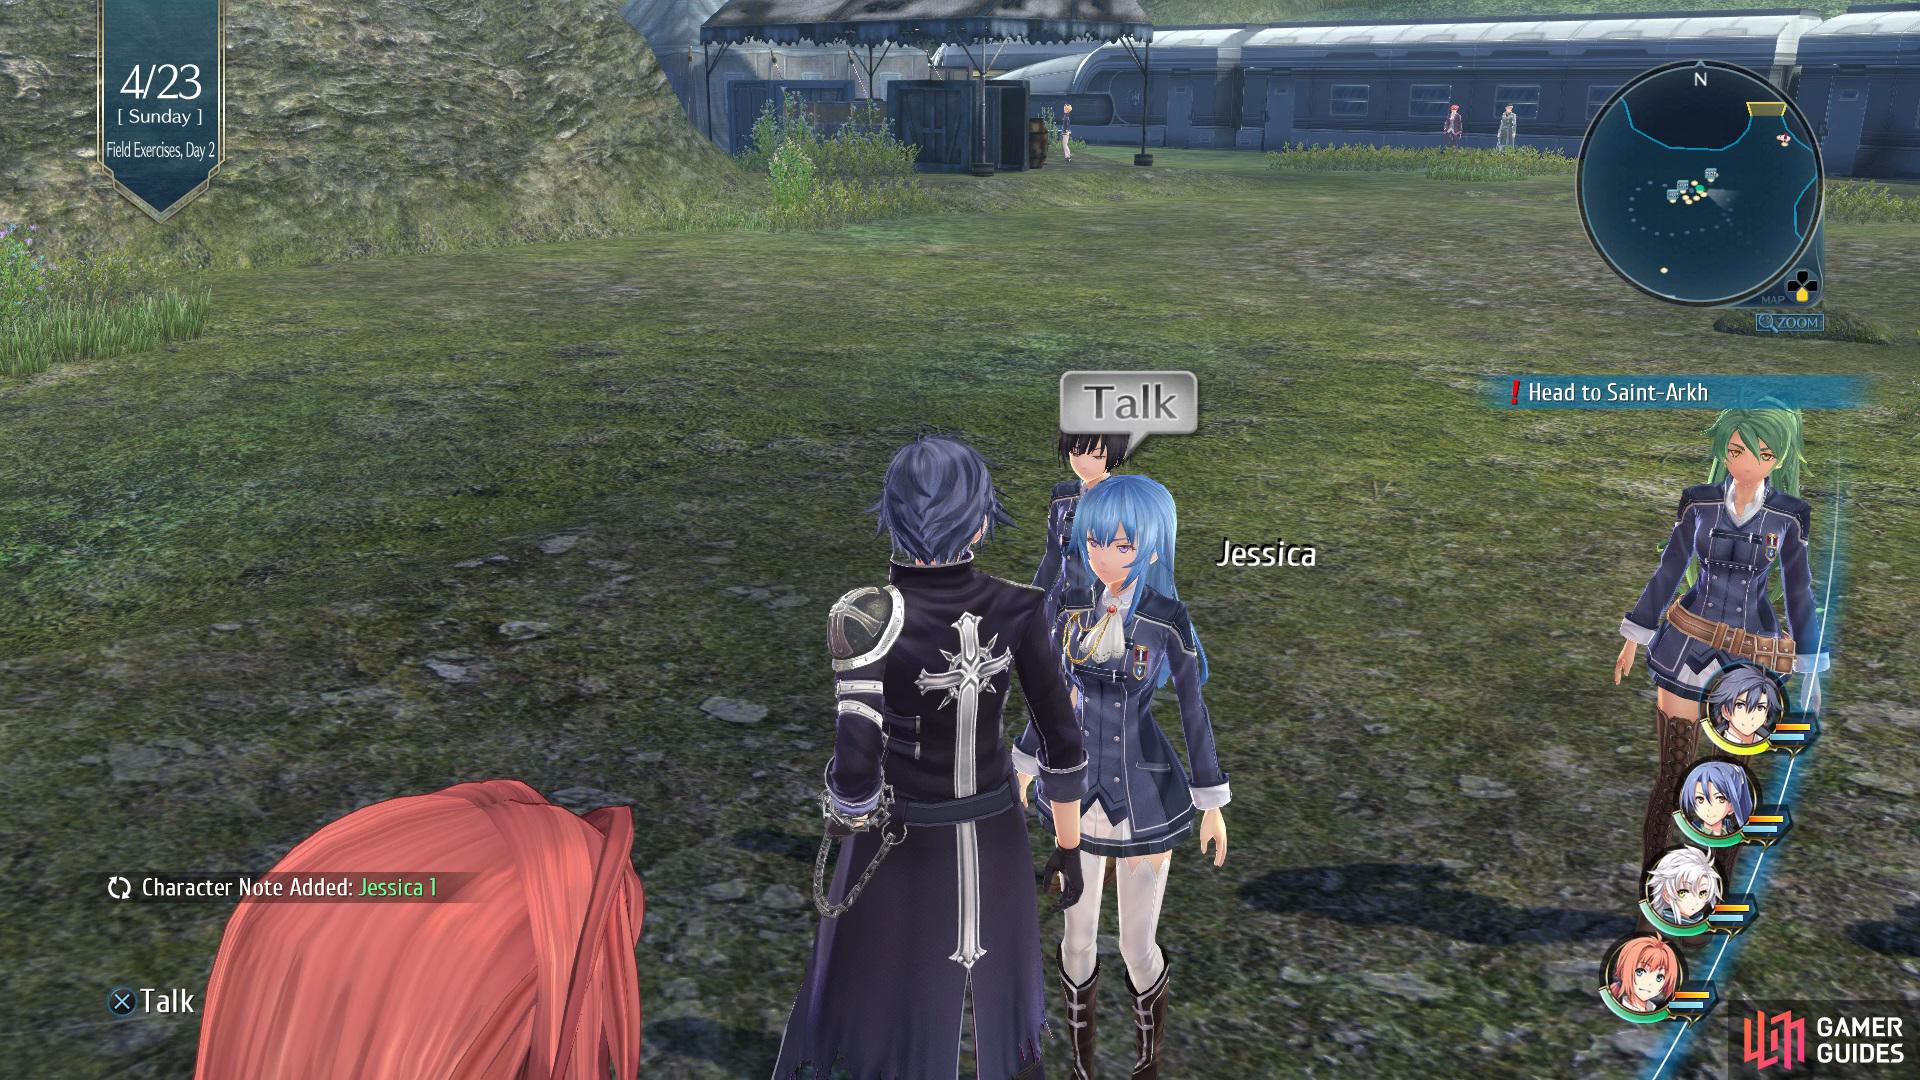
Speak with Tita or Mint to view a sub-event (left), then go and talk to Jessica for a Character Note. (right)
Go towards the exit and you’ll view a scene, after it has ended you’ll gain the ability to use Sub Master Quartz, this will allow you to use an already used Master Quartz on a second party member, but with a slight downgrade to it. You can choose any that you like the sound of, but you’ll want to consider using Regulus, Brigid, Sirius and Kaleido, as these offer a variety of benefits, such as Increased CP upon taking and dealing Damage (Regulus). After you’re done, exit the camp and head for Saint-Arkh. Once you’ve arrived you’ll view a cutscene and then you’ll be given two Side Quests, Isthmia Great Forest Monster which can be found in Isthmia Great Forest - Depths and North Sutherland Highway Monster which as expected, can be found in North Sutherland Highway’s second area.
Side Quest: Isthmia Great Forest Monster
Make use of Quick Travel and head to Isthmia Great Forest- Depths via the West Sutherland Highway option. This will drop you right outside where the monster is waiting so fight some regular enemies to increase your CP and BP before heading north to encounter the monster.


(1 of 2) Use a Battle Scope on the Grime Drome
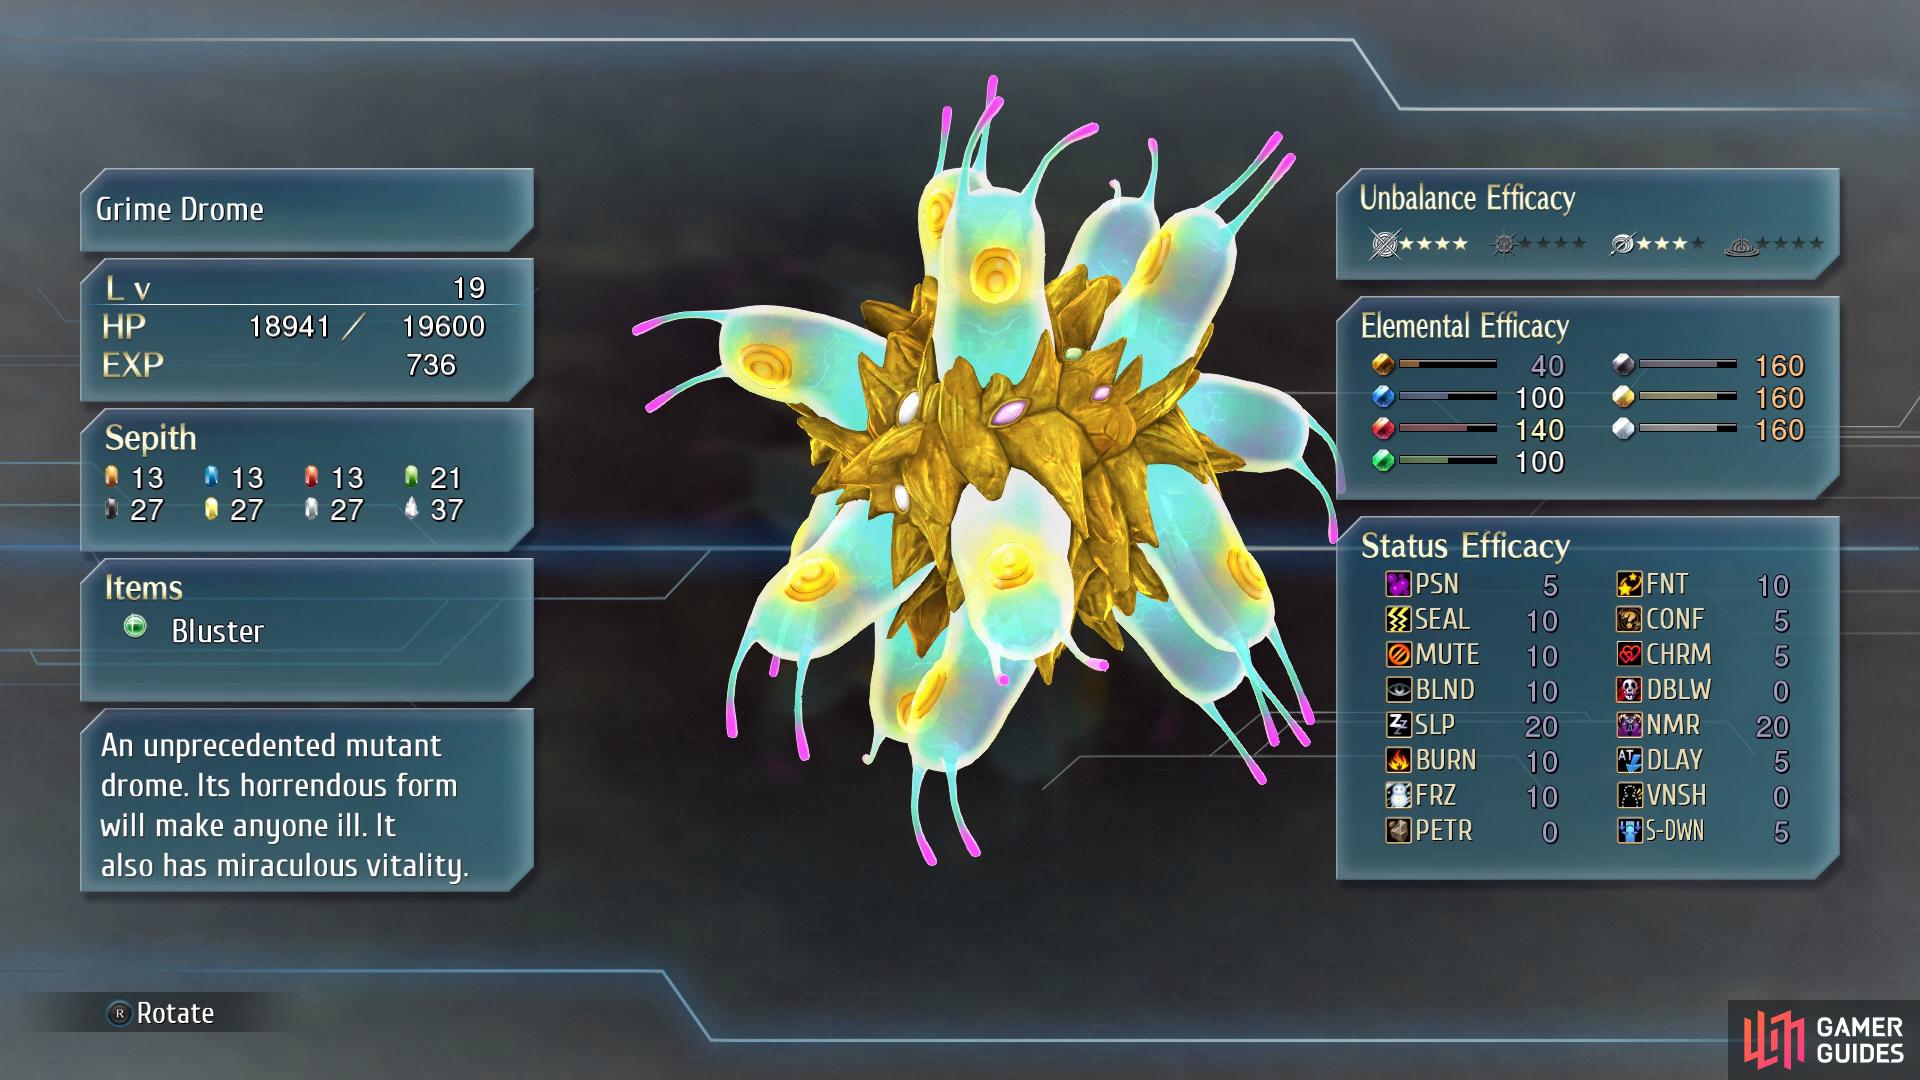
Use a Battle Scope on the Grime Drome (left), to view its stats. (right)
| Enemy | HP | Slash | Thrust | Pierce | Strike | Elemental Efficacy | Item Drop |
|---|---|---|---|---|---|---|---|
| Grime Drome | 19600 | ☆☆☆☆ | N/A | ☆☆☆ | N/A | E - 40, WA - 100, F - 140, WN - 100, TI - 160, SP - 160, MI - 160 | Bluster |
Once you’ve began the battle against Grime Drome you’ll want to take a look at your three new Brave Orders, Blue Ochestra, Valiant Hearts, and Zephyr Wing. For this battle you’ll want to keep Zephyr Wing active as it causes delay on the enemy as well as reducing recovery time and increasing Evasion for your party. Go to work on getting into the Break status whilst weaving in Laura’s Lion Rush Craft to lower his STR/DEF, and then use any available S-Crafts to finish him off. During this battle, if you find that you’re taking a lot of damage, Elliots’s Holy Song Craft will be able to heal everyone for 30% HP.
- Nightmare Strategy
You’ll have an entire different party together for this battle so you’ll want to make use of their talents. To begin with, take note of their Brave Orders, all of these are very effective, especially Fie’s Zephyr Wing Order that will allow you to delay the enemies attacks while granting the useful Insight status to all of your party members.
Should you find yourself taking too much damage, Elliot’s Blue Orchestra can reduce damage while topping up your HP and using this along with his Holy Song to keep HP up and status effects off. Make use of Laura’s Lion Rush and Radiant Spin to debuff the enemy and then use Fie’s Tri-Cyclone to attack the boss due to its high Break strength. As for the boss itself, it’s weak to Fire and all of the higher elements and it’s most deadly attacks will see you inflicted with Confusion if you’re not protected against it so be sure to cure immediately or the battle will go south quickly. As always, once the enemy is broken, make use of S-Crafts to put a huge dent into it’s HP.
Upon defeating the Grime Drome you’ll be rewarded with Dark Hair - Fie and Bluster, which gives STR+40 and doubles the duration of status affects when equipped.
Side Quest: North Sutherland Highway Monster
Go to North Sutherland Highway and make your way towards the North Sutherland Highway 2, unfortunately, you’ll be stopped in your track by a group of Danghorns. After you’ve taken them out head through the gate.
- Explore North Sutherland Highway 2


(1 of 2) Map 1/2
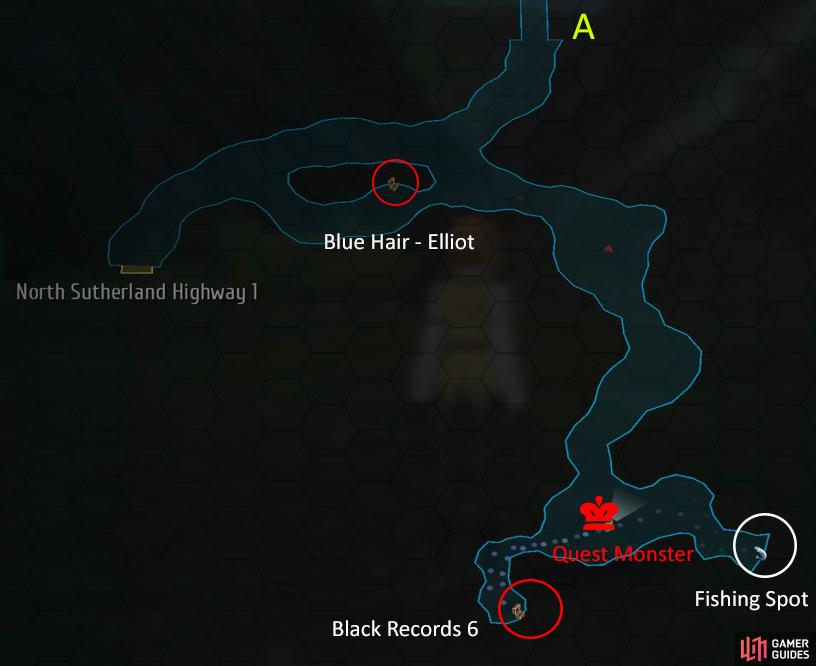
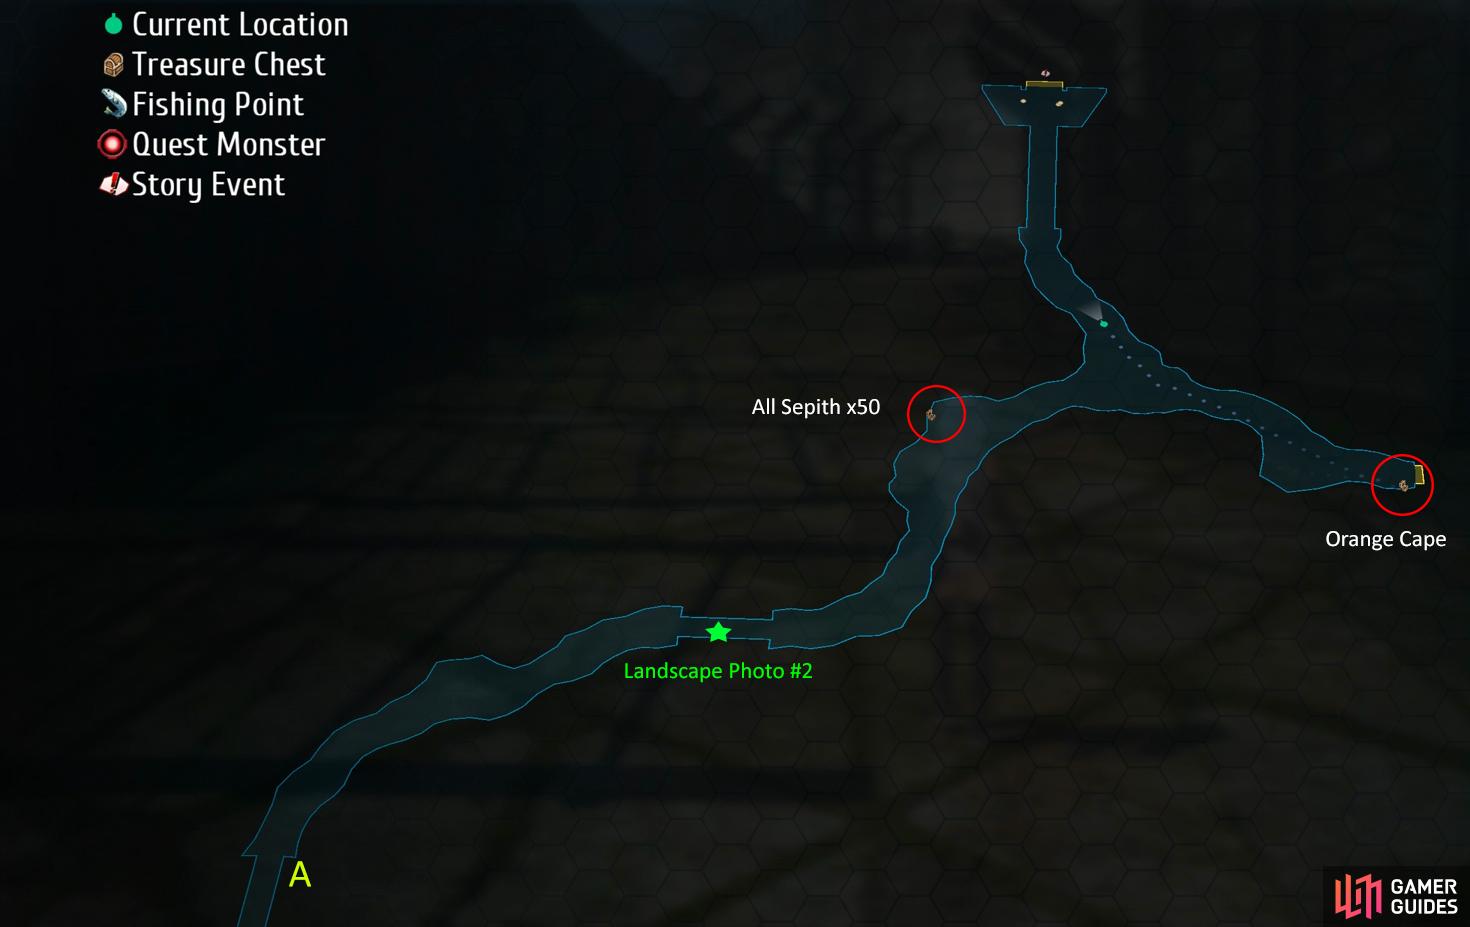
Map 1/2 (left), Map 2/2 (right)
| Enemy | HP | Slash | Thrust | Pierce | Strike | Elemental Efficacy | Item Drop |
|---|---|---|---|---|---|---|---|
| Attack Dog | 3021 | ☆☆ | ☆☆☆ | ☆☆ | ☆ | E - 100, WA - 180, F - 120, WN - 40 | Globby Fat, Beast Flesh |
| Mothro | 4735 | ☆☆ | ☆☆ | ☆☆☆☆ | N/A | E - 100, WA - 180, F - 120, WN - 80 | Hearty Powder, Fishing Bait |
| Rock Bison | 8327 | ☆☆ | ☆☆☆☆ | ☆ | ☆☆☆ | E - 120, WA - 40, F - 120, WN - 180 | Beast Flesh, Chitinous Shell |
Walk up the path until you see a path leading off to the right, go down it to locate a Chest that contains Blue Hair - Elliot, continue further along the right path and you’ll bump into Queen Kumanba.
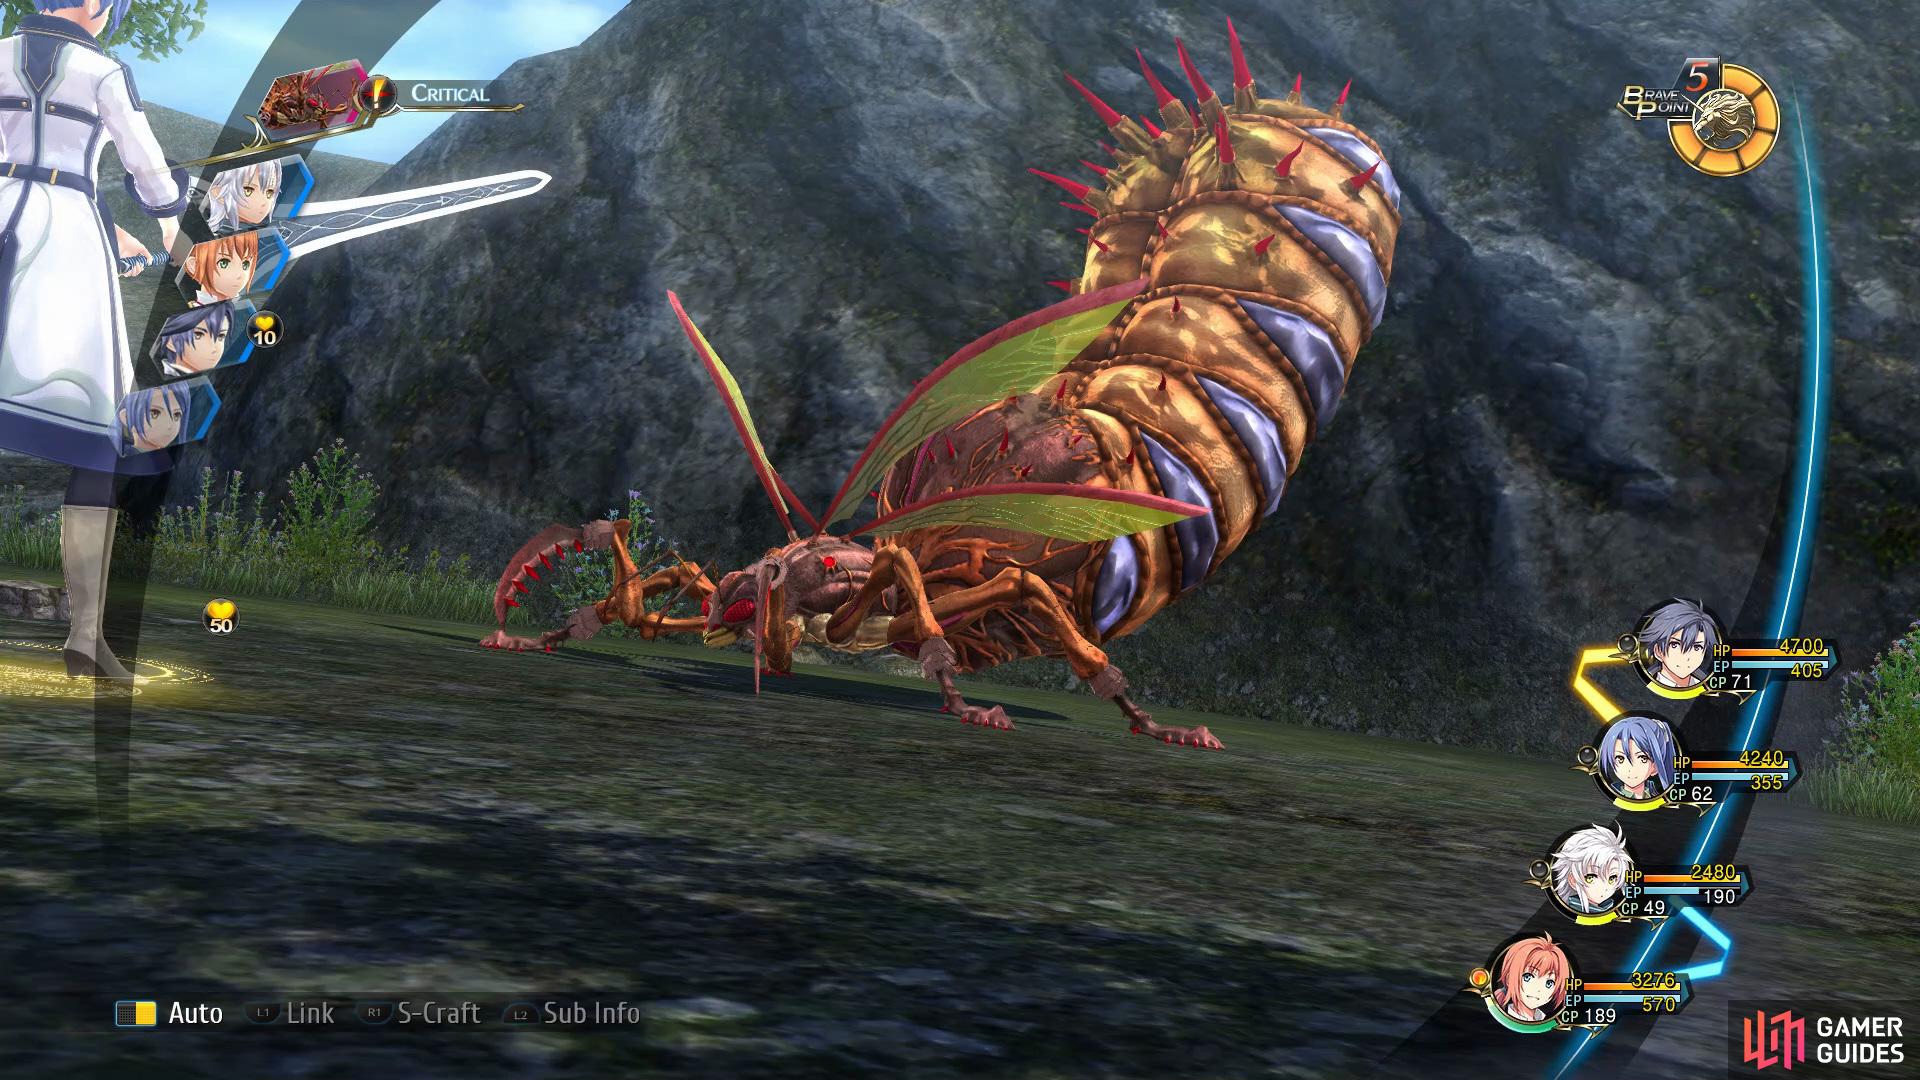
| Enemy | HP | Slash | Thrust | Pierce | Strike | Elemental Efficacy | Item Drop |
|---|---|---|---|---|---|---|---|
| Queen Kumanba | 25327 | ☆☆ | ☆ | ☆ | ☆☆ | E - 80, WA - 120, F - 140, WN - 160 | Earth Bell |
Before beginning to attack this enemy you’ll want to pop on Zephyr Wing to give you a slight advantage with the extra turns, work on breaking her whilst using any Crafts that put on any debuffs to give you an easier time. Eventually she’ll become enhanced, in order to deal with this you’ll want to try and quickly break her again or try to spread your party out whilst making sure they’re fully healed.
Queen Kumanba also has two deadly attacks, Fatal Stab and Shock Quake. Luckily Fatal Stab can be countered by using a skill that has Impede, but Shock Quake cannot, so you’ll either need to use a Reviving Balm if someone dies or Elliot’s Remedy Fantasia S-craft which will fully restore everyones HP.
- Nightmare Strategy
Queen Kumanba is a far more deadlier encounter than the previous one as you’ll be contending with skills that can instantly kill you. Keep an eye on if Queen Kumanba is charging at all times and be sure to Impede as soon as this does, this will prevent her from using Fatal Stab, an attack that will instantly kill the target. Even more concerning is the attacks it performs when enhanced so really try to deal out as much damage as possible when it’s broken.
Fie’s Zephyr Wing works well again here and you can make use of Laura’s Valiant Hearts order when it’s broken to help you push you further to killing it. You’ll most likely find yourself in the situation of reviving your party members often in this battle so be sure to keep plenty of Reviving Balms on hand.
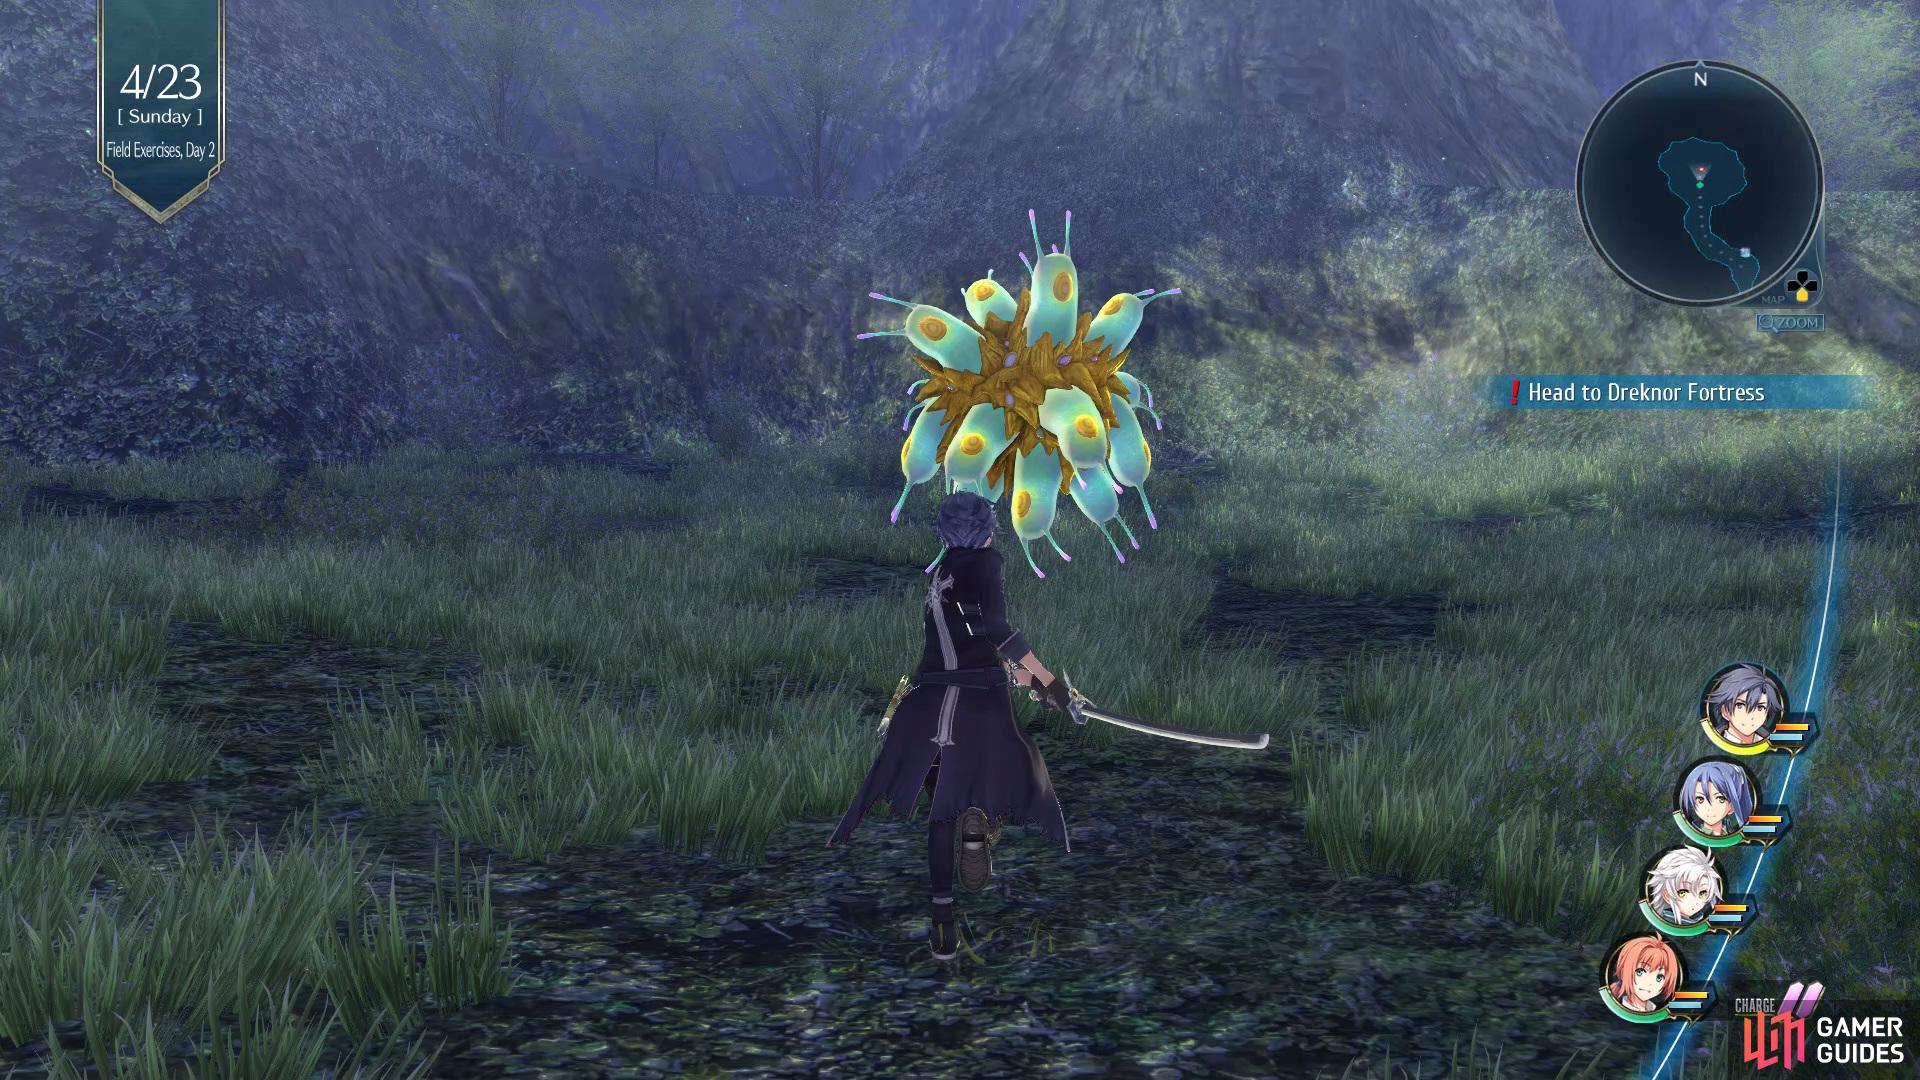
Head to Dreknor Fortress
Upon defeating Queen Kumanba, head down the path on the right to find a Chest that contains Black Records 6, send it over to Rosine and then go back to the main path. Make your way to the second bridge and then take the second Landscape Photo and send it off to Vivi, now continue along the path but keep to the left side to find another Chest that contains All Sepith x50. Eventually you’ll reach a left turn, but continue on down to find the final Chest of this area that contains an Orange Cape, this prevents Faint and increases STR+15.


(1 of 4) Go down the path on the right after you’ve defeated Queen Kumanba to find a Chest that contains the Black Records 6
Take the other path to speak with Olaf in the Draknor Fortress, then go to Saint-Arkh - Cathedral Square for another event, now return to the EX Camp to fill in everyone on the recent discoveries before heading off to Parm.
Side Quest: Lost Wallet


(1 of 2) Head into the Chapel to acquire the Heartless Edgar - Chapter 3
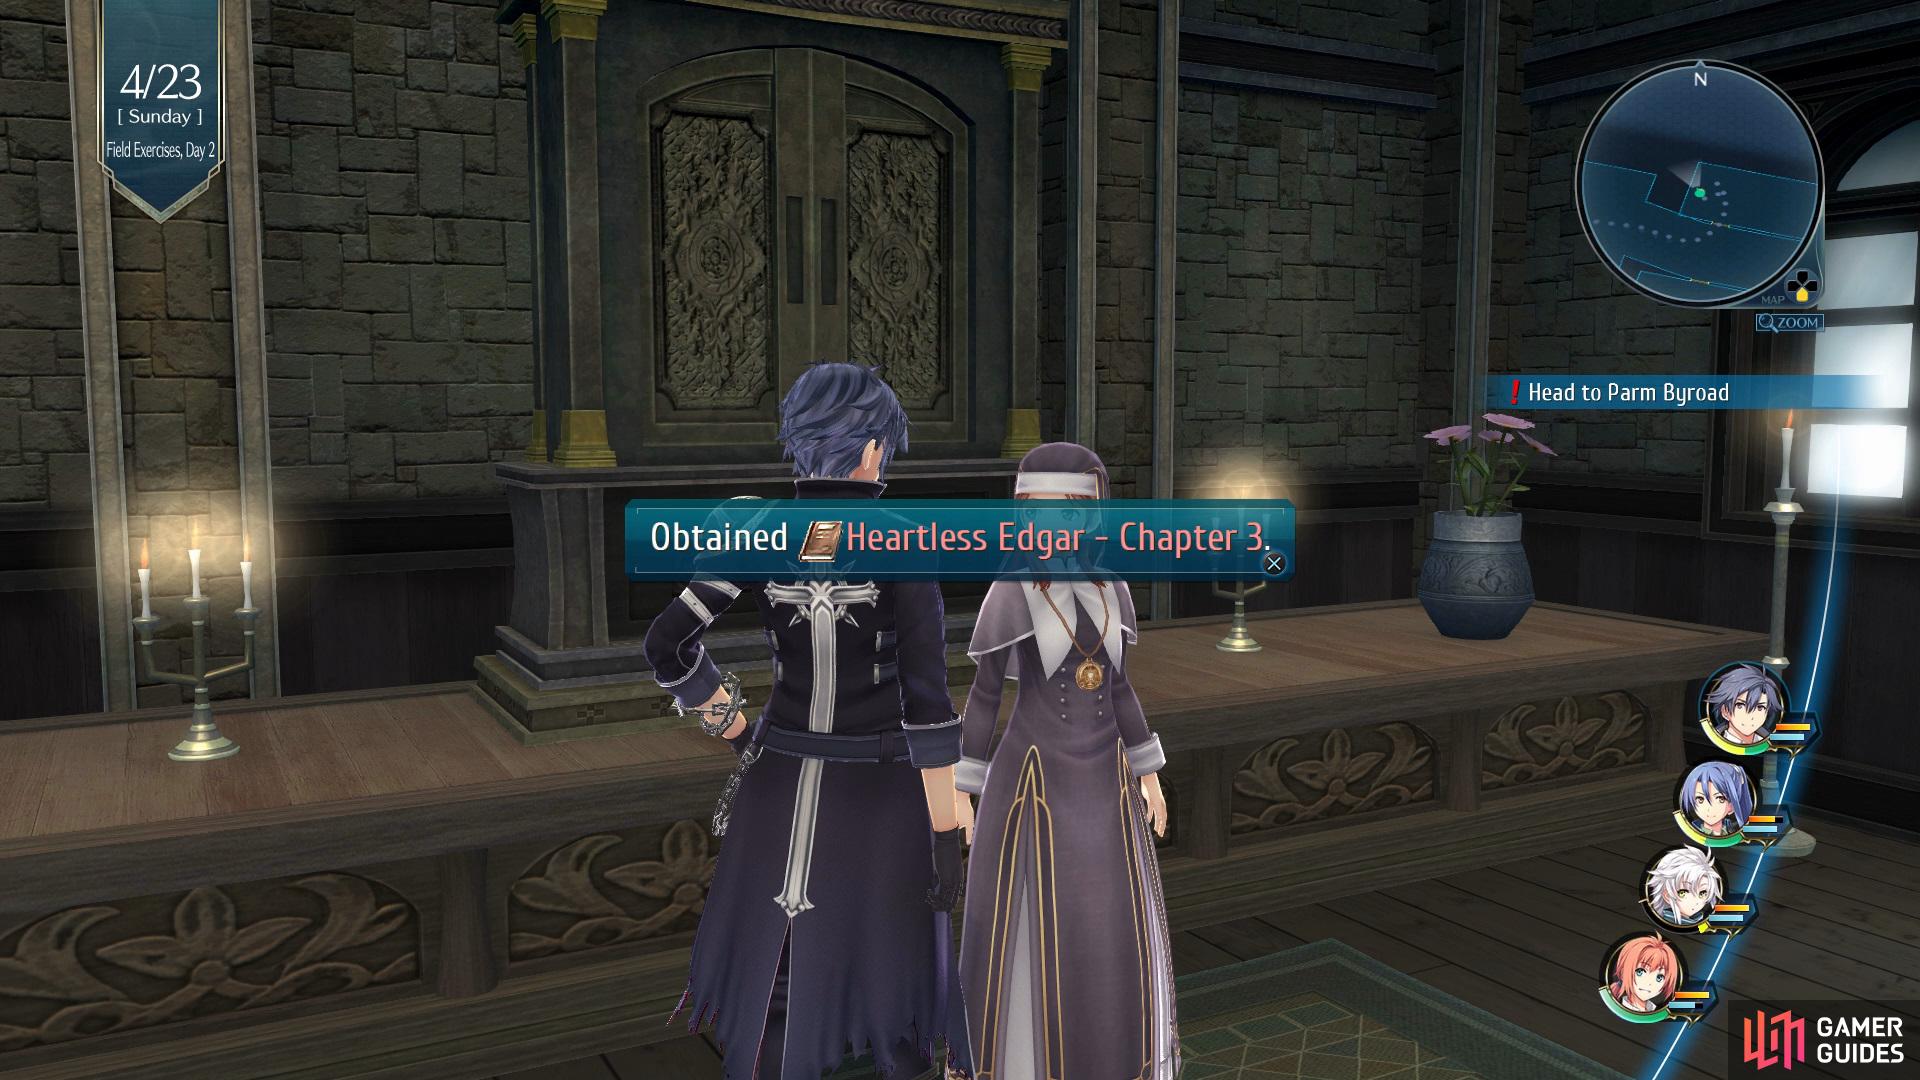
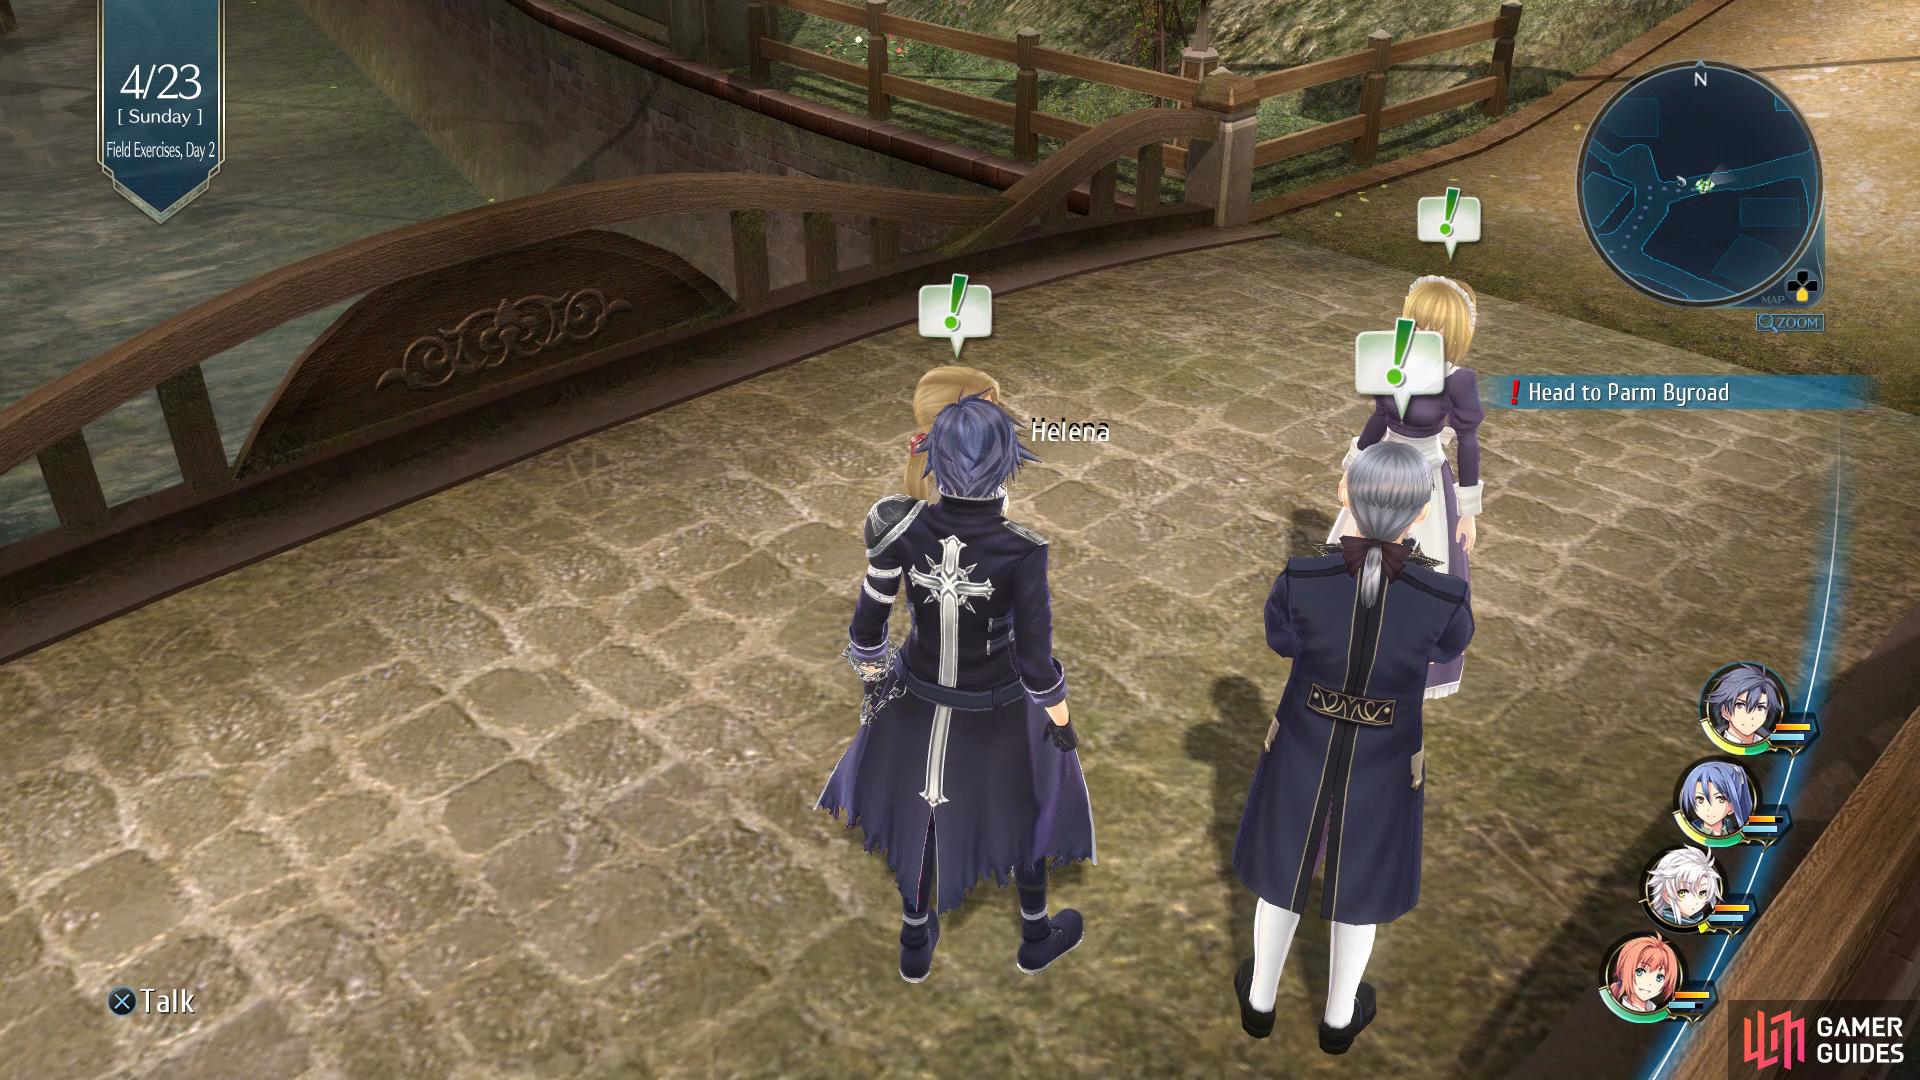
Head into the Chapel to acquire the Heartless Edgar - Chapter 3 (left), then speak with the family on the bridge to begin the Lost Wallet Side Quest. (right)
Once you arrive you’ll want to quickly drop into the Chapel to speak with Simone to acquire the Heartless Edgar - Chapter 3 Book, then speak with Helena on the bridge to accept the Lost Wallet Side Quest. Head to Old Agria Road and go back up to the north part to find the Wallet on the floor, now return to Parm and give back the Wallet to complete this Side Quest. You’ll be rewarded with a Yellow Pendulum, which prevents Seal/Mute/Stat down. Make your way over to the Parm Byroad and go to the Southwest exit, after a cutscene you’ll now have Agate in your party.
Explore Hamel Road
- Hamel Road 1
- Hamel Road 2
| Enemy | HP | Slash | Thrust | Pierce | Strike | Elemental Efficacy | Item Drop |
|---|---|---|---|---|---|---|---|
| Rainbow Mosquito | 2074 | ☆☆☆ | ☆ | ☆☆☆☆ | ☆ | E - 60, WA - 120, F - 180, WN - 100 | Hearty Powder, Fishing Bait |
| Crimowl | 3181 | ☆☆ | ☆☆ | ☆☆☆ | ☆ | E - 100, WA - 80, F - 160, WN - 120 | Globby Fat, U-Material |
| Spark Herb | 3349 | ☆☆☆☆ | N/A | ☆ | ☆ | E - 120, WA - 140, F - 80, WN - 120 | Hearty Powder, Plant Bits |
| Feeler Blob | 5267 | ☆☆☆☆ | N/A | ☆☆ | N/A | E - 180, WA - 120, F - 100, WN - 80 | Globby Fat, Clear Gelatin |
| King Snail | 5538 | ☆☆☆ | N/A | ☆☆ | ☆☆☆☆ | E - 140, WA - 100, F - 80, WN - 160 | Chitinous Shell, Clear Gelatin |
| Sneak Gunner G | 3352 | ☆☆ | ☆ | ☆☆☆ | ☆☆☆ | E - 80, WA - 100, F - 160, WN - 120 | Tear Balm, U-Material |
| Sneak Gunner R | 3362 | ☆☆ | ☆ | ☆☆☆☆ | ☆☆☆ | E - 120, WA - 80, F - 100, WN - 160 | Reviving Balm, U-Material |
| Sneak Gunner M | 3346 | ☆☆☆ | ☆ | ☆☆ | ☆☆☆☆ | E - 160, WA - 120, F - 80, WN - 100 | Curia Balm, U-Material |
| Hamel Kong | 15324 | ☆☆ | ☆☆☆ | N/A | ☆☆ | E - 80, WA - 120, F - 100, WN - 160 | Forte, Attack 1 |
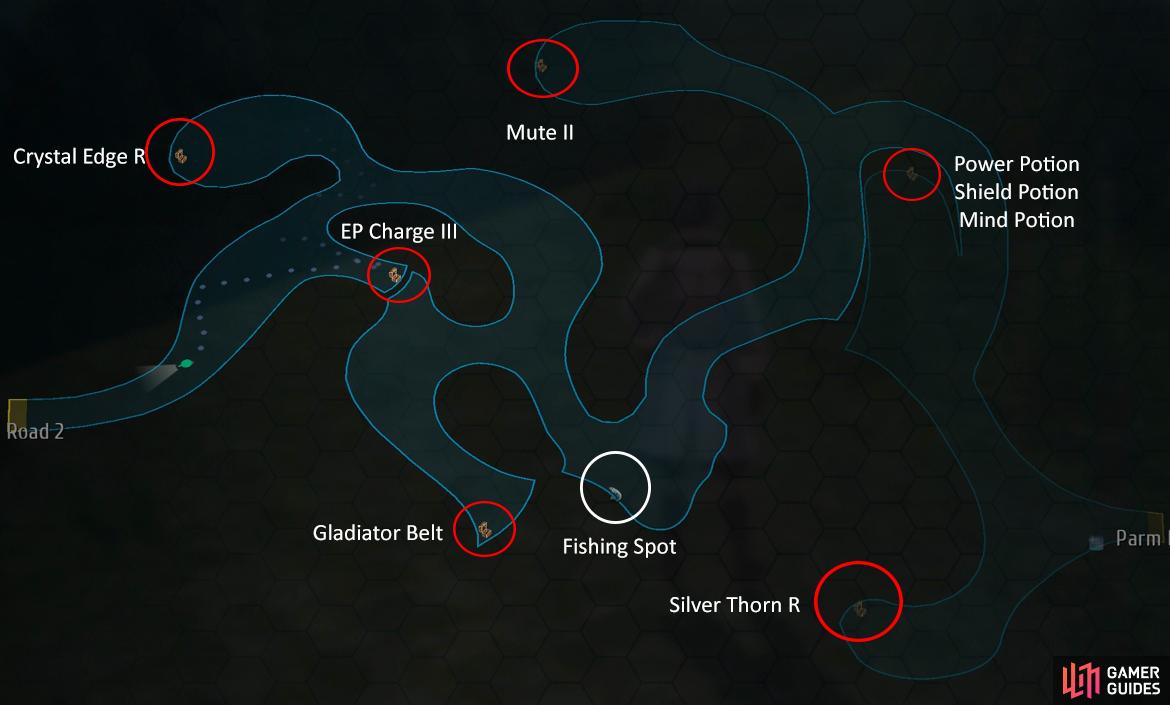
Make use of the Orbment Charging Station and then go down the left path to find a Chest that contains Silver Thorn R, which will give you an Art that can cause Confuse. Follow the path around to the right and you’ll find another Chest that contains Power, Shield and Mind Potions. Continue up the hill and head right to find the third Chest that is holding the Mute II, this will give your Attacks/Crafts the ability to mute enemies while raising STR+15.


(1 of 2) Follow the path around to the right to find a Chest with a bunch of potions inside
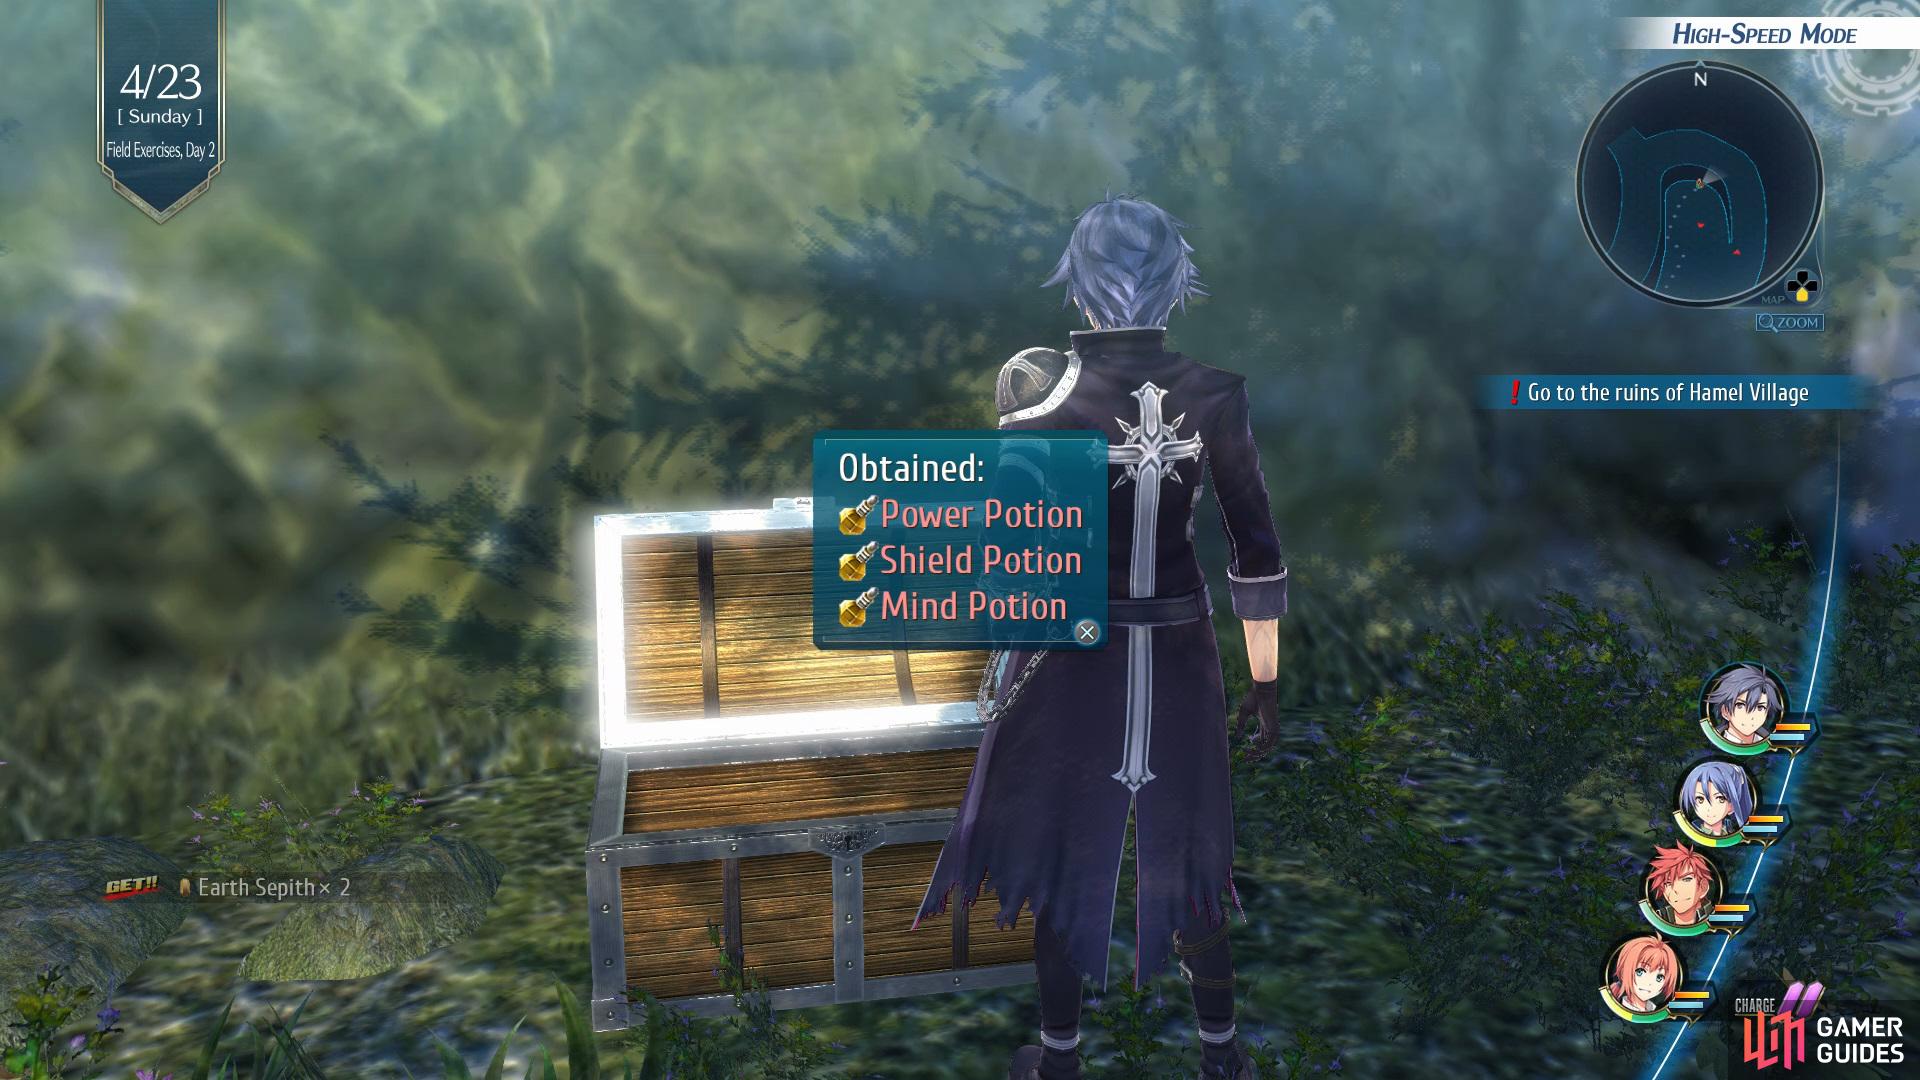
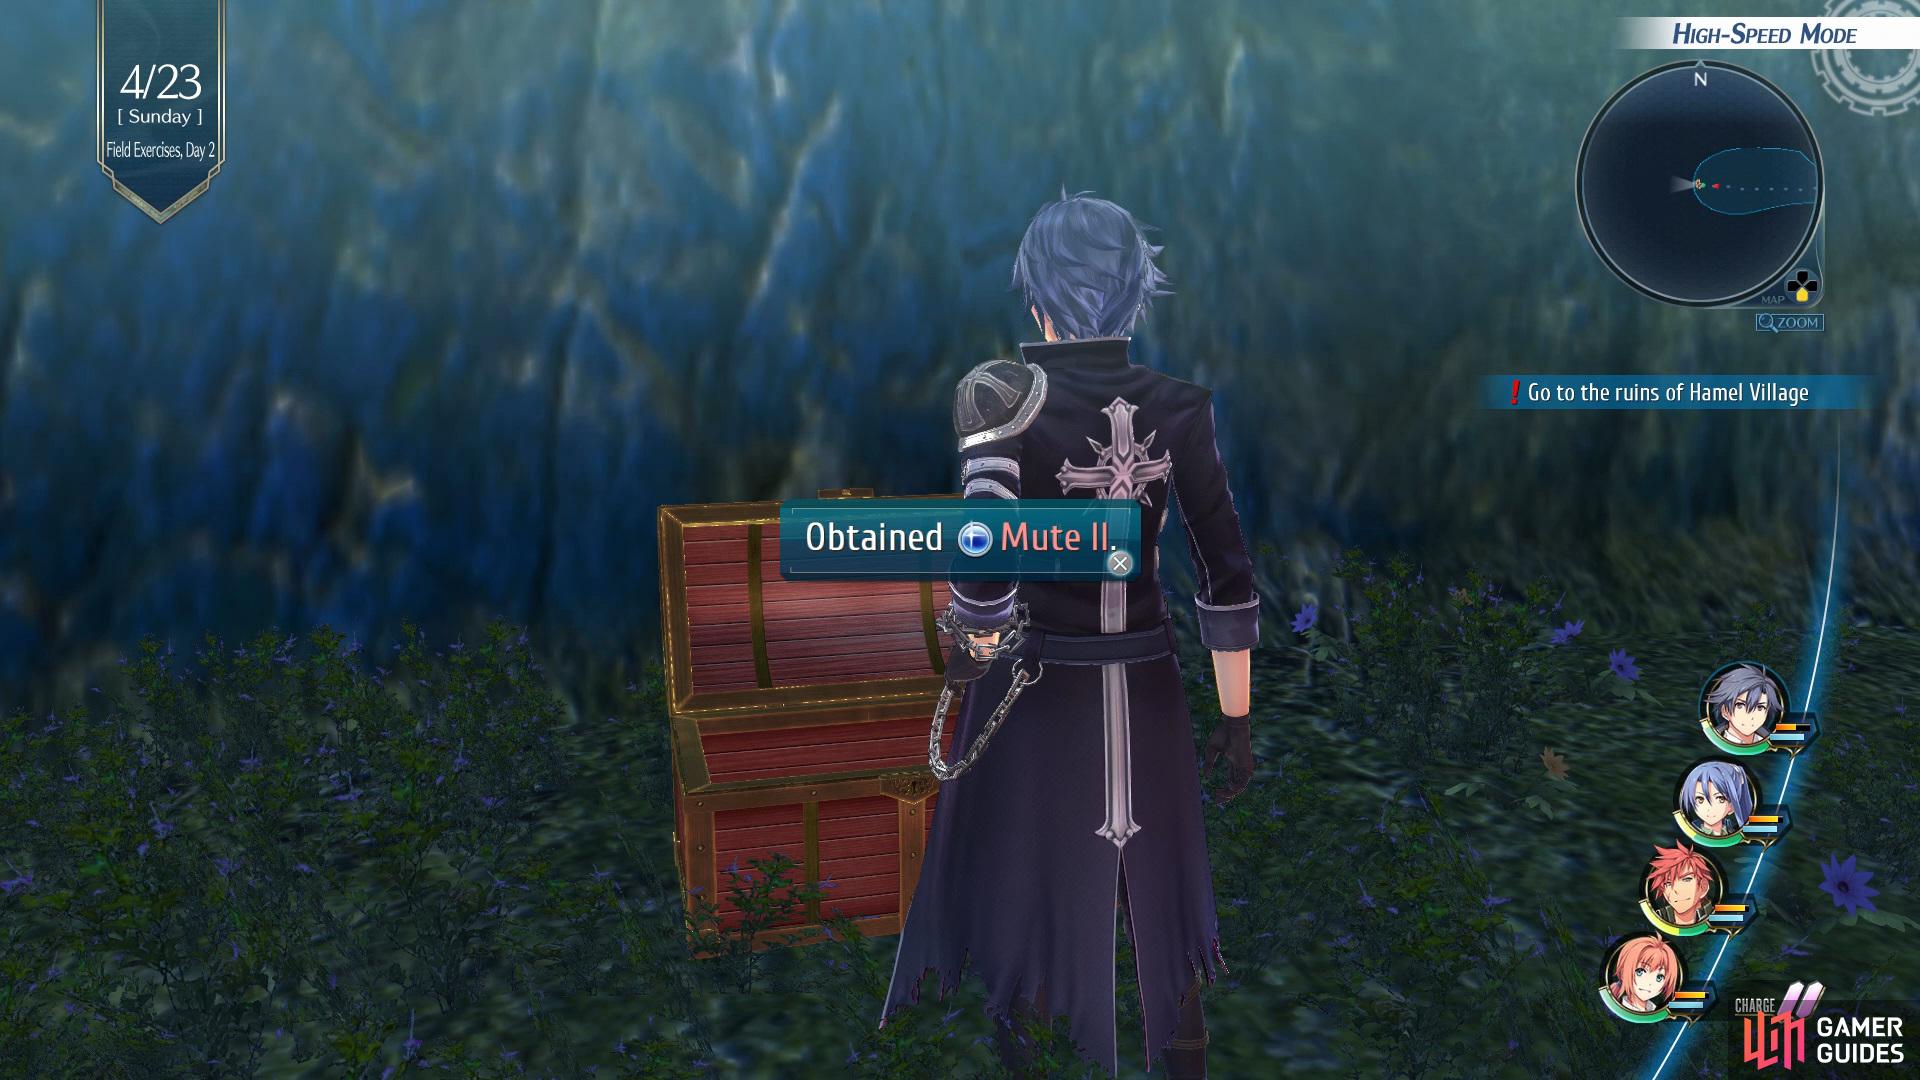
Follow the path around to the right to find a Chest with a bunch of potions inside (left), then continue further along to find another Chest with the Mute II in it. (right)
Continue following the path and go past the fishing spot, go left twice and you’ll find a Chest that contains the Gladiator Belt, this will increase CP in battle and should given to Rean as soon as possible, now proceed further along the path and you’ll be able to go right to open a chest for a Crystal Edge R and then go left for the final Chest that contains an EP Charge III.


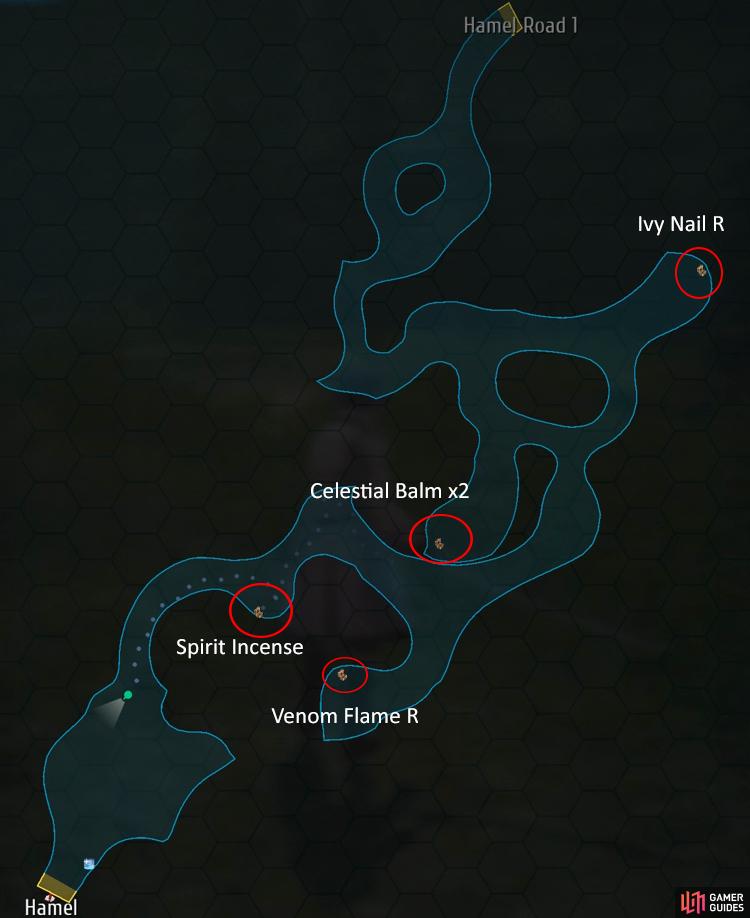
(1 of 2) Follow the path around to the left to find a Chest with the Ivy Nail R
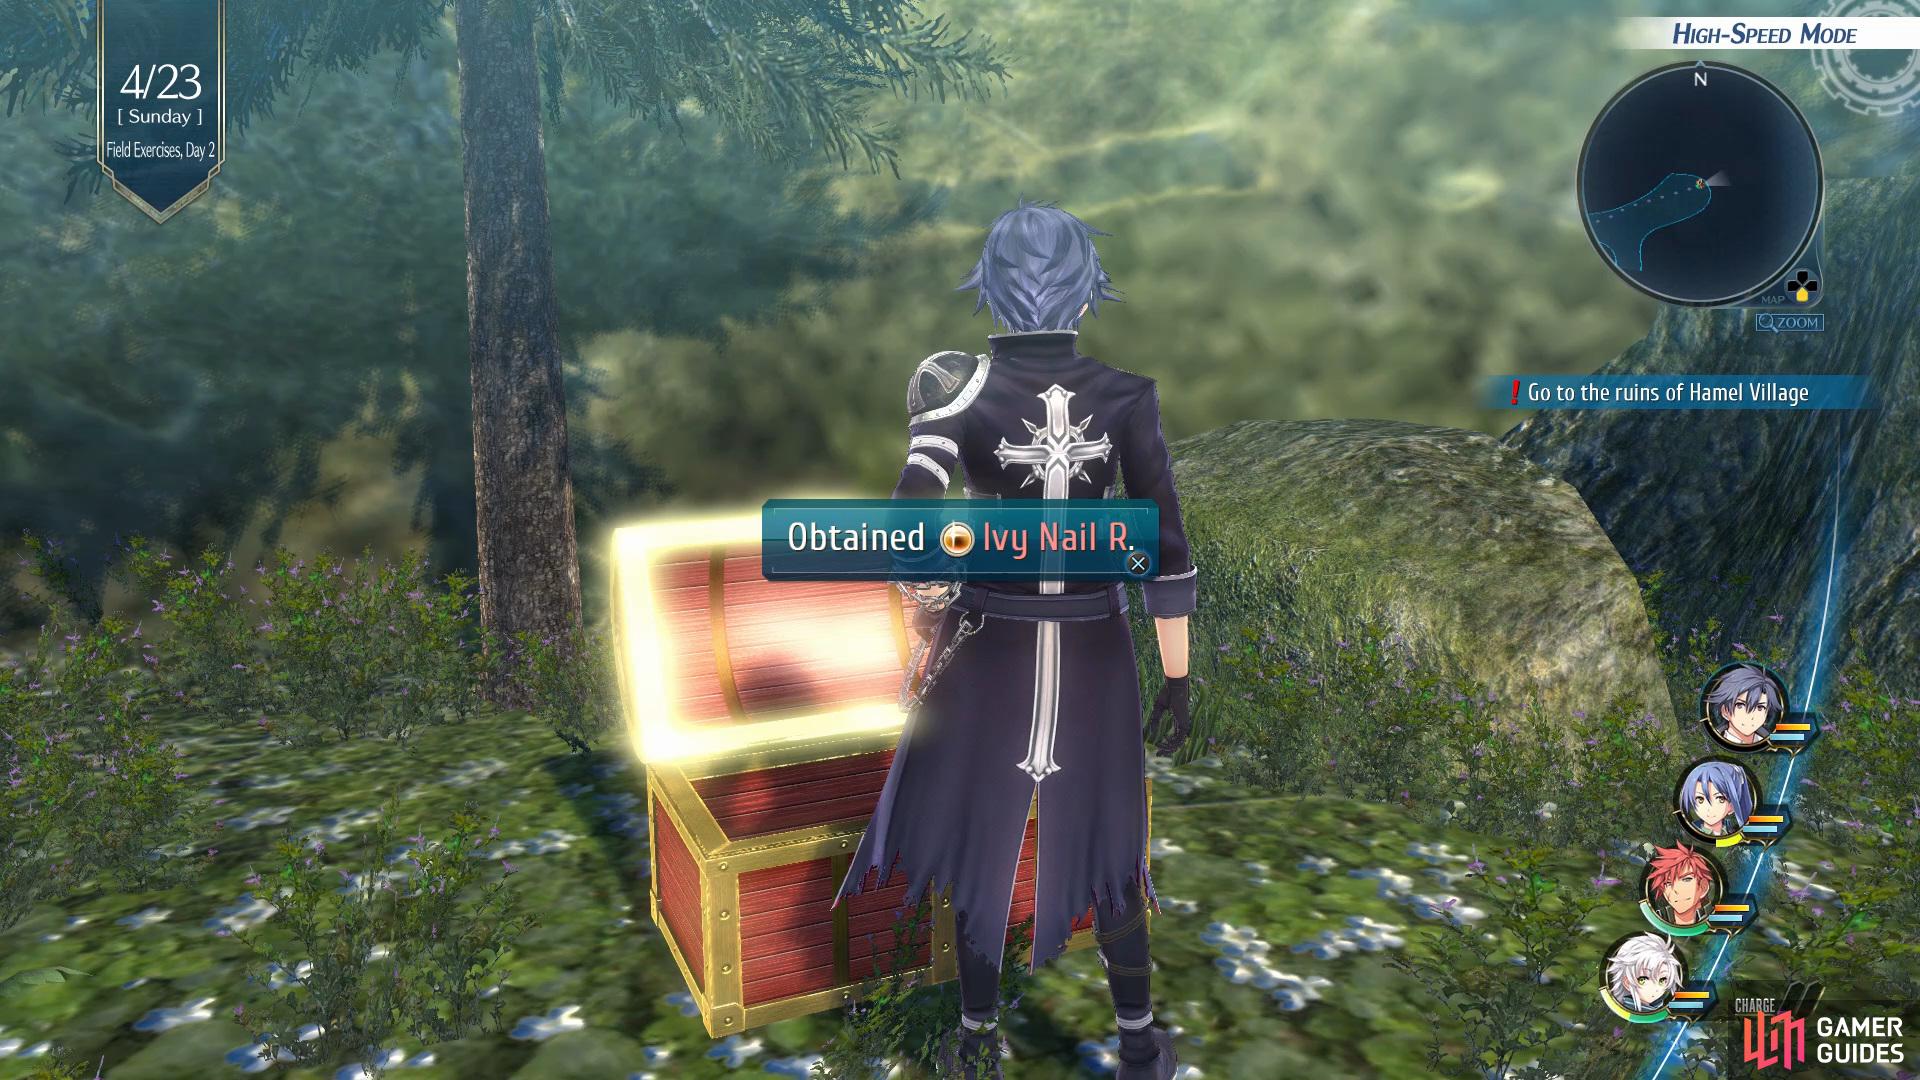
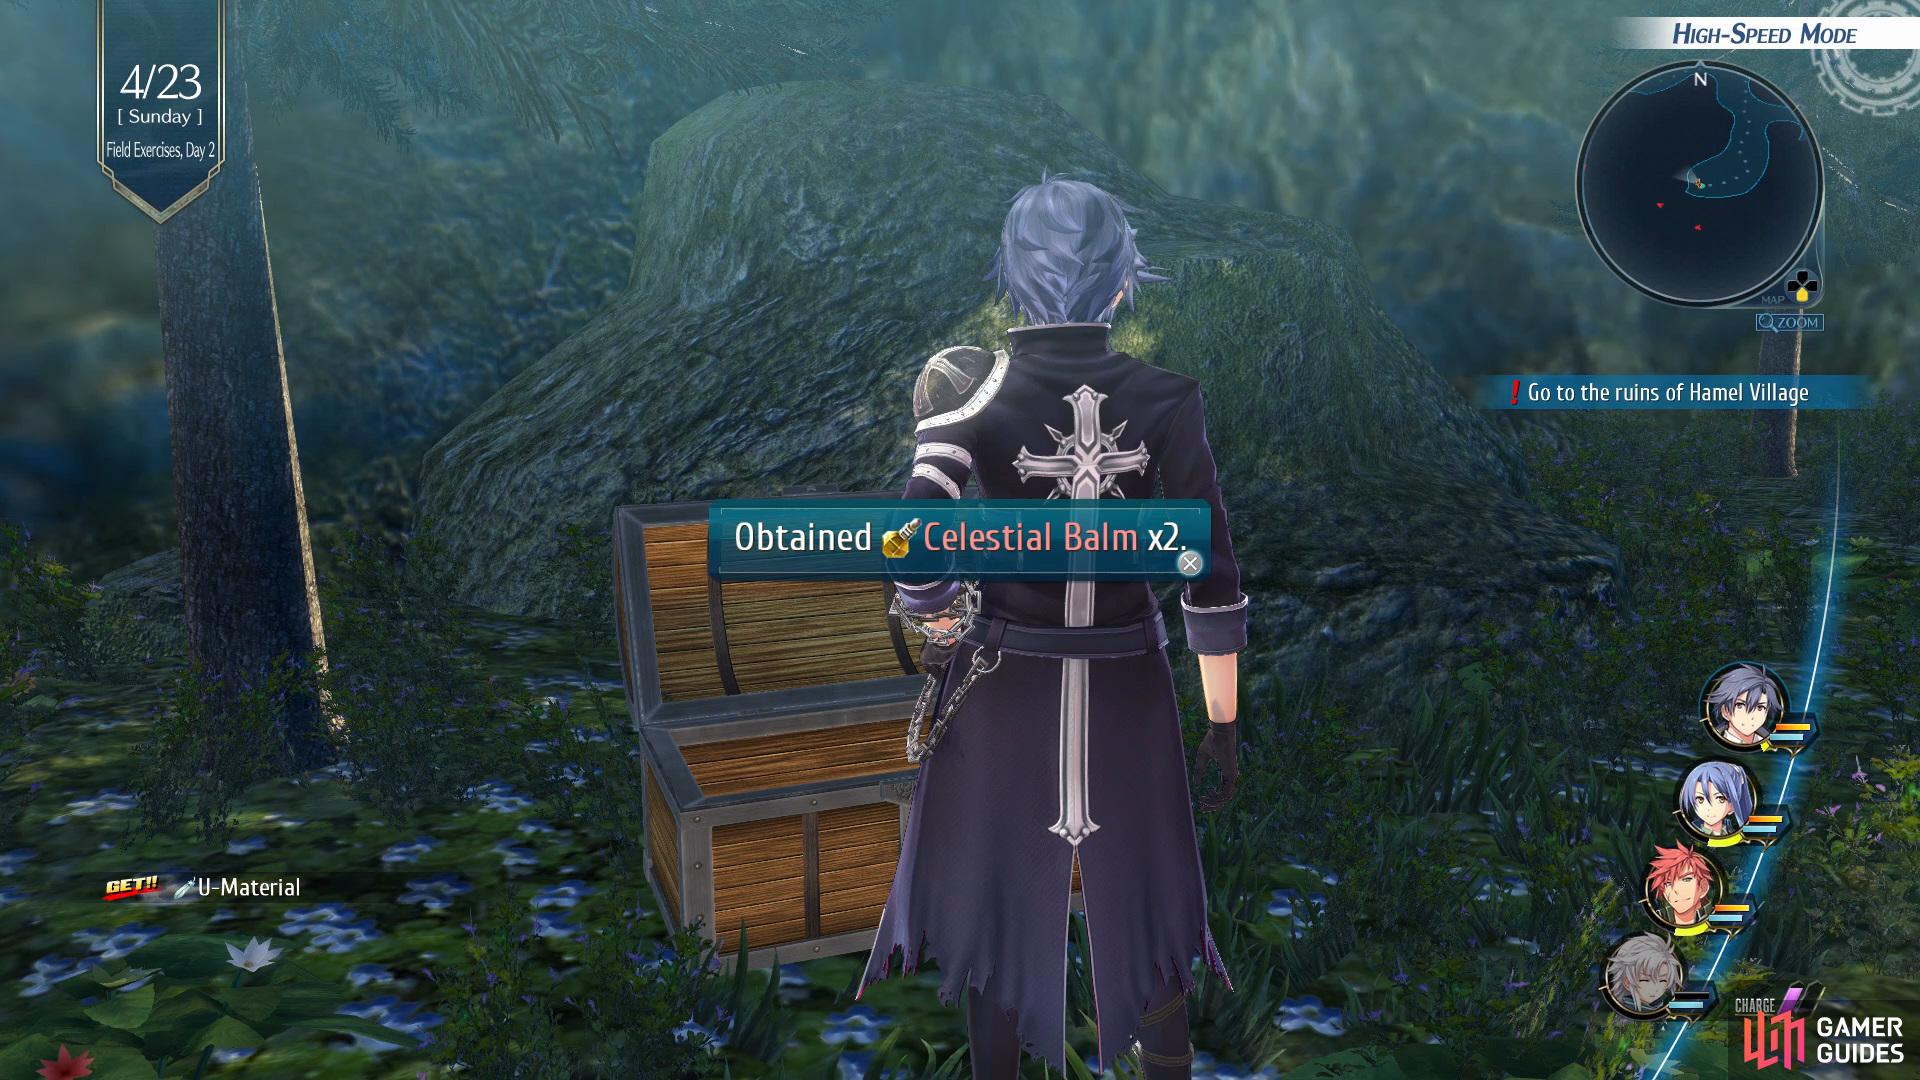
Follow the path around to the left to find a Chest with the Ivy Nail R (left), then go all the way around to the right to find the second Chest with some Celestial Balm inside. (right)
Go into Hamel Road 2 and follow the path along to the left to find the first Chest of this area that contains an Ivy Nail R, this gives you a 50% chance to put Poison or Petrify on enemies with an attack. Make your way along the main path, but go right instead of straight to find a sneaky path that has a Chest with Celestial Balm x2, now follow the main path until you reach another Chest that contains Venom Flame R which gives a 25% chance to cause Poison or Burn with an attack. Finally, make your way towards Hamel Village and you’ll find the final Chest in this area which contains a Spirit Incense.
- Search Hamel
Once you’ve arrived, you’ll need to look at all the items on the floor to get a closer look at the history of the place, head to the end of the area and you’ll bump into Duvalie the Swift and Shirley the Sanguine Ogre.
Boss: Duvalie the Swift and Shirley the Sanguine Ogre

| Enemy | HP | Slash | Thrust | Pierce | Strike | Elemental Efficacy | Item Drop |
|---|---|---|---|---|---|---|---|
| Duvalie the Swift | 29180 | ☆☆ | ☆☆ | ☆☆ | ☆☆ | E - 100, WA - 100, F - 100, WN - 100 | N/A |
| Shirley the Sanguine Ogre | 29340 | ☆☆ | ☆☆ | ☆☆ | ☆☆ | E - 100, WA - 100, F - 100, WN - 100 | N/A |
| Crimson Cougar | 9655 | ☆☆ | ☆☆☆ | ☆ | ☆ | E - 100, WA - 160, F - 120, WN - 80 | Beast Flesh, U-Material |
| Sleipnir F2 | 15312 | ☆☆ | ☆ | ☆☆ | ☆☆☆ | E - 100, WA - 160, F - 120, WN - 80 | Seal, Sword Breaker |
Before you begin your battle against these two and their companions you’ll want to make sure you scan them all, dont worry if you die though as when you click Retry they’ll all be scanned still. Activate Agate’s Brave Order, Crimson Break to increase the break chance up to 250% and then use any S-Craft to outright kill most of the companions or at the very least make them one shot. Whilst all the enemies are still in the break status you’ll want to use normal attacks until you have around 3 BP and then activate the Crimson Break Brave Order again and use another S-Craft to take them out.


(1 of 2) Quickly put Shirley into the break status when she activates Ogre Cry to counter it
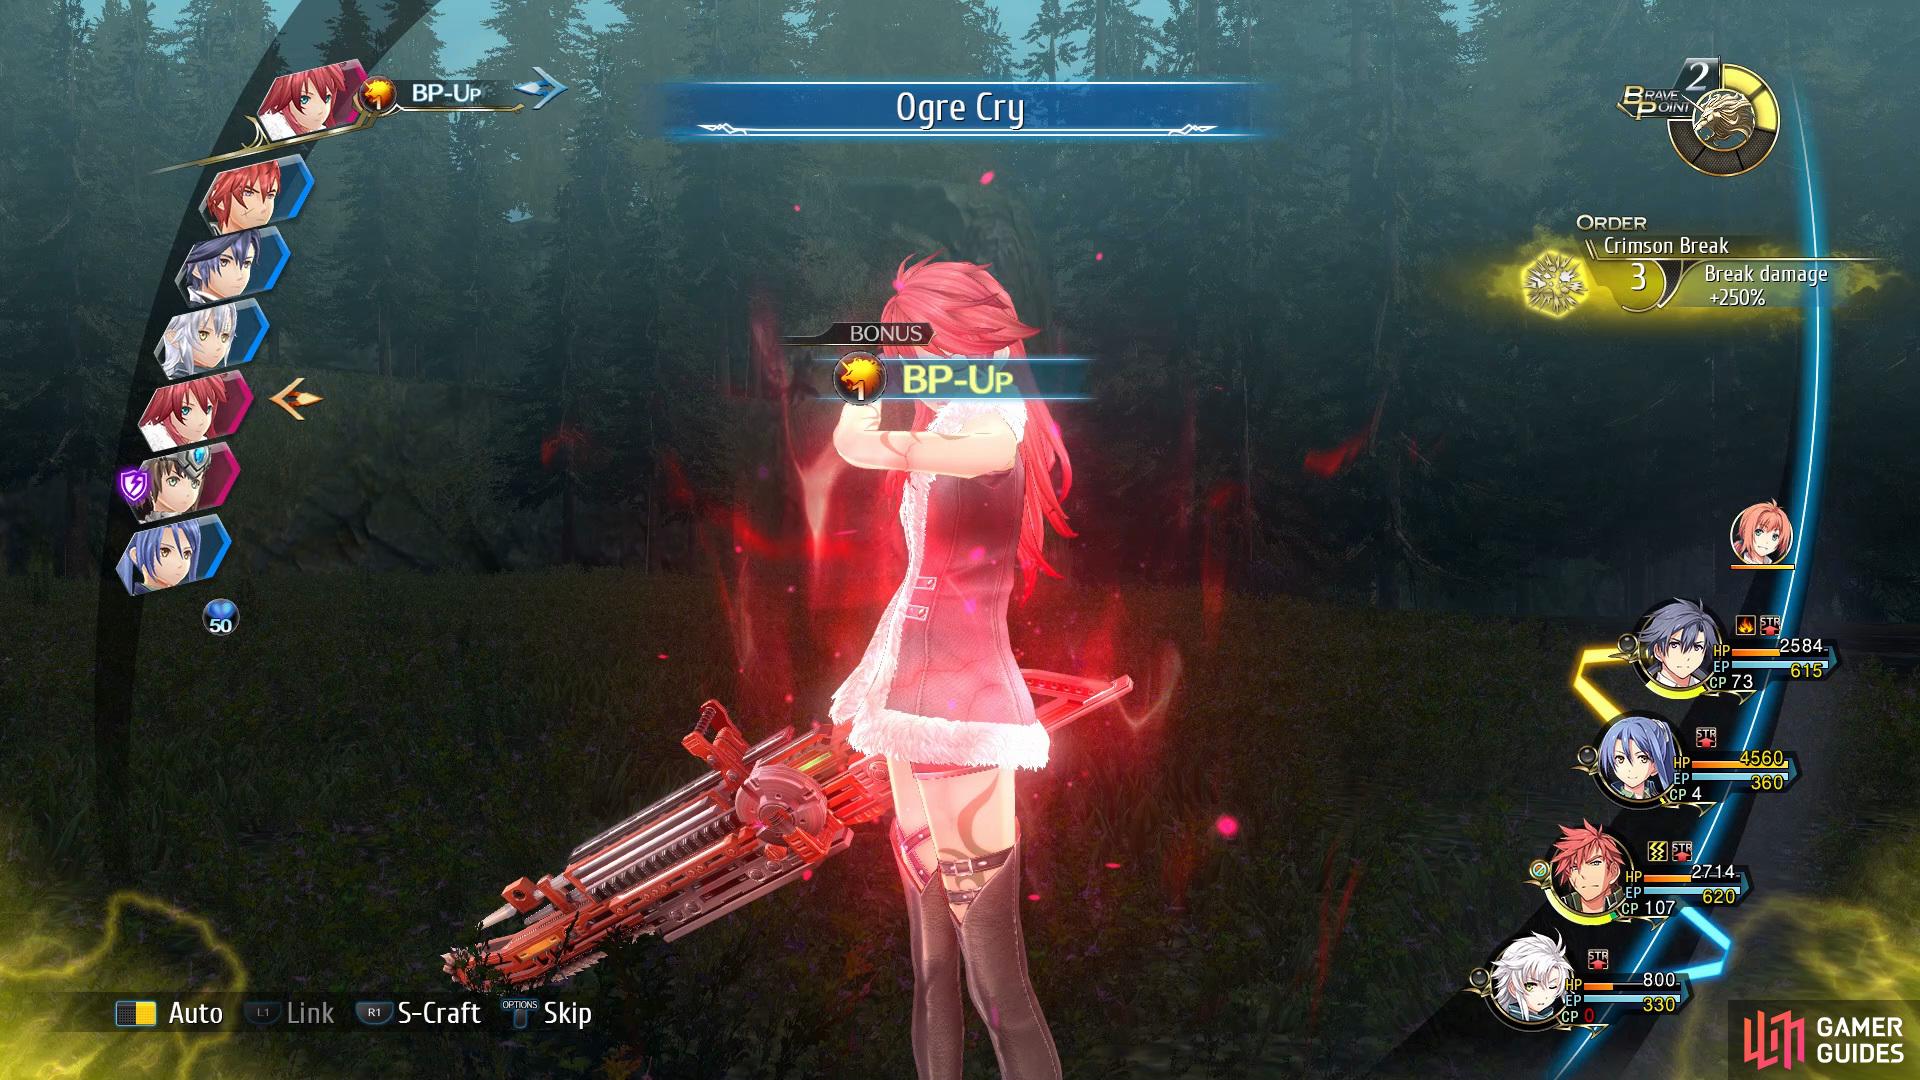
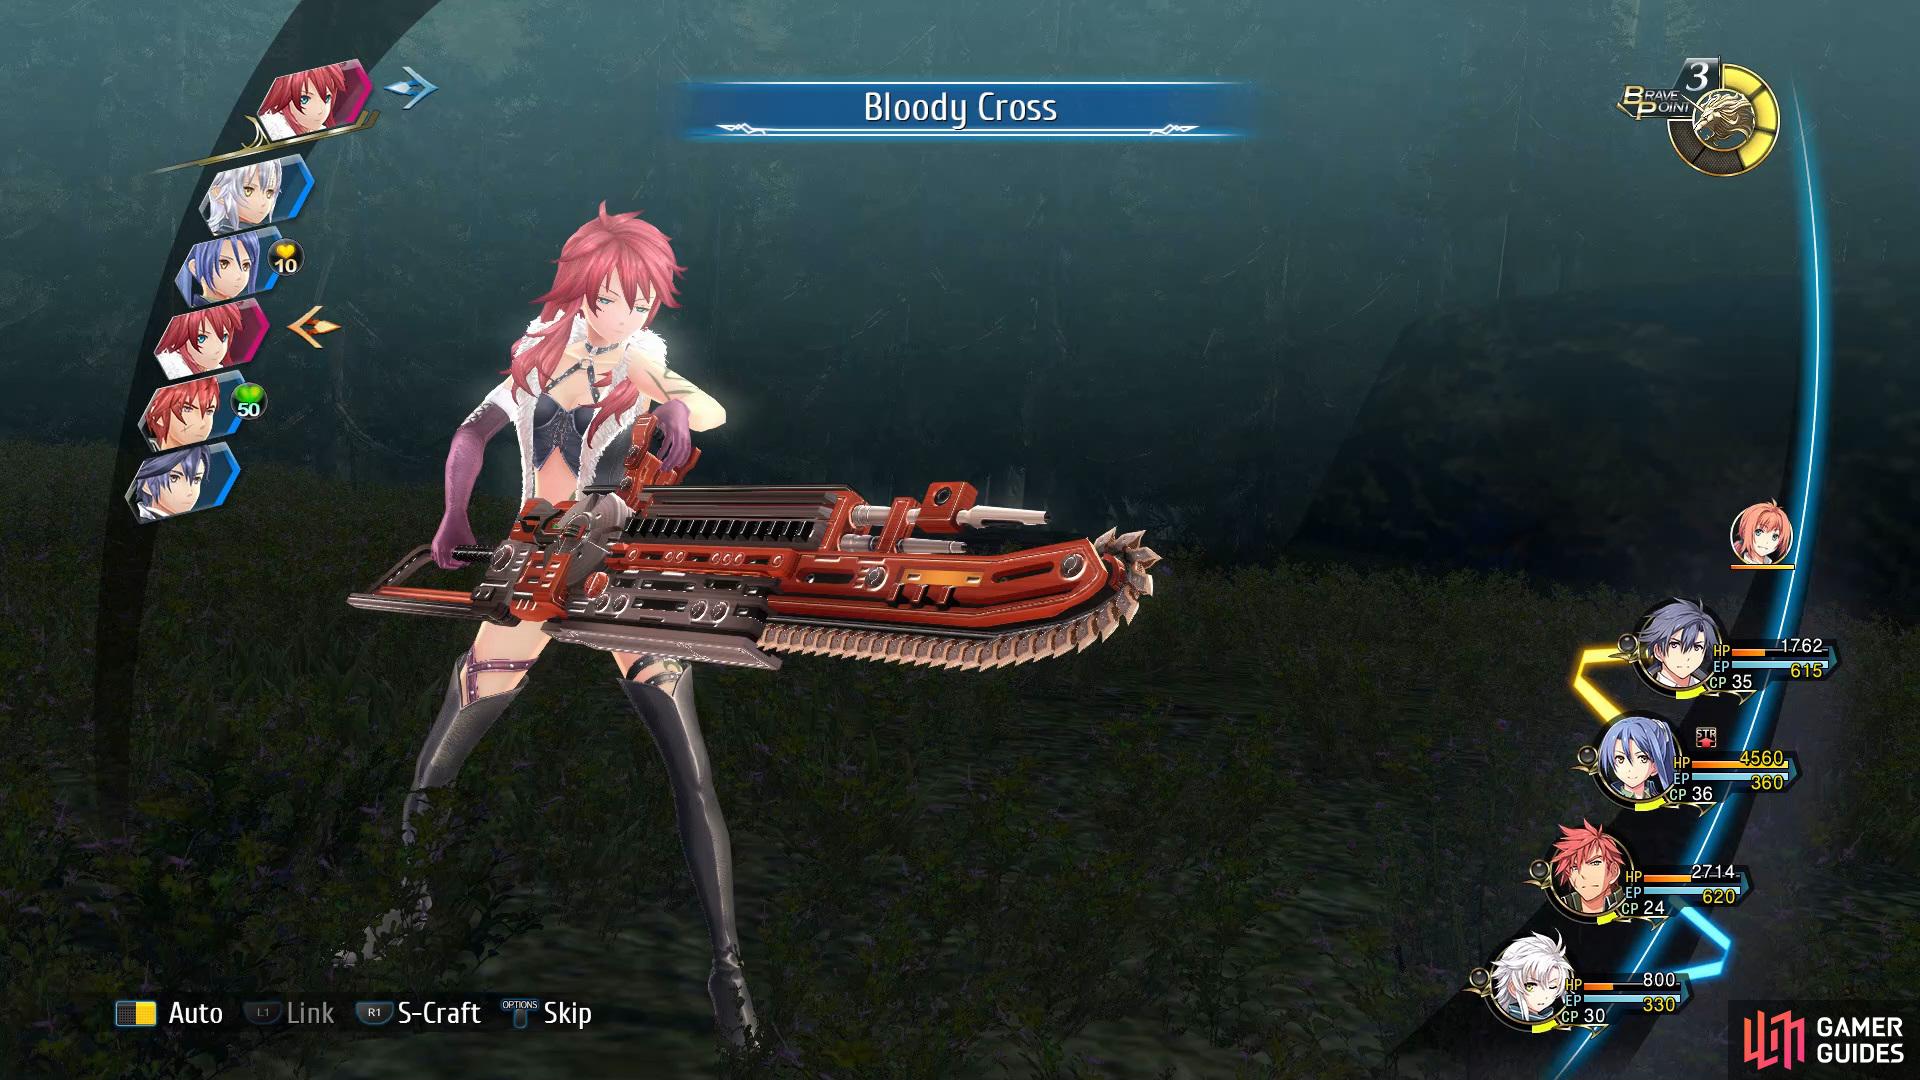
Quickly put Shirley into the break status when she activates Ogre Cry to counter it (left), then heal everyone up after she has done the Bloody Cross move. (right)
Eventually Shirley will use Ogre Cry (Enhanced State), here you’ll want to make sure the party is fully healed up and maybe even use Blue Orchestra to reduce the damage by 70% if you have two BP to spare. Now try and quickly Break Shirley before her next turn to counter it.
- Nightmare Strategy
This might be your first roadblock on Nightmare just due to all of the enemies you’re up against but hopefully you entered the battle with full CP and BP as you’ll need it. After surviving the initial attacks, make sure you have Agate in your party and use his Crimson Break Brave Order to allow you to start breaking the other enemies. Your first order of business should be taking out the Crimson Cougars followed by the Sleipnir, this shouldn’t be too much trouble, especially using Agate’s powerful Crafts.
Once you’re down to Duvalie and Shirley, focus everything on Duvalie even though Shirley is the larger threat. Try to only break one at a time and ensure you have at least 3 BP at all times. Duvalie can freeze your characters and Shirley can Burn them so be sure to counter with healing items should you get afflicted. The largest issue here is Shirley’s S-Craft which she’ll perform after recovering from Break and putting herself in Enhanced. This hits extremely hard and you’ll suffer many KO’s here so be ready with the Reviving Balms. The strategy here is to activate Crimson Break once she becomes Enhanced and quickly break her a second time to force her out of it. Other than this, the rest of the battle should go smoothly, especially if you focus on the enemies in this order.
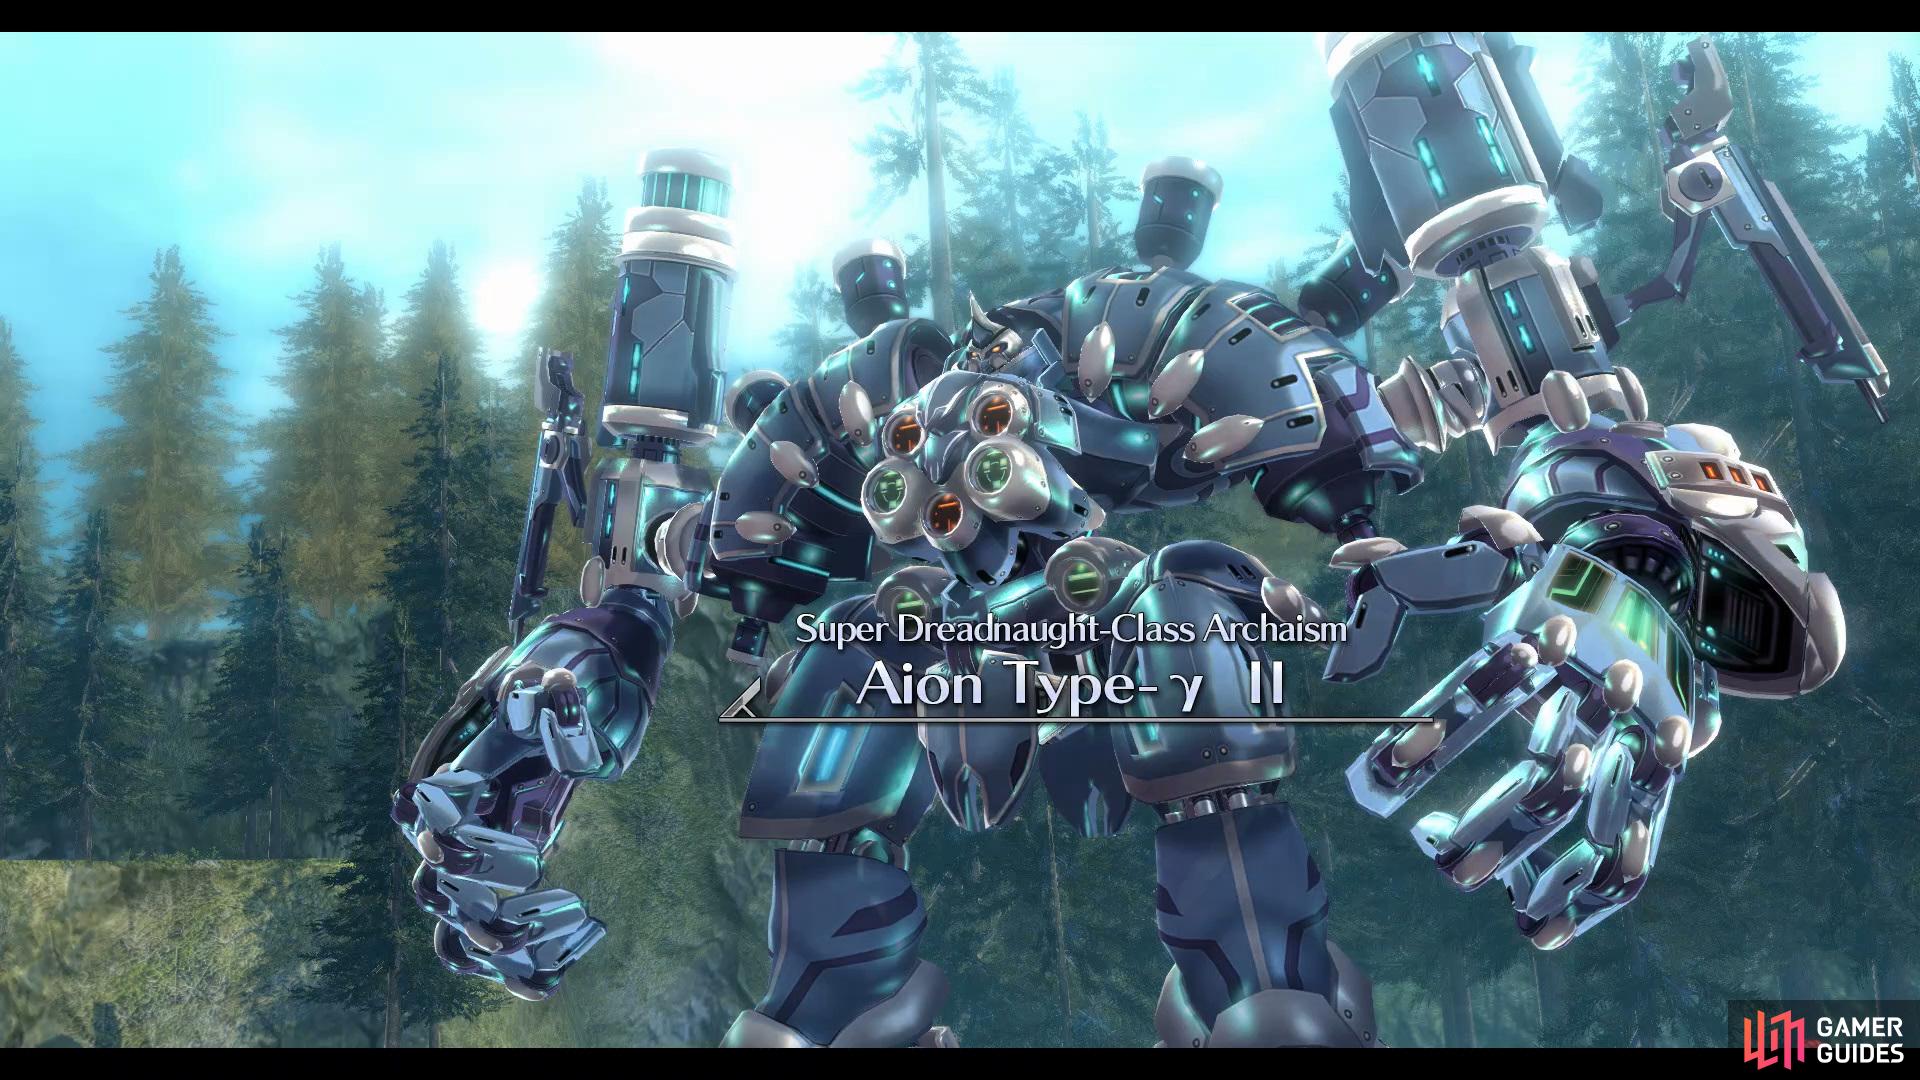
Divine Knight Battle: Aion Type-γII
| Enemy | HP | Position | Body | Left Arm | Right Arm |
|---|---|---|---|---|---|
| Aion Type - γ II | 312000 | Default | ☆ | N/A | ☆☆☆ |
| Arms in Front | ☆☆☆☆ | ☆ | ☆ | ||
| Arms Spread | N/A | ☆☆☆☆ | ☆ | ||
| Fists Together | N/A | ☆ | ☆☆☆☆ |
Although you’ve managed to beat Duvalie and Shirley there is still more to come, now you’ll be taking control of Valimar to help deal with the new threat, Aion Type-γII. Your first task against this formidable opponent is to get his HP down to 80%, so you’ll want to make sure you hit his weak spots. When the Divine Knight is standing in his default stance you’ll want to hit his Right Arm and then when he brings his arms together to perform a Charge Attack you’ll want to use a Craft with Impede. Keep doing this until you have 2 BP available and then use the Finisher. Once you reach 80% HP a short scene will play out.


(1 of 4) Aim for the Right Arm when it is standing in its default stance
Before you jump into the the second phase you’ll be able to chose two people to join your party, depending on your choice you’ll have different benefits. Once you begin fighting you’ll want to work on building five BP, so continue focusing on those weak spots. In this phase Aion Type-γII will introduce two new stances, one with his arms spread out which means you’ll want to hit his right arm and then the final move will have him form two fists, here you’ll want to hit his right arm again. If you take any damage during this fight you have some Repair Scopes to recover your health.
Return to school
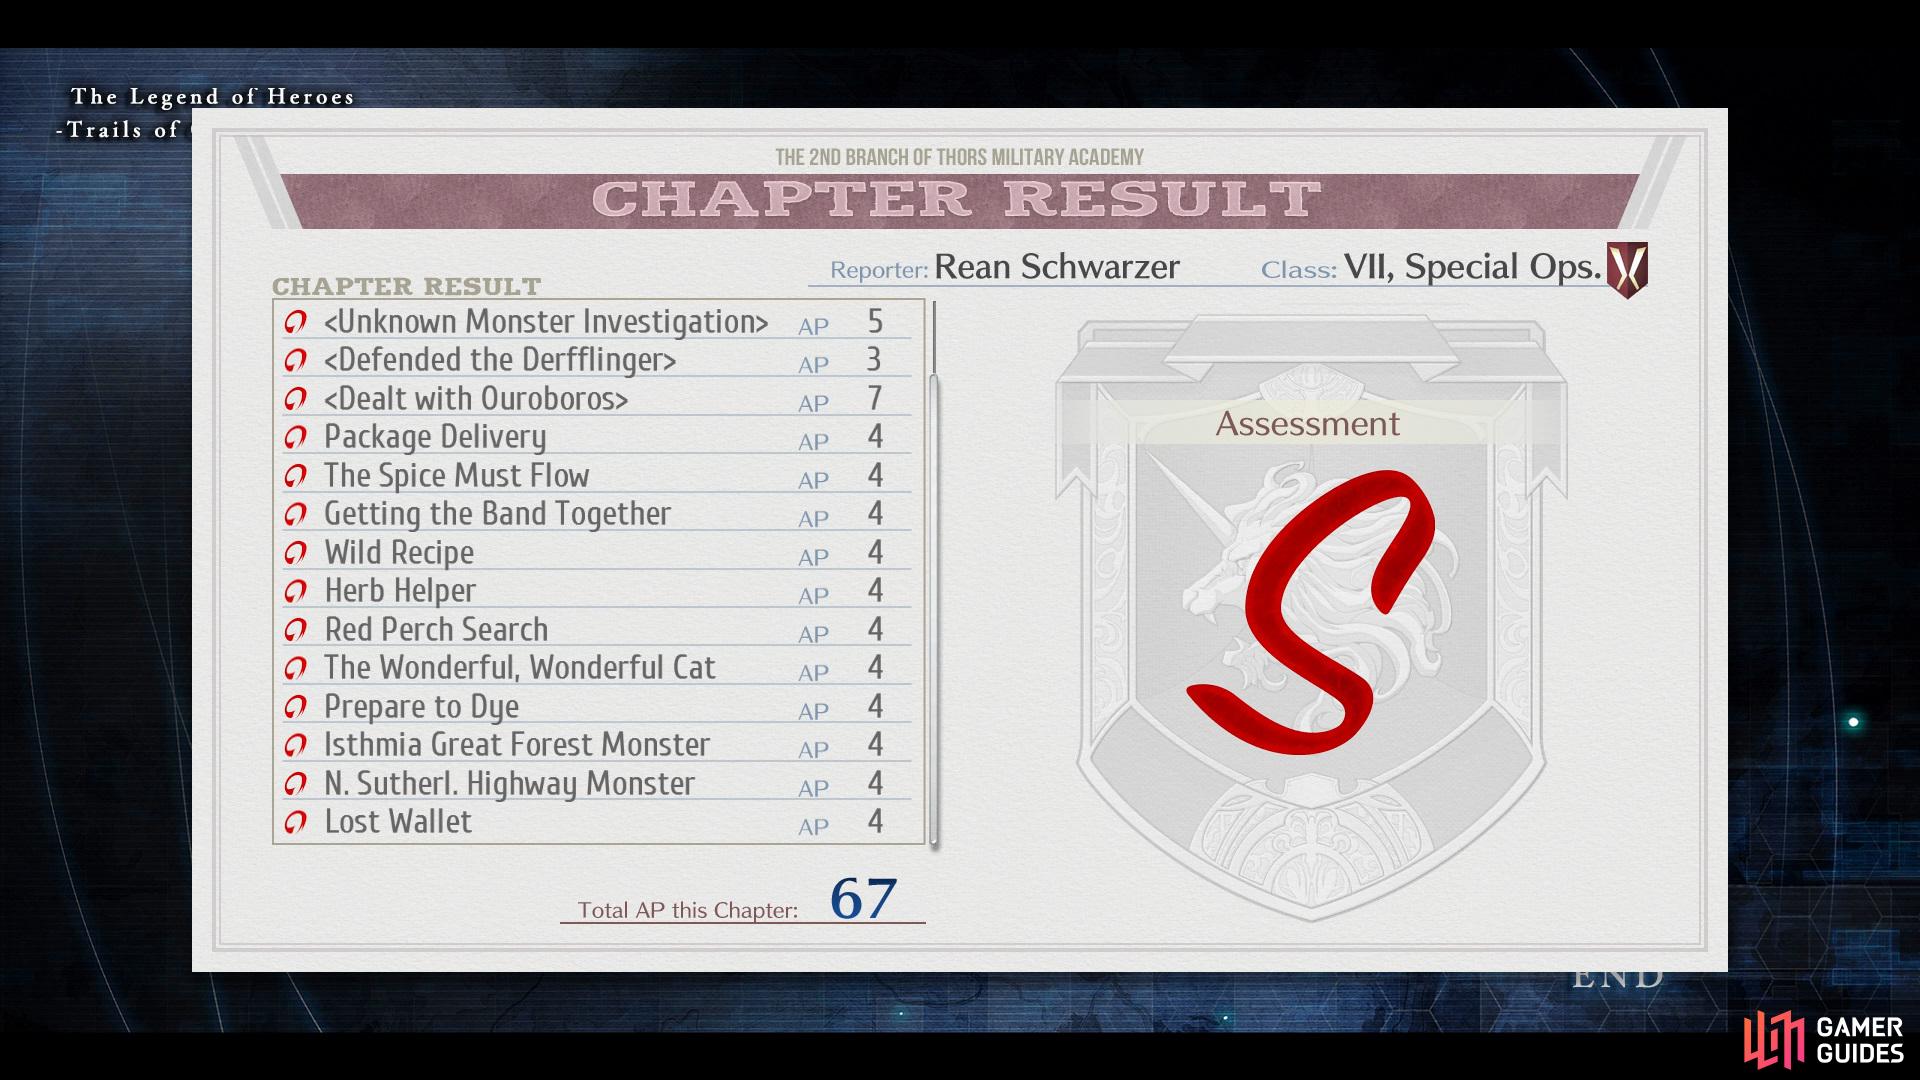
After the battle has ended you’ll view a few scenes and then the students will return back to school, here you’ll be given your Quest Report. If you’ve been following this guide, you should have an S Rank for Chapter 1 and receive a True Gladiator Headband (be sure to equip this straight away) along with a Photo of Annabelle and Fortitude Droplet x3 from Vivi and finally 4000 Mira.
No Comments