


Key Information (Day)
| Side Quests | Client | AP |
|---|---|---|
| The Spice Must Flow | Gina - Student Cafeteria | 4 |
| Sub Events | Reward |
|---|---|
| Dorm Baths | Towa Bond+, Campus Ehancement Rating +2 |
| Bonding Events | Location |
|---|---|
| Musse (Character Note) | Nyo-Sui-An Imports |
| Kurt | Recette Bakery & Cafe |
| Altina | Courtyard |
| New Character Notes | Location |
|---|---|
| Ash | School 1F - Library |
| Aurelia | School 2F - Art Room |
| Juna | Academy Field |
| Musse | Bonding Event |
| Items | Location |
|---|---|
| Heartless Edgar - Chapter 1 (Book) | Rachel - Carnegie Books & Games |
| The Life of Tomatonio - Part 1 (Book) | Private Home west of Radio Trista |
| White Silk Kerchief (Elise Gift) | Lapin Boutique (x Mira) |
| Mizu Yokan (Altina Gift) | Nyo-Sui-An Imports (x Mira) |
| Dual Line (Fishing Gear) | Nyo-Sui-An Imports (400 Mira) |
| Auto Drag (Fishing Gear) | Nyo-Sui-An Imports (8000 Mira) |
| Techno Rod (Fishing Gear) | Nyo-Sui-An Imports (6000 Mira) |
| Custom Handle (Fishing Gear) | Nyo-Sui-An Imports (2400 Mira) |
| Shock Reader (Fishing Gear) | Nyo-Sui-An Imports (1200 Mira) |
| Tuned Gear (Fishing Gear) | Nyo-Sui-An Imports (10000 Mira) |
| Magic Crystal (Vantage Master Card) | Carnegie Books & Games - Beat Zach |
| D-Arma (Vantage Master Card) | Carnegie Books & Games - Beat Rachel |
| Sister (Vantage Master Card) | Carnegie Books & Games (700 Mira) |
| Marme (Vantage Master Card) | Carnegie Books & Games (500 Mira) |
| Medic (Vantage Master Card) | Carnegie Books & Games (200 Mira) |
| Transmute (Vantage Master Card) | Carnegie Books & Games (1000 Mira) |
| New Recipes | Location |
|---|---|
| Piled Onion Rings | Barney’s Tavern & Inn (500 Mira) |
| New Fish | Location |
|---|---|
| Type #1 - Kasagin | Leeves River |
| Type #4 - Snow Crab (Requires purchased Fishing Gear) | Leeves River |
| Type #5 - Carp (Requires purchased Fishing Gear) | Leeves River |
| Type #7 - Rockeater (Requires purchased Fishing Gear) | Leeves River |
Take a tour of Leeves & Farming Mira
Once you’ve woken up from your slumber after being up until the early hours talking to an old friend from the previous Class VII, you’ll most likely be pretty tired. Luckily today is your first Free Day so you can just sit back and relax and take in what the town has to offer. Head down into the Male Bathroom to take a moment to chill and view a Sub Event. After you’re all dressed up you’ll be given a Bottle of Fruit Milk from Towa as well as Campus Enhancement Rating +2.


(1 of 4) Speak with Rachel to obtain the the Heartless Edgar - Chapter 1 Book
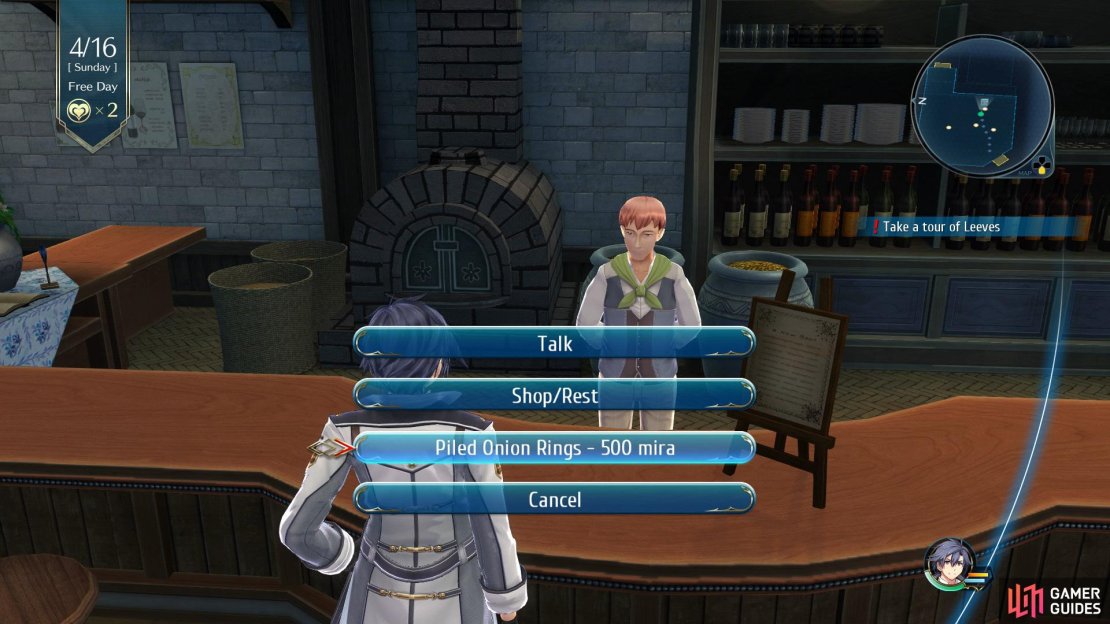
Exit the Dorms and follow the path around to the left to find yourself in the center of the town and then head inside Leeves Chapel to watch a short cutscene, go back outside and go into Carnegie Books & Games on the right, here you’ll want to speak with Rachel and obtain the Heartless Edgar - Chapter 1 Book. Exit and make your way into Lapin Boutique to purchase the Silk Kerchief as a gift for Elise, now go into Barney’s Tavern & Inn and purchase the Piled Onion Rings to acquire it as a Recipe for your collection.
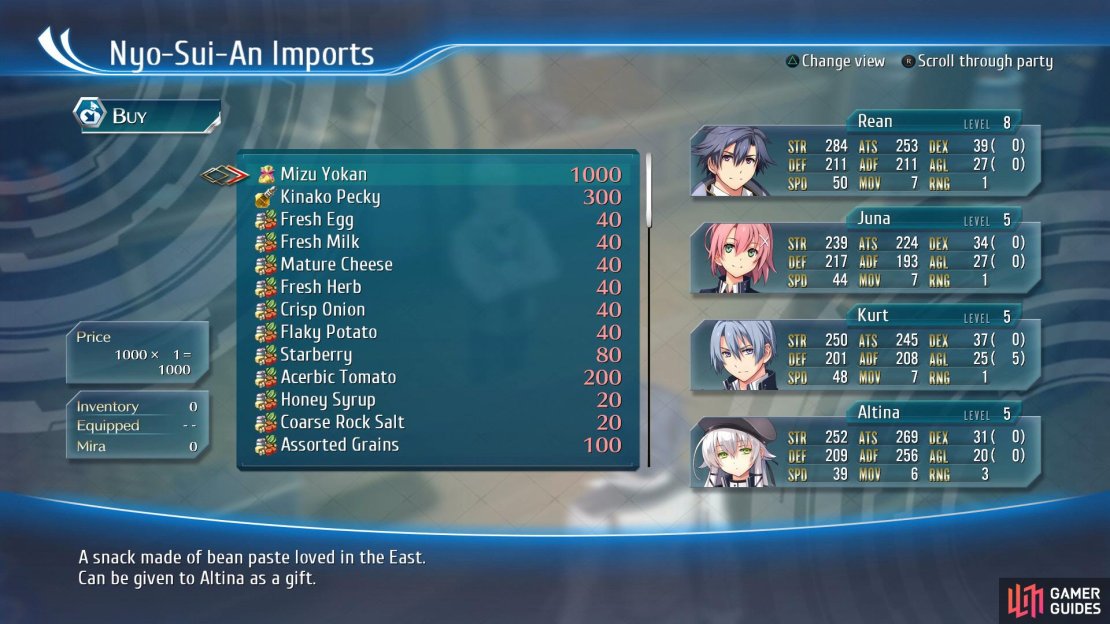
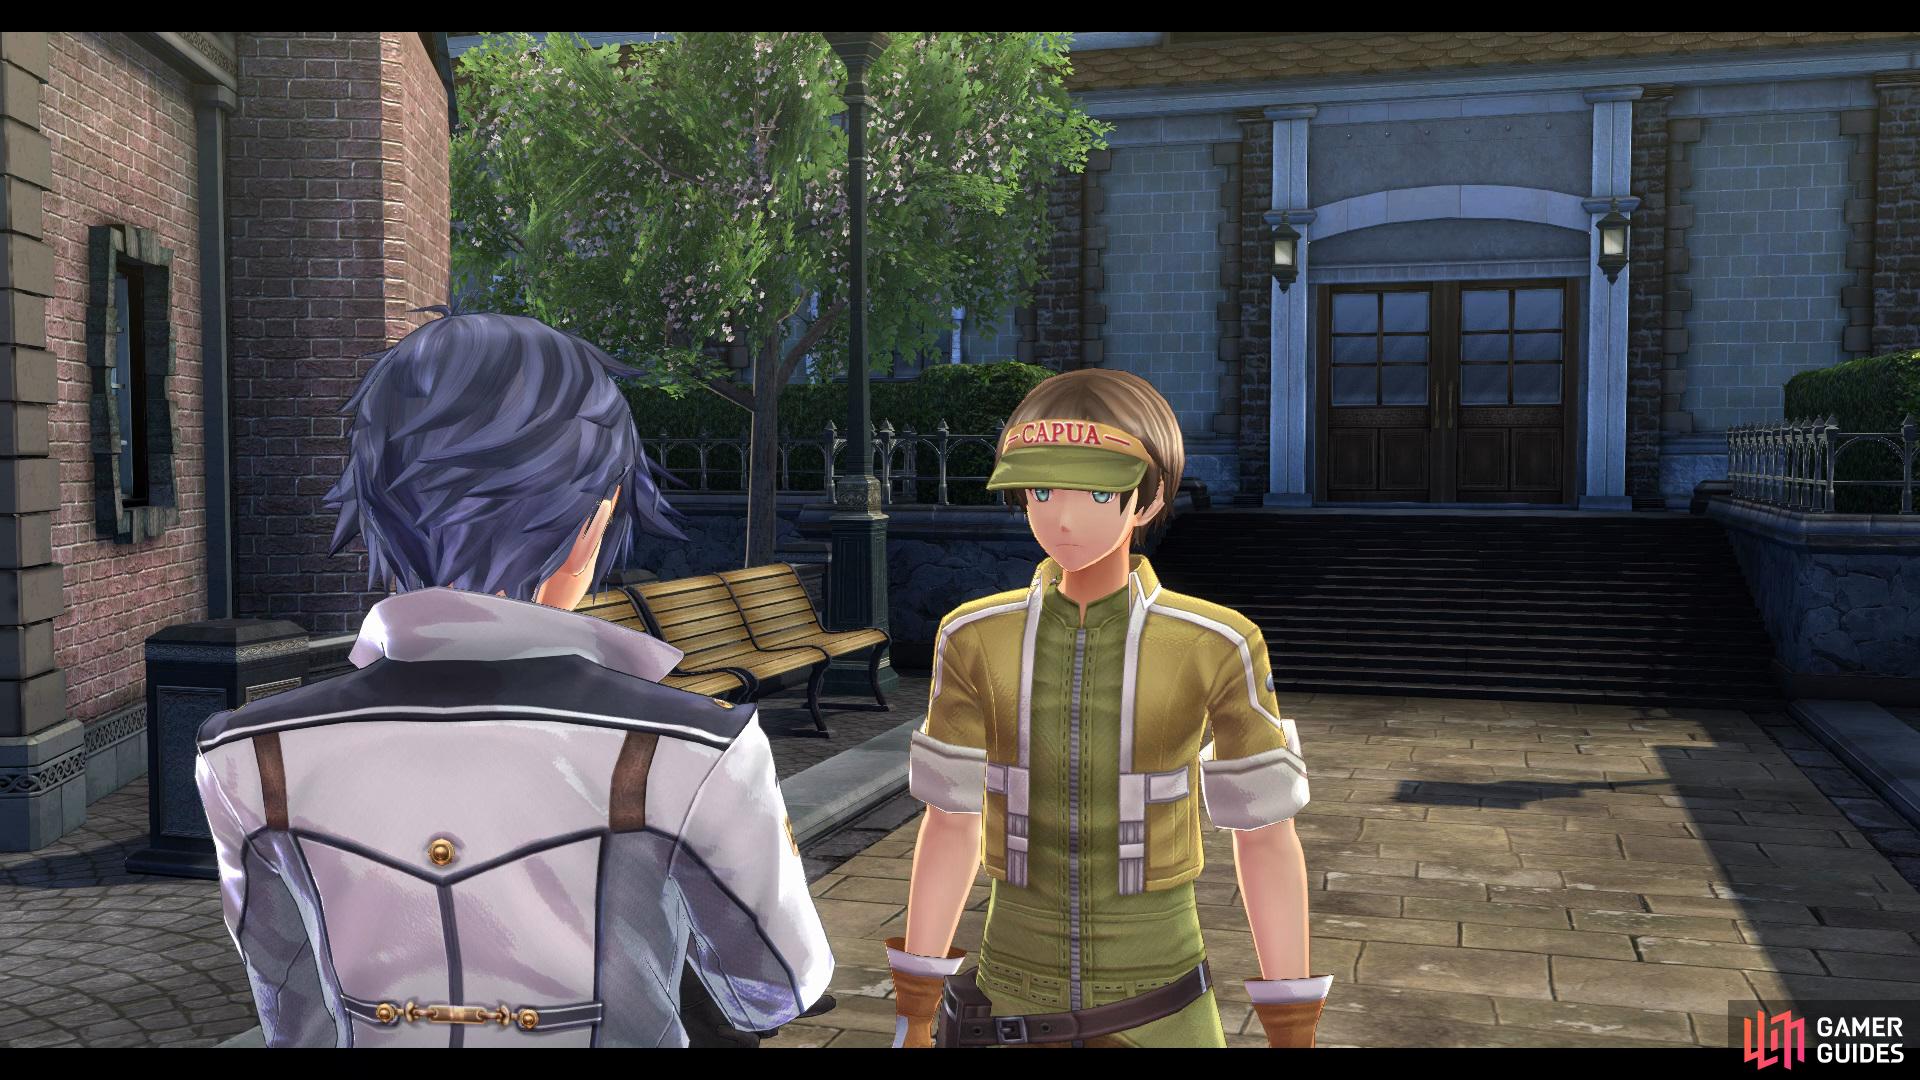
Finally, go into Nyo-Su-An Imports to have a short conversation with Old Man Rod where you’ll obtain a Custom Rod and 5x Bait, after the conversation has come to a close you’ll get some more information on Fishing. Before leaving, purchase the Mizu Yokan as gift for Altina. Outside you’ll bump into a delivery guy who will give you the Required Quest Package Delivery.
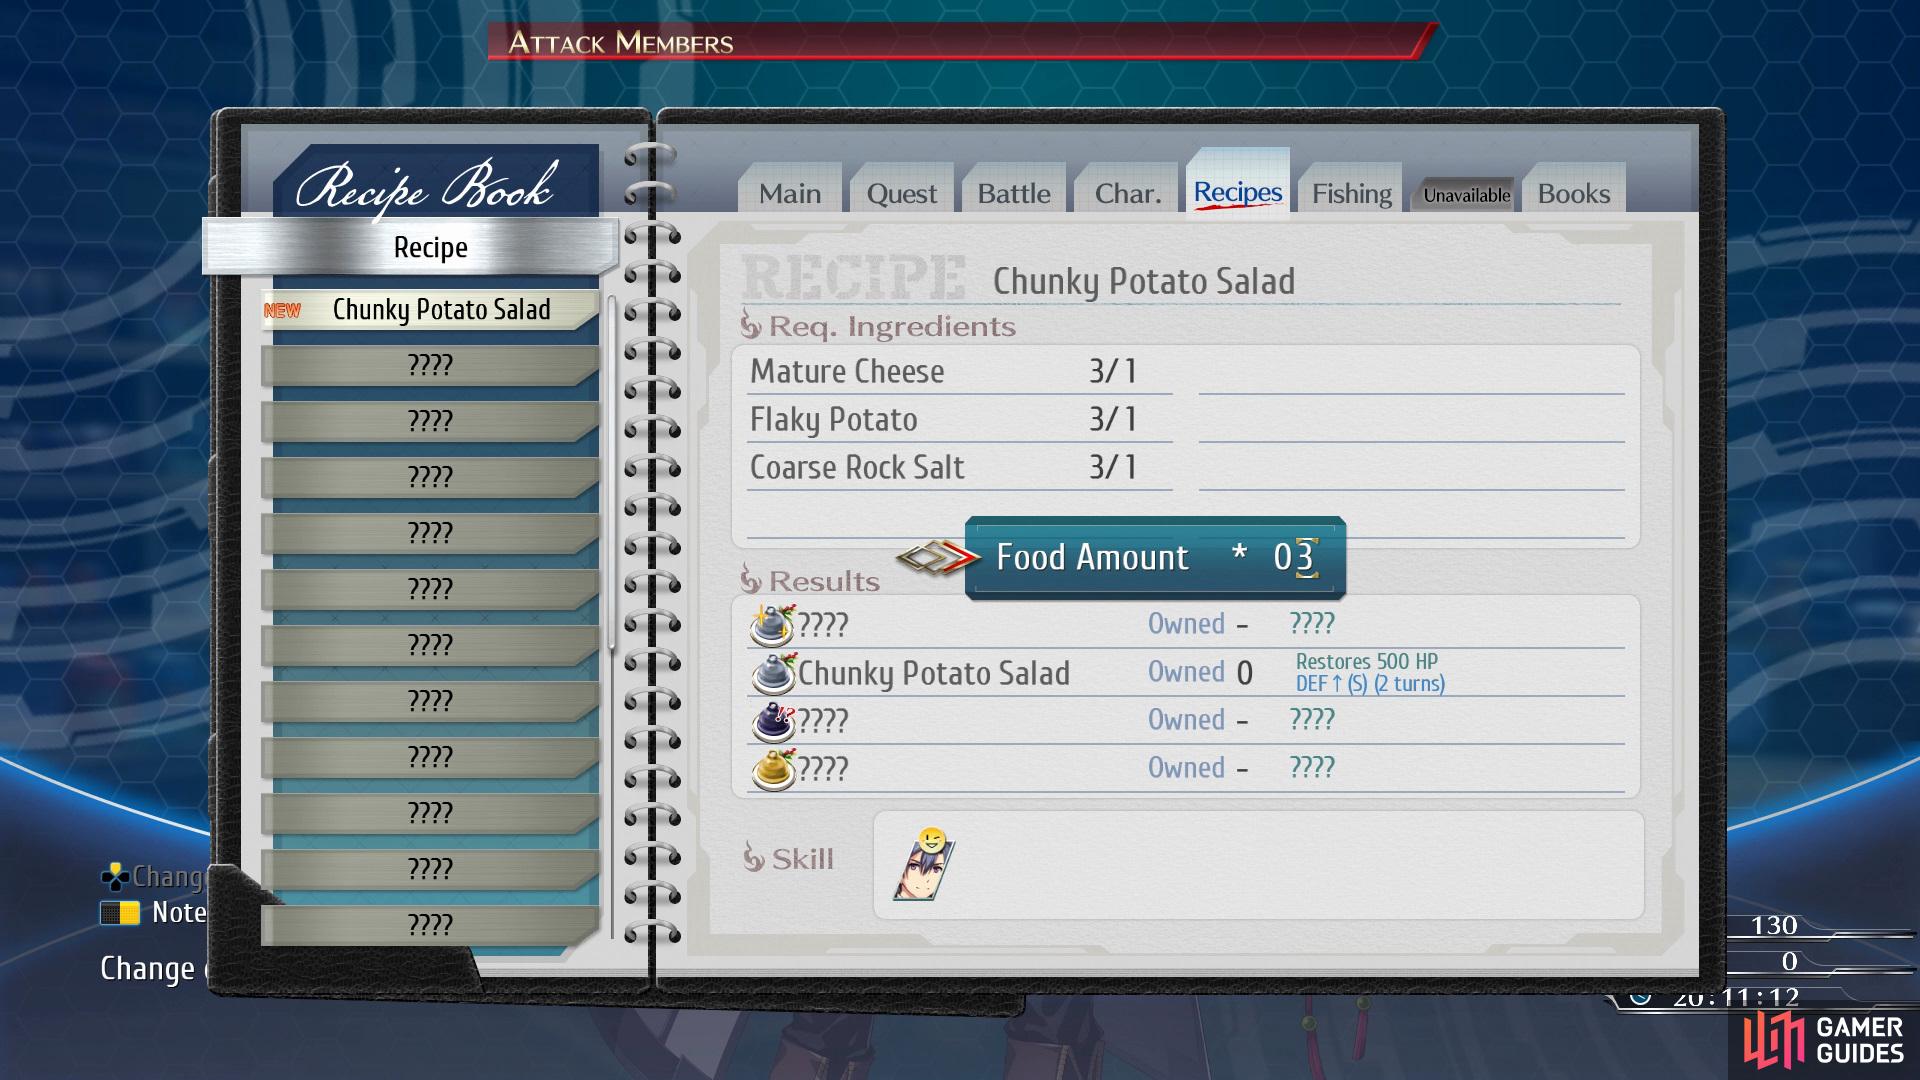
Craft as many Chunky Potato Salads as you can and then sell them for a small profit.
At this point of the game you’re going to need to save up until you have 31,000 Mira. Fortunately, there is a neat trick that you can do that will help you reach that goal a little faster. Purchase Mature Cheese, Flaky Potato, and Coarse Rock Salt from Old Man Rod and then go into your Notebook and choose to craft as many Chunky Potato Salads as you can, eventually you’ll be able to craft more with the extra Mira you gained, so keep building it up until you reach 99 and then continue repeating the process until you have 31,000 Mira. After you’re done, purchase the Dual Line, Auto Drag, Techno Rod, Custom Handle, Shock Reader, and Tuned Gear, then head outside to begin delivering those packages.
Required Quest: Package Delivery
Your first stop on your delivery round will have you going down the alleyway that is on the right of Lapin Boutique, eventually you’ll see a door on the left which will bring you into Neinvalli Exchange, here you’ll want to give Jingo the first package. Before leaving the store, purchase the Shining Pom Droplet from here for 100 Mira (the second one for 10,000 Mira can be left for later).
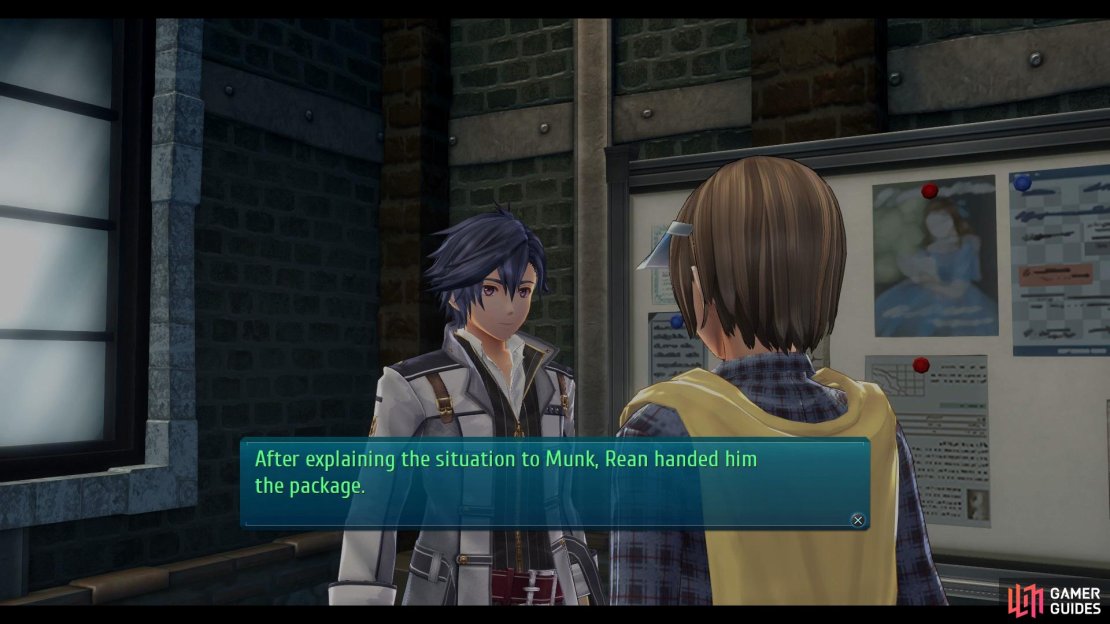
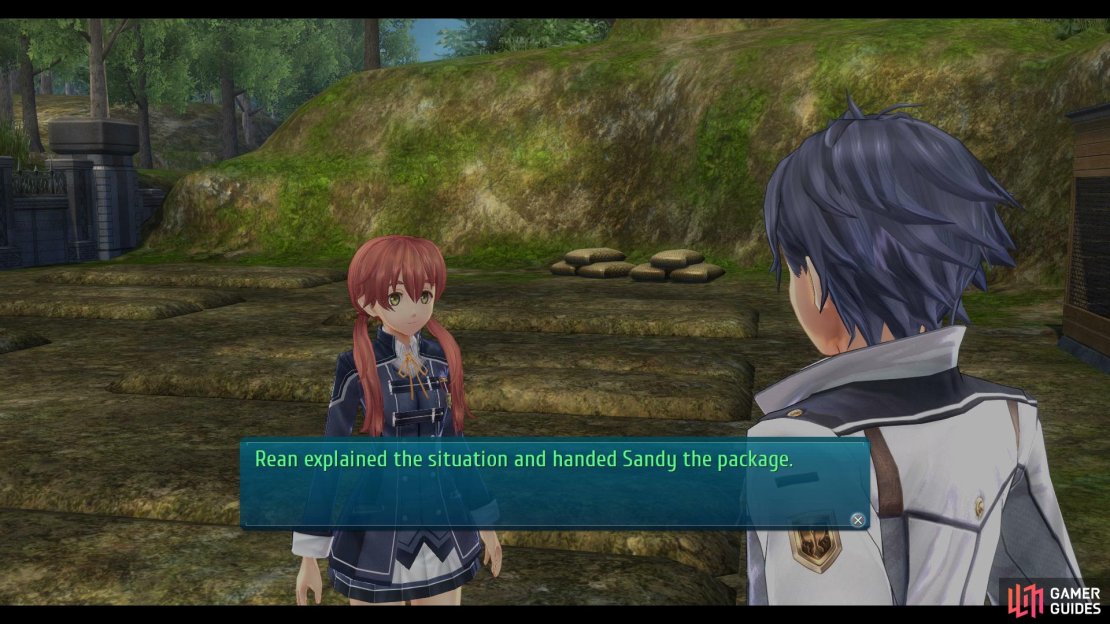
Follow the path down to the left of Nyo-Sui-An Imports and you’ll come across Radio Trista, head inside and hand the second package to Munk. Now for the last package you’ll need to take a quick detour to the Campus, Quick Travel to the Vegetable Garden and speak with Sandy to give her the final package. Finally, make your way back to the town and speak with Deliveryman Jim to fill him in on the good news to complete this Quest.

(1 of 3) Head into Neinvalli Exchange to deliver the first package
With that quest done and dusted you’ll want to pop into the Leeves Chapel to view a cutscene, after the cutscene has finished you’ll notice that a kid dropped one of his cards on the floor. Head into Carnegie Books & Games shop to give it back to him, you’ll now be given a few Vantage Masters Cards of your own to use in your first ever game of Vantage Masters against Zach. Before you begin you’ll want to add five more cards to your deck which can be done by pressing the [Triangle] button then pay close attention to the tutorials that are popping up to help you conquer this first battle.
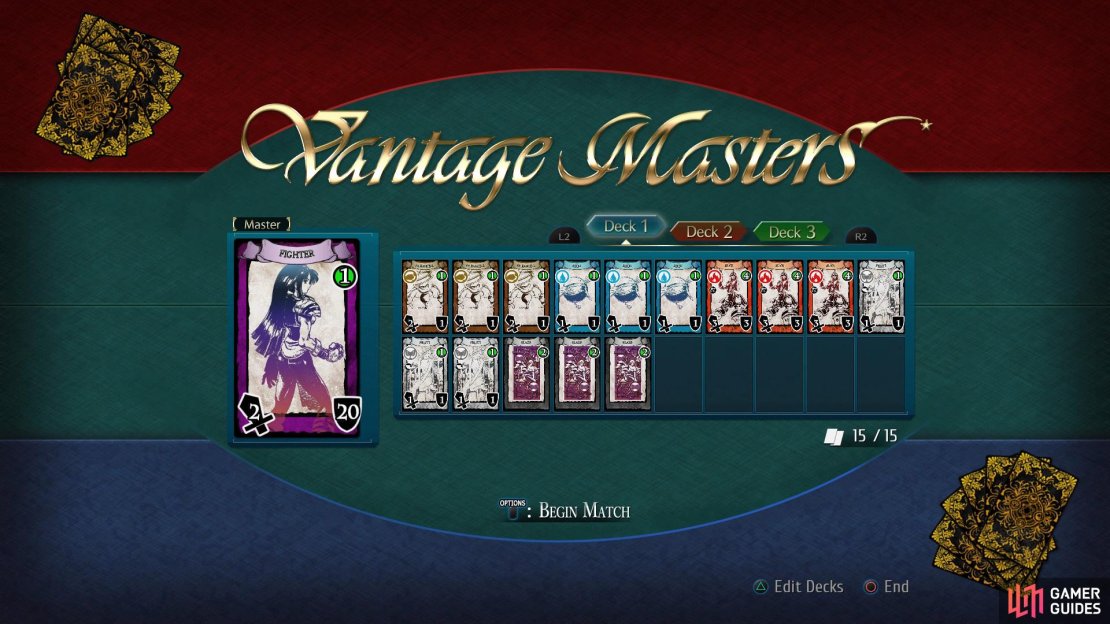


(1 of 4) Add five cards to complete your deck and then begin the match
Upon winning you’ll be given 3x Magic Crystal Cards to help you out in the battle to come, purchase the Sister, Marme, Medic, and Transmute Cards as well as the Imperial Chronicle - Issue 1 Book from Rachel and then choose to play against her. Make sure to add any Magic Crystal cards to your deck as these will increase both you HP/ATK by one, then you’ll want to put on your main Master, the Fighter Card. You’ll also want to add in a Medic Card which will restore four health to the selected Card. Keep playing against Rachel until you manage to beat her in which you’ll obtain the D-Arma Card as a reward.


(1 of 4) Head into the Private Home to find The Life of Tomatonia Book in the back room
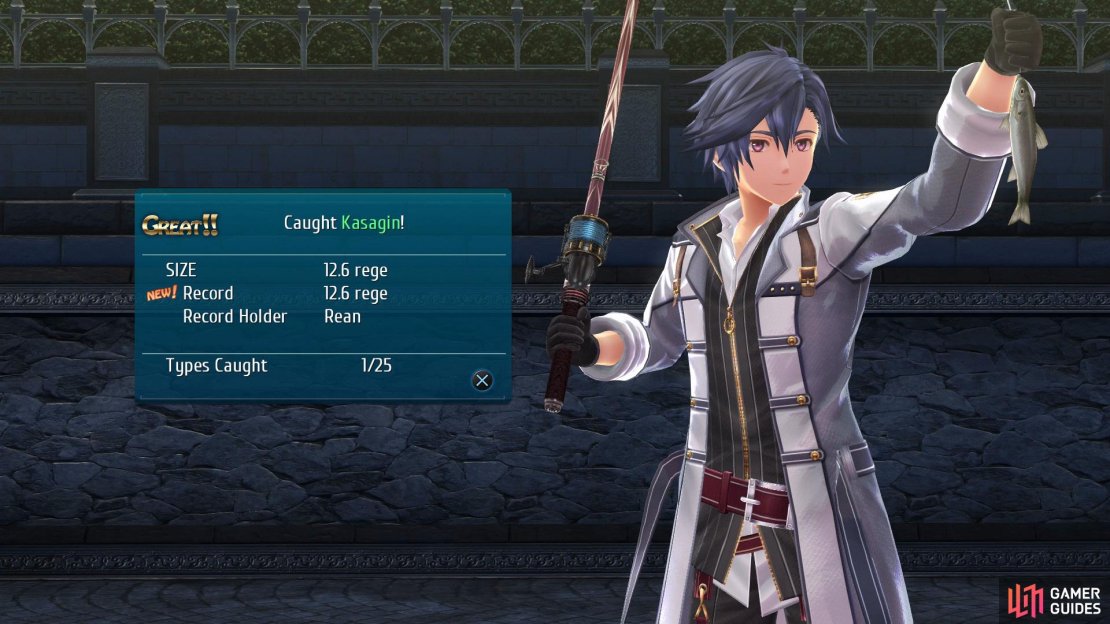
Exit the shop and make your way into the Private Home and proceed into the back room to obtain The Life of Tomatonio - Part 1 Book. Exit and head to the right to find Leeves River to do a spot of fishing, here you’ll need to catch a Kasagin, Snow Crab, Carp, and Rockeater. In order to catch a Fish you’ll need to press the [Circle] button on a certain colour, Blue means you’ll get a small fish , Green will give you a medium, and finally Yellow will give you a large one. You’ll now need to hold the [Circle] button to keep it in the blue until the fish reaches the left side to successfully catch it. Once you’ve caught all the fish go and see Old Man Rod and he’ll give you the Double Hook for catching three different fish.
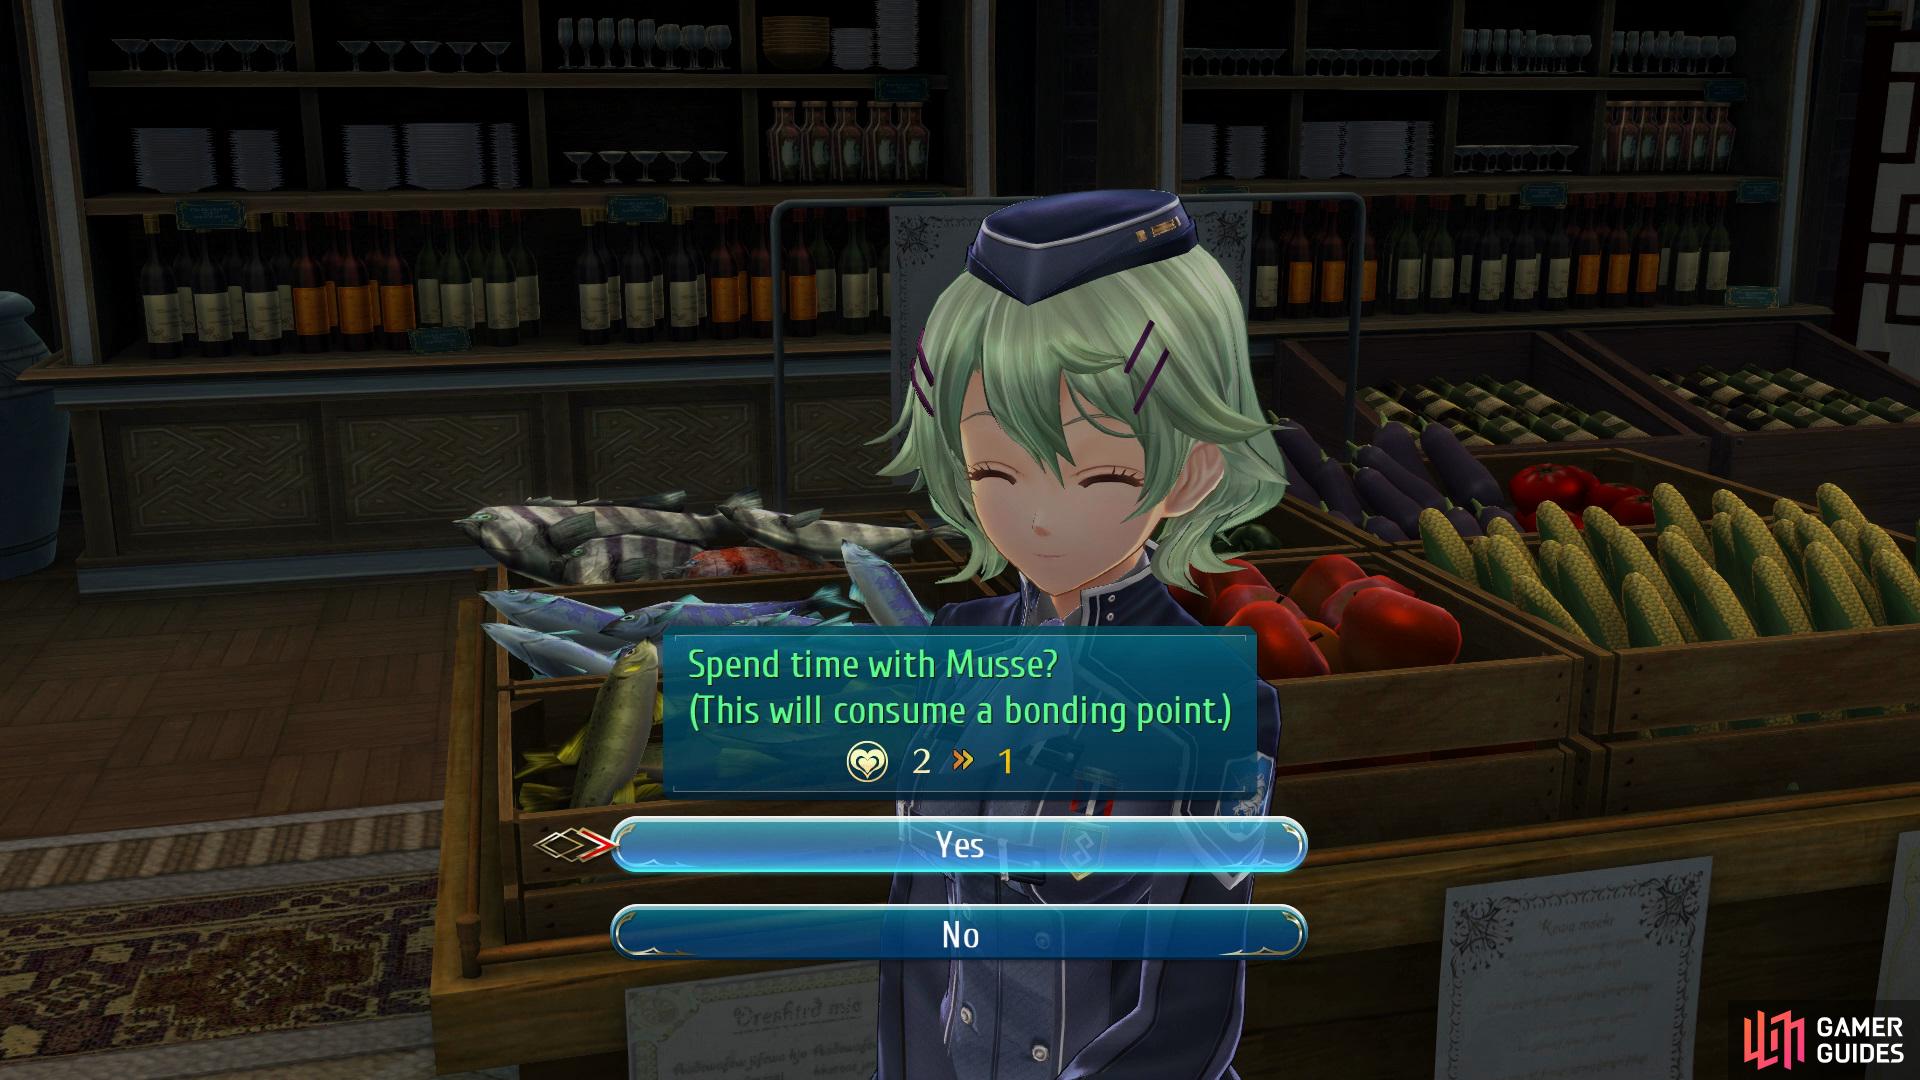
Spend a Bonding Point on Musse to obtain her Character Note.
Go to the Academy Field and speak you Juna to get Juna’s Character Note and then pop into the Library to speak with Ash and obtain his Character Note, now go and see Principal Aurelia in the General Art Room for her Character Note. You’ll now want to spend those Bonding Points, so the first person you’ll want to visit is Musse in Nyo-Sui-An Imports and use a point on her to view an event, after you’ve viewed the event you’ll receive Musses’s Character Note. For your remaining point you can choose between either Kurt or Altina.
Side Quest: The Spice Must Flow

Speak to Gina to begin this Side Quest.
In order to accept this Side Quest you’ll want to speak with Gina in the Cafeteria and then head over to the Inn to speak with Barney, he’ll then inform you that he has also ran out of Star Anise too so you’ll need to drop into Nyo-Sui-An Imports to get some off Old Man Rod. Upon delivering it back to Gina she’ll reward you with some Spirit Incense. The final task of the day is to head into the Tactical Conference Room, this will advance time so be sure you’ve done everything before heading there.
Key Information (Night)
| Branch Campus Quests | Client | AP |
|---|---|---|
| Getting the Band Together | Pablo - School - Rooftop | 4 |
| Sub Events | Reward |
|---|---|
| Dorm Baths | Milium Bond+, |
| Radio Trista (Munk) | Begin Radio Trista Questline |
| Bonding Events | Location |
|---|---|
| Juna | Academy Field |
| Towa | School 1F - Library |
| New Character Notes | Header 2 |
|---|---|
| Pablo | Complete the Quest “Getting the Band Together“ |
| Items | Location |
|---|---|
| Hepetus (Vantage Masters Card) | Clubhouse - Beat Sidney |
Getting the Band Together

Speak to Pablo to begin the Getting the Band Together Quest.
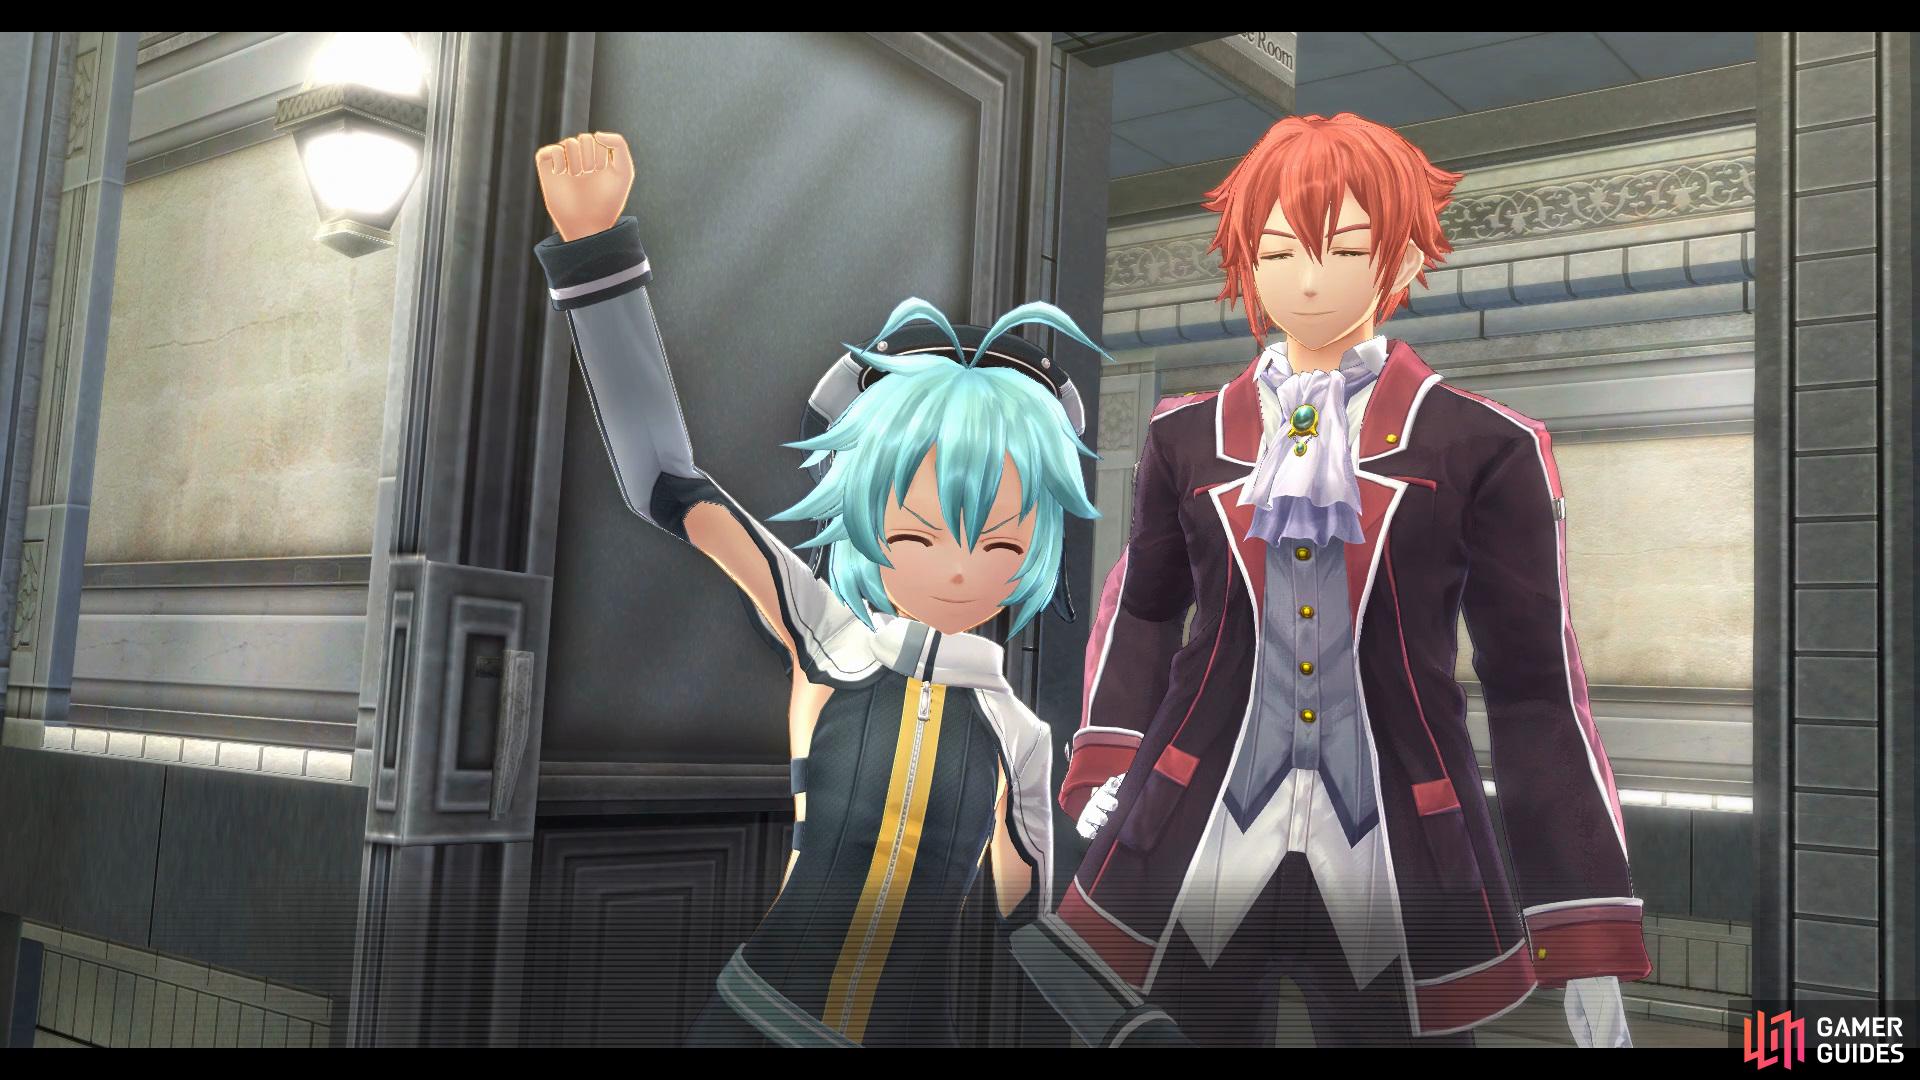
Once the cutscene has concluded, head up to the rooftop and speak with Pablo to accept the Getting the Band Together Branch Campus Quest then go to Station Square to speak with Valerie that’s sitting on the bench to discuss the new club idea, now you’ll enter a short scene. After the group has decided to get together and create the club you’ll gain Pablo’s Character Note, now make your way into the Clubhouse to challenge Sidney to game of Vantage Masters to gain Hepetus x3 upon winning. The final thing you’ll want to do before showing Millium around the Campus is to use up the Bonding Point, here you can choose either Juna (Academy Field) or Towa (Library).
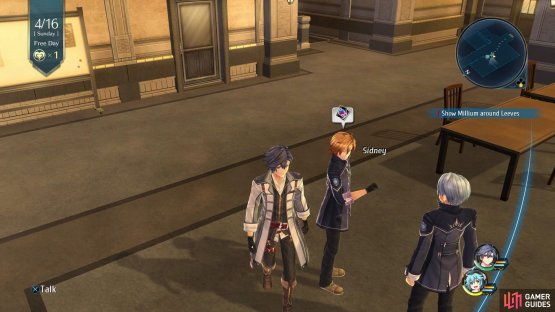

(1 of 2) Face Sidney in a game of Vantage Masters in the Clubhouse

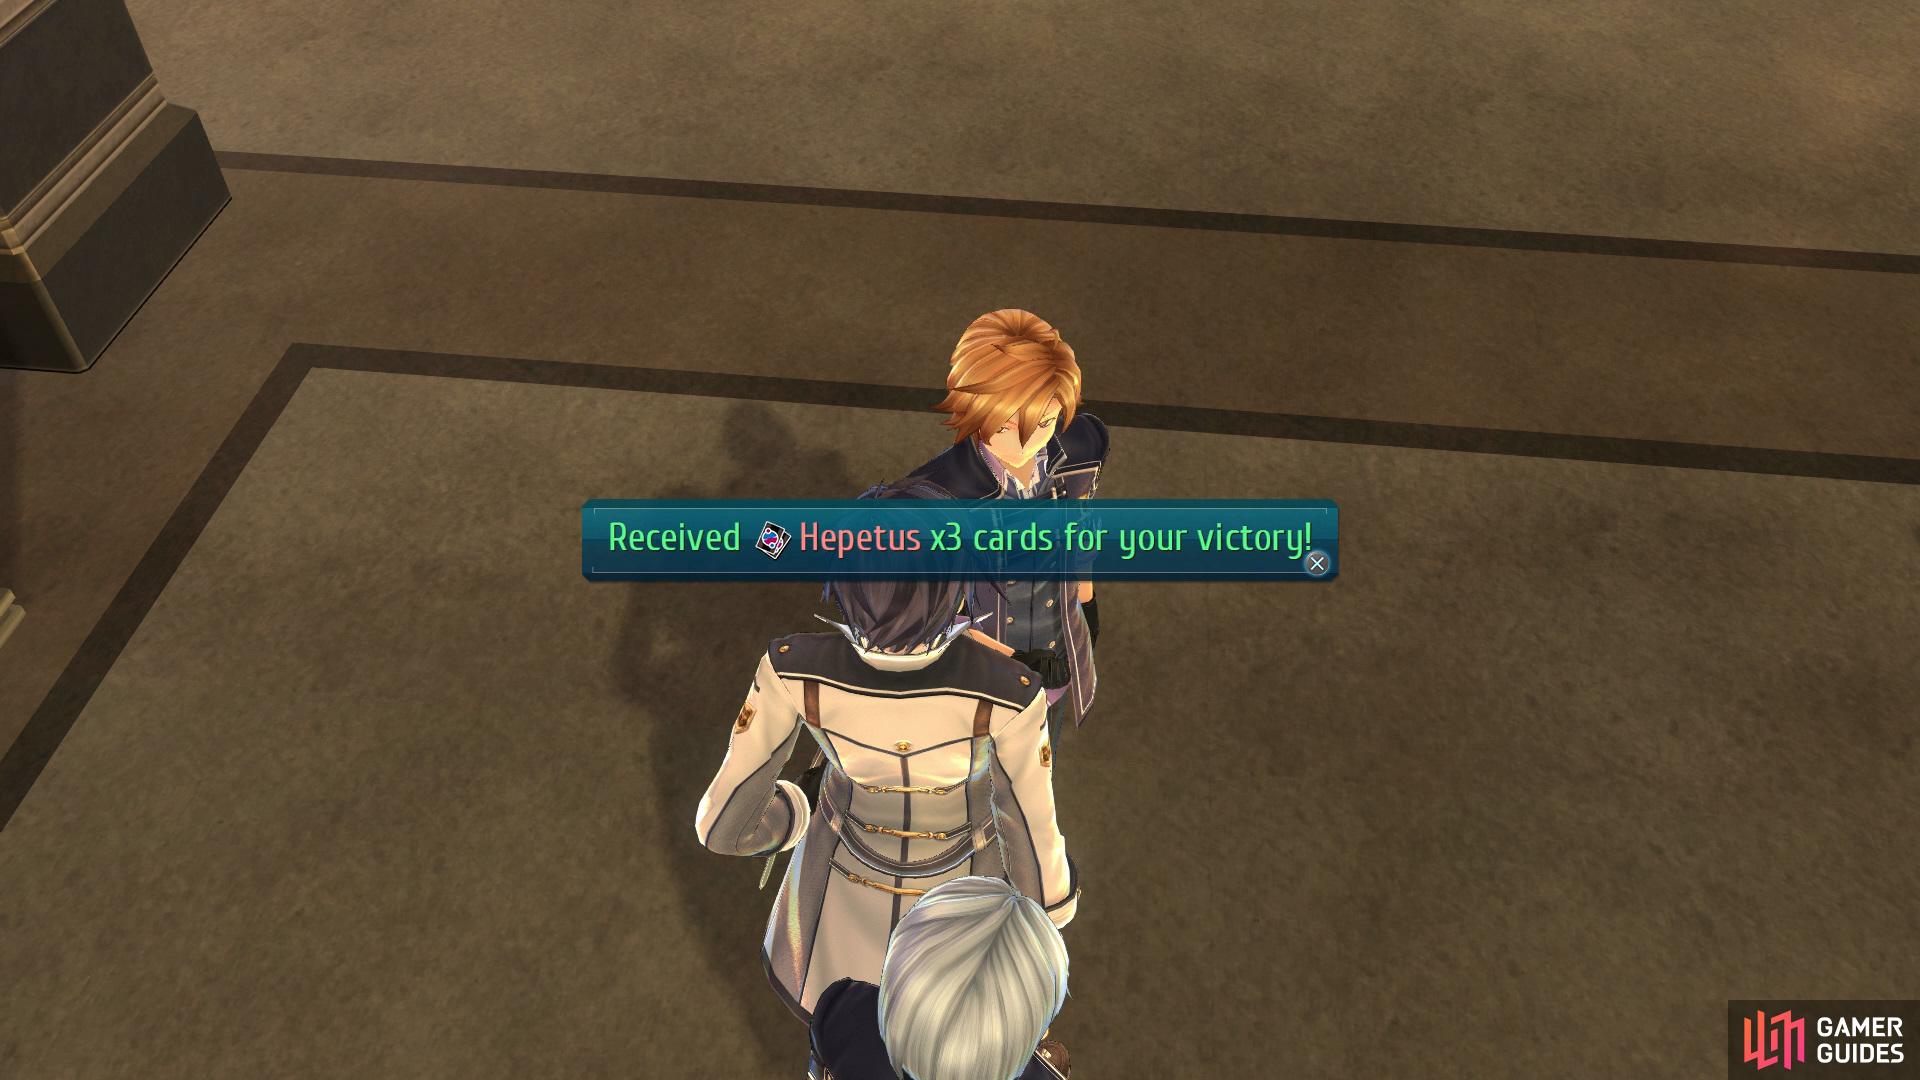
Face Sidney in a game of Vantage Masters in the Clubhouse (left), to obtain 3x Hepetus upon winning. (right)
Head into the Male Bathroom in the Dorms to view a scene and then once you’re all dried up your Bond with Millium will increase, now drop into Radio Trista and speak with Munk. Finally, exit the Radio Station and enter the buidling opposite you to speak with Altina twice to tackle Einhel Keep - LV1.
Einhel Keep LV1
| Enemy | HP | Slash | Thrust | Pierce | Strike | Elemental Efficacy | Item Drop |
|---|---|---|---|---|---|---|---|
| Grass Drome | 977 | ☆☆☆☆ | N/A | ☆☆☆ | N/A | E - 80, WA - 140, F - 200, WN - 140 | Clear Gelatin, EP Charge I |
| Koboldfly | 1487 | ☆☆ | ☆ | ☆☆☆☆ | ☆ | E - 60, WA - 100, F - 180, WN - 120 | Hearty Powder, Curia Balm |
| Softshellion | 2633 | ☆☆ | ☆☆☆ | ☆ | ☆☆☆☆ | E - 120, WA - 80, F - 100, WN - 180 | Chitinous Shell, Clear Gelatin |
Take the lift up to Level 1 and proceed forward to battle some Grass Drome’s, these are extremly weak to Fire so Rean’s Fire Bolt Art is a good Art to use against them, after they’ve been slain your path will be blocked so you’ll need to use Altina’s Field attack in order to get past.

(1 of 3) Take out the Koboldfly
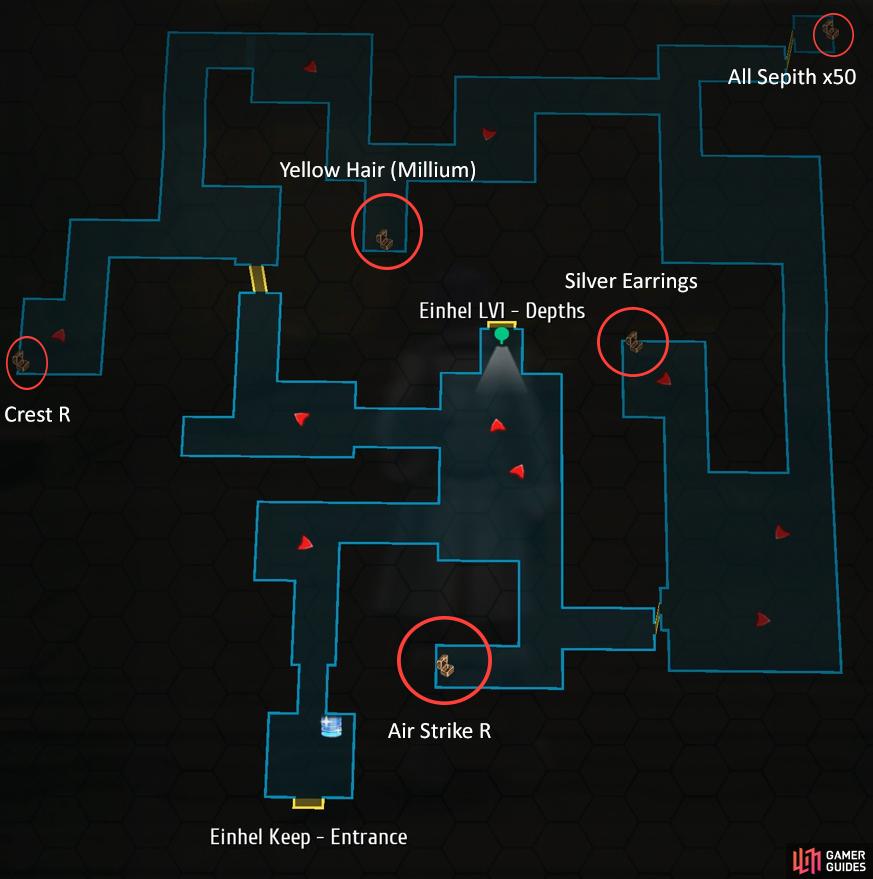
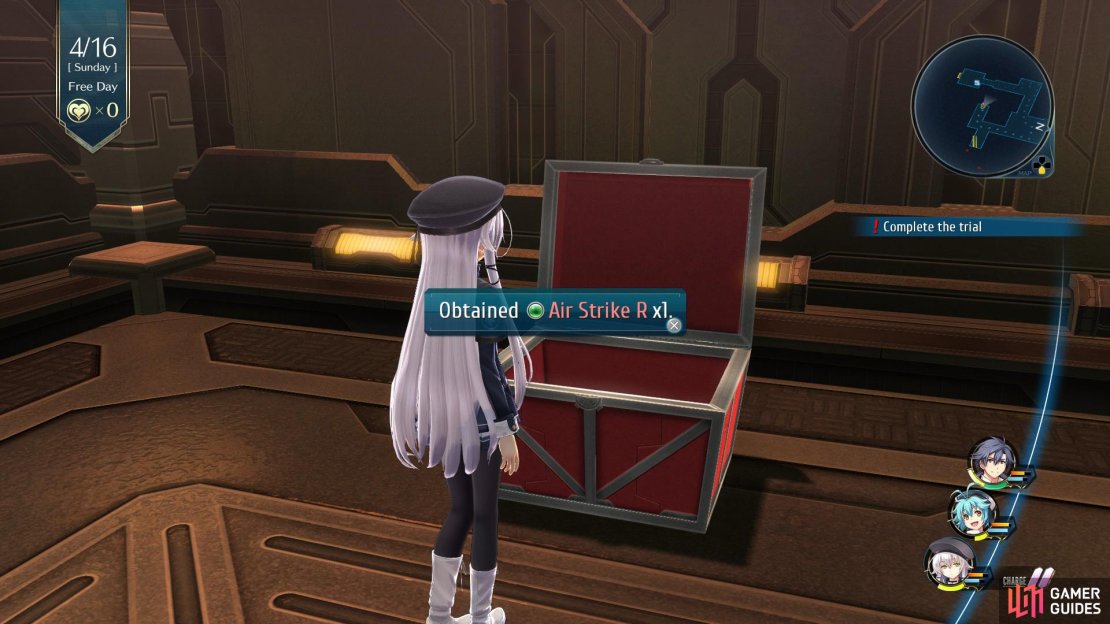
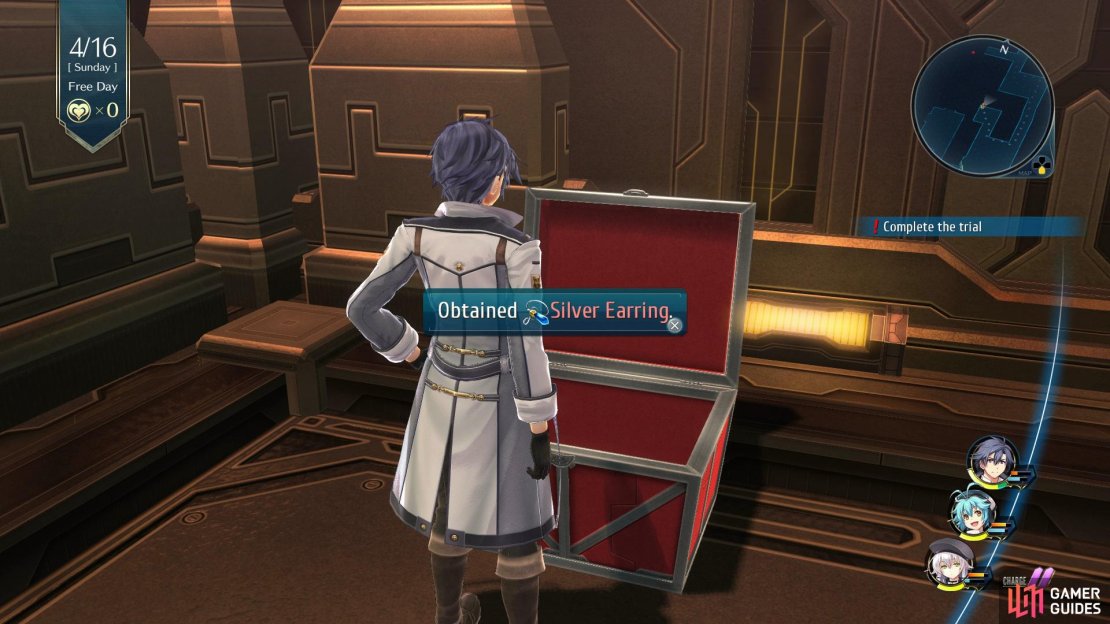
In the next room you’ll face some Koboldfly’s which are also weak to Fire and then a Softshellion that is weak to Wind. Once the enemies have been dealt with follow the path around to the right and break down the blocked path with Altina to open the Chest that contains an Air Strike R which can be used to attack a single enemy and potentially Blind them, now climb up and take out some more enemies. Take the left path and take out the Softshellion before opening the second Chest to obtain a Silver Earring, this can be used to prevent Poison when equipped. Continue up the right path and climb up the ladder to find the third Chest that contains 50x Earth, Water, Fire, Wind, Time, Space, and Mirage Sepith.

(1 of 2) Towards the end of the Keep you’ll find a Chest with the Yellow Hair - Millium inside
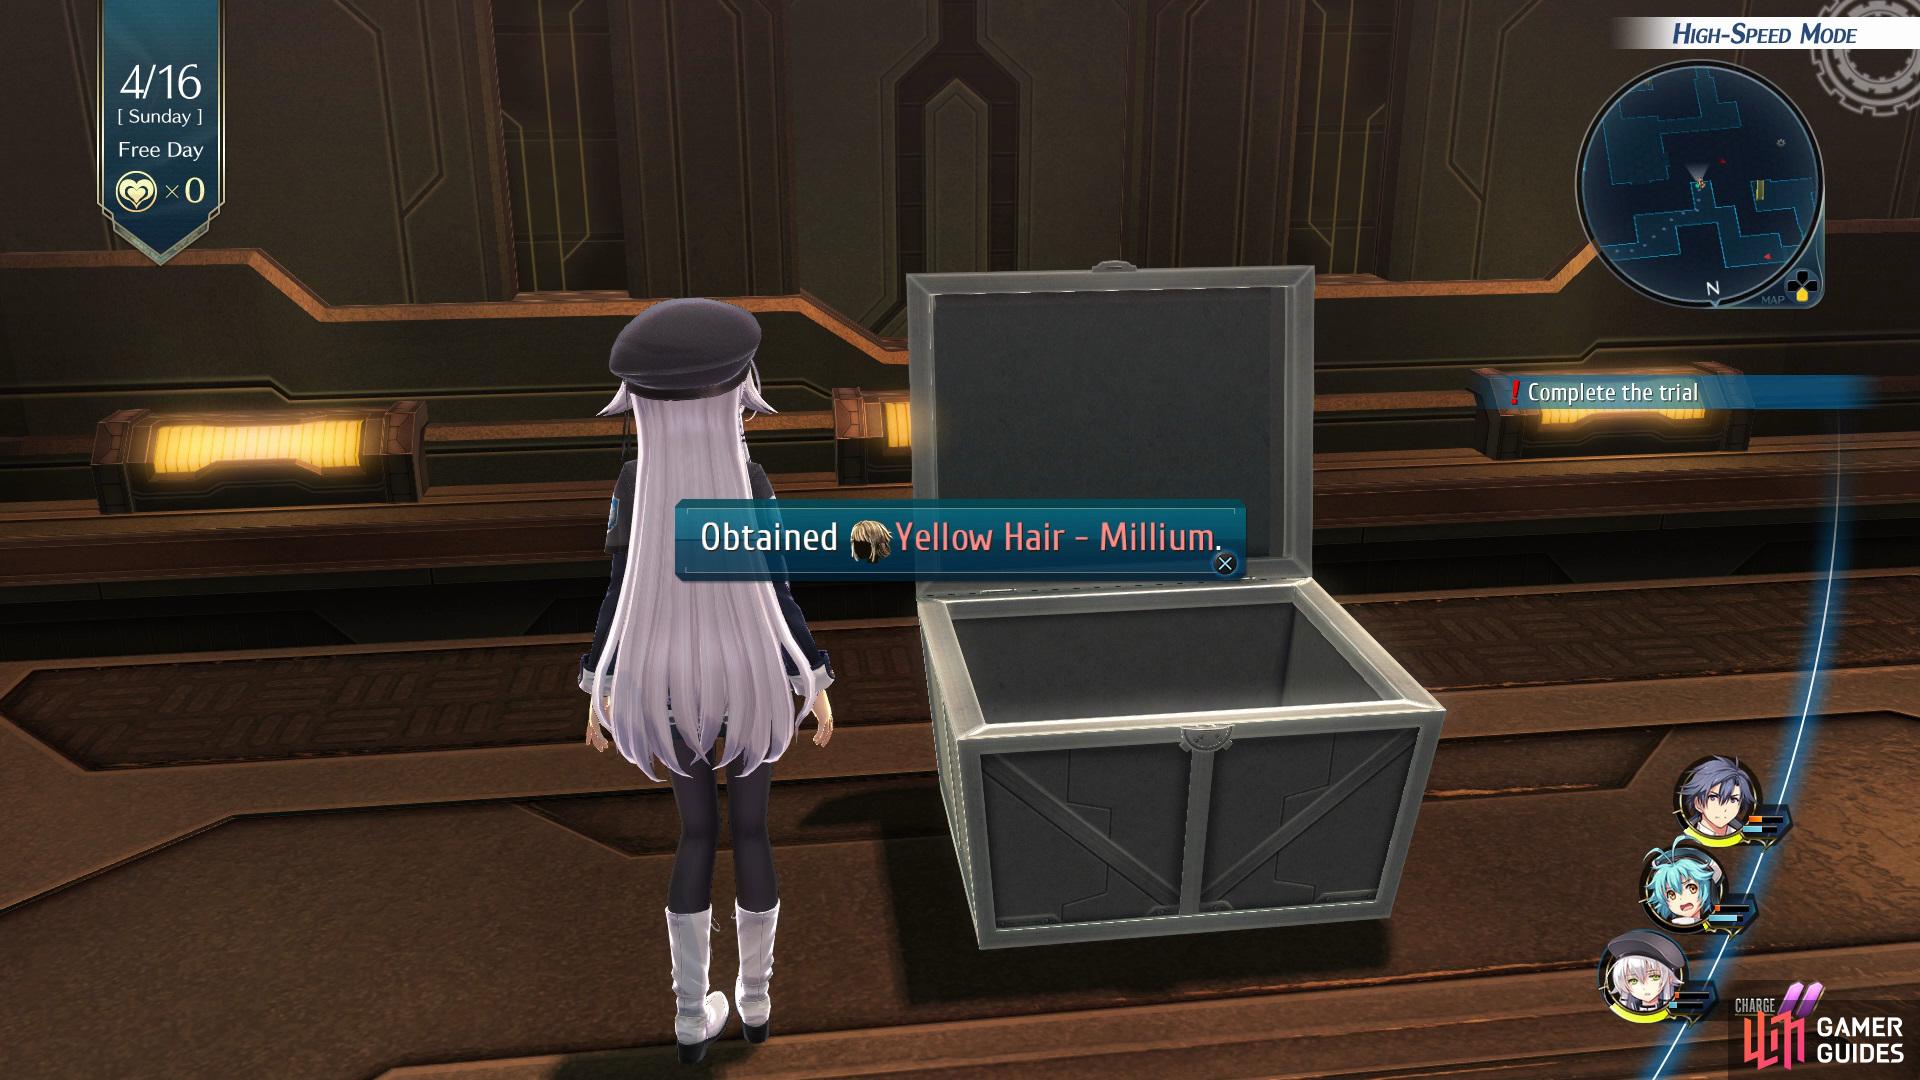
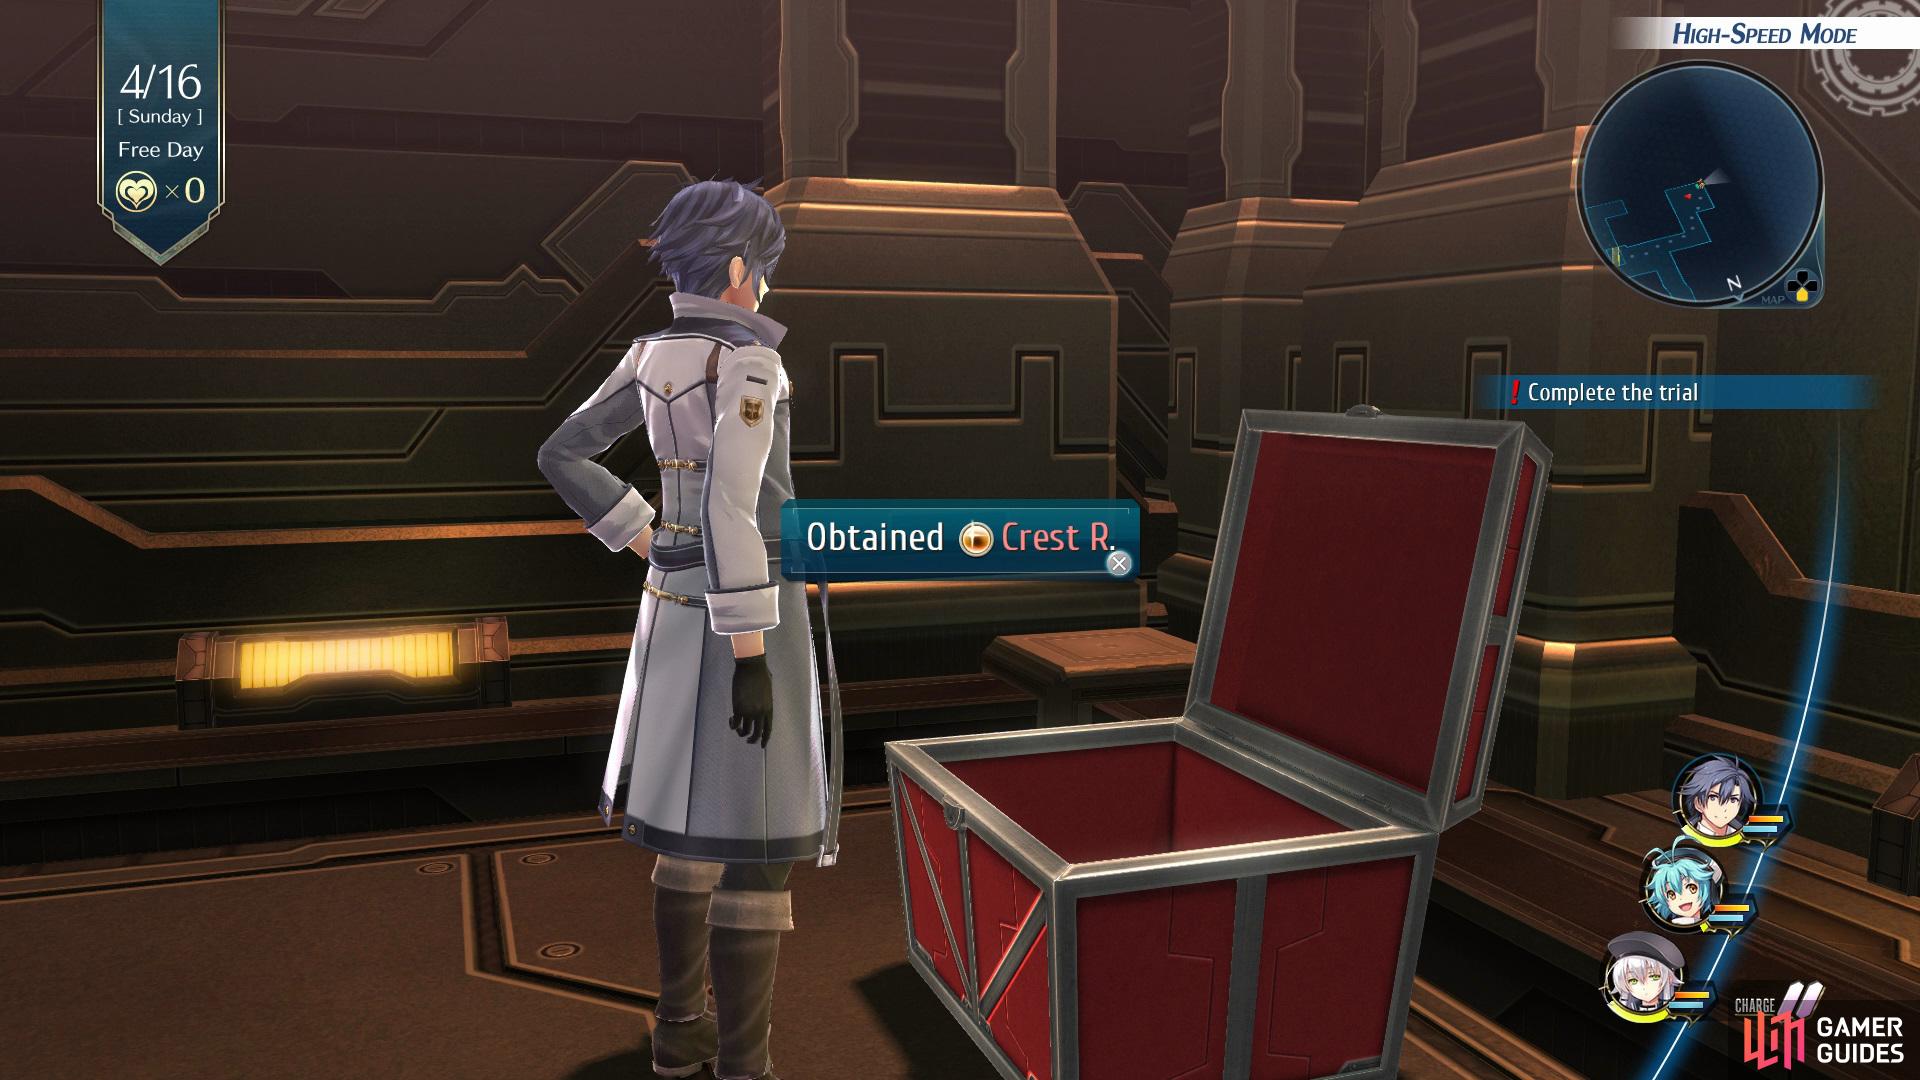
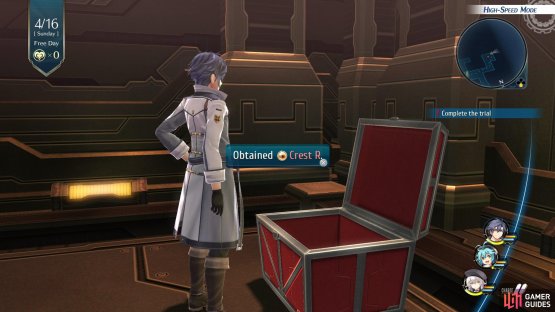
Towards the end of the Keep you’ll find a Chest with the Yellow Hair - Millium inside (left), and then head into the room on the right before going down the ladder to find the Crest R in another Chest. (right)
Take the other path and then head down a short path on the left to find the fourth Chest that has the Yellow Hair - Millium inside, continue following it around and you’ll see a ladder. Before climbing down, take the path on the right to find the final Chest that contains a Crest R which gives you HP+200/DEF+6 while also boosting allies DEF in battle. Go down the ladder down and you’ll find a computer that will say locked on the screen, interact with it to open the shutters around the Keep, now go into Einhel LVL1 - Depths.
Use the Recharging Station before proceeding into the next room. Using the Recharging Station, you can open up some Slots for Rean or Altina to equip your new Quartz but avoid Milium as she won’t be sticking around for long. If you have a slot spare, be sure to equip the Air Strike R you got on Altina, it’s useful for the battle ahead.
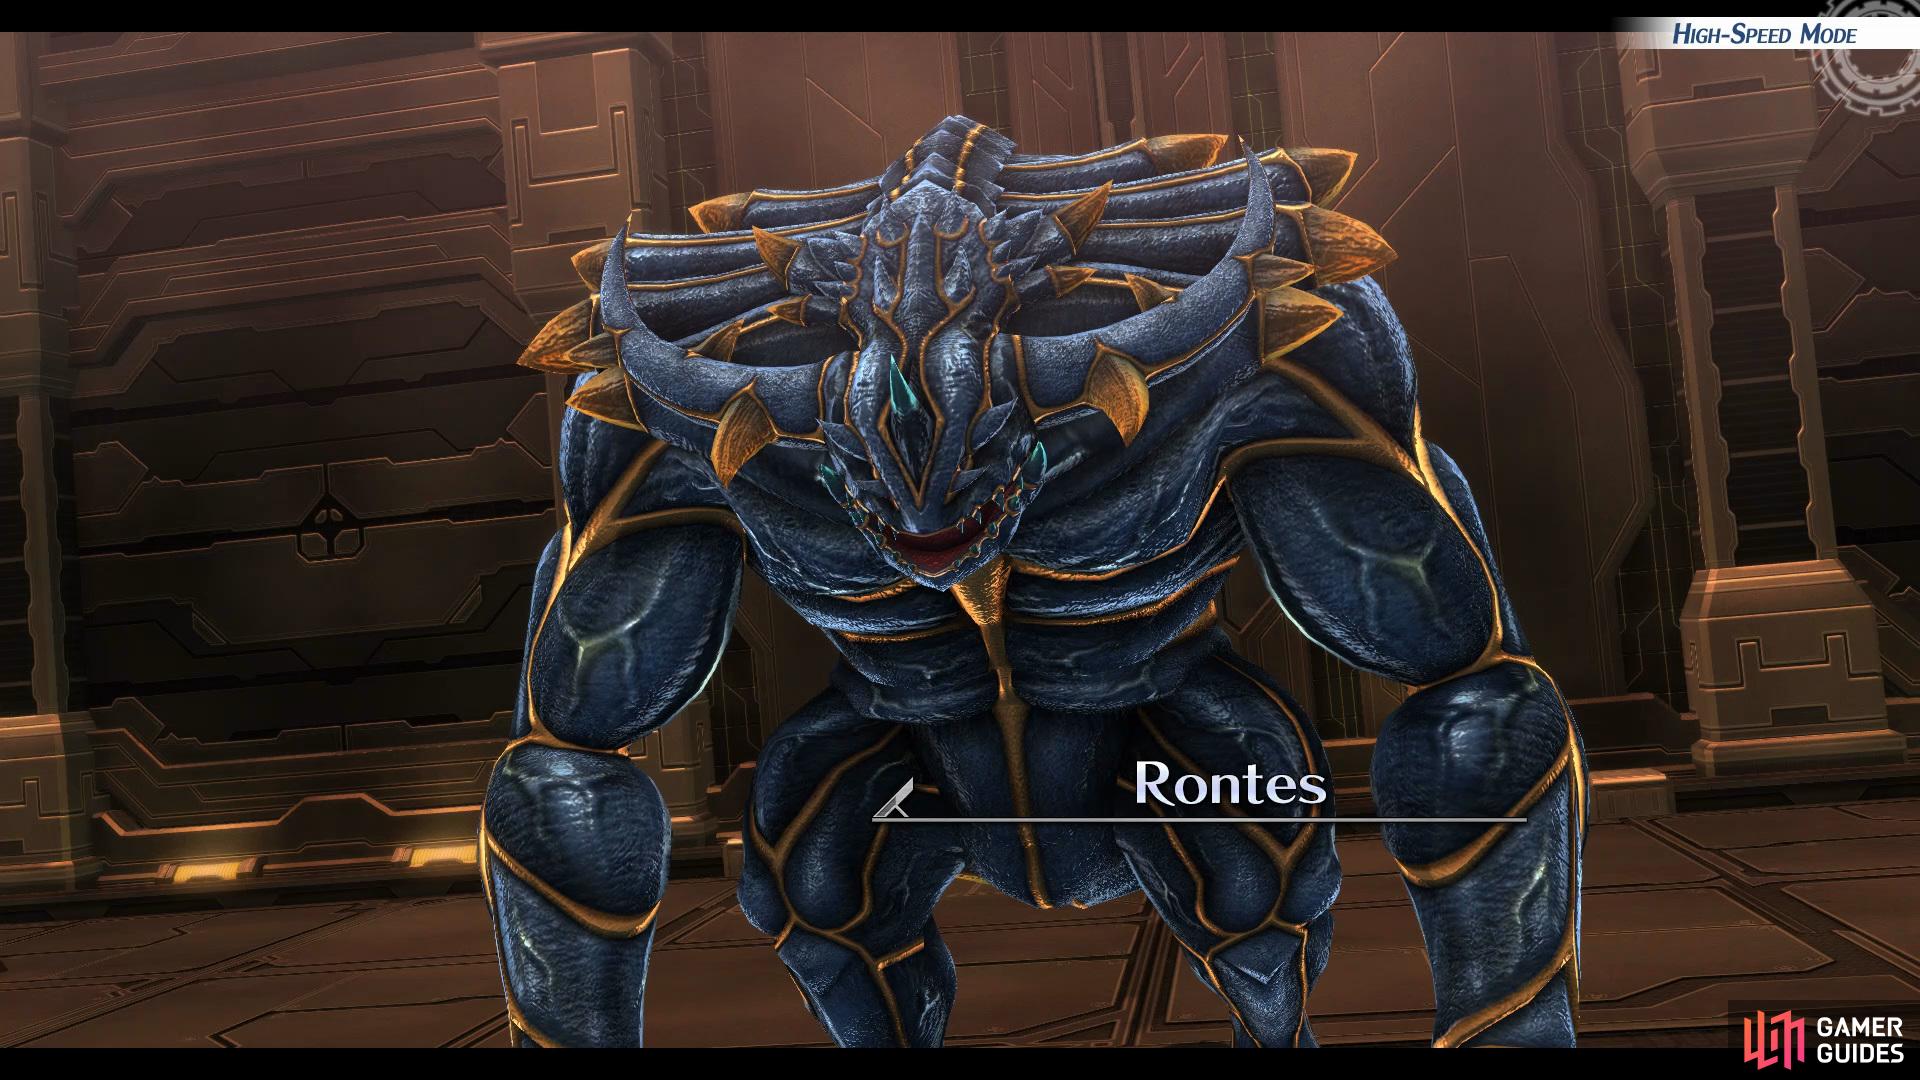
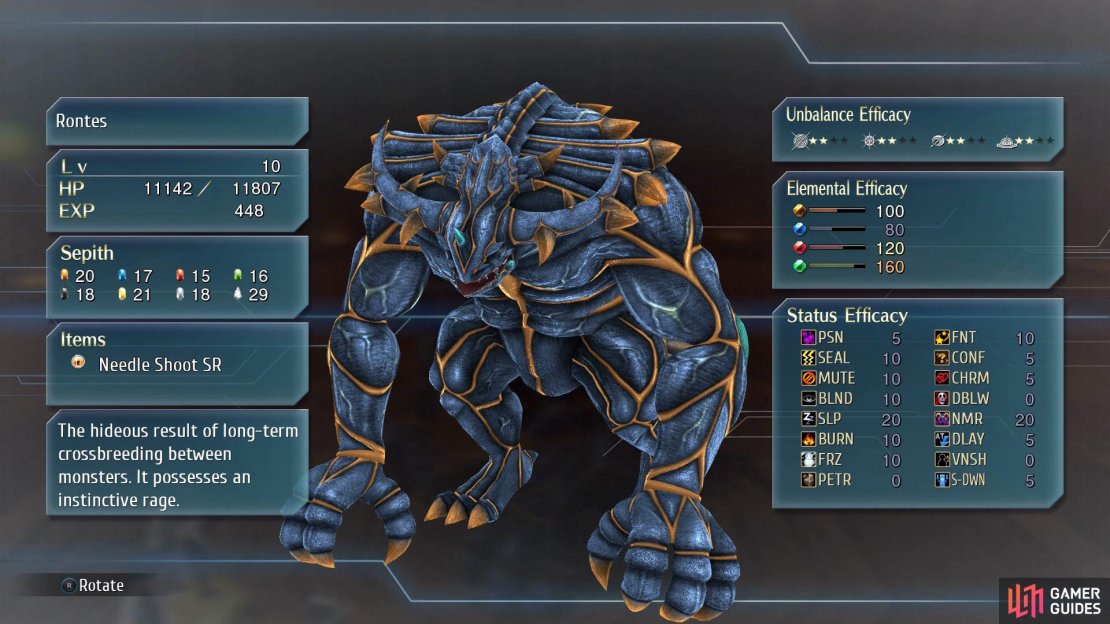
Boss: Rontes
| Enemy | HP | Slash | Thrust | Pierce | Strike | Elemental Efficacy | Item Drop |
|---|---|---|---|---|---|---|---|
| Rontes | 11807 | ☆☆ | ☆☆ | ☆☆ | ☆☆ | E - 100, WA - 80, F - 120, WN - 160 | Needle Shoot SR |
To begin your battle against Rontes you’ll want to use a Battle Scope on him to get an idea of his weaknesses, you’ll notice he is very weak to Wind but only slightly weak to Fire. You’ll want to use the Ebon Crest Brave Order as it will allow you to deflect any incoming attacks against the party as well as restoring 10% HP/EP for four turns. Now you’ll want to break him as quick as possible so try using attacks with a high break rating, for example Millium’s Megaton Press is great as it has an S Rating. He will do a large swipe attack which if you dont have Ebon Crest active will deal a fair amount of damage to anyone in range so make sure to heal up if need be.
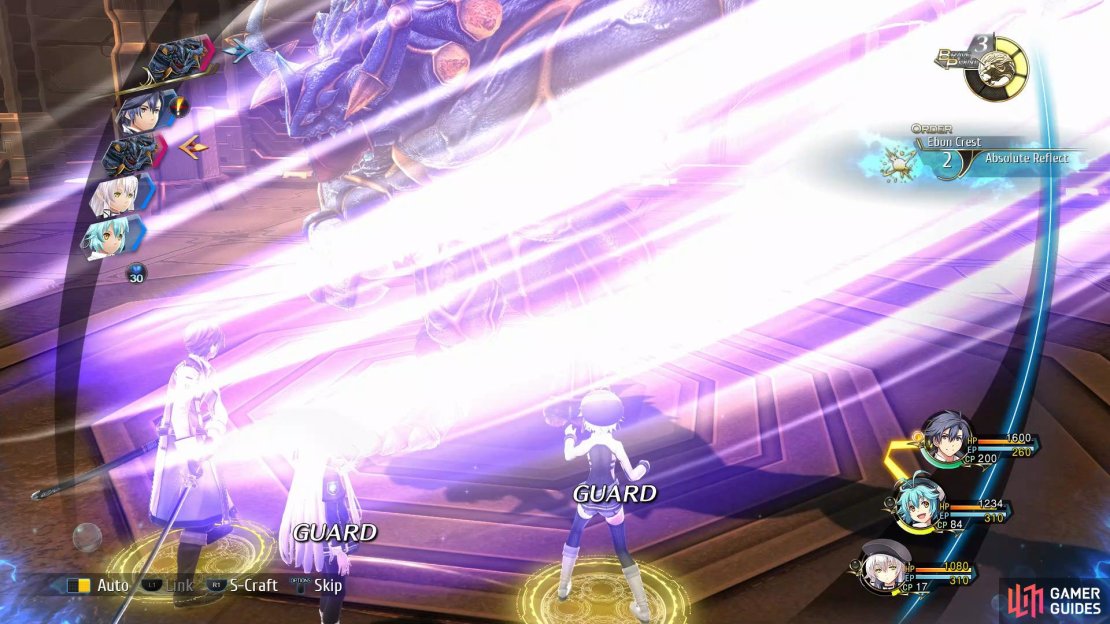
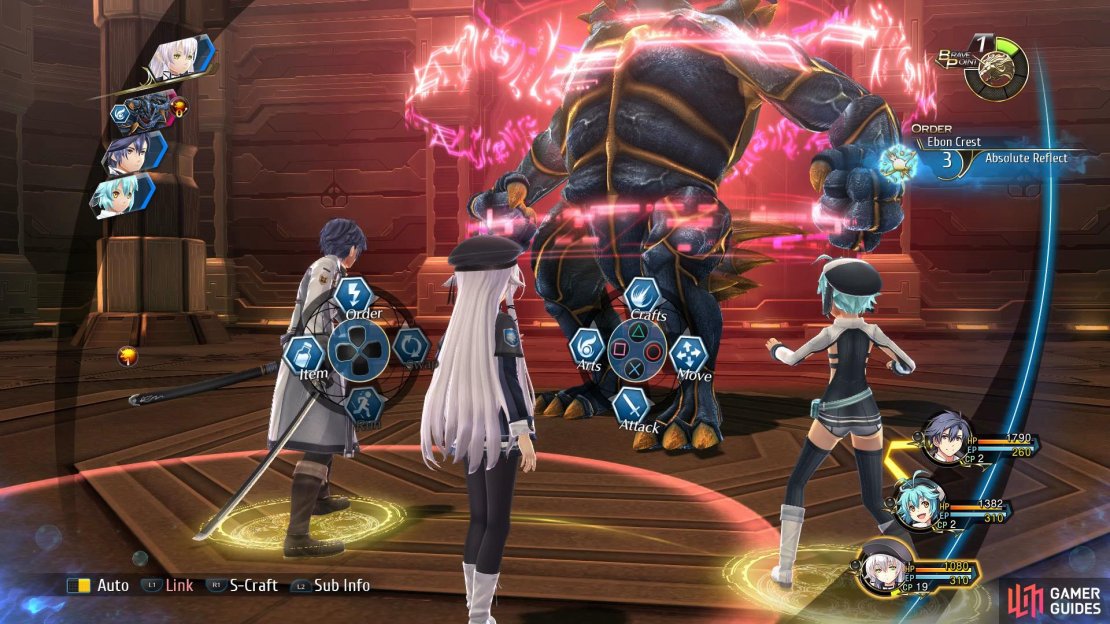
(1 of 3) Use a Battle Scope to find out his weaknesses
When he is broken you’ll want to deal as much damage as possible, so now is the time to make use of those S-Crafts. If he manages to come out of the break status he’ll now attempt to perform a charge up attack, so you’ll want to use Ebon Crest again to reflect the damage. Should you find yourself Poisoned from Poison Breath, use an Antidote right away, the damage really adds up if you leave it on.
- Nightmare Strategy
Your tools are still limited here but hopefully you was able to open up some Slots to give you a bit of a hand. Like most bosses on Nightmare, your Brave Order usage is key here and you’ll want to keep up White Decoration for the majority of the battle to limit the damage that Rontes can put out. Rontes is weak to Wind and your new Air Strike R you obtained should be on Altina to allow her to cast it on him, especially if your turn falls on a Zero EP turn. Make use of Crscent Flash and Megaton Press from Milium to deal large Break Damage or alternatively use Milium’s CP to cast Ultimate Barrier every round to nullify attacks against her. Should Rontes use Poison Breath on you, be sure to Antidote it straight away, the damage really adds up. Be sure you have your S-Crafts ready for when you Break him so that you can deal as much damage before he does Ogre Howl, massively upgrading his stats. If you have BP here, this is the time to use Ebon Crest to reflect it’s attacks back at it.
Leave the Keep
Use Fast Travel to go back to the entrance where you’ll get some scenes and then time will advance to the next day where you’ll go through your first Panzer Soldat Training Session with your team.
Drakkhen II


(1 of 2) Aim for the body when Drakken is in his Default Stance
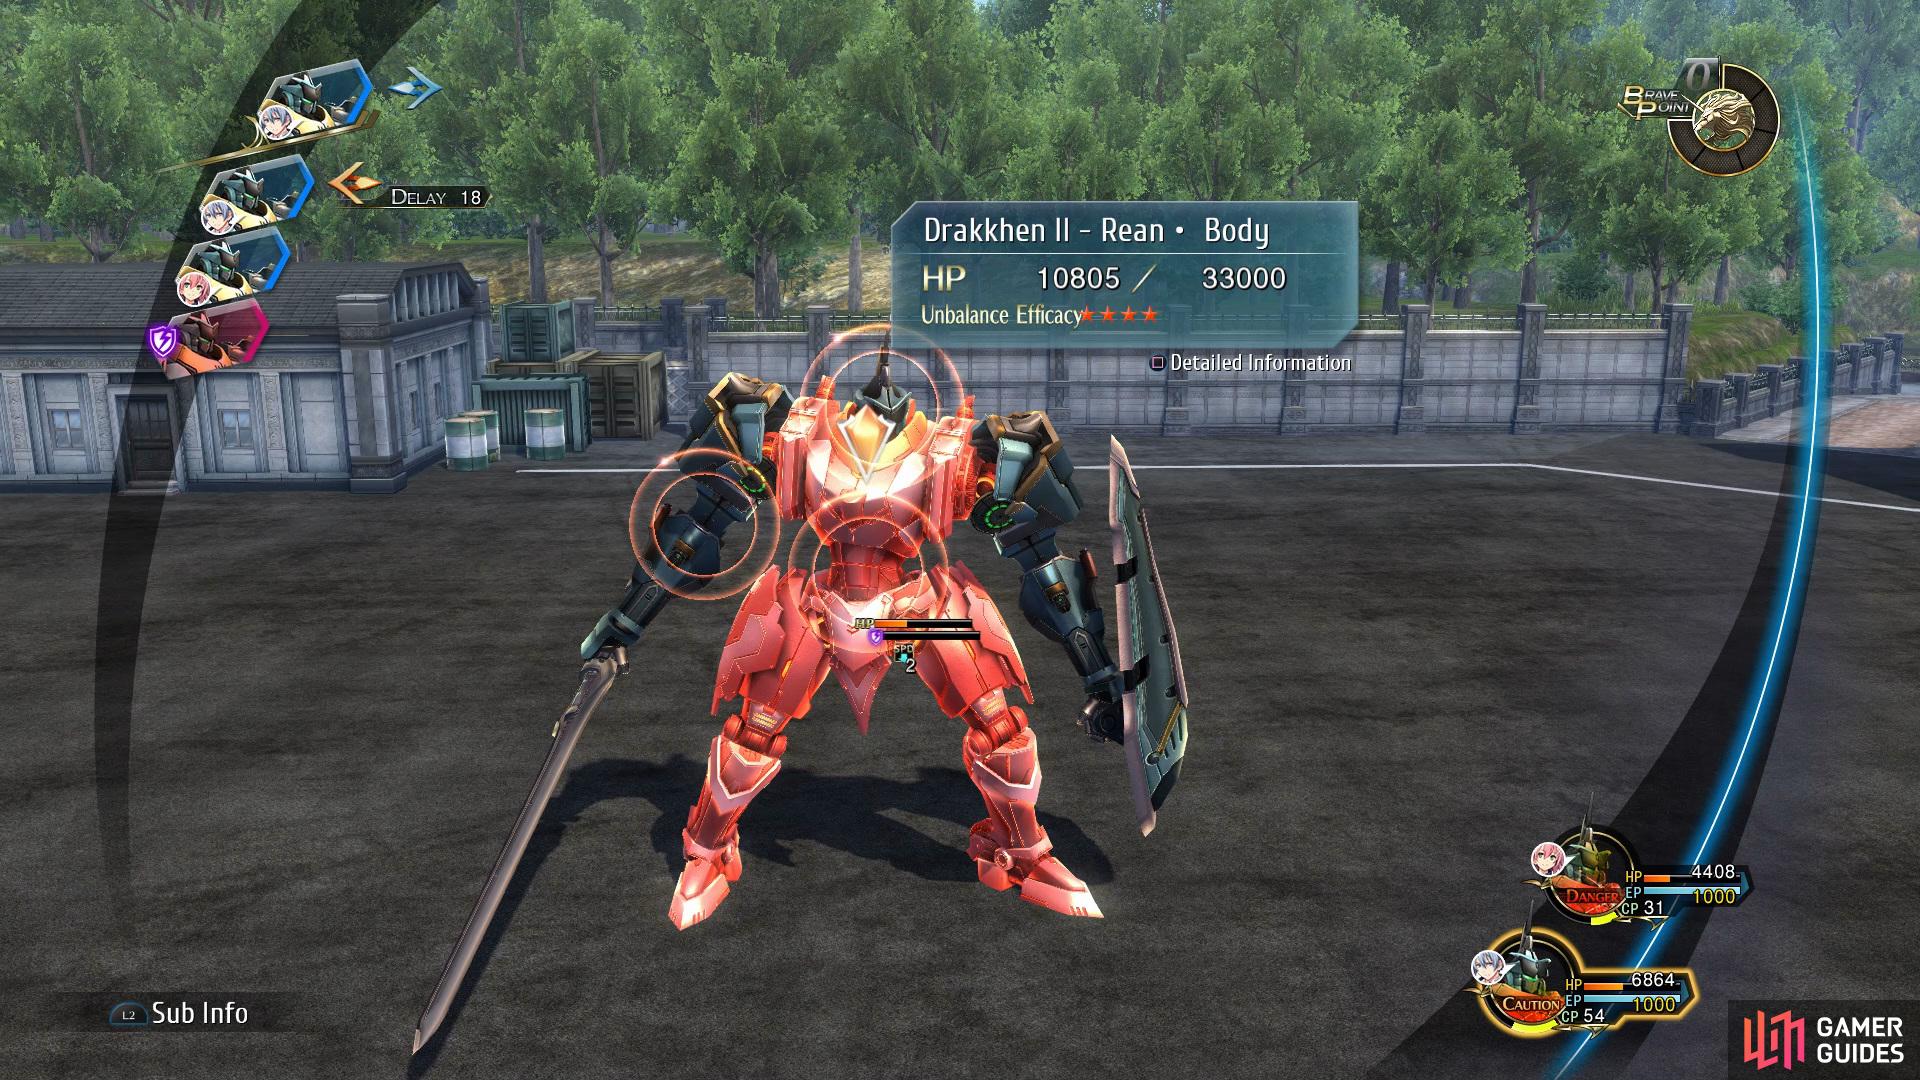
Aim for the body when Drakken is in his Default Stance (left), and then aim for the head when he is in his Charging Stance. (right)
| Enemy | HP | Position | Head | Body | Arm |
|---|---|---|---|---|---|
| Drakkhen II - Rean | 33000 | Default | ☆ | ☆☆☆☆ | ☆☆☆ |
| Charging | ☆☆☆☆ | N/A | ☆☆ |
You’ll have both Juna and Kurt for your first introduction to Mech battles and if you’re new to the Cold Steel series, there’s a few things to learn. As a rule, the enemy will take up different positions before it takes it’s turn, this will change the current weakness of it and you’ll need to strike it to build up BP at which point, you’ll be able to unleash a Finisher. This is the general rule that these battles follow and one you should look to abuse.
For this introductory battle, focus on attacking the Body when the Drakkhen is in it’s default position but then shift to the Head for when it begins to Charge an attack. More importantly, always save your CP for a Craft that can Impede, this should take priority over attacking a weakness when an enemy is charging. Follow these simple steps and you’ll have no issue taking the Drakkhen II down.
Hector Mk. II


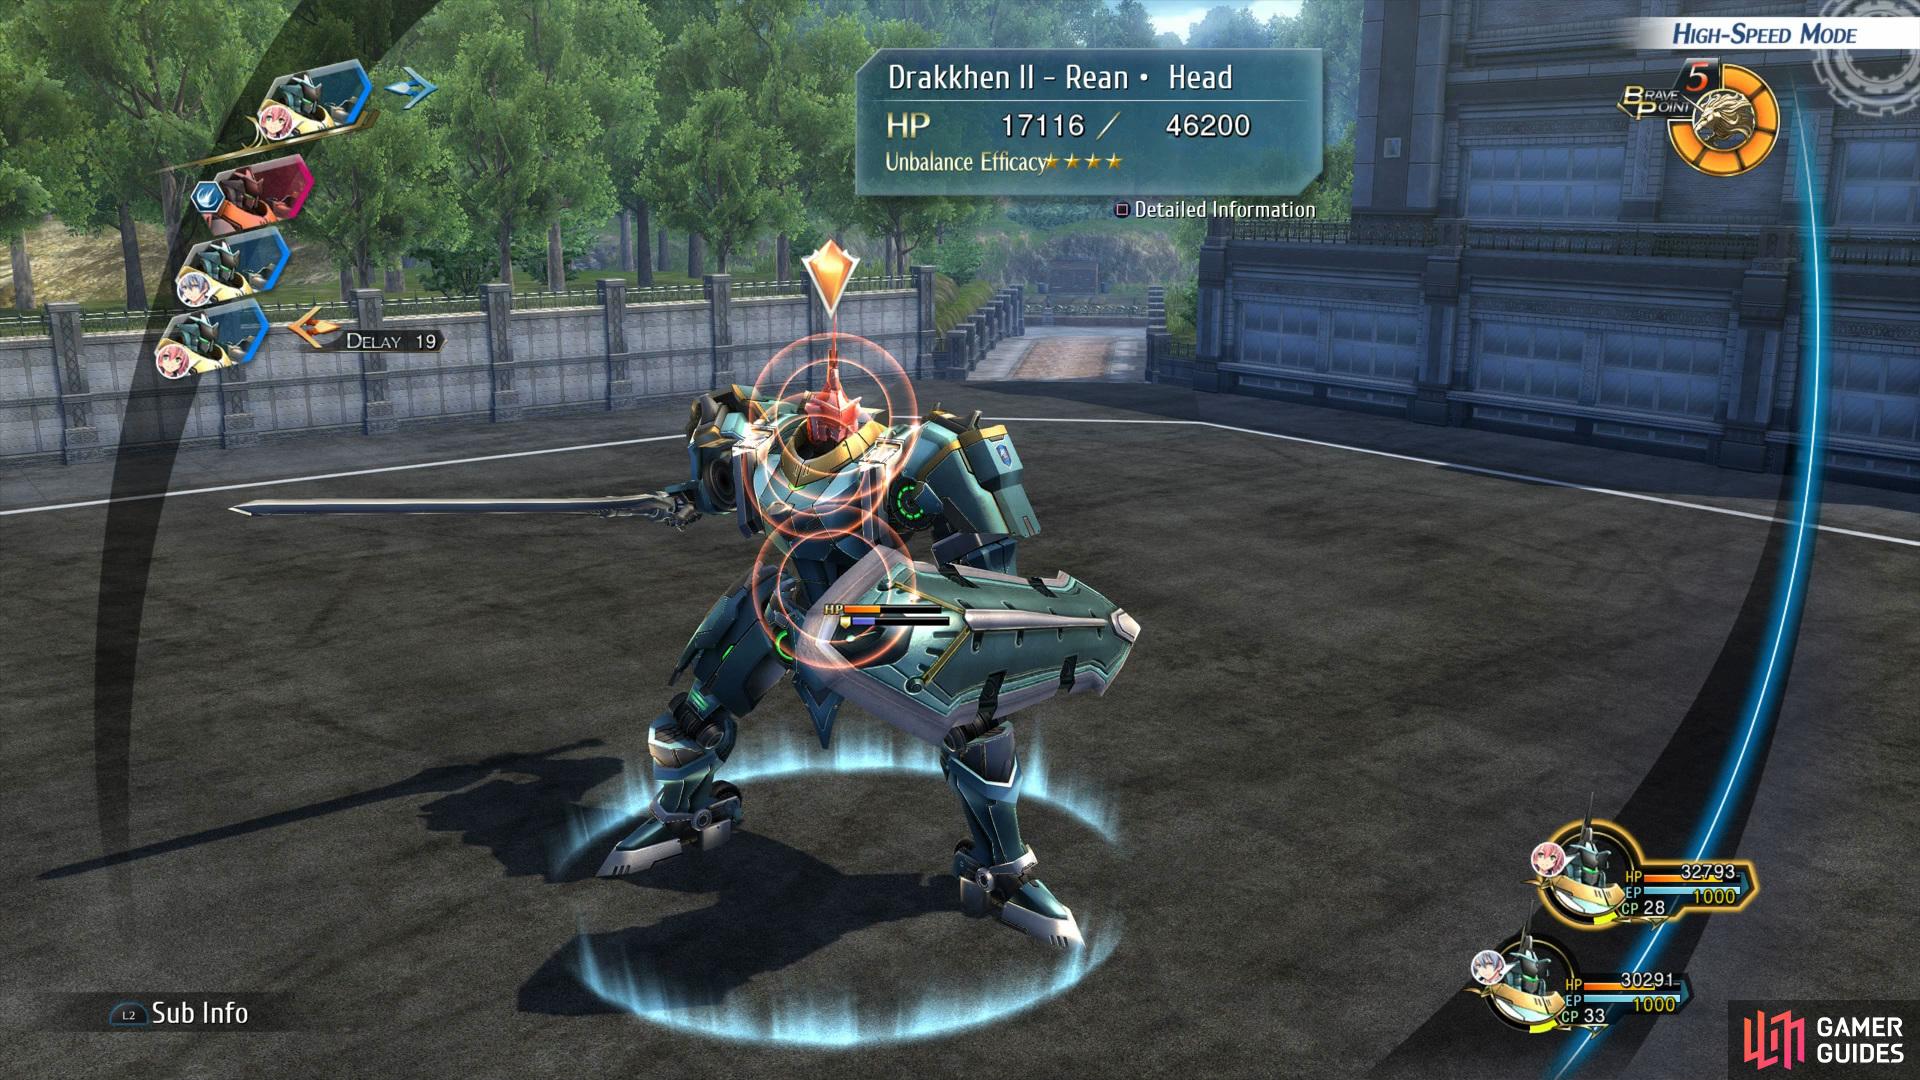
(1 of 2) Aim for Hector’s body when he is in his Default Stance
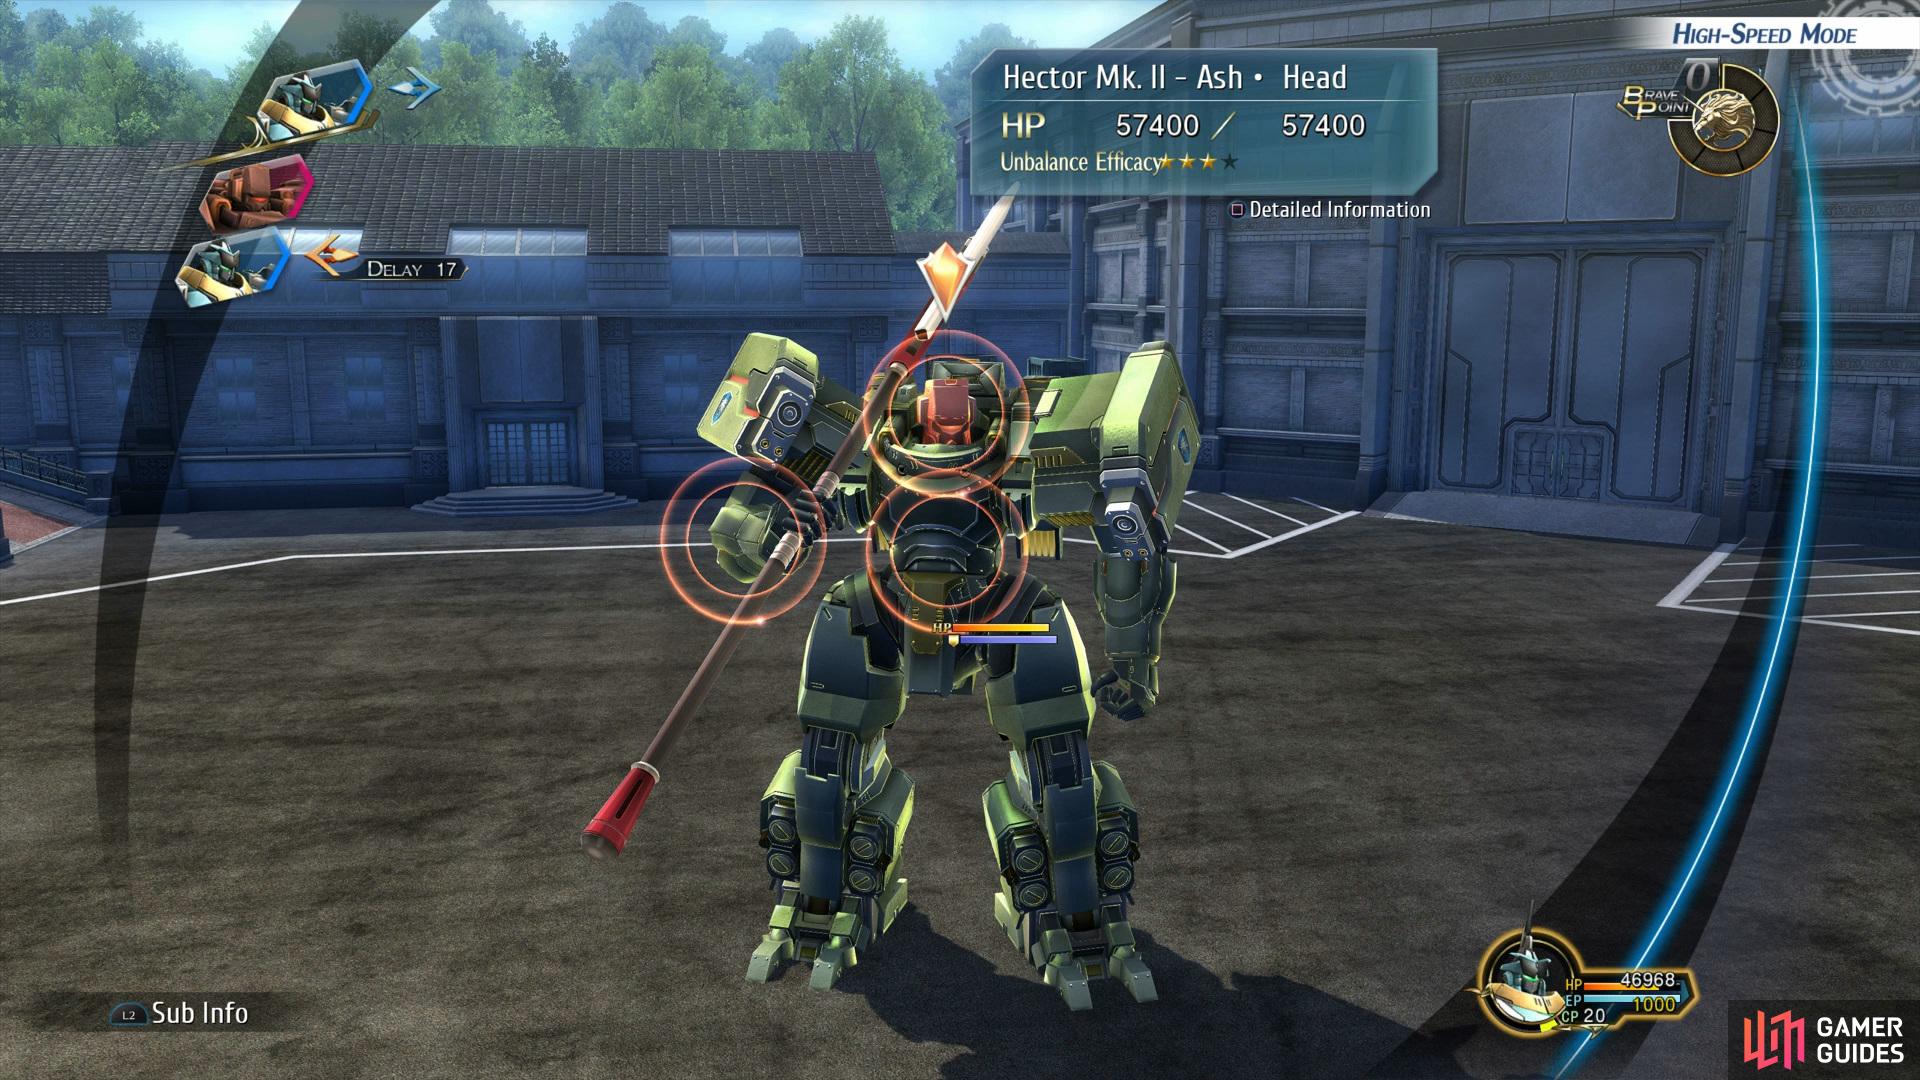
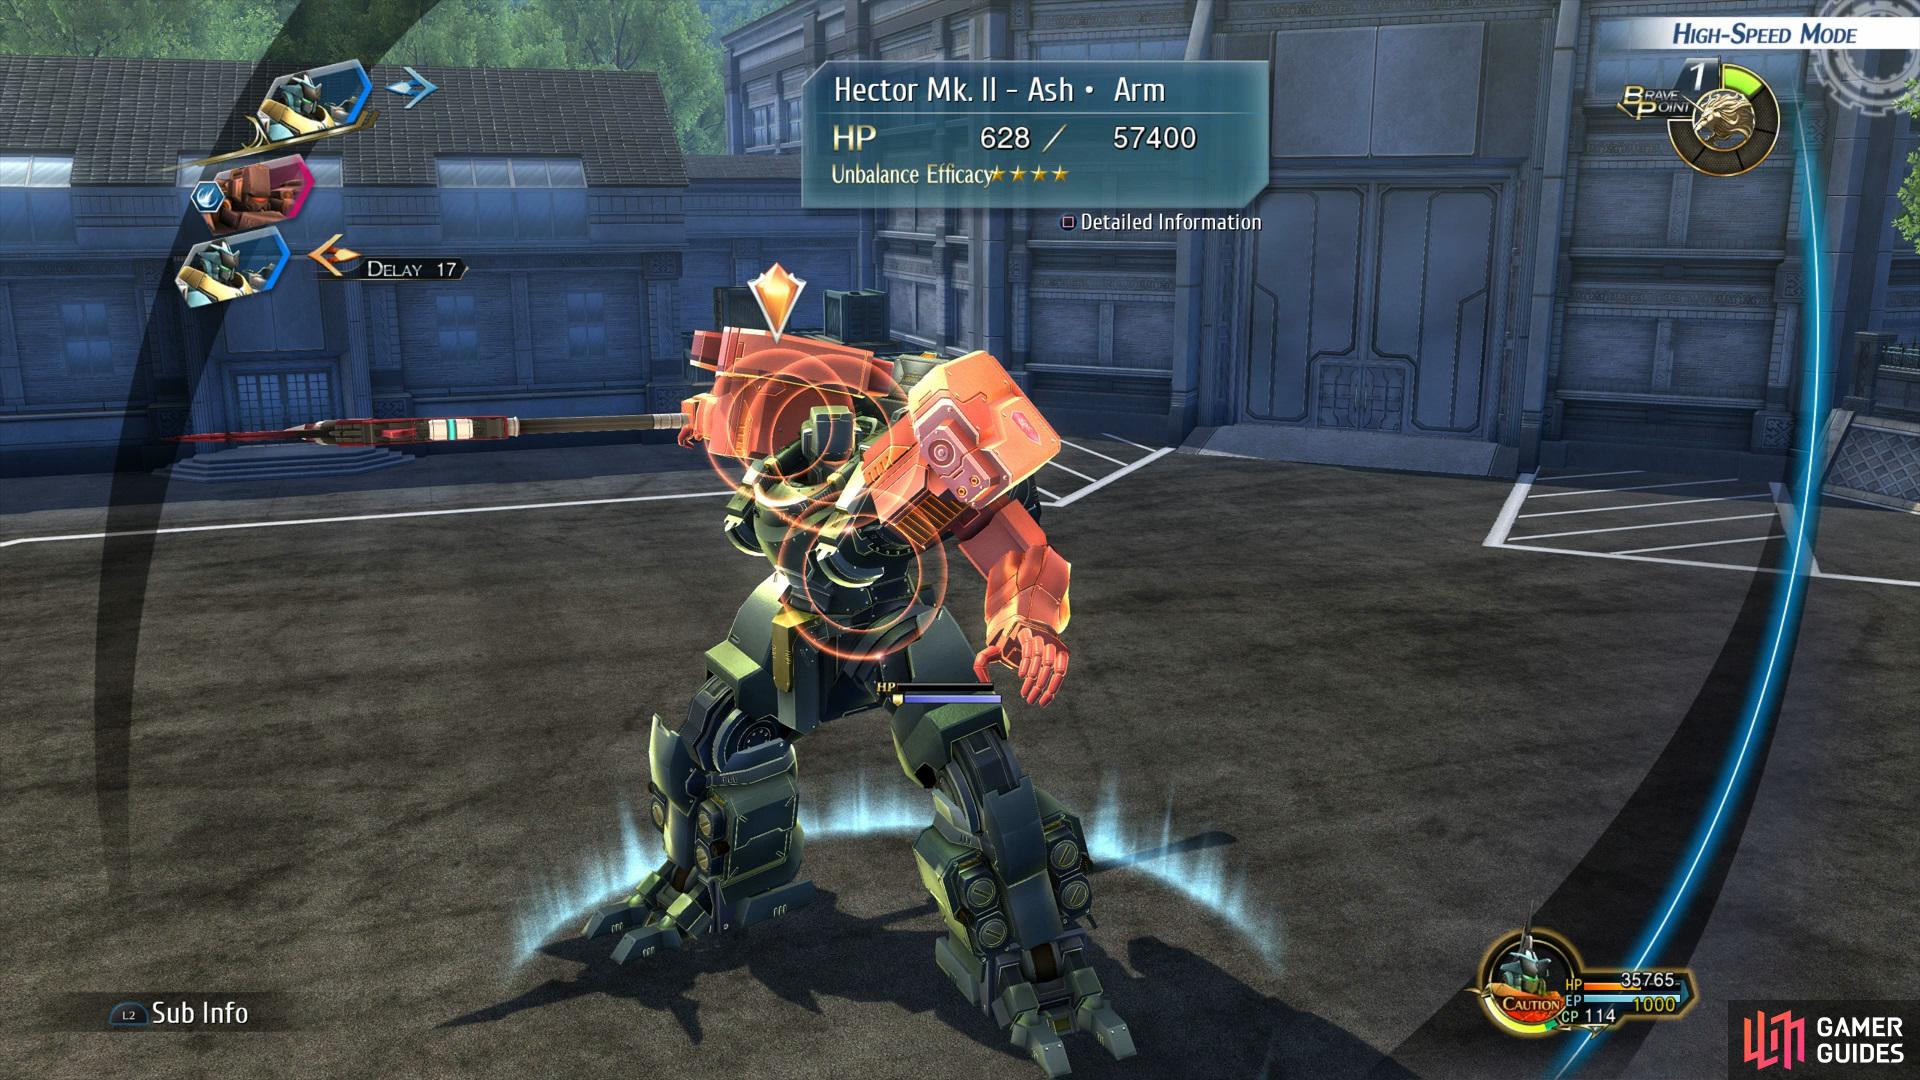
Aim for Hector’s body when he is in his Default Stance (left), and then shift over to the arms when he is in his Charging Stance. (right)
| Enemy | HP | Position | Head | Body | Arm |
|---|---|---|---|---|---|
| Hector Mk. II - Ash | 41000 | Default | ☆☆☆☆ | ☆ | ☆☆ |
| Charging | N/A | N/A | ☆☆☆☆ |
In order to get through this you’ll need to play close attention to the oppostion’s stance, so when he is in his Charging Position you’ll want to attack it’s Arms and then aim for the Body when it is in it’s Default Position. Make sure to use an attack to Impede him or Defend when the enemy has a Red Line focusing on that character, as this means they are about to use a Craft which is very powerful.
By aiming for the correct body parts to attack you’ll crit them which will allow you to perform a follow up and build up you BP, when you have three or more BP you can use a Finisher which deals plenty of damage. The Hector deals a lot of damage, especially during it’s Charging Position so be sure to Defend when it’s attacking you if your HP is low.
Following the battle, more scenes will take place and time will pass to the day of your Field Exercises. You’ll also be given a Quest Report at this page, you can use this to determine if you’re on the right course for achieving an S Rank at the end of the Chapter (if you’re following this guide, you’ll have no issues).
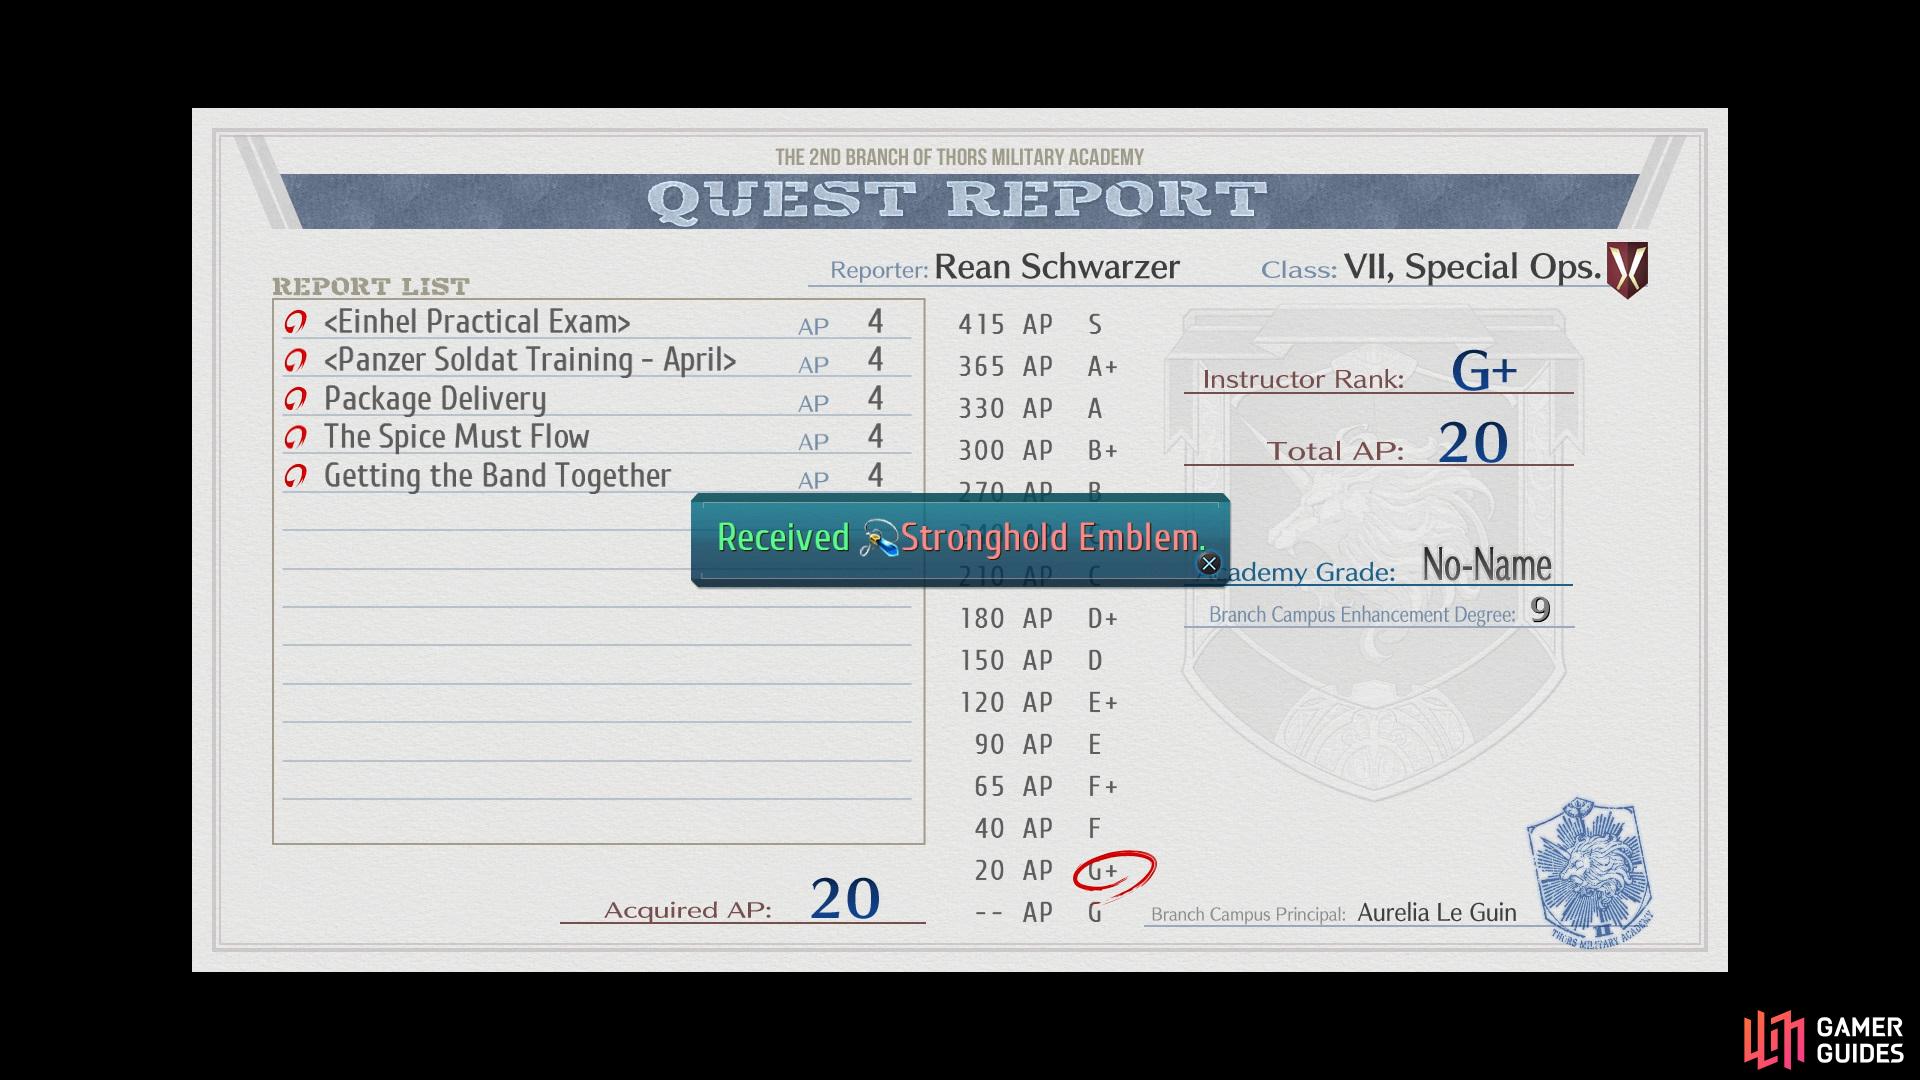
Upon wrapping up the Free Day you’ll be given the Quest Report.
No Comments