

| Enemy | HP | Slash | Thrust | Pierce | Strike | Elemental Efficacy | Item Drop |
|---|---|---|---|---|---|---|---|
| Jeweled Ripper | 696 | ☆☆ | ☆☆☆ | ☆☆ | ☆ | E - 180, WA - 100, F - 80, WN - 100 | Beast Flesh, Curia Balm |
| Carabase | 1049 | ☆ | ☆ | ☆☆☆ | ☆☆ | E - 80, WA - 140, F - 200, WN - 140 | Chitinous Shell, U-Material |
| Juicy Organ | 1691 | ☆☆☆☆ | N/A | ☆☆ | N/A | E - 180, WA - 120, F - 100, WN - 80 | Globby Fat, Clear Gelatin |
| Fate Spinner | 3207 | ☆☆ | ☆☆☆☆ | ☆ | ☆☆ | E - 100, WA - 60, F - 140, WN - 180 | Chitinous Shell, Power Potion |
| Gigant Organ | 3961 | ☆☆☆☆ | N/A | ☆☆ | N/A | E - 180, WA - 120, F - 100, WN - 80 | HP 2 |
Complete the trial
During this cutscene you’ll meet your class for the first time, Juna, Altina, and Kurt. After the cutscene has ended you’ll need to take on Einhel Keep, this will allow you to learn all of the controls for each of the characters. Your first task will require you to press [Triangle] to open up your menu and then go over to the Orbment tab, here you’ll want to click the Quartz section and insert the Brigid Quartz and unlock Class VII Begins Anew!.


Exit the menu and you’ll enter another cutscene, after it has finished you’ll be given a short introduction on the Notebook and then you’re ready to tackle this Keep. Head through the door ahead and follow the path around until you come across an enemy, here you’ll be given another short introduction on Assault Attacks. Initiate the battle against the Jeweled Ripper and hit it once with a normal attack, you’ll now be given a tutorial on Crafts. Use these recently acquired skills to take out this enemy.
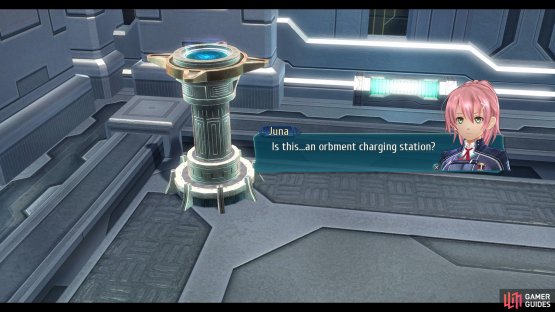

(1 of 2) Use the Charging Station to restore any lost HP or CP


Use the Charging Station to restore any lost HP or CP (left), and then open the Chest to obtain the Breath R. (right)
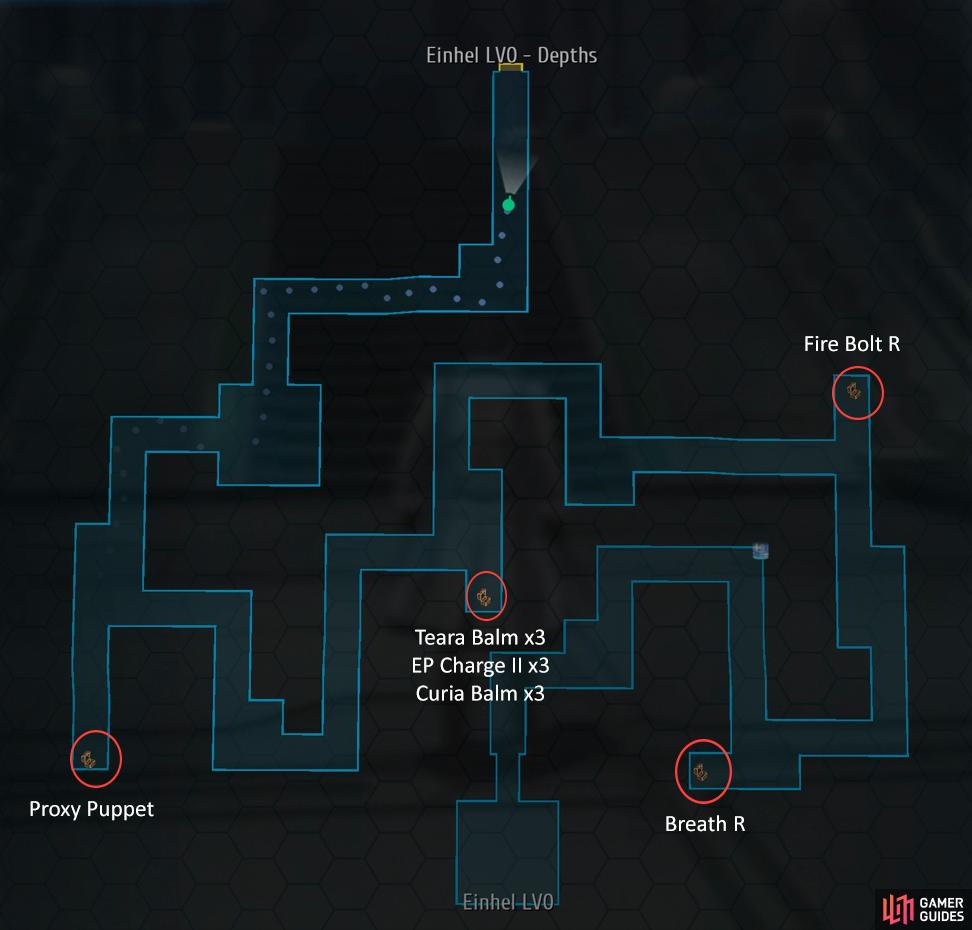
Continue further along the path until you reach a Charging Station, here you’ll be given a short tutorial on how it works, now you’ll want to interact with it and restore your HP/EP. Proceed into the next open room and you’ll find another enemy, initiate the battle and you’ll be given a tutorial on Arts, inspect the enemy to find out it’s weaknesses, in this case the Carabase is extremely weak to Fire. Upon defeating the enemies go over to the right corner and open the Chest to obtain a Breath R. Make your way into the next room to begin the battle against a Juicy Organ.
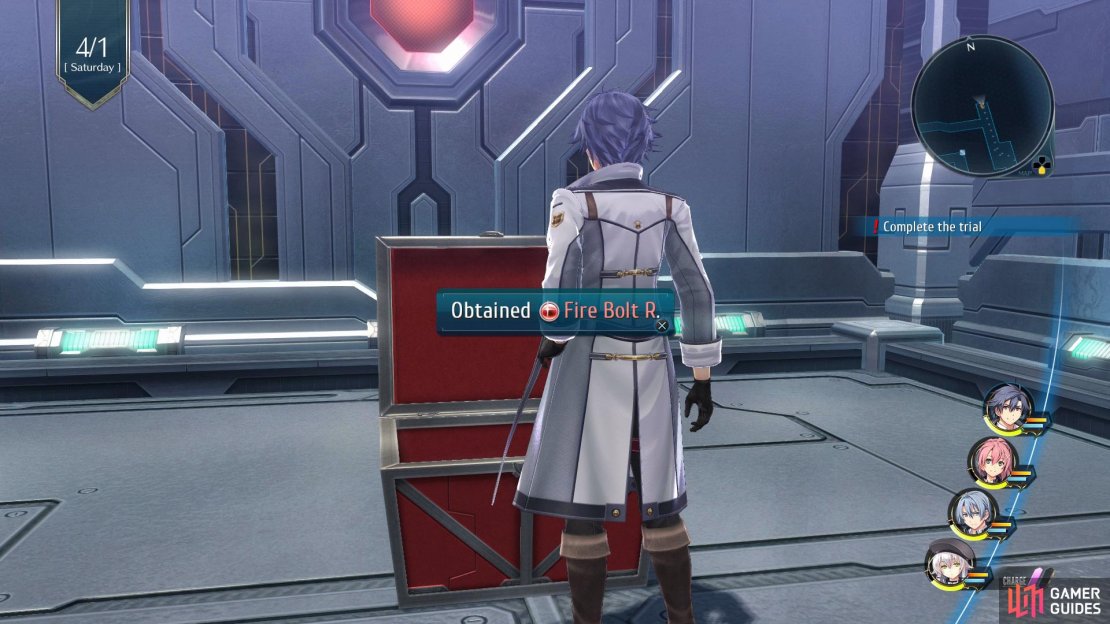

(1 of 3) Open a Chest to obtain the Fire Bold R
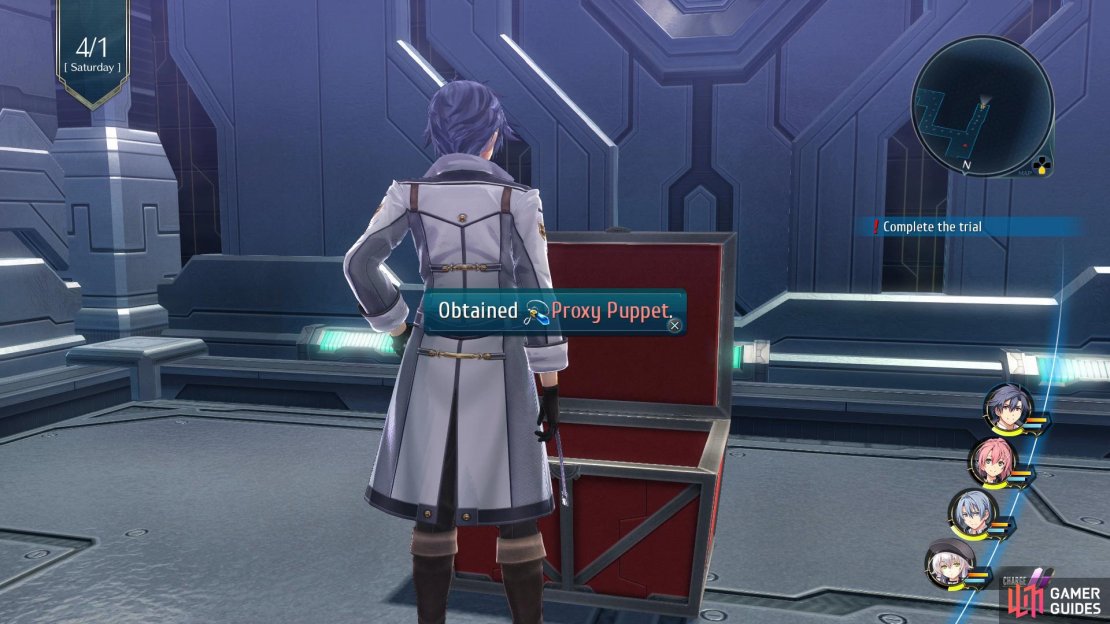
Switch over to the Gunner Mode on Juna’s weapon and inspect the enemy to find out that it is weak to Earth, now use the Needle Shoot Art on it to deal a nice chunk of damage. After defeating the enemies you’ll be given some more detail on Juna’s weapon change ability. Continue to the end of the corridor and open the Chest to obtain a Fire Bolt R, now keep going along the path until you come across a new enemy, Fate Spinner. This enemy is weak to Wind/Fire, so Rean’s Fire Bolt and Kurt’s Air Strike are the best Arts to choose for this opponent. After the enemies have been slain you’ll be given some information on Combat Links. Open another Chest that’s located in the back corner to obtain x3 Teara Balm, EP Charge II, and Curia Balm, now continue onwards until you reach a point in the path that allows you to go left and open up the Chest to obtain a Proxy Puppet.
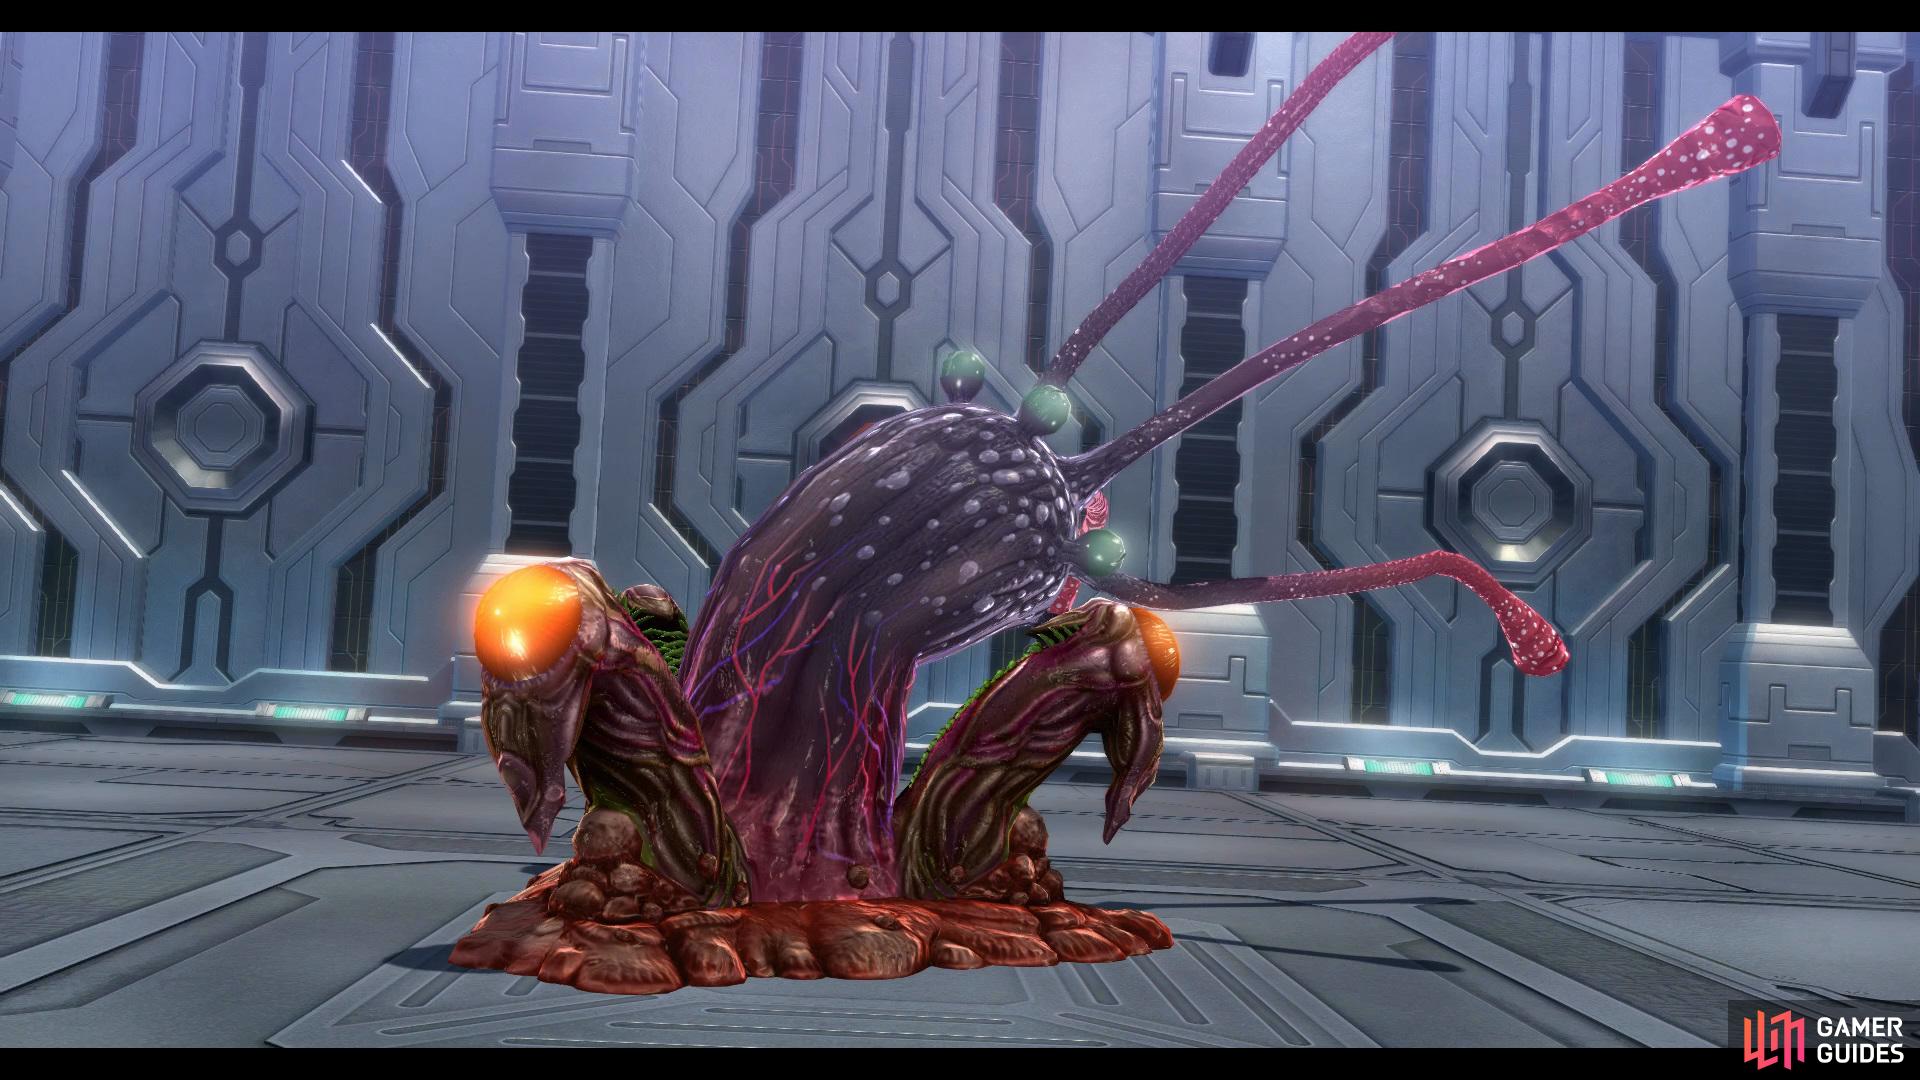
Sub-boss: Gigant Organ
| Enemy | HP | Slash | Thrust | Pierce | Strike | Elemental Efficacy | Item Drop |
|---|---|---|---|---|---|---|---|
| Gigant Organ | 3961 | ☆☆☆☆ | N/A | ☆☆ | N/A | E - 180, WA - 120, F - 100, WN - 80 | HP 2 |
| Juicy Organ x4 | 1691 | ☆☆☆☆ | N/A | ☆☆ | N/A | E - 180, WA - 120, F - 100, WN - 80 | Globby Fat, Clear Gelatin |
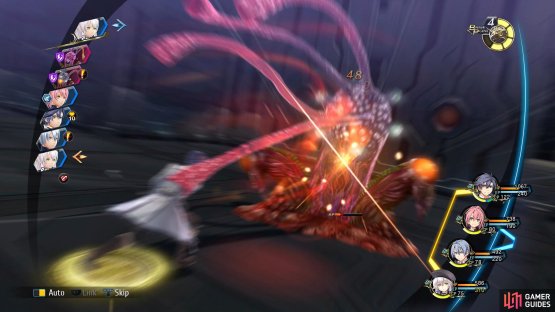
Proceed into the next room and you’ll face a Gigant Organ, this enemy is really weak to Earth so Juna’s Needle Shoot Art is a good attack to go with here. Try to use Crafts that hit multiple enemies here so to put more than one in Break at a time. After the enemies have been defeated you’ll unlock the ability to perform S-Crafts, so you’ll want to hold [R1] and select 7th Slash - Fallen Leaves to defeat the enemy in one fell swoop.
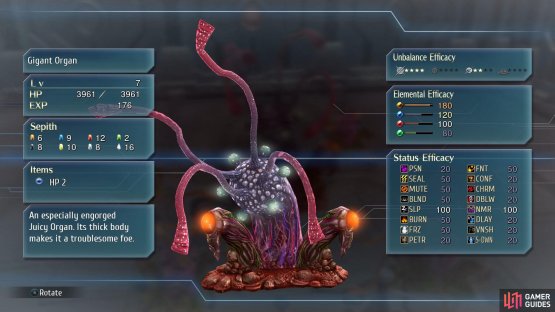
(1 of 2) Inspect the boss to find out its weaknesses


Inspect the boss to find out its weaknesses (left), and then heal up after it has performed an attack. (right)
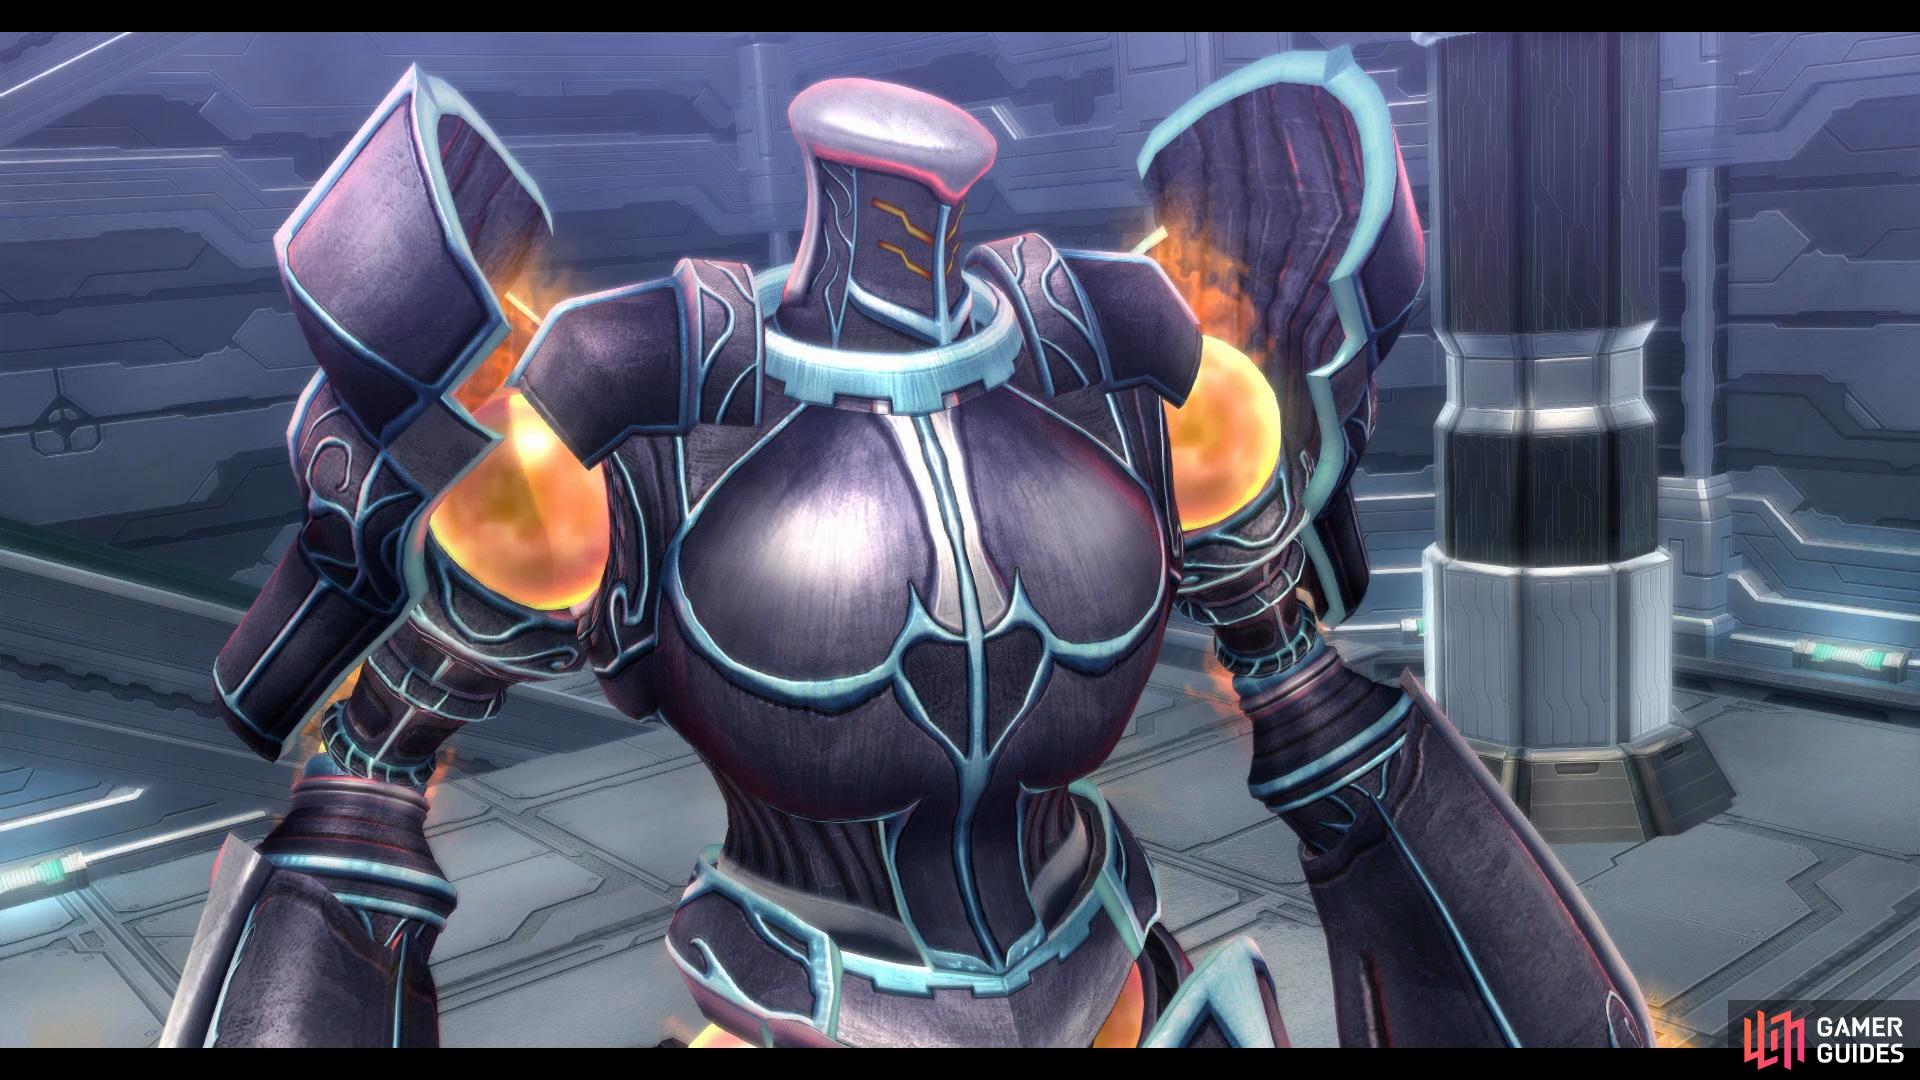
Continue following the path around until you enter a small corridor, make use of the Charging Station before entering the next room as you’re about to face the boss of this dungeon, Magic Knight Direwolf.
Boss: Magic Knight Direwolf
| Enemy | HP | Slash | Thrust | Pierce | Strike | Elemental Efficacy | Item Drop |
|---|---|---|---|---|---|---|---|
| Magic Knight Direwolf | 8857 | ☆☆ | ☆☆ | ☆☆ | ☆☆ | E - 180, WA - 120, F - 80, WN - 120 | Analyze SR |
Before performing any action on this boss you’ll want to inspect it using a Battle Scope to see that it is very weak to Earth with 180 but slightly weak to Water and Wind with 120, however, he is resistant to Fire with 80. Juna’s Needle Shoot and Kurt’s Air Strike are the best Arts to choose for this fight. Eventually the Knight will enter an Enhanced State which will make him easier to Break but as a result of this he’ll be able to deal more damage, now you’ll want to choose any Crafts that have a hight break rating, so Rean’s Crescent Flash and Kurt’s Rain Slash are good options as they both have an A rating.


(1 of 4) Use Battle Scope on the boss
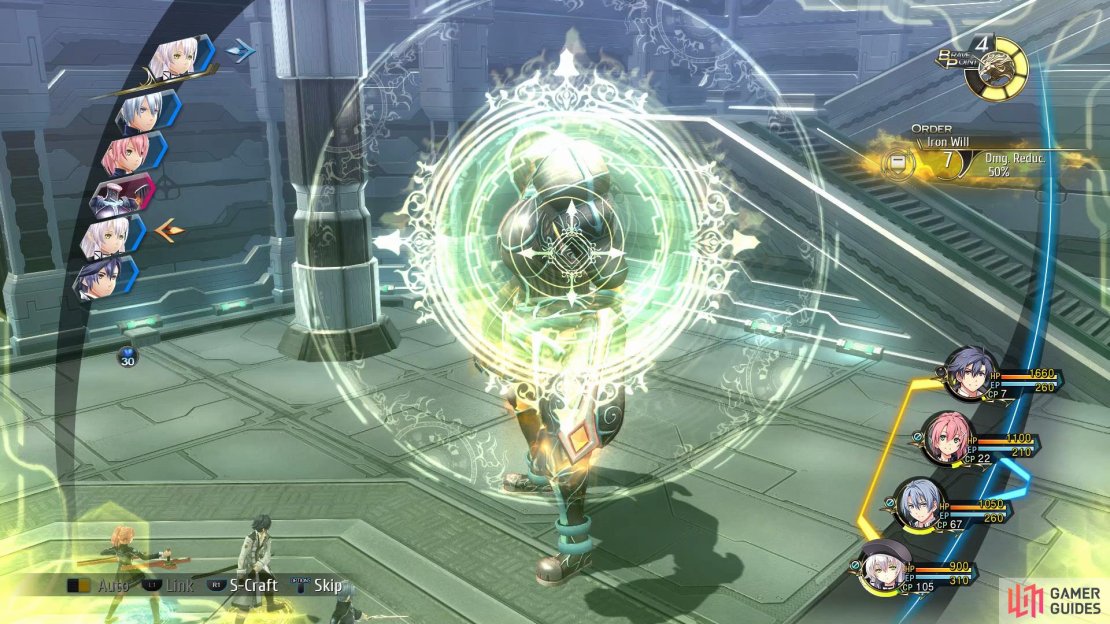
You’ll want to make use of the two Brave Orders you have here, these strong abilities will allow you to buff yourself to deal with it’s threat better. Iron Will should be used until you manage to break it, then switch to using Raging Fire to deal more damage at this stage.
Once the boss has been broken you’ll want to make use of the normal attack as it will be a guaranteed crit which means you can follow up with a Link Attack. If you don’t manage to kill him the first time around he may attempt to charge up an ability of his own, so you’ll want to quickly perform a Craft that can Impede to counter it. Juna’s Cross Break is a great choice as it has a 100% Impede chance. Likewise, Altina’s Brionac is helpful to decrease the DEF of the boss, allowing you to pile on more damage.
Nightmare Strategy
Your tools are limited here, being the first major boss of the game but you’ll want to make good use of the Brave Orders available to you. Make use of Iron Will at all times until you manage to Break him and then switch to Raging Fire to pump out as much damage as possible during this state. This is a prime time to bust out Rean’s S-Craft, especially if you can time it on a Critical Bonus. Direwolf is at it’s most deadly after it enhances so be sure to switch back to Iron Will and keep your HP high at all times, you may not get a chance to break it a second time before you defeat it.
Following the battle, the exercise will come to an end and the students will declare their motivations for joining Class VII. More scenes follow as the Prologue comes to an end and unlock Spring Once Again.

No Comments