| Enemy | Species | Items |
|---|---|---|
| Baskania | Corrupt | Mati, Scalestone, Philosopher’s Stone, Alchemist’s Water |
| Gust Hornet | Insect | Bee Stinger, Nectar, Amber |
| Maidenly Blossom | Plant | Nectar, Mint, Poison Hemlock, Laurel Tree |
| Melusine | Machine | Parchment, Taffeta Ribbon, Velvet Ribbon, Manacloth |
| Polyphaga Gamboge | Insect | Insect Egg, Silk, Red Fruit |
Welcome to the first main area of the Maze of Tribulations. First and foremost, check out the Overview page to see how the Maze works, as it can be a bit confusing at the start, plus there is a handy map available that outlines the main areas (they are all the same). All of the normal enemies, listed above, are the same in all of the smaller areas you will visit, and some of them can be quite annoying. The most dangerous, potentially, is the Baskania, with it being the same as the Eyebalone from the Cathedral of Oblivion, meaning it can do some heavy damage with its laser attacks.
The Gust Hornet is only annoying because it can poison your characters, while the Melusine can paralyze them. The Polyphaga Gamboge has a move where it will fly into the air and then go across the screen, which cannot be blocked, that does a good deal of damage. This could potentially KO someone, especially if you have the other enemies attacking you, but it also depends on how much health you have. The Maidenly Blossom has access to a few spells that can be very damaging, like Terra Rain. All of the normal enemies are level 80, so that should give you a good idea where you need your characters.
Corridor of Repose I
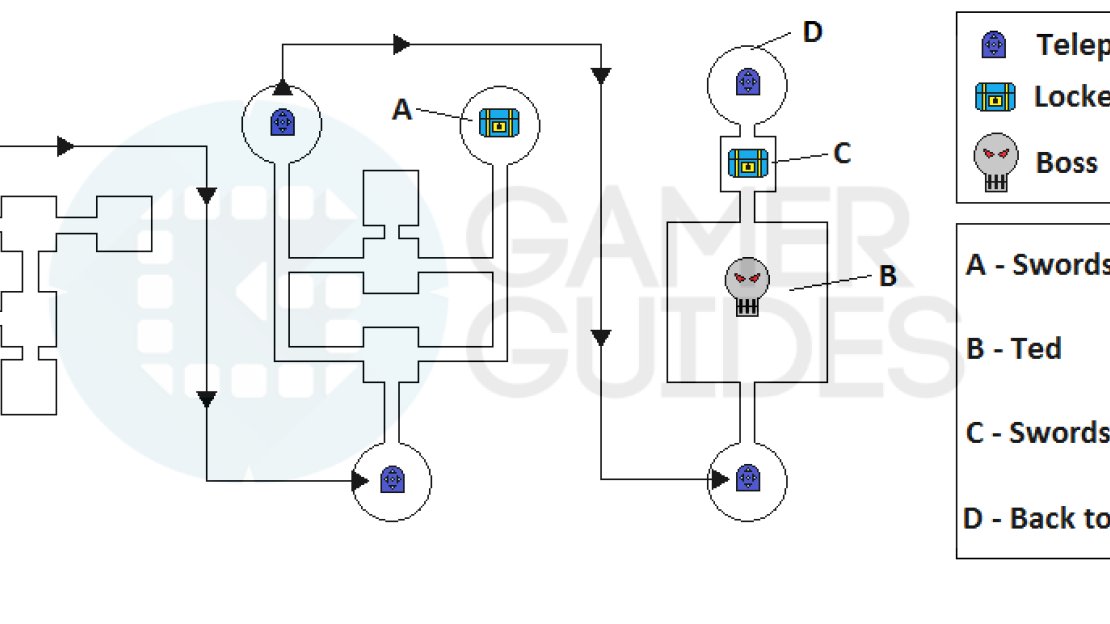
Map for Corridor of Repose I
BOSS: Even though he’s one of the easier bosses of the first group, Ted can still be quite annoying with some of his moves. Shotgun Blast has a chance of inflicting Fog on characters it hits, which is annoying on your melee characters especially. Mirror Blade’s hits are all weak, so they can all be blocked, but Cyclone Blade cannot. Also, Cyclone Blade will knock your characters high into the air and it can do a lot of damage, especially if all of its hits connect.
One of the more annoying aspects of the battle with Ted is that he seems to like to move around a lot, meaning it’ll be difficult to attack him constantly with melee attacks. You can counteract this with Roles that will make Ted stick to one target, like Instigator and Princess. In fact, having a tank is ideal for this battle, as it might keep Ted in one place, allowing you to pummel him into submission. You shouldn’t really need to do much, other than allow Miki to focus on healing and have everyone else attacking.
Corridor of Repose II
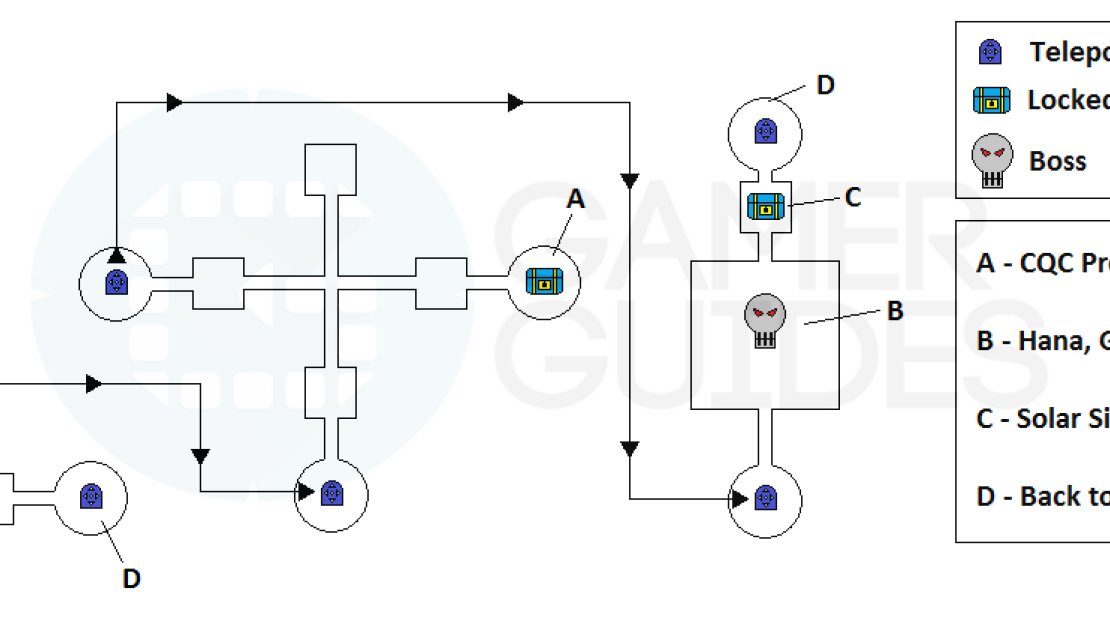
Map for Corridor of Repose II
BOSS: Despite having to face three different enemies in this boss battle, it’s not as challenging as you might think. Of the three, Hana is definitely the biggest threat, as she has access to some high level spells, can heal and also buff the others with Angel Feather. Deep Freeze and Extinction could possibly do upwards of 15,000 damage to your characters, depending on who they hit, with Dark Devourer doing quite a bit as well. Lightning Blast isn’t too bad, but it has the possibility to inflict paralysis, which should be removed immediately.
Once Hana is removed, the other two combatants aren’t much of a threat. It appears that Gunter doesn’t actually have any abilities and just uses melee attacks (he’s a fist user, like Anne). Daks has access to a few skills, the worst of which is Tornado. Reaping Spark and Shadow Needles don’t really do a lot of damage, so you don’t need to worry about them, and Sacred Pain will debuff your elemental resistances, but that’s not a problem with Hana gone.
Corridor of Repose III
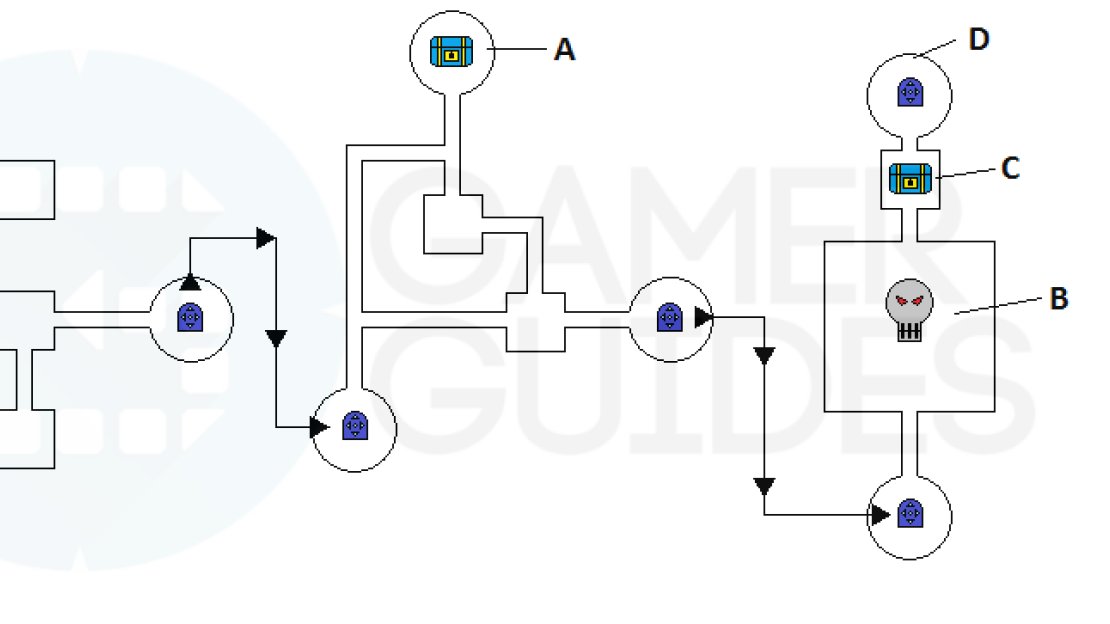
Map for Corridor of Repose III
BOSS: If you thought fighting against one Pavine was tough, you’ll be fighting against five of them here. Considering everything, this fight is actually not too bad, as Pavine’s skills don’t do a whole lot of damage. It’s also a lot more manageable, since Miki doesn’t get taken out midway through the battle, like during the main story. That means you’ll have your entire party throughout the fight and can have Miki stick to her healing duty.
While it’s impossible to have all of your characters concentrate on a single Pavine, you will find out that they don’t have as much health as a normal boss here in the Maze (they have around 1.3 million HP each). The most annoying part about this battle is whenever you have all of the Pavines spamming Ignition Burst, as it can knock you out of attacking the others. Even if the Pavine that hits you isn’t aiming at you, he might still hit you because of the sweeping motion of the attack.
Corridor of Repose IV
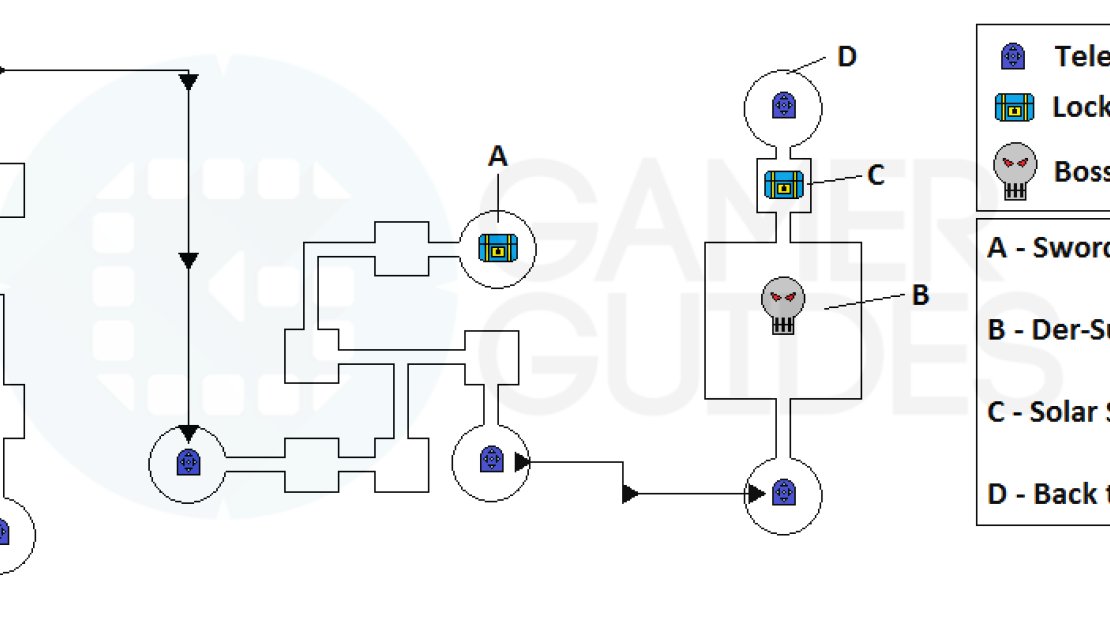
Map for Corridor of Repose IV
BOSS: This boss is no different than the time you faced him in the actual main story. He’s rather easy at the beginning of the game, only using his normal attacks, until he gets down to 50% health. This is when he will start using Spicule, a move that’s equally as annoying as it is dangerous. Having someone with a maxed out Warrior Slayer role will help immensely, since that’s a 50% reduction in damage and will most likely make whoever is hit with Spicule survive.
The first thing you will want to do is take control of Emmerson, Fiore and Miki and move them all away from Der-Suul, especially once the Spicule phase begins. If you have the Roles that make the enemy more likely to target someone, put them on someone like Victor, as he should have more than enough health to even survive a Spicule. You will also want to put Roles, such as Assassin and Skulker, on Miki and Fiore/Emmerson, so Der-Suul leaves them alone. Treat the fight the same way as you did the last time you fought him, controlling Miki and just constantly healing and reviving whoever goes down.


No Comments