
Information about the Twin Coyotes Shooting Gallery in Saints Row, including how to locate the Shooting Gallery and how to find and destroy all its targets.
How to Find and Complete the Twin Coyotes Shooting Gallery in Saints Row
One of the two Shooting Galleries in the Rojas Desert North, you’ll find the Twin Coyotes Shooting Gallery behind the Twin Coyotes Arcade. This building itself is unmarked on your map, but the Twin Coyotes Fast Travel and the adjacent Twin Coyotes Arcade shop should make it pretty easy to locate along the southeastern end of the Rojas Desert North region.
All your targets are in an enclosed area behind the arcade building, just head northeast from the trailer-shop that’ll sell you clothes to reach it. The targets in this Shooting Gallery are densely packed and many of them are hidden in alcoves, so be sure to check every nook and cranny. Most of your targets will be the standard yellow-and-orange on black humanoid targets, but there are five smaller black-and-white targets as well (four wolves and a bird). That said, most of the targets aren’t obscured, so you’ll constantly find yourself shooting at most or all of them.
Once you destroy the twelve targets on the ground, climb a shipping container to find two more humanoids and work your way across and up to a tower with a weathervane, where you’ll find the final target - a white-and-black bird.


All Target Locations for the Twin Coyotes Shooting Gallery
The locations of each target can be found below (please follow the instructions in order for ease-of-use):
-
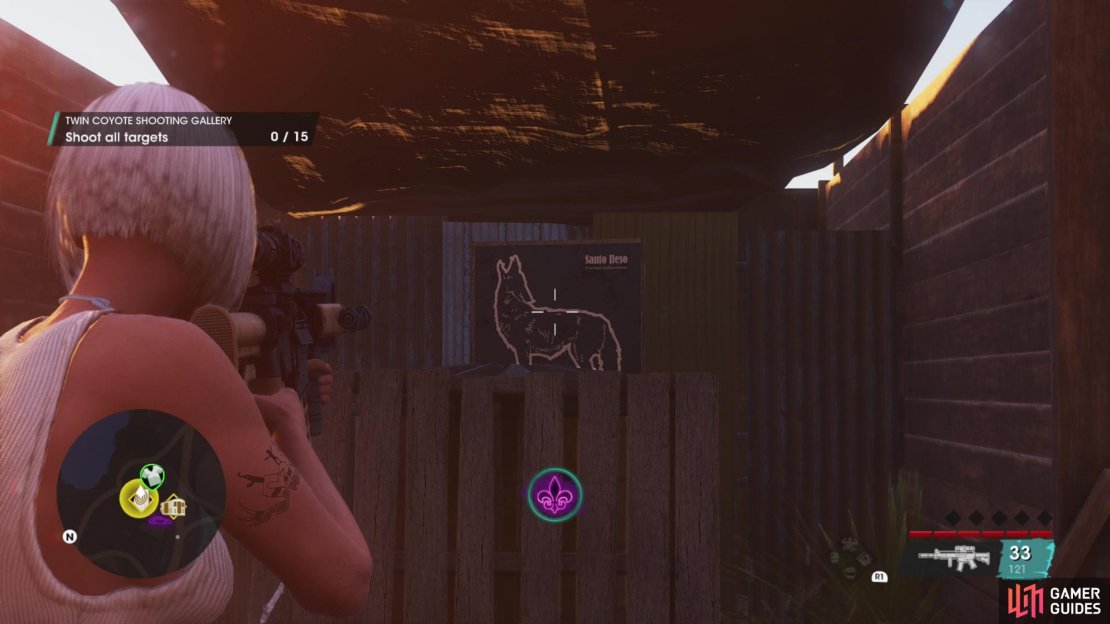
Target #1: From the Twin Coyotes Arcade shop, head northeast along a fence to reach this arcade. As soon as you pass a wooden wall to your right, turn right to spot a black-and-white wolf target.
-
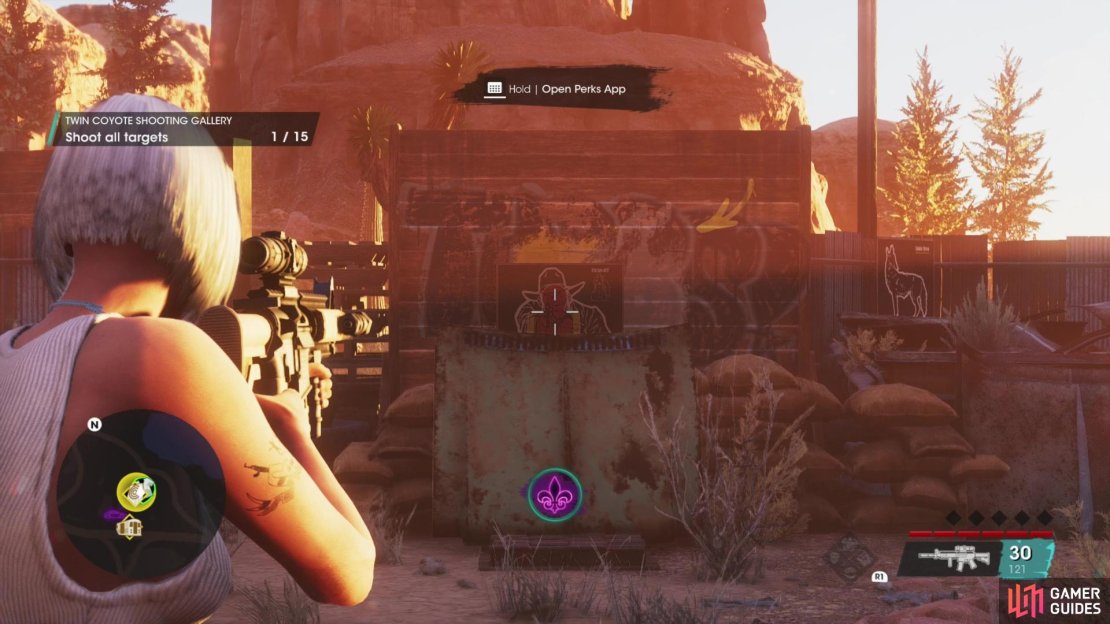
Target #2: From the last target, turn left (northeast) and look straight ahead - you’ll find a yellow-and-orange humanoid target ahead of you, half obscured by the hood of a truck.
-
Target #3: Without moving from the previous two targets, turn left again (face northwest) to find another yellow-and-orange humanoid target ahead, half obscured by a wooden pallet.
-
Target #4: From the last target turn northeast again (towards where Target #2 was) and head forward until you’re past a wooden wall to your right. Turn right and head southeast towards a metal fence. Turn right when you pass a dumpster (also to your right) and you’ll find an alcove where a black-and-white wolf target hides behind a yellow dumpster.
-
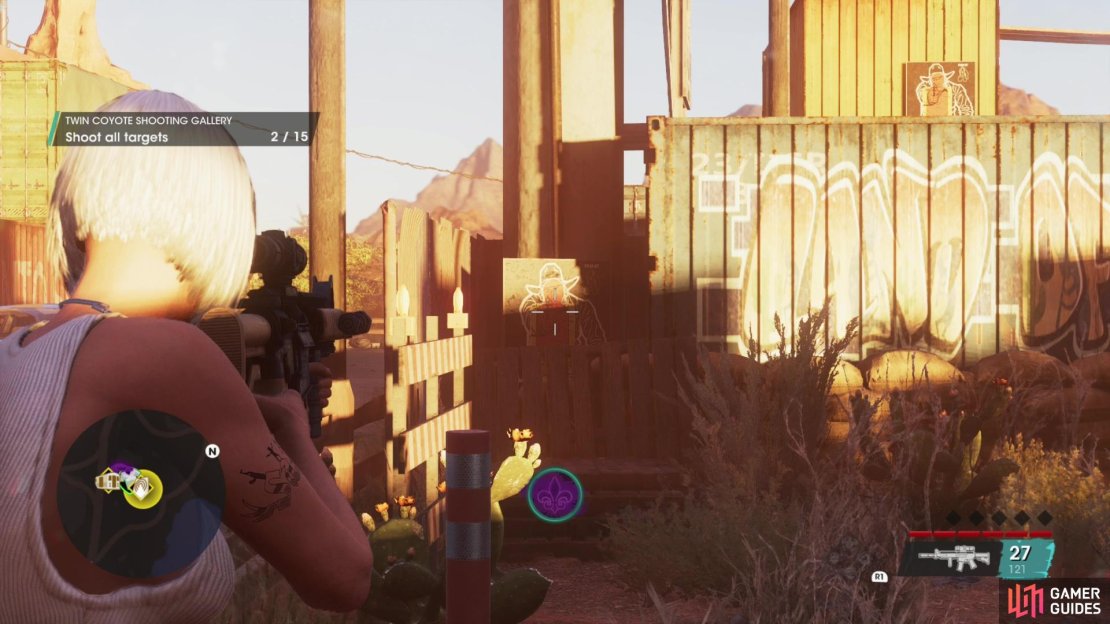
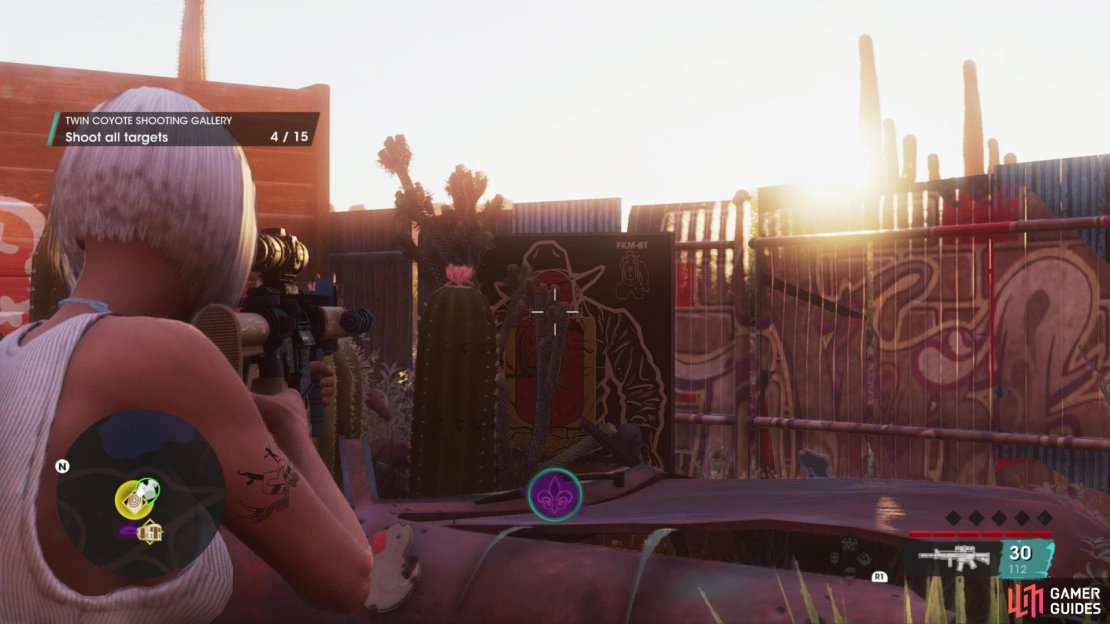
Target #5: From the last target turn until you’re facing east, towards a rusted out car near a metal fence. Behind this ruined car, beyond some cacti, you’ll find this yellow-and-orange humanoid target.
-
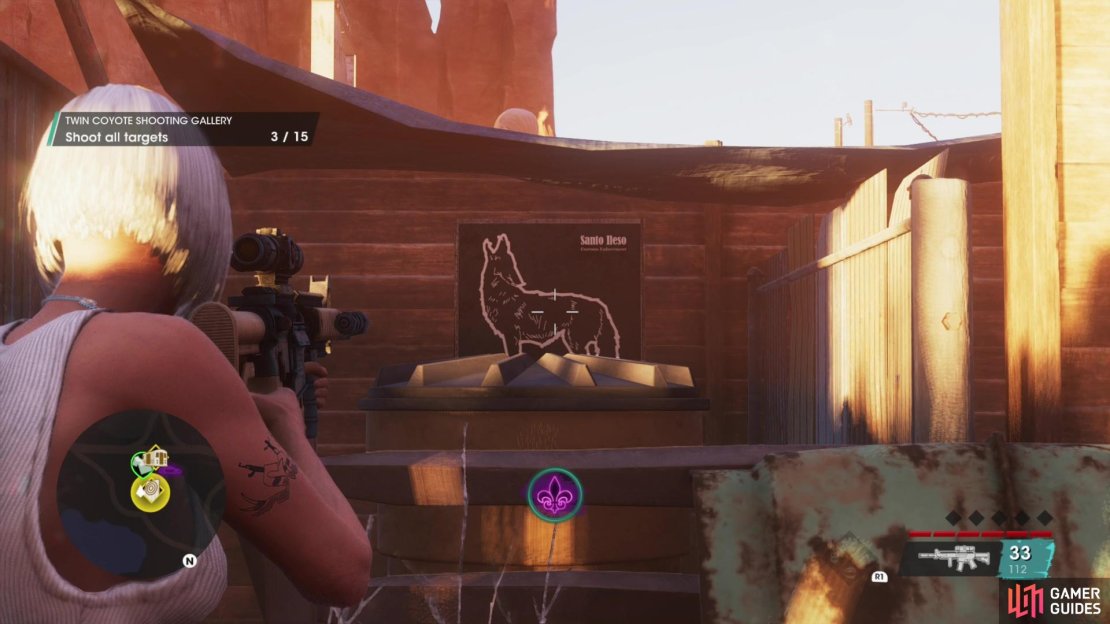
Target #6: From the last target turn northwest to find a black-and-white wolf target behind another rusted car alongside a metal fence.
-
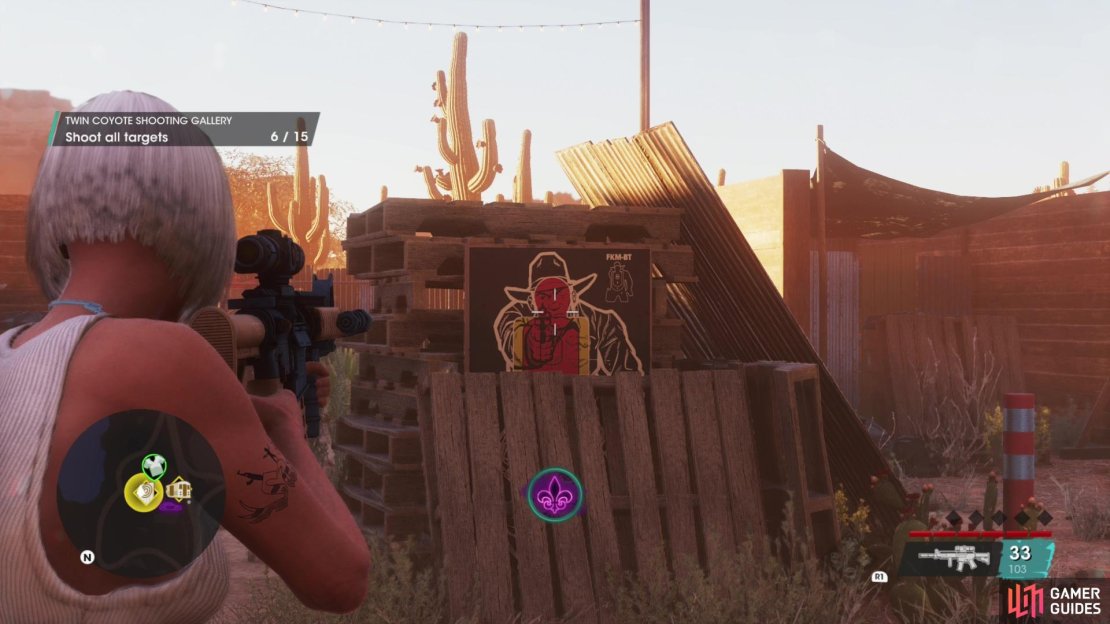
Target #7: Make your way northwest along the northern boundary of this Shooting Gallery until you pass by a stack of wooden pallets. When you reach a green shipping container, turn around and look at the stacked wooden pallets to find a half-covered yellow-and-orange humanoid target.
-
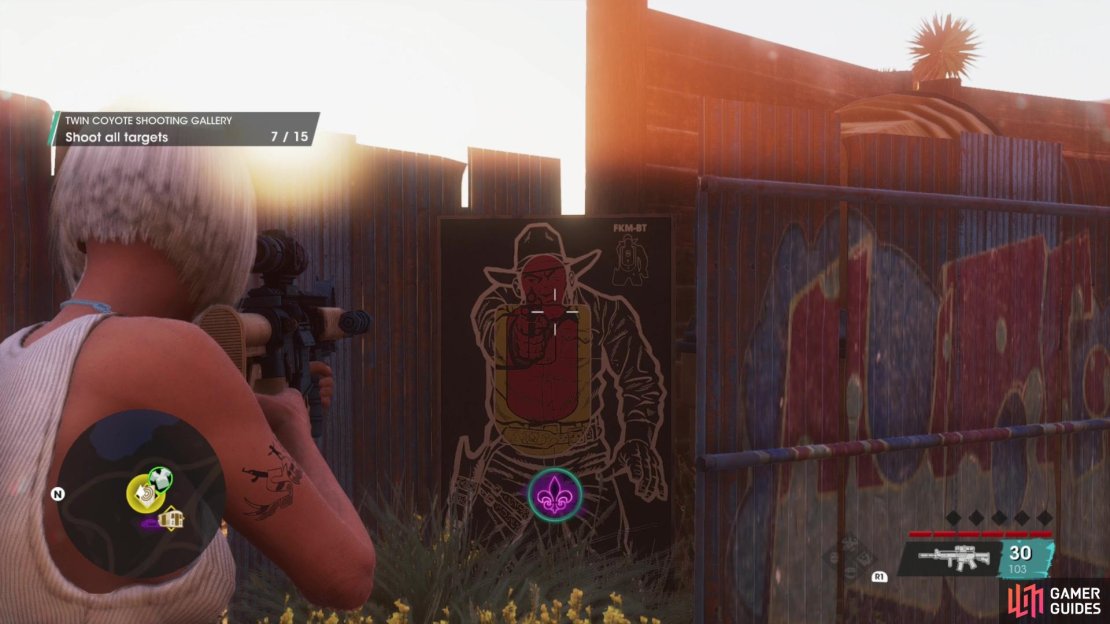
Target #8: From the last target, turn around and walk a few steps past the shipping container until you find a passage to the southwest. Ignore it for now and instead turn east to find a yellow-and-orange humanoid target hiding between two slabs of fence.
-
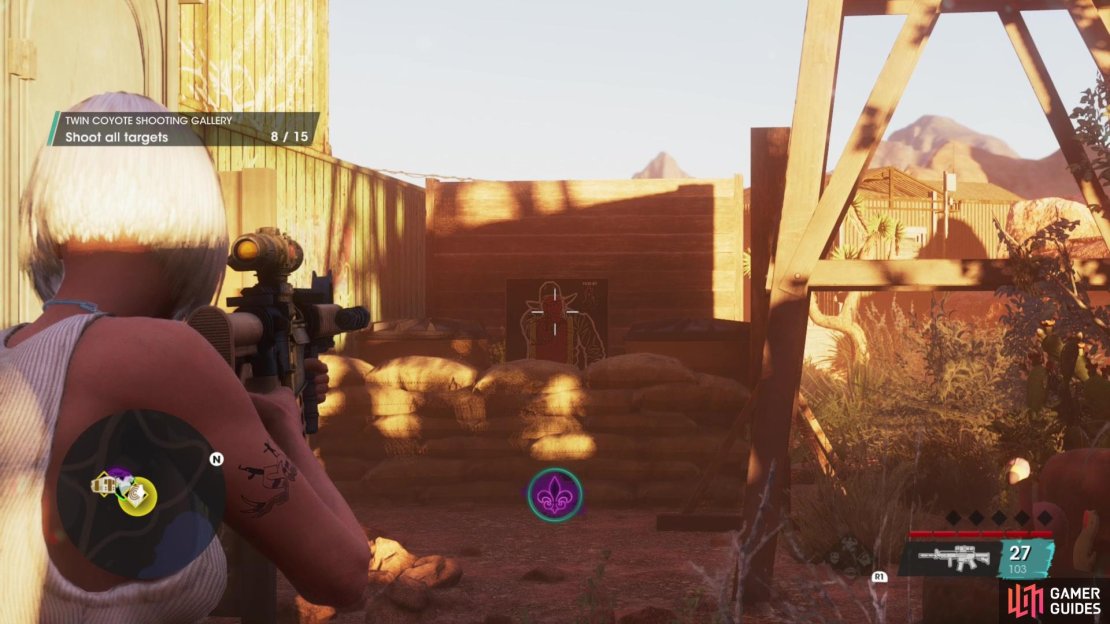
Target #9: From the last target, turn around (face west, northwest) and look past a wooden weathervane to spot a yellow-and-orange humanoid target behind some sandbags.
-
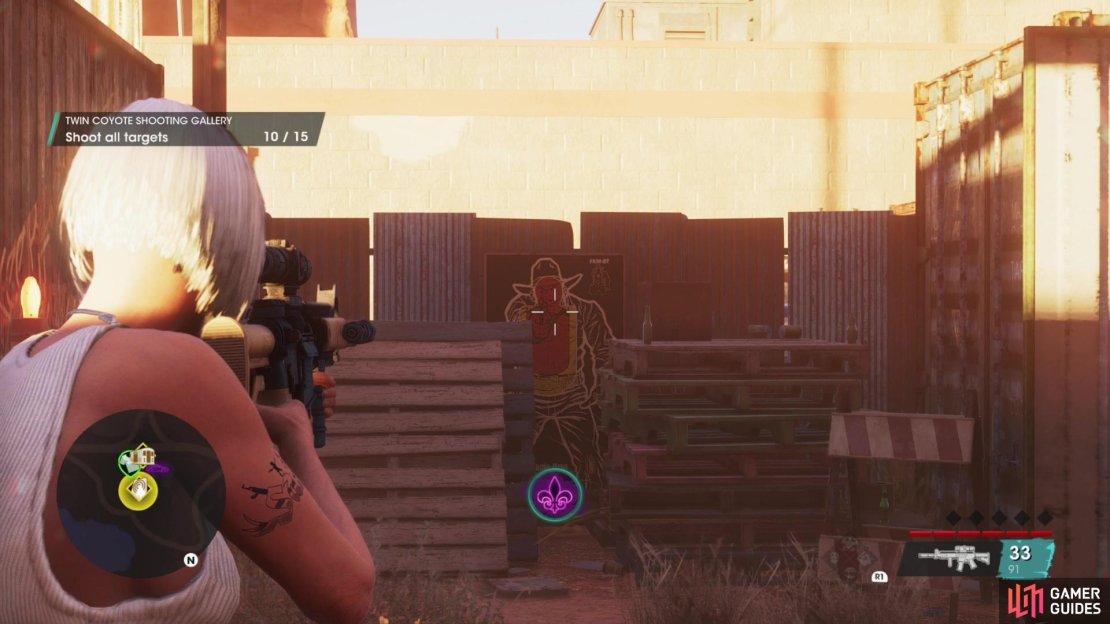
Target #10: From the last target, make your way forward (west, northwest) a few steps and look out to the left to spot a toilet. A black-and-white wolf target is atop this misplaced piece of porcelain.
-
Target #11: Make your way back southeast a few steps and return to the passage to the right between a portapotty and a green shipping container. You’ll find another yellow-and-orange humanoid target at the end of this passage, partially covered by some wooden pallets.
-
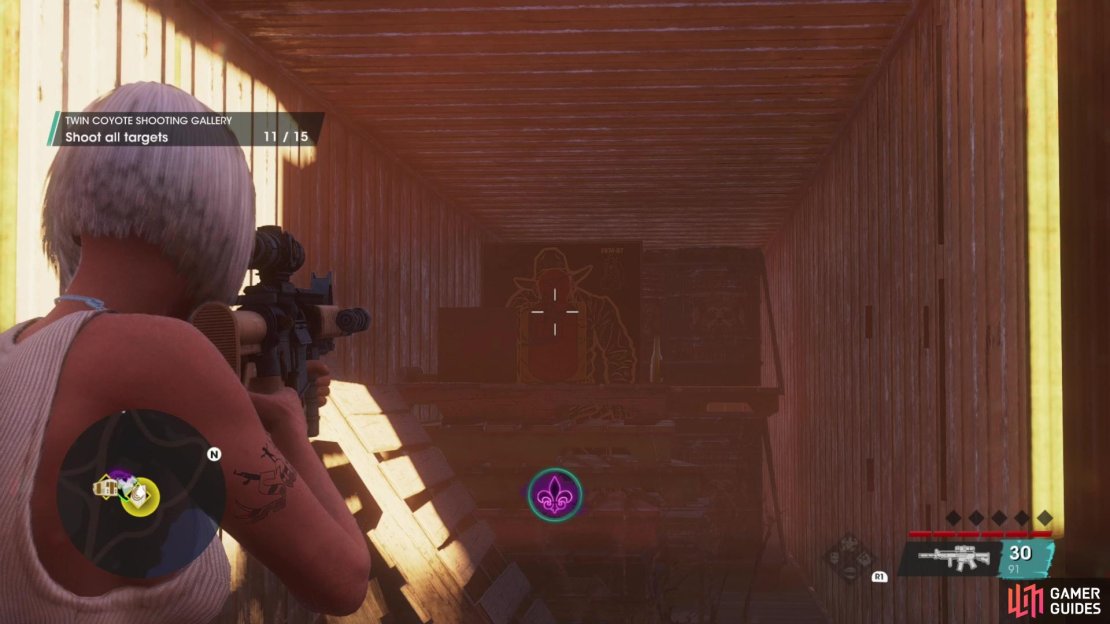
Target #12: Take a few steps down the passage towards where Target #11 was and when you find a cubby to the right, turn right. This target - another yellow-and-orange humanoid target - can be found inside a shipping container, behind a pallet.
Destroy all twelve targets above and you’ll be done with all the targets on the ground.
-
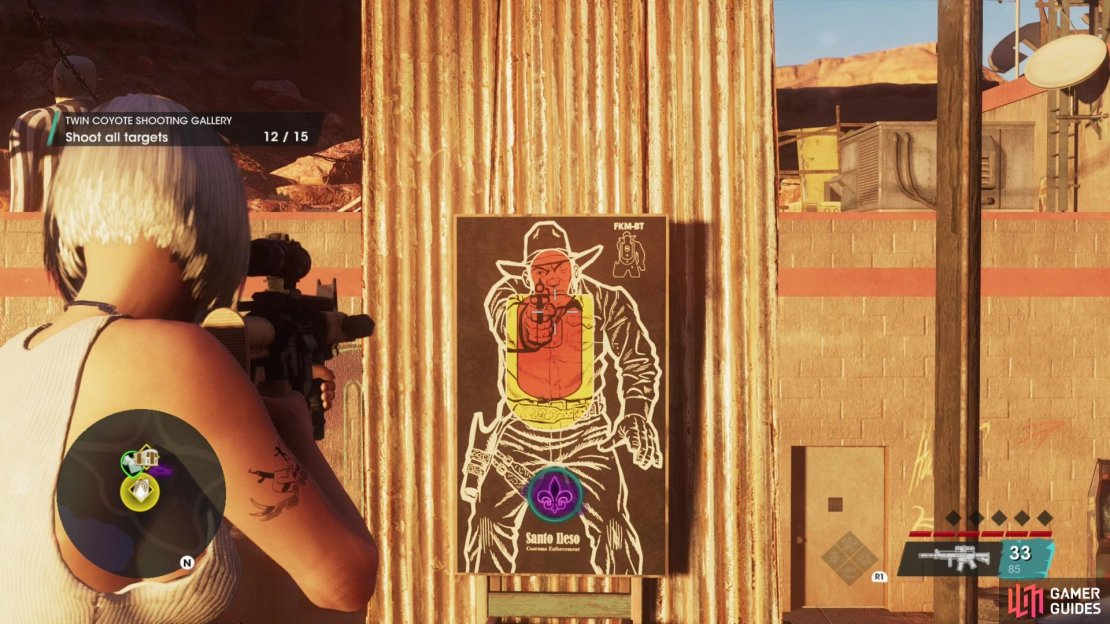
Target #13: From Target #12, turn around (face southeast) and climb atop the green shipping container you’ve been walking around the last few targets. Turn right (face southwest) to find a yellow-and-orange humanoid target propped up against the wall ahead of you.
-
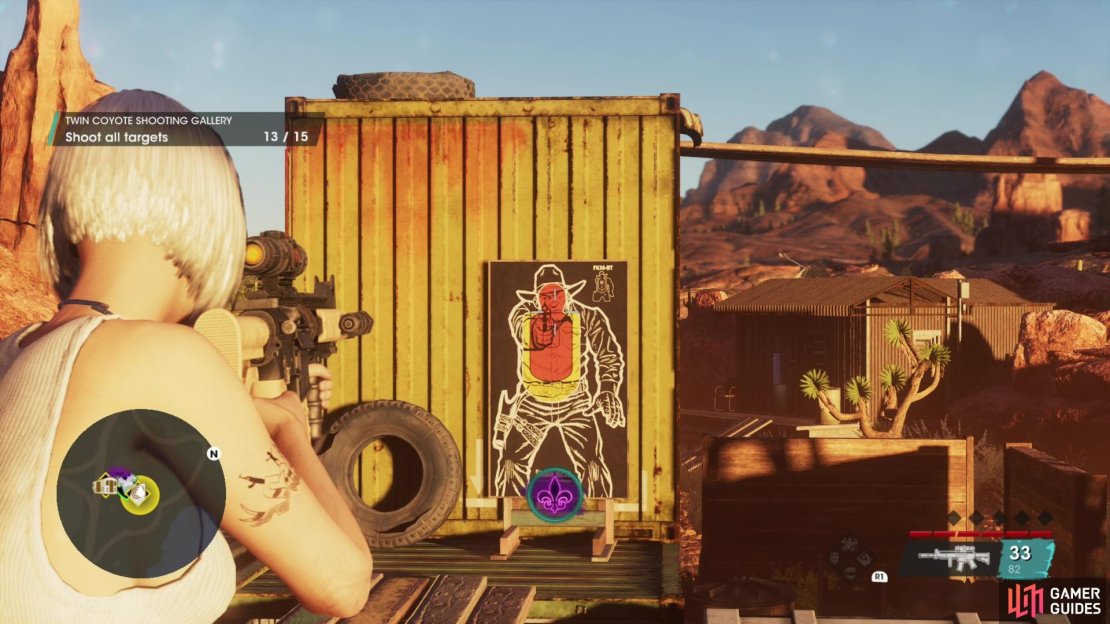
Target #14: Cross some wooden planks to reach the top of another shipping container (the same shipping container that housed Target #12, in fact). You’ll find this yellow-and-orange humanoid target ahead of you.
-
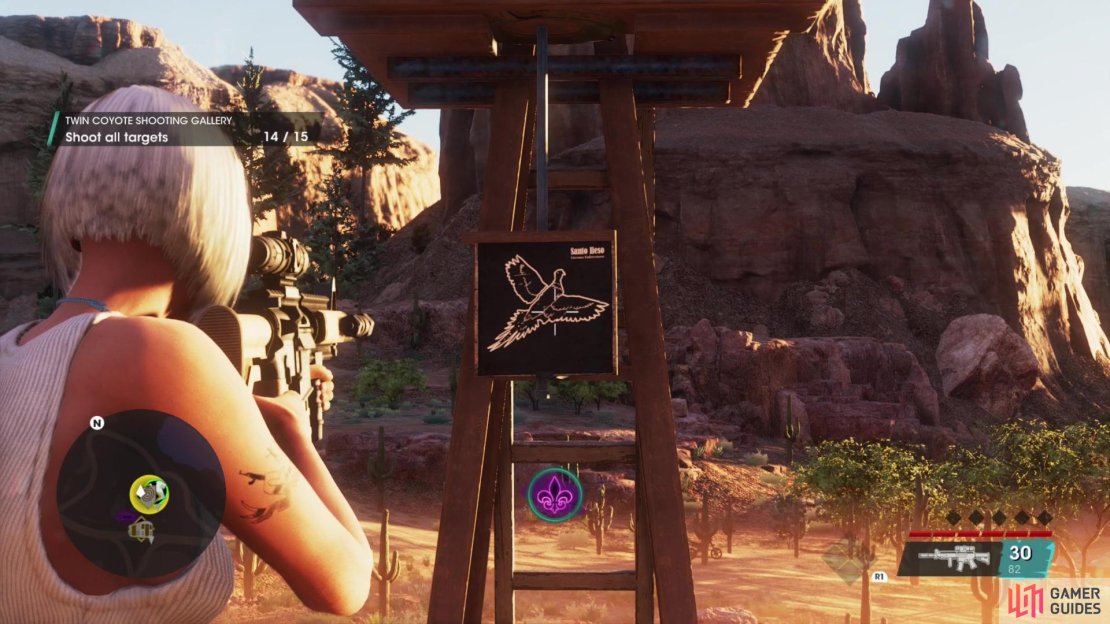
Target #15: From the last target, continue forward and climb up to the top of the shipping container against which Target #14 stood. Turn right (face northeast) towards the wooden weathervane tower and you’ll spot a black-and-white bird target.
For completing this Shooting Gallery you’ll obtain the Star God Blaster visual mod, 1,200 XP and $4,000.
No Comments