Shopping District (Continued)
After taking a pit stop at the Pokémon Center, head back out to the main road. Cross the road and gently swing open the red gate at the opposite corner. Push through the tall grass towards the far south-west corner of the area (from your point of view, not the map). Here, there’s a Revive you may have seen earlier.
(1 of 2) This mansion belongs to Ilima’s family.
This mansion belongs to Ilima’s family. (left), (right)
On the main road again, turn left at the nearby T-junction. After the camera swings direction, follow the road south-west from your perspective. Just before the road bends, head north-west through the gap in the hedge along the left side of the road. You’ll come across a rather luxurious mansion.
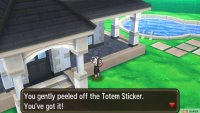
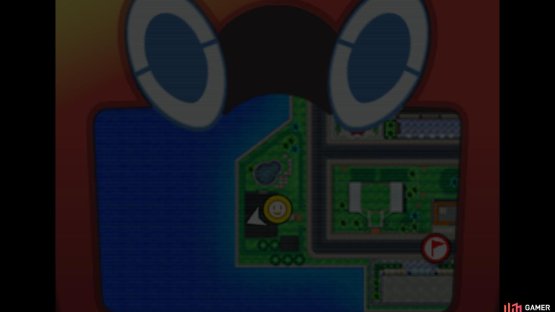
Before going inside the door, head to its east to discover Totem Sticker #004 in the corner, near the steps. Next, carry on north-east past the hedge, towards the swimming pool. In the middle of the pool is a totem sticker that’s currently out of reach. For now, grab the Ether in the far corner, by the bunch of palm trees.
Now enter the mansion via the front door. Inside, chat to the lady in the kitchen in the top-right corner. She’ll graciously give you a Lumiose Galette, like the ones made in the Kalos region! After pocketing that souvenir, head upstairs via the grand staircase directly above the front door.
Go inside the room to the far west. While nobody’s looking, sneak towards the bottom-right corner of the room and rip off Totem Sticker #006 attached to the side of the display cabinet, just above the stepladder. Your job here is done. Exit the mansion and continue south-east along the road.
Very soon, there will be a large, official-looking building above the road–the town hall. Inside, speak to the woman on the bench to the right o receive a Revive. Next, go towards the bottom-left corner of the lobby and grab Totem Sticker #008 from the bench. Exit the town hall and briefly continue eastward along the road. When the fence ends, head north, then turn left before the red gate, towards the town hall exterior.
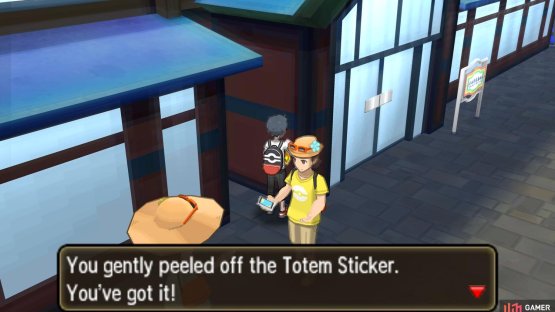
Gently peel of Totem Sticker #007 stuck to the wall, before returning to the main road. As you approach the malasada shop to the right of the town hall, Hau will come along to tell you about his undying love for malasada. Afterwards, a pair of no-good Team Skull grunts come to ruin the atmosphere.
Team Skull Grunt
| Pokémon | Level | Type |
|---|---|---|
 Zubat Zubat |
9 | Poison/Flying |
The bane of early Pokémon trainers trying patiently to get to the end of dark caves and tunnels. Its Type combination means Grass-type moves deal a quarter damage, so  Rowlet users will need to seek alternatives. Electric and Psychic-types are good, if you have any.
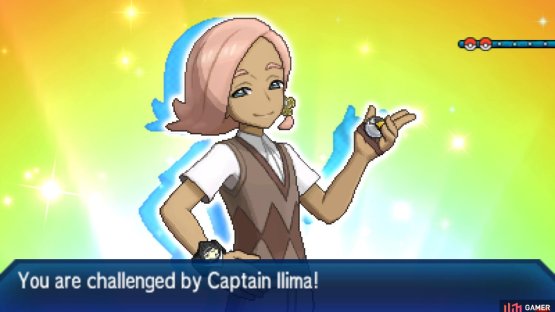
After sending the Skull grunts scurrying, Ilima will arrive on the scene to heal your Pokémon. How kind. Oh, it’s because he wants you ready for a battle with him.
Captain Ilima
(1 of 2)
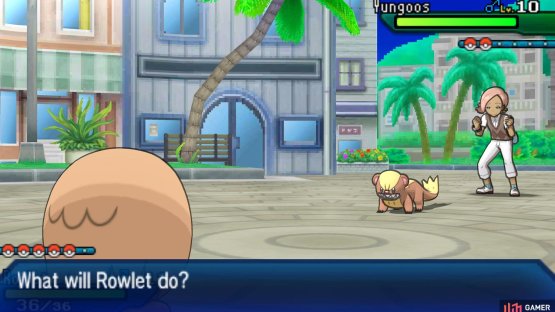
Ilima uses exclusively Normal-type Pokémon. That means they aren’t super-effective against anything, but also have very few weaknesses, besides Fighting. To begin with,  Yungoos should be straightforward to handle; you may have encountered a bunch of these in the wild earlier.
 Smeargle is the definition of a wild card–this painter Pokémon can learn virtually every move in the game via its unique move Sketch. In this case, it knows a move that’s super-effective against your starter Pokémon. Fortunately it does not gain STAB from this move.
Triumph and you’ll be OK to leave the city, on your way to Verdant Cavern. That said, there’s still a bit more of the city to explore. After hearing all the fuss about malasadas, pop into the shop to have a look. The left clerk sells Sweet Malasada to eat in, while the right clerk has Big Malasada to take out.
If you feed a Sweet Malasada to a Pokémon that enjoys its flavor, its Happiness stat will increase. This is useful for Pokémon like  Pichu that requires a certain level of Happiness before evolving. You can only eat in once per day though.
After leaving the malasada shop, squeeze in the gap between the building and the fence to the right. Just below the extractor fan is Totem Sticker #009 ripe for the taking (or choking from the extractor fumes). East from the malasada shop is a brand new building–the Alola Photo Club. It’s so new that’s not open to the public yet. Shoot!
Instead, cross the road between the malasada shop and the photo club. Around here should be the final enclosed area that you can enter via a red gate. Once inside, strike a path south-east through the tall grass, towards the golden Poké Ball in the far corner. Contained inside is TM49 Echoed Voice.
Move back to the main road and carry on east past the photo club. The final building in the shopping district is the police station, which keeps the city safe from crime. Too bad they didn’t notice Team Skull earlier. Anyway, walk past the policeman standing outside the entrance.
In the far corner, near the malasada shop side, somebody has stuck Totem Sticker #010 here. Better grab it before the police confiscate it! Run back to the main road, then follow it towards the bend. Near the corner, there’s a red gate, which leads back to the first enclosed area you visited.
For your information, all of the red gates are now usable, so you can use some of the enclosed areas as shortcuts to reach the other side of the shopping district. Anyhow, to finish off your tour, travel south along the final stretch of the road. After crossing the steps, you’ll reach the final section of the city.
Marina
(1 of 2) Always keep your eyes peeled for stickers!
Always keep your eyes peeled for stickers! (left), (right)
This is where people go to catch ferries to travel between the various islands of Alola. Right now, you’re not ready to leave Melemele Island, but that doesn’t mean you can’t look around! First, jog all the south, along the east side of the marina, down the slope. At the far end is a Super Potion and Totem Sticker #012.
Climb back up the slope and head west towards the ferry terminal building. Go south-west past the sign and the building entrance. Below the entrance is a pair of sightseers arguing about the best battle strategy. Listen to both to receive an X Attack and an X Defense. Also, grab Totem Sticker #011 above them.
That’s everything in the city, so far at least! Just in case, it might be a good idea to return to the Pokémon Center to stock up on supplies. You’ve got a ways before reaching your next destination, so it’s good to be prepared.
Back to the Shopping District
When you’re ready to depart, turn right at the T-junction near the Pokémon Center to reunite with Lillie. She will give you 3 Revives for your upcoming trial. Finally, follow the road north-east to reach the exit. Again,  Tauros is stubbornly blocking the road, but if you show it a bit of care, it may just budge.





No Comments