| Location | Objective |
|---|---|
| Bottomless Canyon | Seize the building. |
| Enemies |
|---|
| Samurai |
| Archer |
| Ninja |
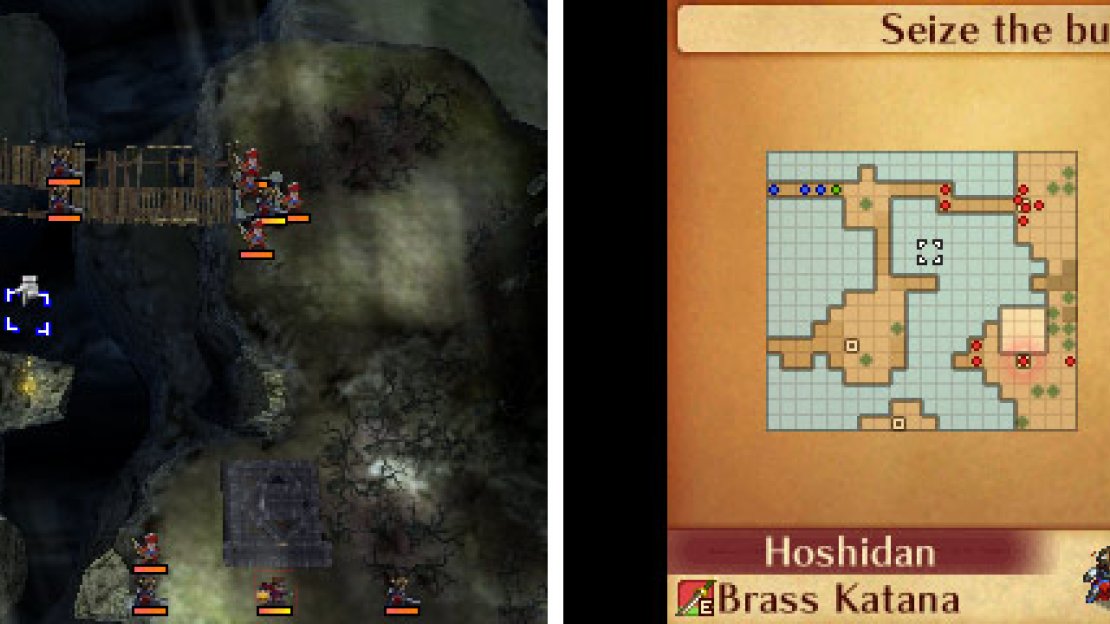
Map of Chapter 3.
You’re a soft-hearted fool, apparently, and it may cost you this time. The chapter begins with you talking to your father, but instead of punishment, he gives you a chance to wipe the slate clean by completing a surprisingly simple-sounding scouting mission. Aside from the suspiciously easy mission, you’re being sent out in the company of a brutish criminal named Hans. After some more chatter you’ll set out for your destination; the “Bottomless Canyon N.”, which is the border between Hoshido and Nohr. Once here, some Hoshidan soldiers led by Omozu will remind you of the “border treaty”. What? You’re at war, which is all about violating borders! Hans will cause a provocation and the next battle will begin.
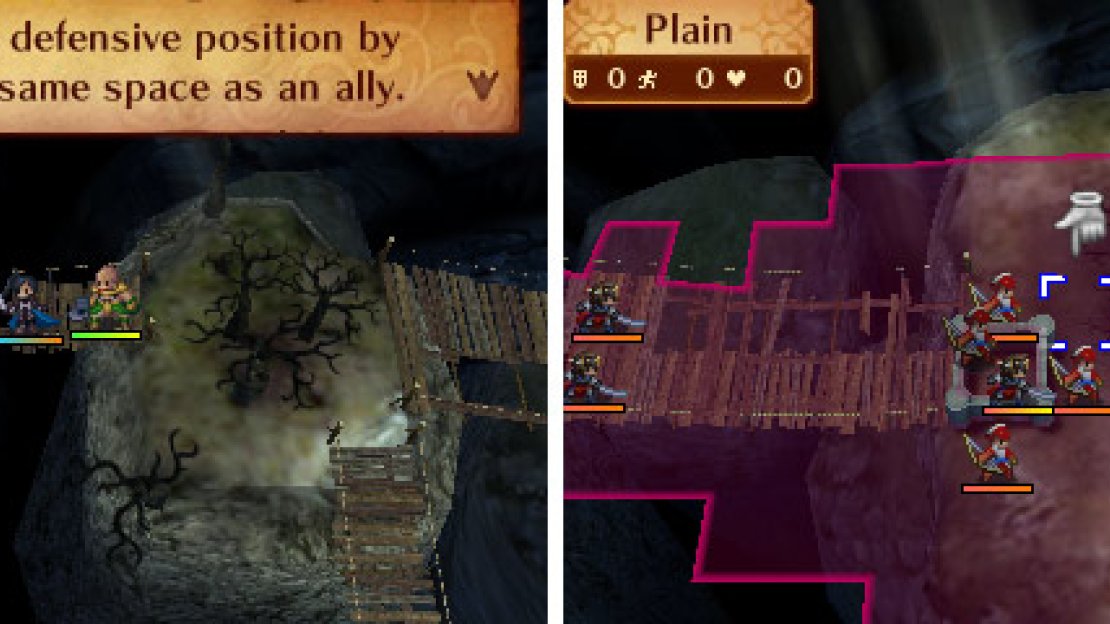
Pairing up will give you invaluable bonuses. And make sure you avoid those archers!
The battle begins with the introduction of a new mechanic; pairing up (19. Pair Up)! To do this, simply move a unit adjacent to another one and select the Pair Up option. The unit who pairs will become the passive unit, and will not be able to attack or take other elective actions while paired, although the two units will move together, and if the active unit attacks, the passive unit will join in. In addition, the passive unit will be spared from attacks (all attacks on the paired units will target the active unit) and the active unit will get a stat boost, as well as shielding from attacks by the passive unit. As paired units act together in combat, they’ll also build up the “guard gauge”, which will trigger Dual Guard when filled. Neato. Keep in mind that you cannot perform tag-team attacks with an outside character while paired. Two is company, three is a crowd, apparently.
While paired you can use the Separate combat action to end the pairing (you get to decide an adjacent square the passive character gets moved to). Switch changes which character is the passive character and which is the active one. Transfer will move the passive character in a pairing into a pairing with an adjacent character, who defaults as the active character in a pairing. Separating ends the turn of both characters who were in a pairing while Switching and Transferring can only be done at the end of a move action or before picking the Wait option (you can’t Switch/Transfer and attack in the same turn). Finally, Sheltering another character just forms a pairing with the controlled character becoming the active character in the pairing, instead of the passive one as with the “Pair Up” option.
So, pair up Gunter (passive) and your protagonist (active). Don’t worry, your protagonist should get most of the kills, hence most of the XP. Gunter will just sit there and look all old, but more importantly, he’ll boost your protagonist’s stats and provide some offense for you. Felicia/Jakob can provide ranged support and healing, but as for Hans… he’s an Ally in this fight, meaning you cannot control him. He won’t help much in this fight, either, as his goal is to beeline across the bridge to the right (after some Hoshidan Samurai are dispatched) and get himself removed from battle by challenging a Hoshidan strong-point, which features three Archers, all of whom can shoot at anybody attacking the Hoshidan Samurai blocking the bridge. This is a warning to you; don’t follow Hans’s example and try to seize the bridge head-on, as there’s a good chance the Archers will simply tag-team you to death while the Samurai (boosted by partnering with the archers) dodges most attacks.
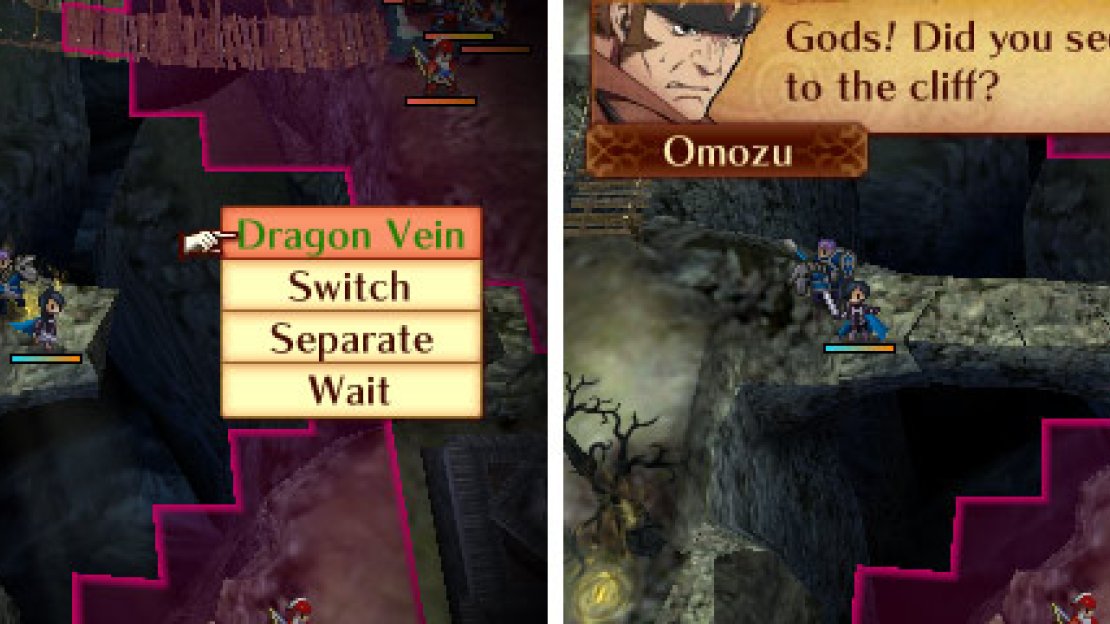
There are two Dragon Veins, both of which will create bridges.
What to do, then? Well, at some point during the battle a comment will be made about searching for a Dragon Vein. Big hint-hint there. So, go ahead and do that! From the small central island at the top of the map just right of where you started, follow another bridge south to reach an island with two Dragon Veins on it, both of which create stone bridges in a straight line to the right of where they are. If you create a bridge with the northern Dragon Vein first, you can easily flank the Hoshidan strong-point at the end of the northern bridge and dispatch those smug Archers and that Samurai jerk. Better yet, the Archers will move to engage you as you cross the bridge, meaning you probably won’t even have to deal with all of them at once. Once you’ve eradicated them, feel free to save wear and tear on Felicia/Jakob’s healing staff and spend a few turns in the Fort that was occupied by the Samurai, as it’ll heal you a few points each round.
When you’re ready to move on, you’ll find that the resistance in the south isn’t nearly as stiff as the strong-point in the north could be. There are two weak Samurai, another Archer and Omozu, who is a relatively unimpressive Ninja. All in all, it’s not much worse than the four foes you faced in the last battle. Just return to the Dragon Vein island, activate the lower bridge, then lead with your protagonist and Gunter and have Felicia/Jakob join in from a safe distance. The left Archer/Samurai pair will probably rush you when the bridge forms and commit suicide by running into the immovable object that is the Protagonist/Gunter pairing.
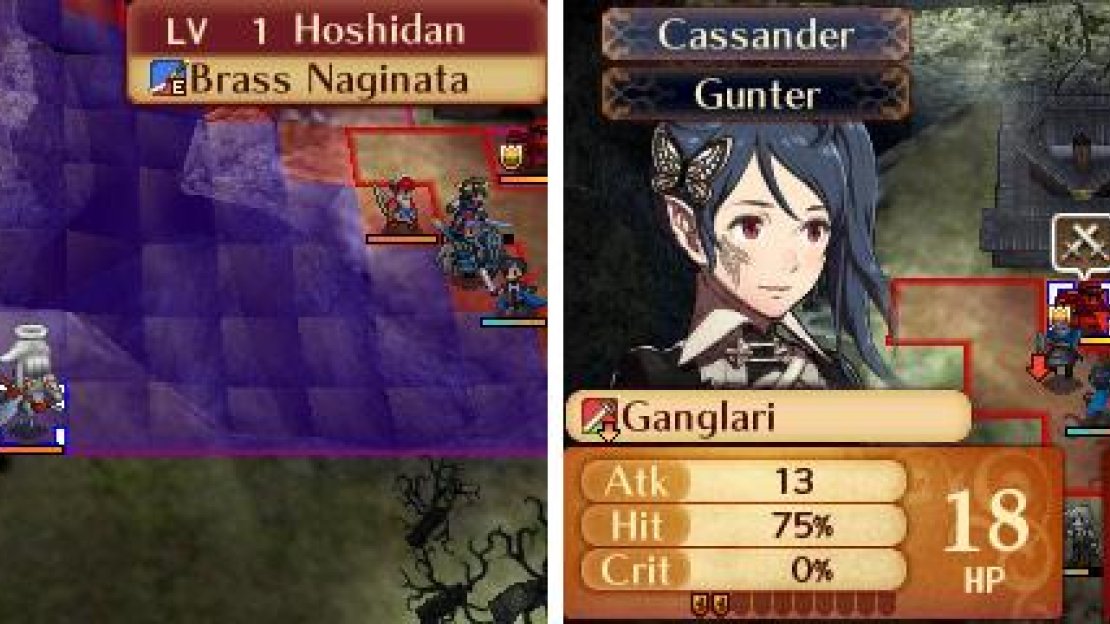
Pesky reinforcements! But valuable experience points.
Once they’re gone, dispatch Omozu and the last Samurai at your leisure, only to have victory delayed by the arrival of Hoshidan reinforcements, triggering the tutorial (28. Reinforcements), which simply says “Hey, sometimes we’re just going to spawn enemies to trololololol you.” Fair enough, these reinforcements consist of two weak Sky Knights, who should prove no trouble for the almighty Protagonist/Gunter pairing.
This is how you’ll finish the battle in multiple chapters this game.
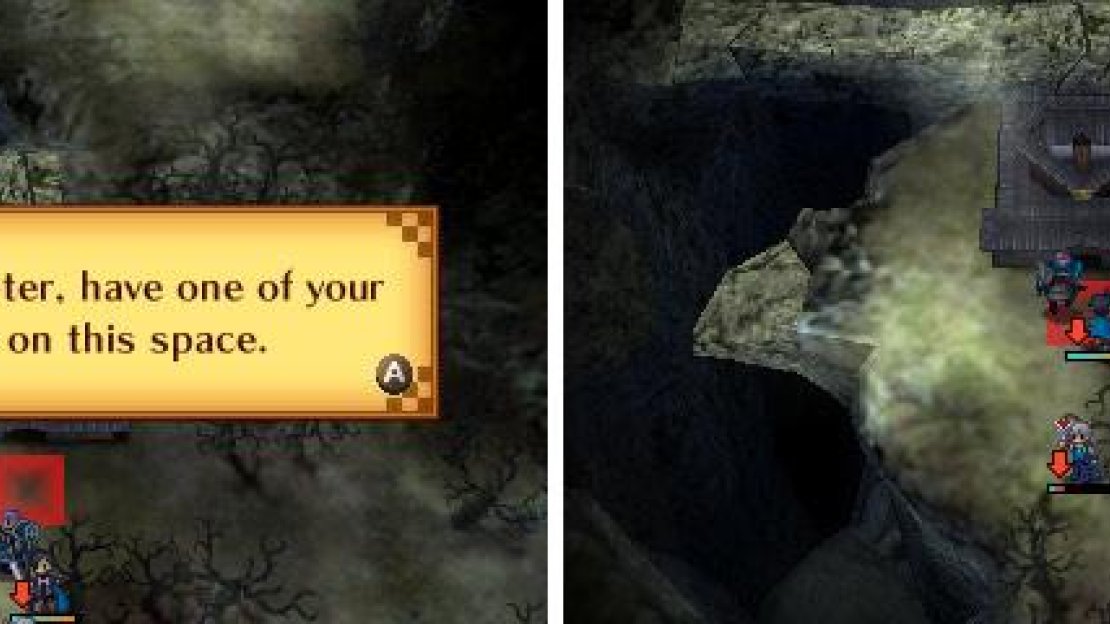
You don’t even have to deal with them, you can merely move over to the tile in front of the building Omozu was guarding (marked as the “Old Gate” and select the “Seize” option, which ends the battle… but why not kill the Sky Knights for their delicious XP? Whatever, do what you will with the Sky Knights, then “Seize” the “Old Gate”. More cutscenes ensue, the fighting escalates, an old ally returns, gravity sucks, weird transformations occur… it’s a busy bit of business.
No Comments