| Location | Objective |
|---|---|
| Northern Fortress, Nohr | Defeat the boss |
Cue a fairly drastic change of scenery: you’ll be awakened in your quarters, deep in the dark country of Nohr. Your itinerary for the day is simple; your big brother Xander is going to pound you until you start to resemble a proper Nohrian noble. They call it “training” here in Nohr, and after a few more dents are put in your armor, your brother Leo will comment before Xander attempts to inspire you with the prospect of eternal banishment in the Northern Fort. Well… your quarters didn’t look that bad, and neither did the maids, for that matter…
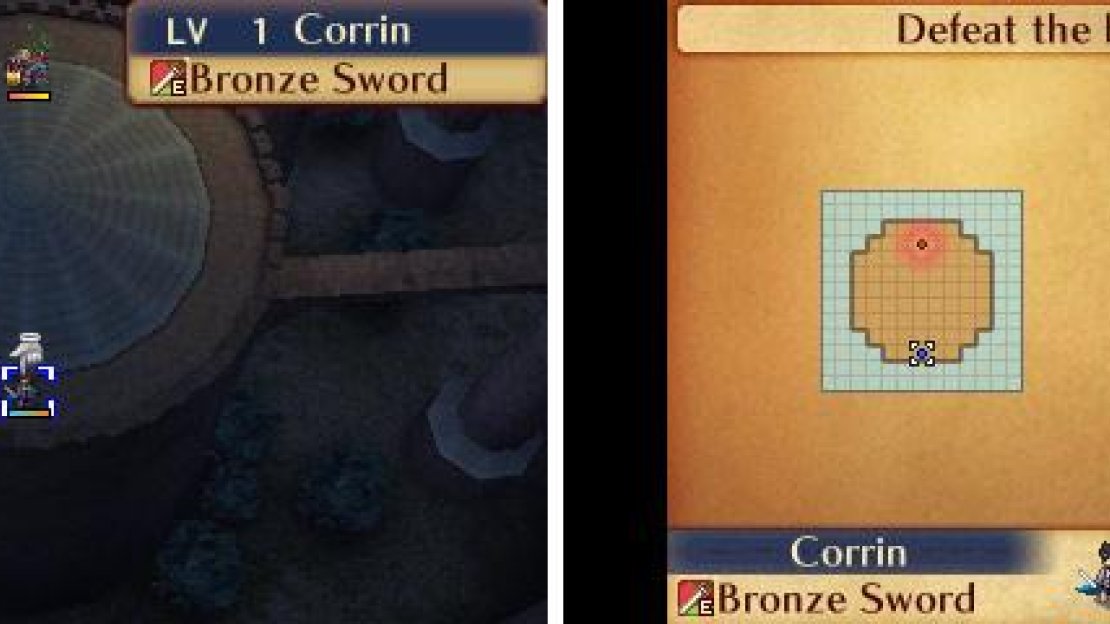
Map of Chapter 1.
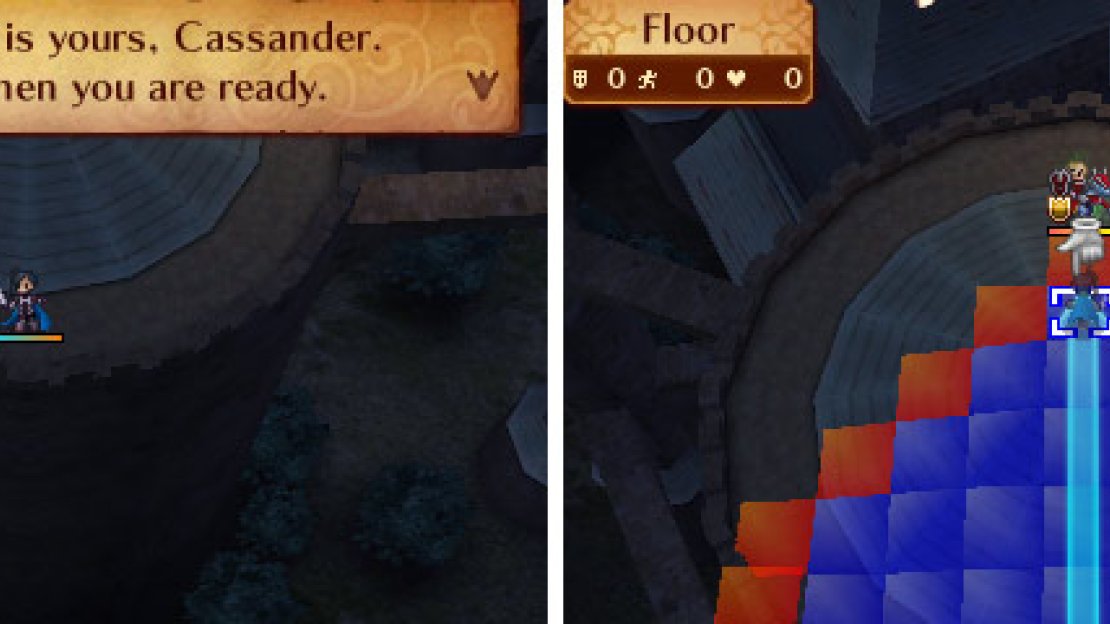
But, nay, you’re a child of Nohr who is destined for more! Get through the conversation and your first turn begins with a tutorial on movement (2. Moving Units). Wasn’t this already covered last time? Whatever. Press (A) to select your character, who can move to any blue square that highlights while selected, which marks their movement range.
Blue is movement range, red is attack range!
Don’t bother with subtlety here, just move straight at Xander and you’ll trigger yet another tutorial (3. Commanding Units). Basically, after you move a character you’ll get a menu full of context-sensitive commands for said character, depending on what characters or objects are nearby. For now, the relevant ones are “Attack” to attack another unit, “Wait” to end your turn without doing anything, or, if you have a change of heart, you can always press (B) to return back where you started.
End your first turn and Xander will do likewise. On your second turn you’ll get a third tutorial (1. System Menu). Yes, the “System Menu” is now unlocked, and deserves some explanation. Access the System Menu by hitting (A) on an empty map tile to get the following options: Unit, Guide, Options, Save and End. Also note the word “Left” ironically to the right of the options list; this option just counts how many units you have left in play this turn. The options in the System Menu are explained below:
Units: In this menu you’ll get a rundown of all your units and their current stats, and you can sort these units by said stats (lowest or highest). If you select a specific unit, you’ll return to the battle map centered on that unit.
Guide: Lets you view the tutorials you’ve unlocked, in case you forgot something.
Options: Typical options stuff. Turn combat animations on and off, toggle various display features, adjust the volume, subtitles, voice-over, etc.
Save: Save your game mid-battle, in case you are taking a risky move (it’s not really perma-death if you can save/load, right?) or want to cheaply save/load for when you level up.
End: Ends your current turn without using your remaining units.
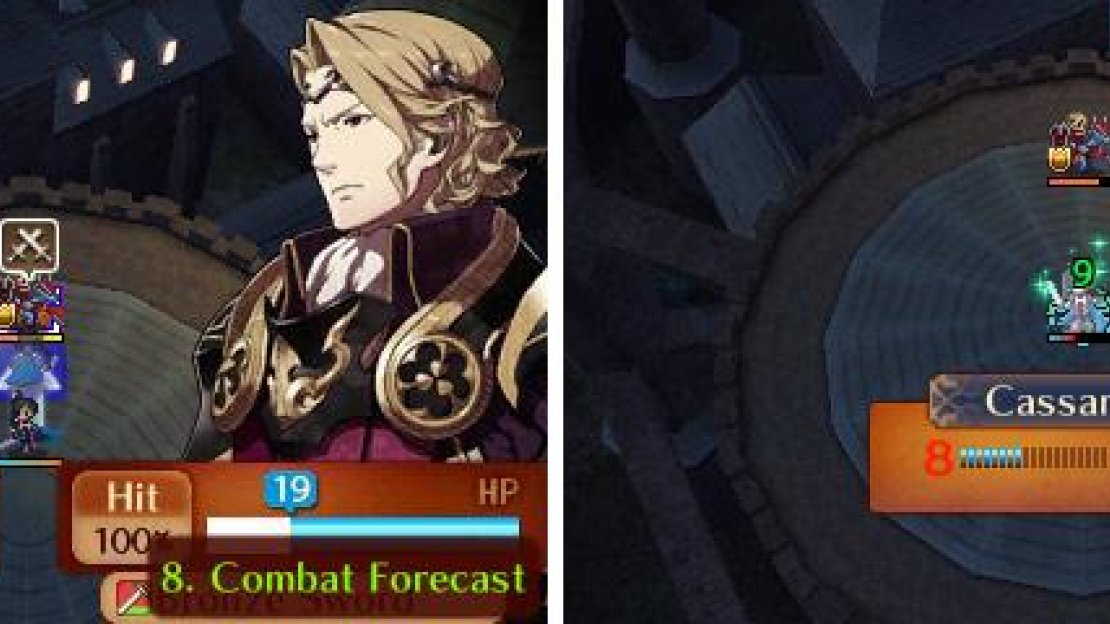
Time for the second turn! Move up to Xander and give him a good whack! Right after you check out the next tutorial, anyways (8. Combat Forecast) which predicts how the game expects the encounter to unfold. Essentially, it shows your hit chance, the damage you’re expected to do, and that’s it. You can also cycle between weapons with (X) and (Y) during the preview to see how those fare against the opponent’s weapon types, but that’s a consideration for later.
Use this healing spot so that you won’t be defeated.
Resolve the attack, and afterwards Xander, deciding not to test you too fairly, summons a Dragon Vein in the middle of the tower arena, and suggests you take a heal by standing on it. Yep, yet another tutorial (15. Healing), this one merely tells you that standing in Healtiles heals you, and points out the “Item” command in the unit command list. Since you have no items, however, you need not worry about this just yet. Stand in the Healtile and select the “Wait” option, then when the next turn begins, move back to Xander and give him another smack, which should result in you both being very badly wounded, and more importantly, you leveling up for the first time.
On the next round, strike Xander for a third and final time to finish the fight in your favor. Yes, Xander pretty much threw the fight by letting you heal and never actually attacking on his turn, but if you were foolish enough to refrain from healing and he dispatched your protagonist, it would have been a game over. What a charitable brother. After the fight Xander will praise you, Leo will have a wardrobe malfunction, and Camilla and Elise will join the fun, which in the case of a male protagonist involves more than a bit of flirtation. Afterwards another change of scenery will be announced and you’ll meet Lilith. Groovy.


No Comments