

The Pass of Paddra
The south edge of the Pass of Paddra is your starting area. Go north a bit and reveal a concealed treasure sphere with R1 to get a Metal Armband . The path north is blocked, so we go east instead. Before dropping down the cliff, talk to the Researcher to receive a Map of Yaschas Massif , and then again for a Live Trigger: (The eclipse is the result of Fenrir’s premature appearance. What could be happening in the ruins?). Grab 500 gil from the nearby treasure sphere, drop down the cliff, walk east, then north and finally veer west to enter the dark area…
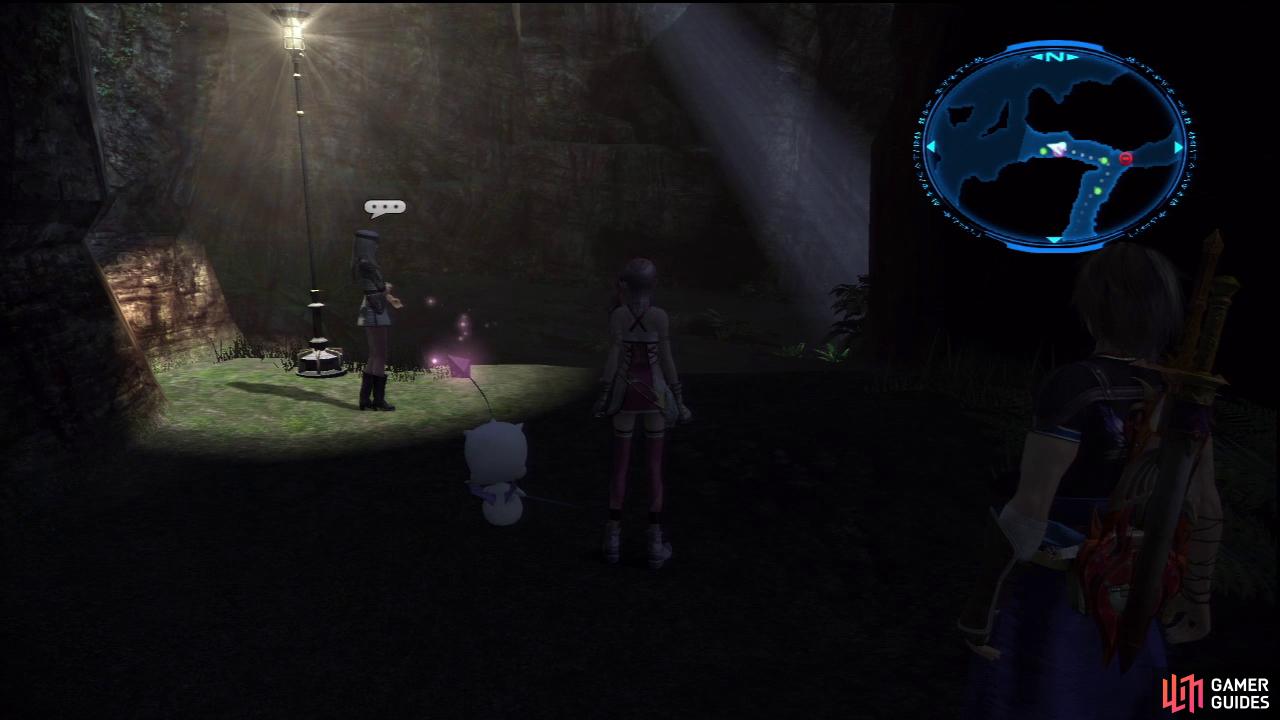
Beware of the dark! Stronger monsters appear when you pass into the shadows so be very quick to pass between spotlights.
For as long as you remain in the searchlight’s beam, you will not encounter any enemies. Should you currently be encountering some, your Mog Clock will recover to its full value upon entering the light. If you encounter any Feral Behemoths, it may be best to run for now - one sports 32000 HP and is difficult to defeat. If you do skin one, you obtain the Behemoth Fang , which is needed for one of the quests in this timeline.
Sniffing around the darkened area awards several treasures: 960 gil, 8x Mana Sliver , 8x Mana Bolt , and a quest item from a treasure cube. Only pick this up if you wish to complete that quest now. Otherwise, save it for after you have completed the main quest. We cover the corresponding quest in detail in the sidequests part of the guide.
Chocolinas Shop
| Category | Items |
|---|---|
| Weapon | Lunar Stinger, Volatile Spark, Amazon Bow [Chain Bonus lv1], Survivor’s Edge [Chain Bonus lv1], Faerie’s Bow [ATB rate +25%], Rune Tooth [ATB rate +25%] |
| Accessory | Power Wristband, Magician’s Mark, Metal Armband, Serenity Sachet, Delicate Iron Bangle, Durable Iron Bangle, Delicate Black Belt, Durable Black Belt, Delicate Rune Bracelet, Durable Rune Bracelet |
| Monster Materials | Power Droplet, Mana Droplet, Vitality Droplet, Power Bolt, Mana Bolt, Vitality Bolt |
Continue past Chocolina, open the treasure cube for ‘Scars’ Gate Seal (enables Time Reversal in AF005 Bresha Ruins) and pry open a treasure sphere with Gysahl Greens . Follow the path northeast (open a treasure sphere for 540 gil ), then turn north. Wait a moment… behind the stone slab is a concealed treasure sphere with a Pearl Necklace . At this point you can talk to Noel for a Live Trigger: (Why is the eclipse only happening here? Let’s see what Noel think…). Talk to the Researcher girl to the left of Chocolina’s and suit up for the next boss battle!
Buy some Wound Potions and ensure one of your paradigms is SEN/SEN/SEN!
Boss Battle: Aloeidai
It begins by imposing Deshell and/or Deprotect on your party, so whip out a paradigm with Cait Sith and Esuna yourselves before you’re hit with too many Ruingas to handle. Once you stagger it, attempt to remove as much HP as you can.
Once the staggering period is over, Alo shields itself with a barrier that makes it resistant to all attacks. Once you stagger it again, the barrier is gone and Alo takes full damage from everything. Alo will now ready a monstrous attack - as soon as the caption appears, switch to the triple SEN paradigm (Tortoise) to greatly reduce the damage. If you don’t defeat it during the second stagger, the process repeats by Alo casting resistant shield on self, etc.
The Paddraean Archaeopolis
Hope appears and sends Alo packing, AF010 YASCHAS MASSIF FRAGMENT - Aloeidai Fragment (01/05) obtained + 3500CP ! Wait for Hope and Alyssa to stop yapping, then talk to Hope twice for a Live Trigger: (Hope wonders if I have any questions about this world, now seven years in the future.). Explore the area afterwards.

View of Paddra Ruins (left). You can now pass through to this area in the east (right).
Near the bottom of the stairs is a concealed treasure sphere with a Serenity Sachet, and ascending the ramp to the statue leads to a treasure sphere with 3x Remedy , and another treasue sphere with the Carbuncle Figurine . Talk to the ‘!’ soldier to free the path forward. Now make a bee-line to the northeast corner of The Paddraean Archaeopolis and reveal the concealed treasure sphere with R1 to obtain Gysahl Greens . Opposite of this treasure is another treasure sphere holding a Warding Talisman .
Talk to Hope when he stops again for another Live Trigger: (After meeting with me again, Hope seems lost in memories. What should we talk about? / Triangle), and again talk to Hope. You get the Hollow Artefact which activates the shiny gate in The Pass of Paddra; the east dead end in the middle of the map.
Talk to Hope yet again for a further Live Trigger: (Hope has been analyzing the Oracle Drive and the images that appear to be Lightning. What should I ask him?) and then depart for the shiny gate.
Examine it for a final Live Trigger: (Noel seems troubled about something. He says it’s personal. How should I respond?), and use up the Hollow Artefact to activate the gate, which unlocks the AF200 Oerba timeline. Your Live Trigger reward will be received at this point.
No Comments