
The game will automatically switch to the four party members left behind after Zidane and the others travelled to Oeilvert. Watch the scenes that occur and you will be put in control of Regent Cid. Walk down the hallway to your south, then take the right exit. This will begin a minigame, where you need to mash the designated button to move forward, but only when the creature in the cage has its back turned to you. If it turns around and catches you moving, then you will be forced to start over from the beginning. During all of this, a timer in the upper left will be counting down, but the timer is just for show, as you will begin the minigame over again if it reaches zero.
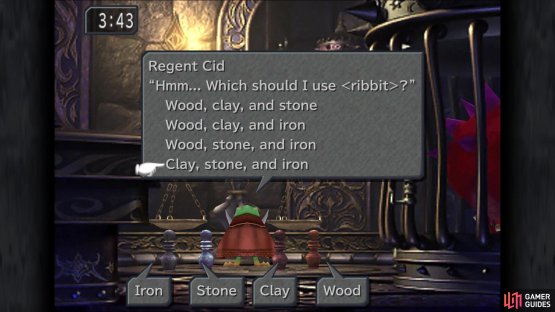
Upon reaching the Hourglass Key, you will begin a second minigame with Cid. There is a scale and four weights, with the goal being to place weights on the scale so you can reach the hourglass at the top. You have choices of examining the scales, as well as the weights, and placing the weights on the scales. Pick that option and choose to put the clay/stone/iron weights down on the scales. Climb onto the scales once they’re set and Cid will be able to reach the hourglass. This will free the remaining party members, with you taking control of them.

(1 of 2) You have to be careful not to get caught moving, else you start over


You have to be careful not to get caught moving, else you start over (left), Pick this option when placing the weights to get to the hourglass (right)
Head to the right at first and enter the room to find a moogle named Mojito, who has a letter for Mogsam, as well as a shop that has the same items as the one in Oeilvert. Outfit your characters as you see fit, remembering that Dagger can lose turns in battle because of her inability to concentrate. When you’re ready, exit the room with the moogle and return to the room with all of the cells. Take the left exit and follow the path until you reach the proper Desert Palace dungeon.
The Desert Palace
On the very first screen, you can interact with the candle on the left side, which will trigger something appearing on the opposite side. Inspect the bloodstone when prompted to receive a Promist Ring. These bloodstones are important, as each of them will deactivate a function of the boss of this place. There’s a little more to it, which will be talked about right before fighting the boss. Continue away from the screen and onto the next screen, where you will find three statues in front of you. As you approach either side of the room, you will notice that the gargoyle statues’ heads are following you. Go from one end of the room to the other continuously, and if done right, then the middle statue’s eyes will shine and a staircase of light will appear.
Take this illuminated path to a balcony overlook the room with the first candle you lit, which will house another candle off to the right. Light this and return to the room with the three statues, where you’ll find a chest on the right-hand side of the room (Fairy Earrings). Exit to the left and in the next room, you can interact with the pedestals to light them with flames. There are three on the left side, where you start, so light all three to create a path to the right side of the same room. There are three more things to light here, but only touch the bottom left one to cause the statues blocking the central passageway to disappear on the left side.


(1 of 2) Lighting this candle on the balcony
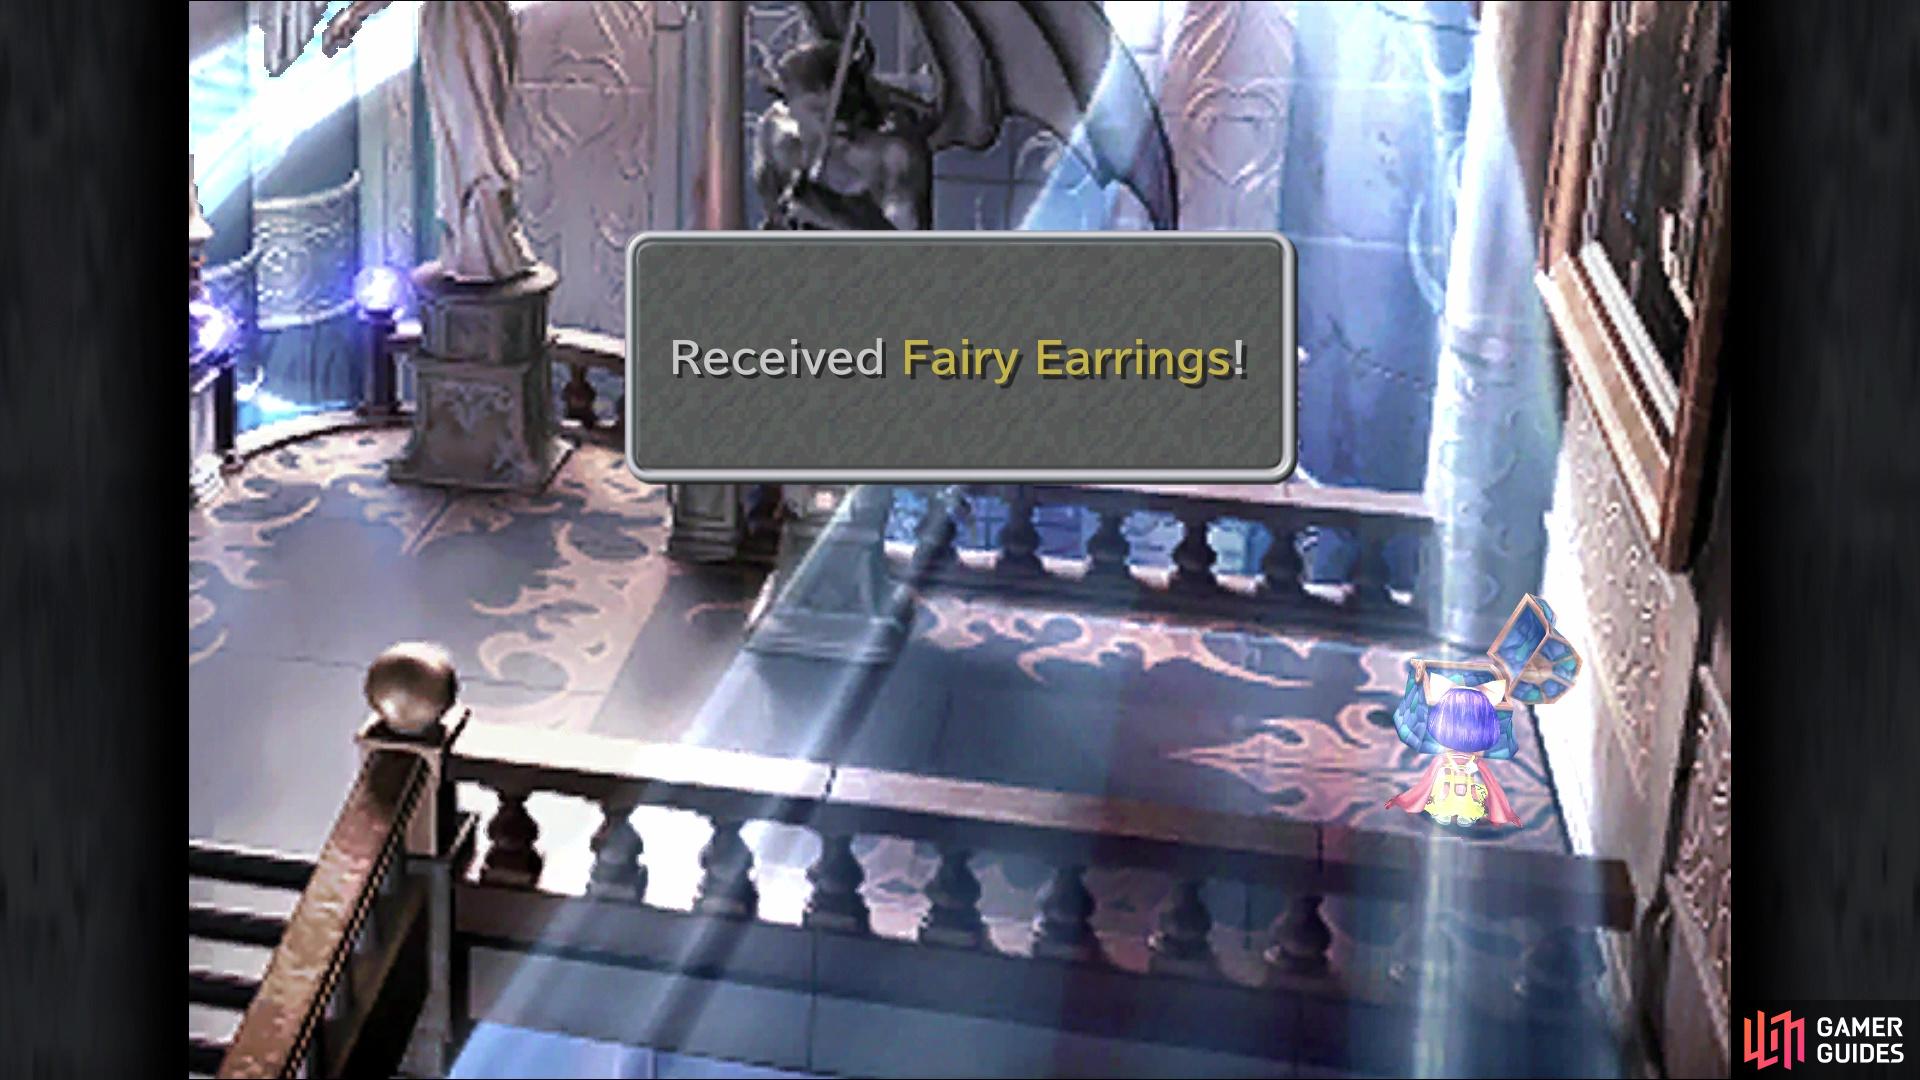
Lighting this candle on the balcony (left), will cause a chest to appear in this room (right)
Return to that side and cross into the central passage, lighting the two flames there and ignoring the third at the bottom of the stairs. The statues blocking the right side will now disappear, so light the remaining two flames on that side, then return to the middle and light the one at the bottom of the stairs. This will cause the next bloodstone to light up just above you, so inspect it again to receive the Anklet item. At this point, the doorway on the right side of the room will now open up, so proceed through there next. In this hallway, you will find two lit candles and at the base of the second statue, you can manually light a third one. Inspect the bloodstone that appears to receive a Shield Armor.
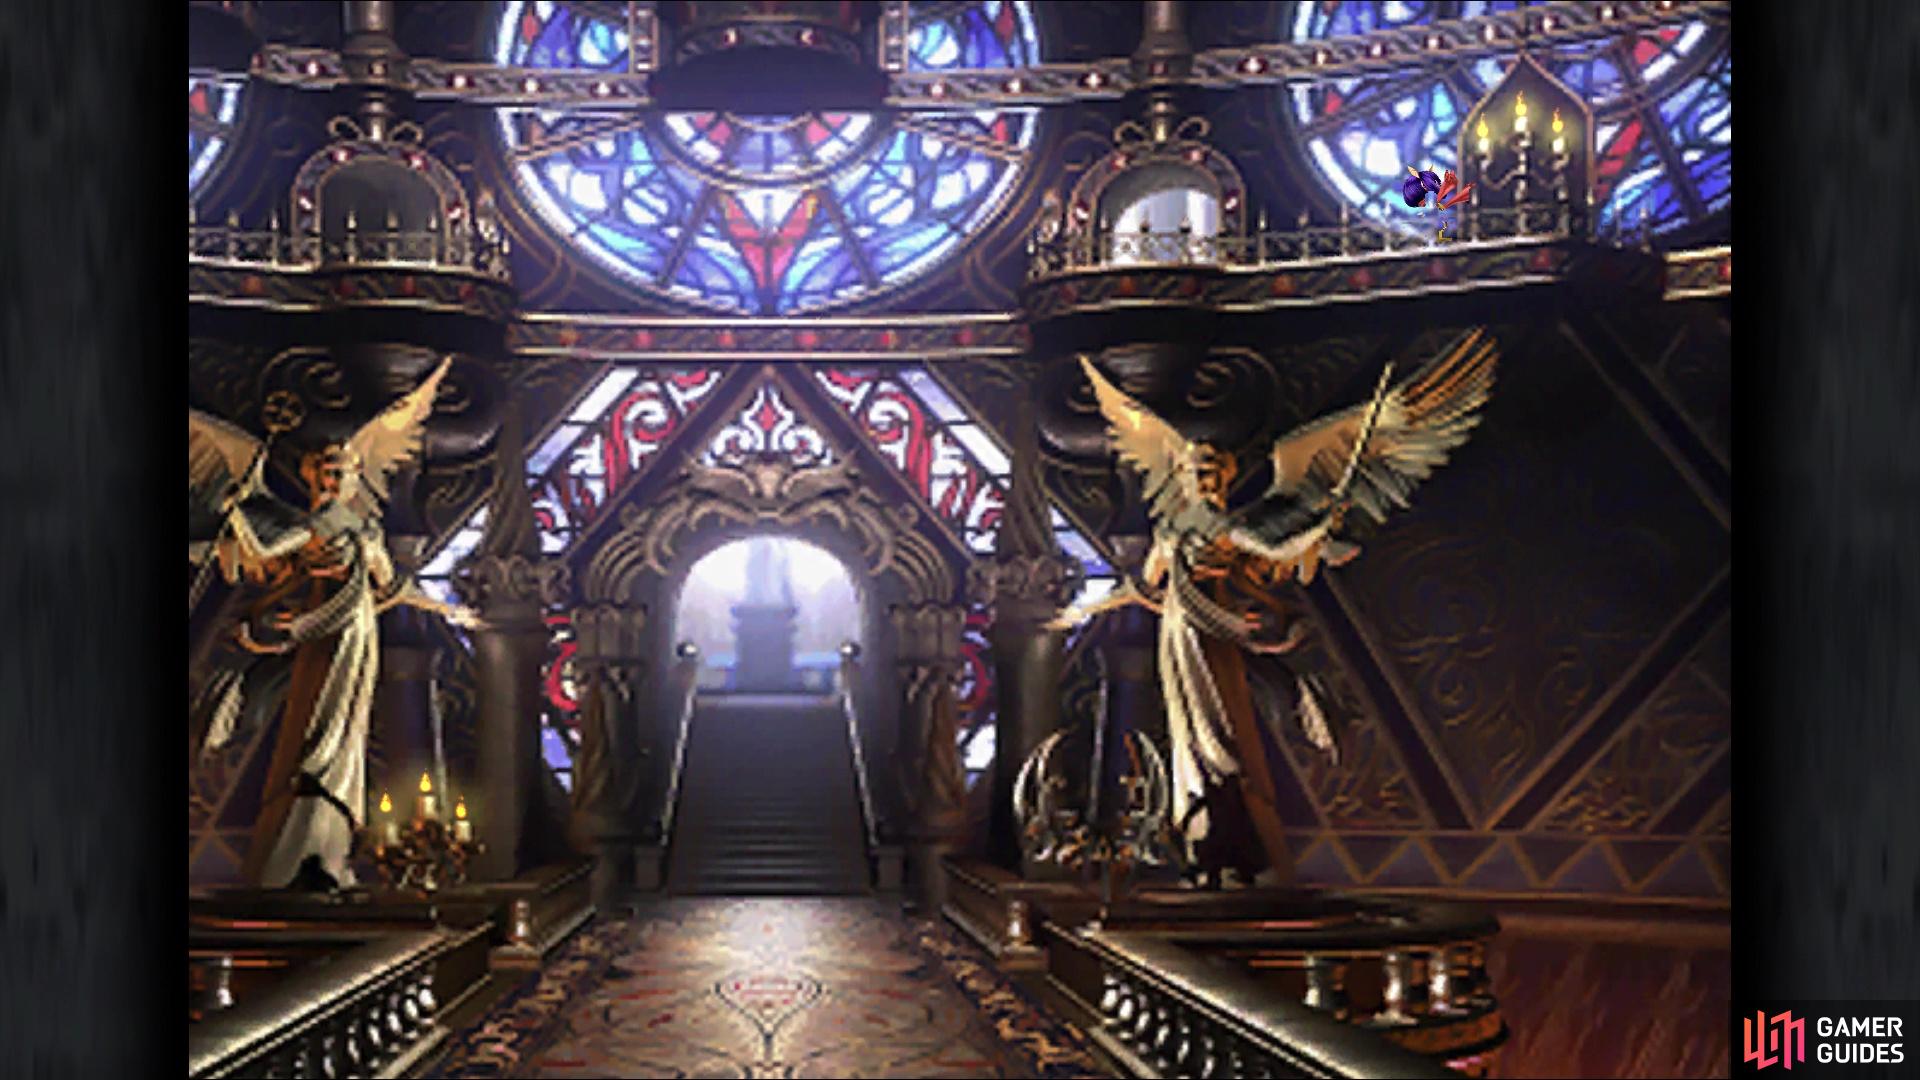
Continue to the back of the room and wiggle around until you climb some stairs. As soon as you emerge from the top of the stairs, there will be another candle you can light, which will illuminate the window in the background. Run towards the screen and head to the next bit, which will have you in the library. Light up the candle in the bottom left and upon doing so, some stairs on the right side will appear. Climb those stairs and light the candle at the end, causing the bookcase to raise. Go through the doorway revealed by the bookcase and inspect the bloodstone to receive a N-Kai Armlet.
Return to the library and to the bottom floor, opting to light the candle on the middle ledge, revealing another secret passage. Go through it and up the long staircase, lighting two more candles. Double back to the library and light the final candle on the bottom floor, on the right side. Pass through the doorway and light the candle on the balcony, then go back into the library. On the left side, you can pass through the stained glass window, where you’ll find a moogle named Mogsam behind it. Hand him the letter from Mojito, and feel free to heal up and save your game.
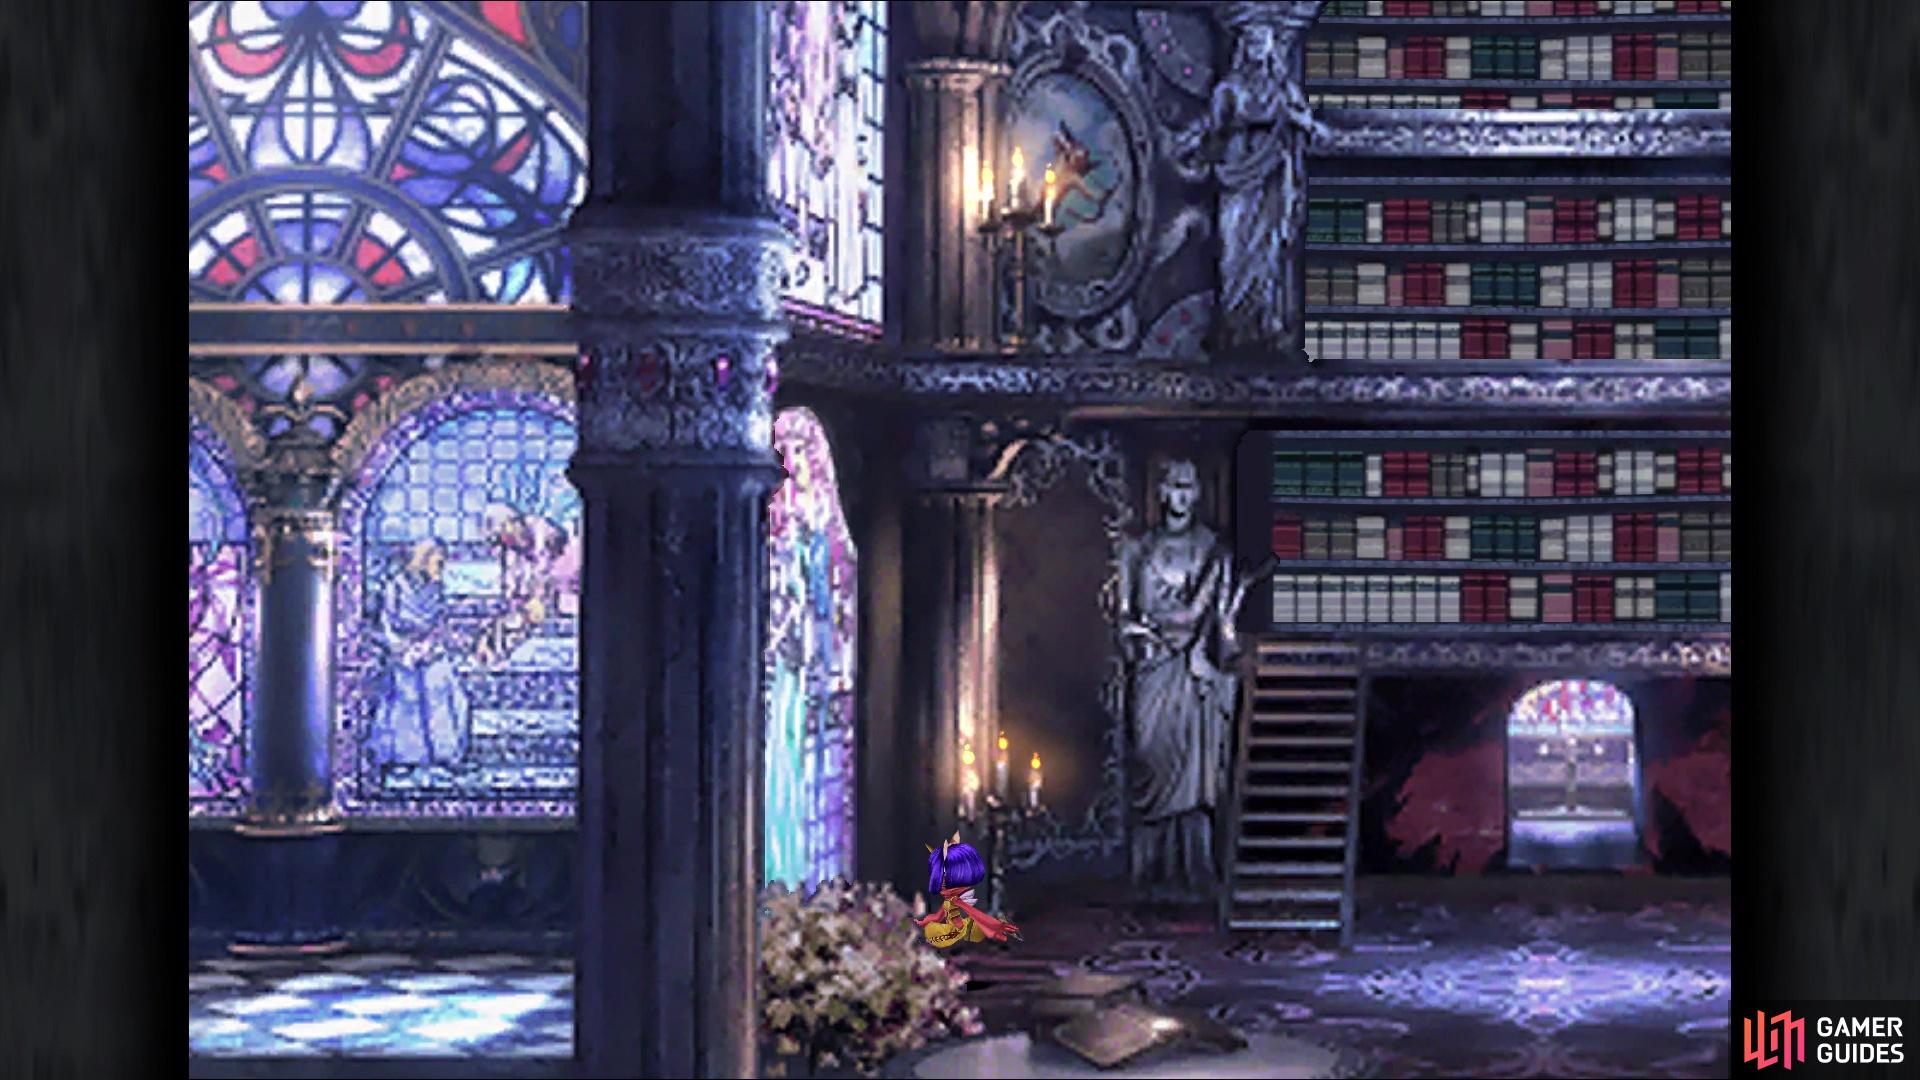
You can go through the window here to find a moogle
Exit to the left of Mogsam to arrive in a new room, where you should see a gargoyle on the wall. There’s two candles in front of it, so light those and inspect the bloodstone to receive a Black Hood. Pass through the doorway to the left of the gargoyle and you’ll come out on the left side of the room. Light the two candles in front of the statue to make another bloodstone appear, with this one yielding a Venetia Shield. Make sure you light the candle on the left side of the room before leaving, as it’s needed. With that out of the way, extinguish the candle on the left sides of the two statues to make a staircase appear in the middle of the room.
Go up the stairs and if you’ve done everything correctly, you can light the candle at the end, triggering a boss fight.
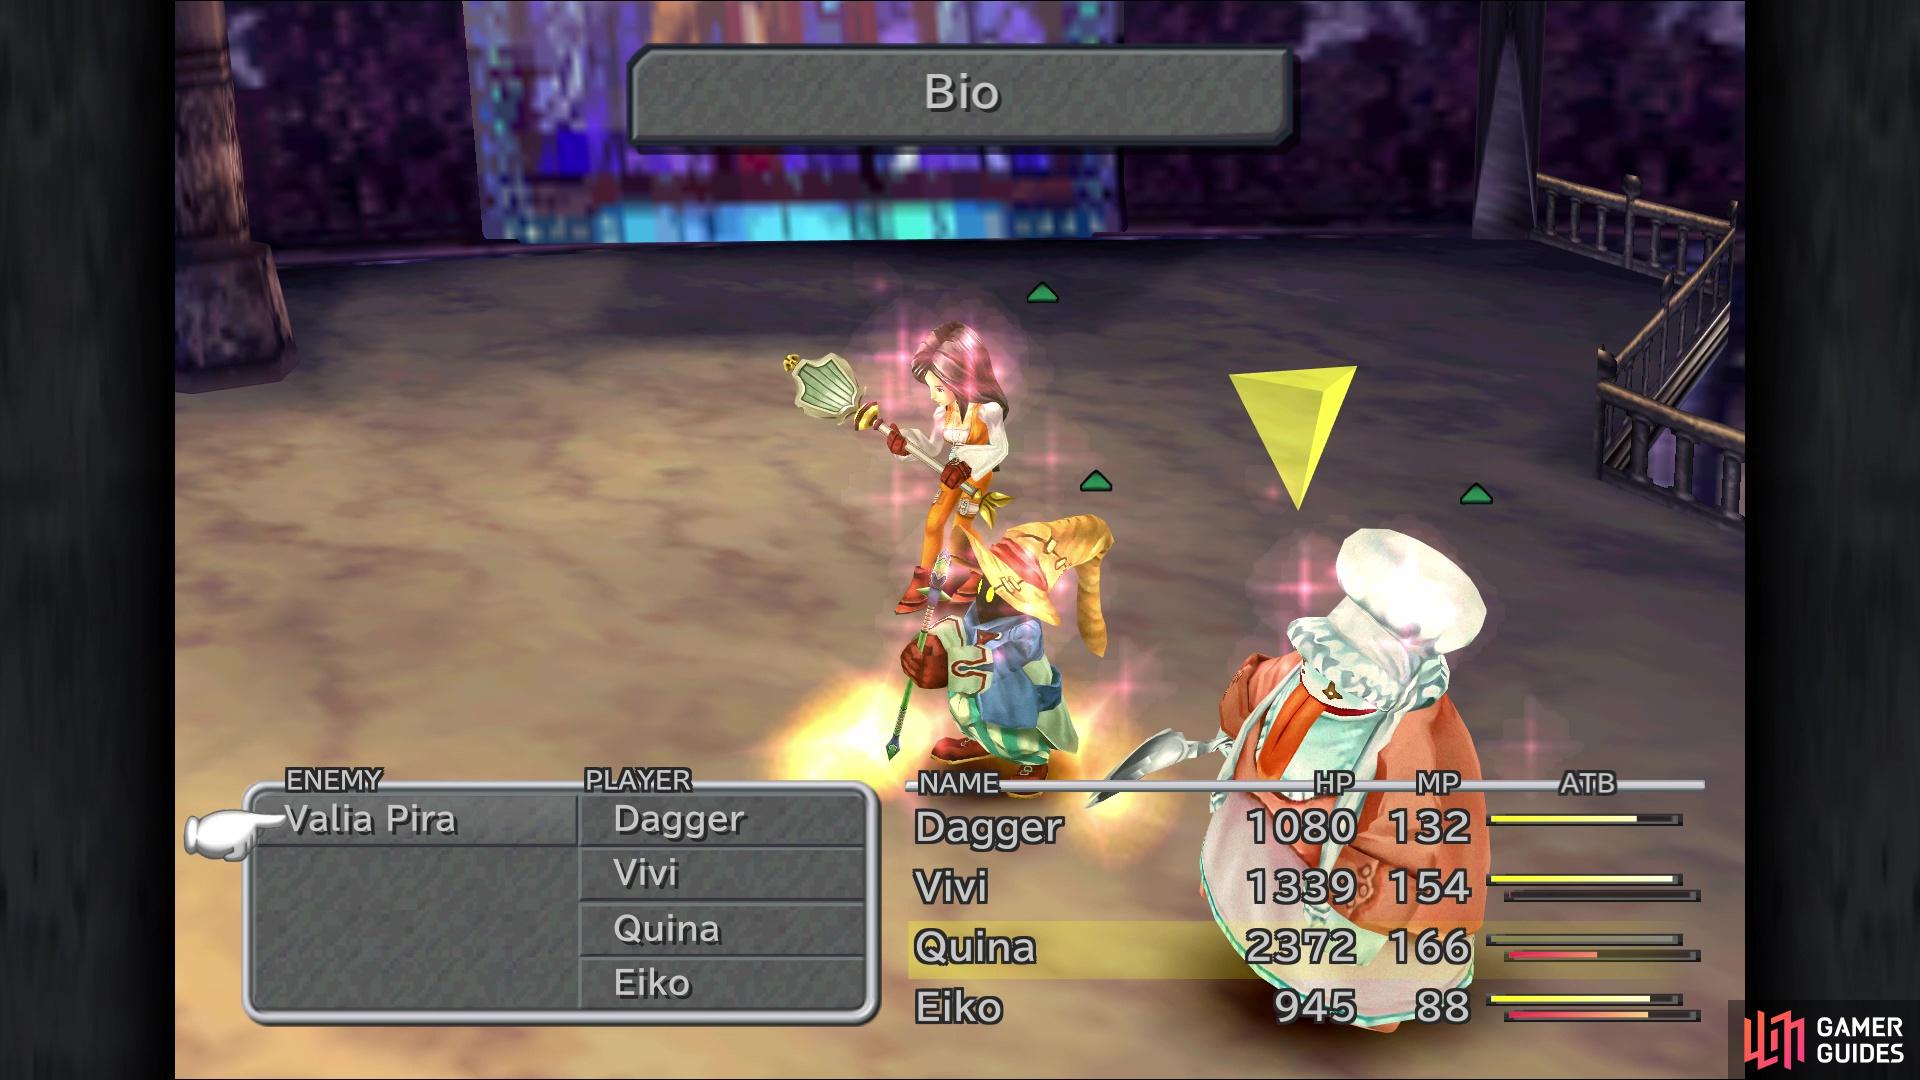
BOSS - Valia Pira
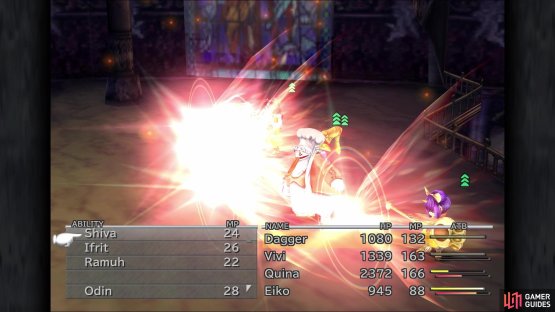
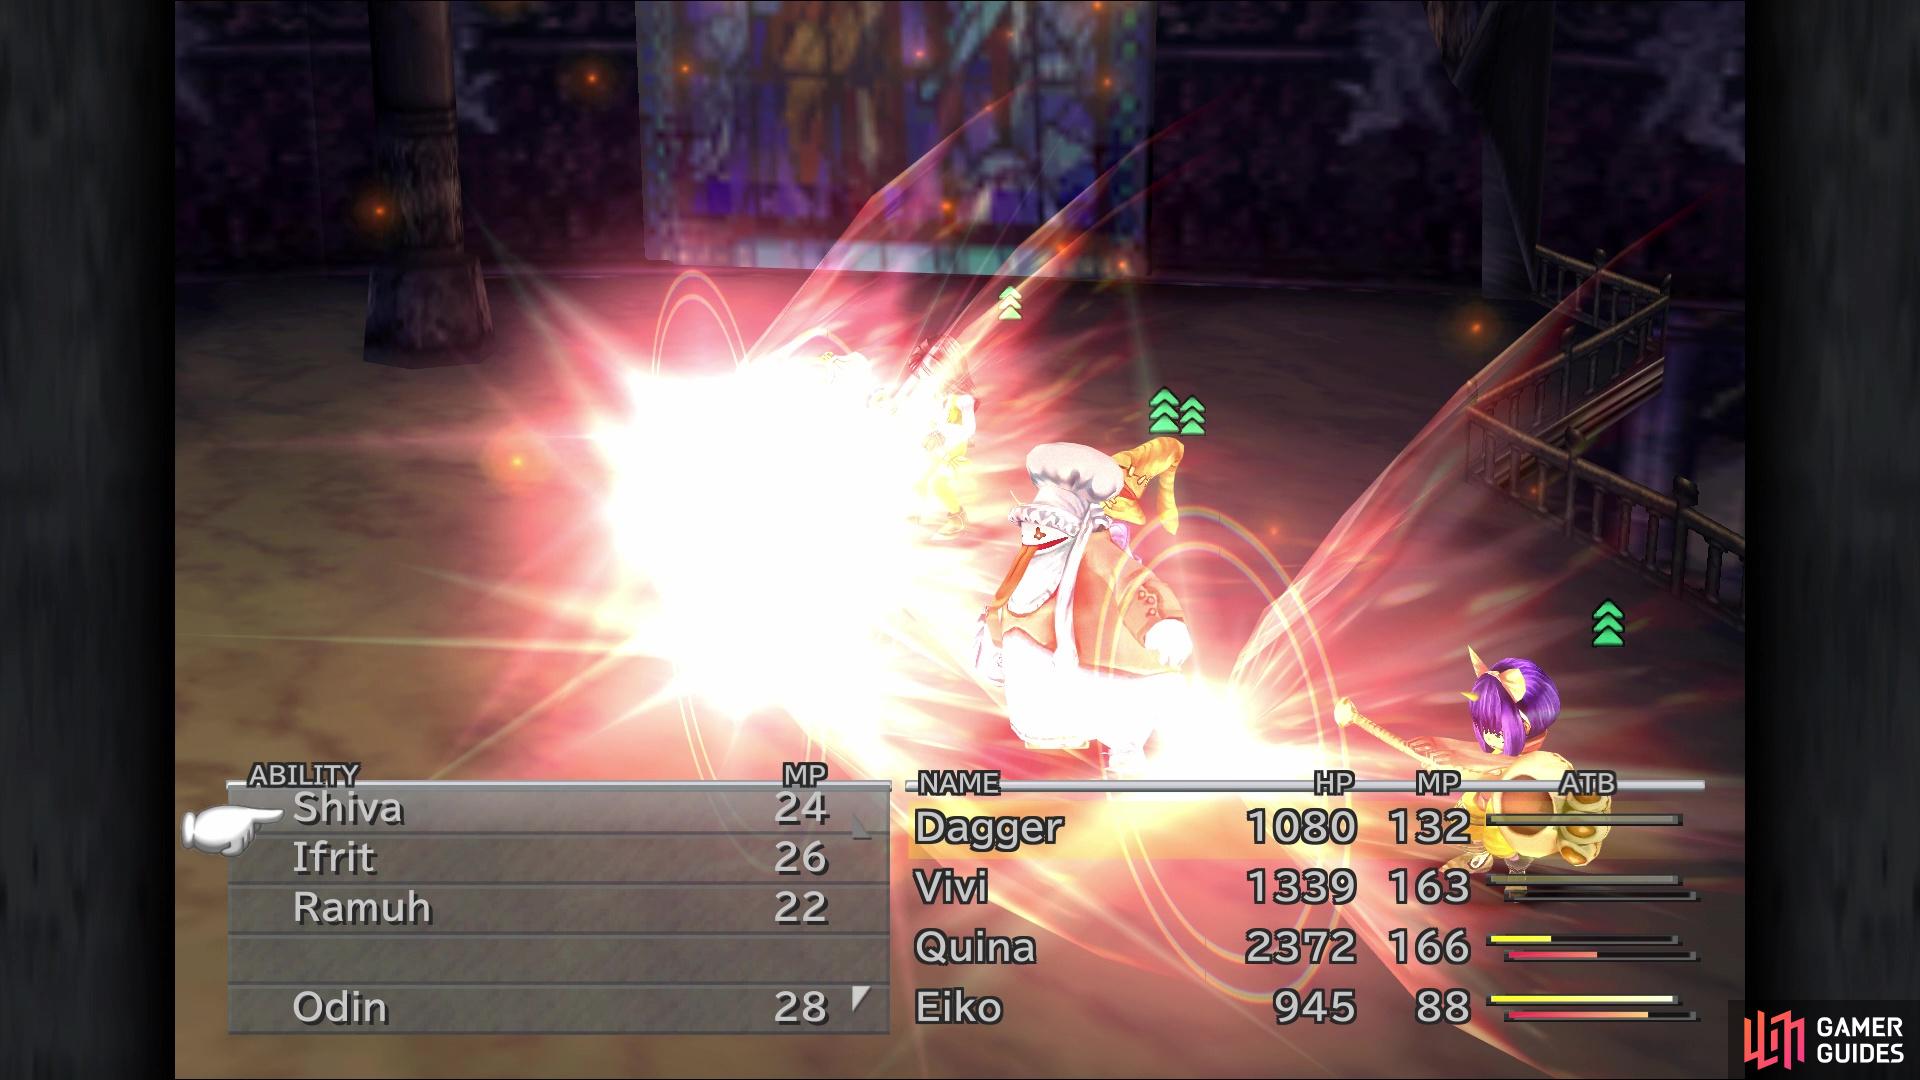
Depending on your actions, Valia Pira will boost its defenses, but it depends solely on the bloodstones you’ve inspected up to this point. Valia Pira uses purely magical attacks throughout the fight, so you want to stack magical defense. It has access to the tier three elemental spells: Firaga, Blizzaga, and Thundaga. It can also cast Reflect on itself, so you want to be careful you don’t accidentally use a spell on it that will be reflected onto your party.

(1 of 2) If you have Eiko, use Carbuncle to cast Reflect on your party
If you have Eiko, use Carbuncle to cast Reflect on your party (left), then have Vivi bounce his spells off of the party to easily bring down Valia Pira (right)
Of course, the easiest way to make this fight a joke is to cast Reflect on your party, as the boss will not be able to even damage you. This can be done with the individual Reflect spell, but if Eiko is in your party and has access to Carbuncle, summon that instead. With Reflect on your party, you can actually have Vivi use a spell against your whole party to cause some good damage on the boss. The reflect strategy makes this boss a big joke and since Zidane can’t be here, you don’t have to worry about stealing things.
With the boss down, go ahead and light the candle at the top of the stairs, then step into the light shining on the landing. The game will switch over to Zidane’s group now, so follow the path back to the teleporter and take it back to the palace. Enter Kuja’s room for some scenes, after which, you can reform your party and be in control inside Kuja’s room. Don’t leave just yet, though, as there is something missable in here. Check the table on the left side of the room to find a Namingway Card; this is the second (and last) chance to obtain one.
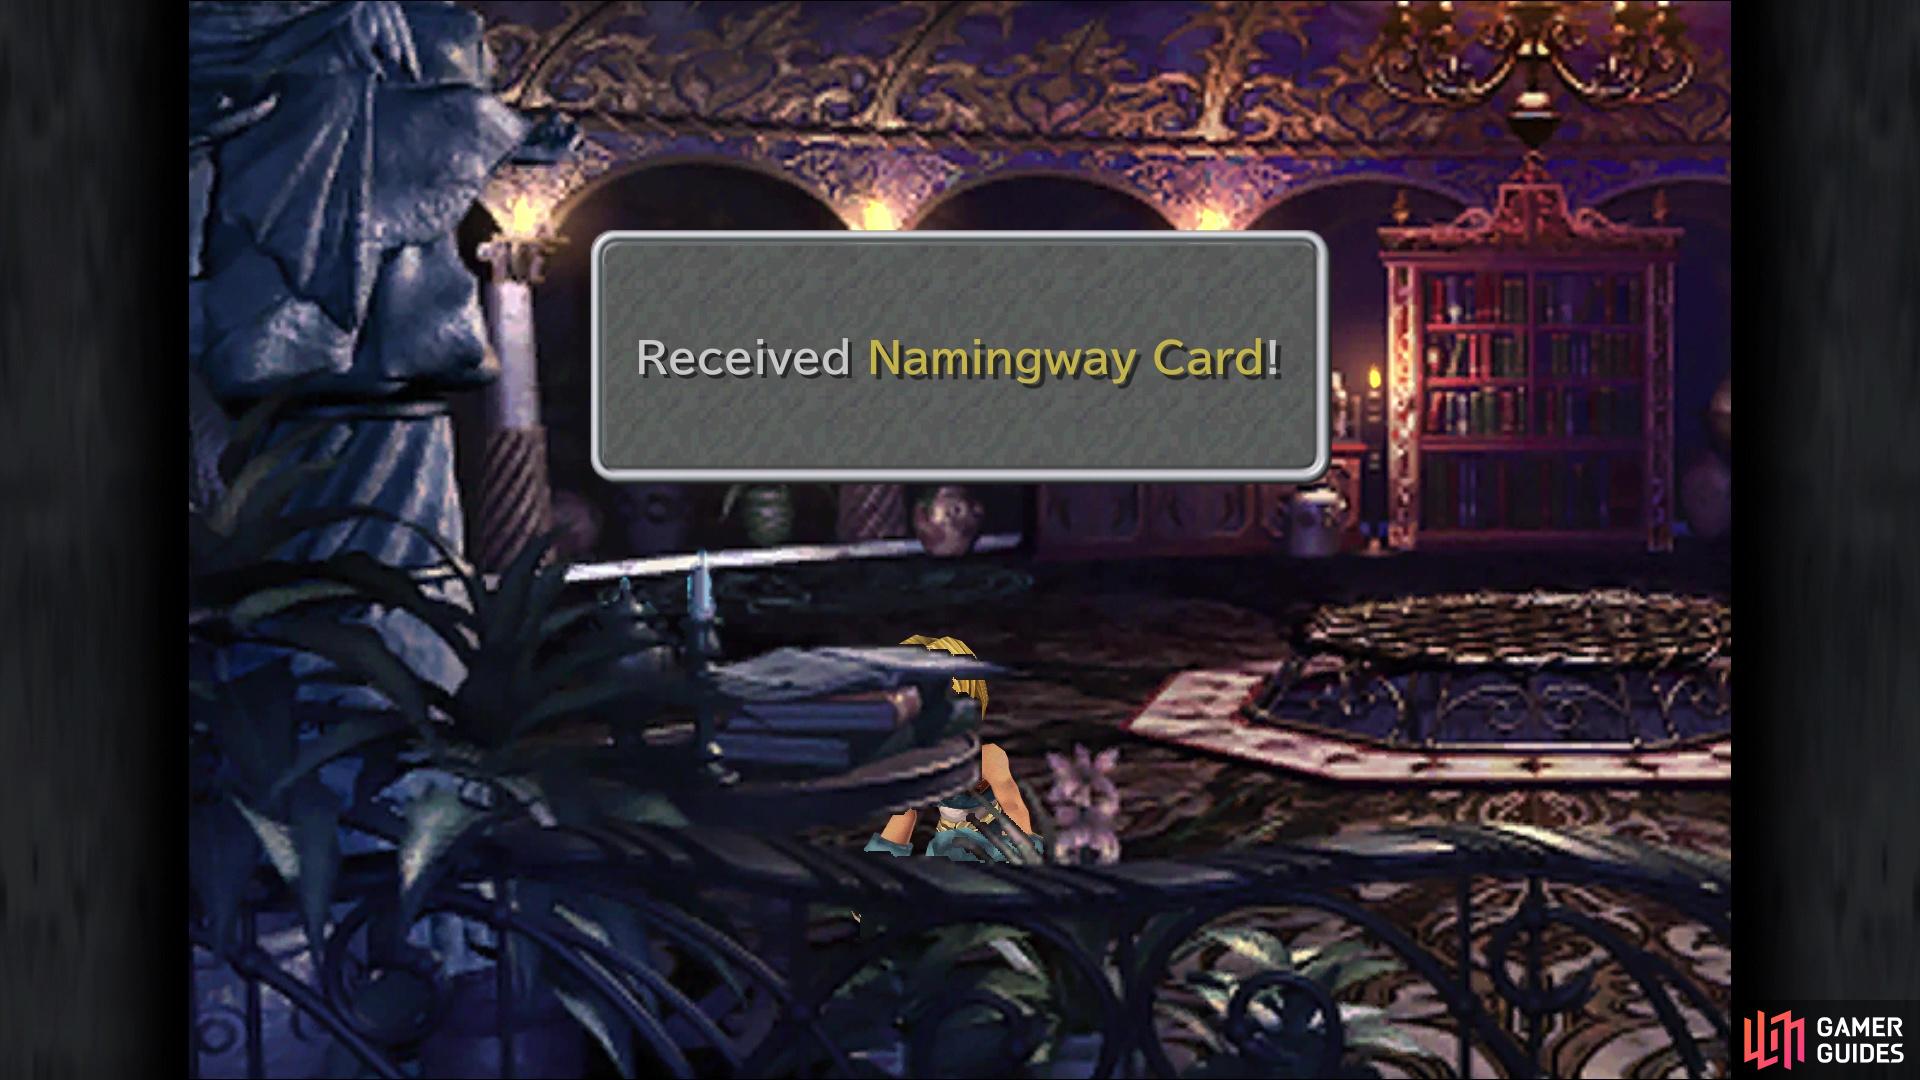
Don’t forget to pick up the Namingway Card in Kuja’s room before leaving
Exit Kuja’s room and take the teleporter back to where the airship was located. The airship is now gone, but keep heading straight at the end to find another exit. Hit the lever to knock down a ladder and climb down it, follow the trail north to an exit. The Blue Narciss will follow the airship to the Lost Continent, the frozen one in the northwest. Your next destination will be Esto Gazo.
No Comments