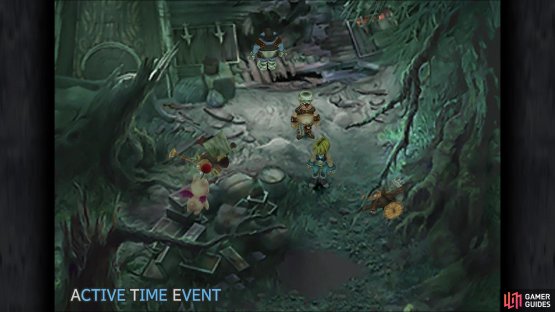
Welp, things didn’t exactly go as planned, as your ship crashed in some forest. As Zidane talks with Cinna, you will get your first Active Time Event (or ATE), which are little scenes that play out separate from where your controlled character is located that expand the story in some way. Whenever you see “Active Time Event” in the bottom left corner, you can press the Touchpad (PS4), Minus button (Switch), View button (Xbox One) or the Select button (all other Playstation consoles) to bring up a list of ATEs that you can view. There are both mandatory ATEs and optional ones, but if you’re looking to get all of the trophies/achievements, then you’re going to want to view all of them.
(1 of 2) You know ATEs are viewable by the words in the bottom left
You know ATEs are viewable by the words in the bottom left (left), They allow you to view events happening in other places (right)
Go ahead and view the first ATE (you have to), called The Forest Keeper, showing off the location of both Garnet and Vivi. After this, you will regain control of Zidane, so head to where the Conductor and Trumpeter are on the ground, to the left of Cinna, and squeeze through them and check just south of them to find a Phoenix Down. Exit to the south of Cinna and you’ll be in the Evil Forest proper now, where you will start getting random encounters. With the Mage Masher equipped, you should have no problems taking out foes in a single hit or so, after which, you can start collecting AP and EXP.
Run along the trail and in the second screen, you will find Vivi, who is scared of the beast ahead. The reason for this is because it has Princess Garnet captive, so run up ahead to begin the battle with Steiner at your side.
BOSS - Prison Cage
At the very beginning of the battle, you are introduced to the Trance mechanic. This is basically a “surge of emotion” that increases your strength, and acts similar to the Limits system of the previous games in the series. Trance is represented in battle by a blue bar underneath your ATB bar and once it’s filled up, your character will automatically enter Trance, with no input on your end. Not only do all status ailments get cured, but the majority of the characters either have unique abilities while in Trance or they have their basic ones amplified. The Trance meter is automatically emptied after the battle ends, if the character is in Trance at the end, so it doesn’t carry over from one battle to another.
Because characters automatically enter Trance once the bar is filled up, there isn’t really any planning to be had with saving it for harder battles. Thus, Trance can be both a boon and a burden, depending on when it is triggered. In fact, it’s possible for you to have defeated all enemies in a battle, then have Trance trigger on someone at the very end of a battle, making it completely useless. For the purposes of this battle, Zidane will gain the use of Dyne abilities. Depending on the regular skills obtained, Zidane gains access to powerful skills that use MP.
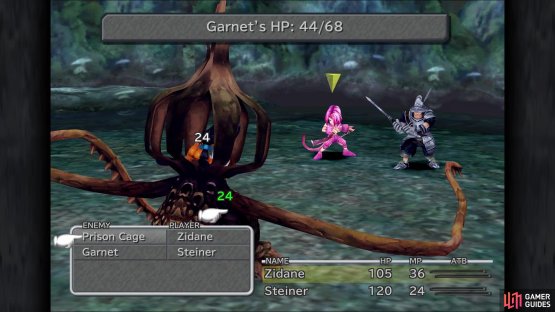
(1 of 2) In the first fight, the boss will absorb HP from Garnet so keep her healed
In the first fight, the boss will absorb HP from Garnet so keep her healed (left), In the second fight, Vivi will help by casting Fire on the boss (right)
So, the Prison Cage has Garnet captive and will periodically use Absorb to take some of her life. Thus, it’s important to keep track of her health at all times, as if she dies, then it will result in a game over. To be on the safe side, you will want to use a Potion on her should her health drop below 35. Also, you want to avoid using Tidal Flame when Zidane is in Trance, as this will hit both the boss and Garnet, essentially one-shotting her. Using Free Energy twice should be enough to force the monster to retreat. Ignore stealing, as the beast has nothing to steal.
Just as things seem a little bit safer, the Prison Cage will return and snag Vivi, forcing a second battle. Unlike the first battle, Vivi isn’t helpless and will cast Fire on the boss on his turns. Second, you won’t have access to a Trance in this battle, so you will have to resort to normal attacks to whittle its HP down. Lastly, the boss has two items to steal, a Broadsword and a Leather Wrist, so use Zidane to try and steal them while Steiner concentrates on attacking. Focus solely on the Prison Cage and try to not accidentally attack Vivi.
Prima Vista
After the battle is over, you will end up back on the Prima Vista. As you gain control of Zidane again, there is a slightly obscured chest next to Baku, so open it for some Bronze Gloves. Exit to the left and there will be a few more ATEs available, namely Time to Escape, My Little Baby (view the first to unlock this), and Girl Who Was Left Behind. After viewing them all, head to the bottom of the stairs and open the chest on the left side of the room for a Wrist. Head into the room on the right, which is where Vivi is located, and climb to the top of the bunk bed.
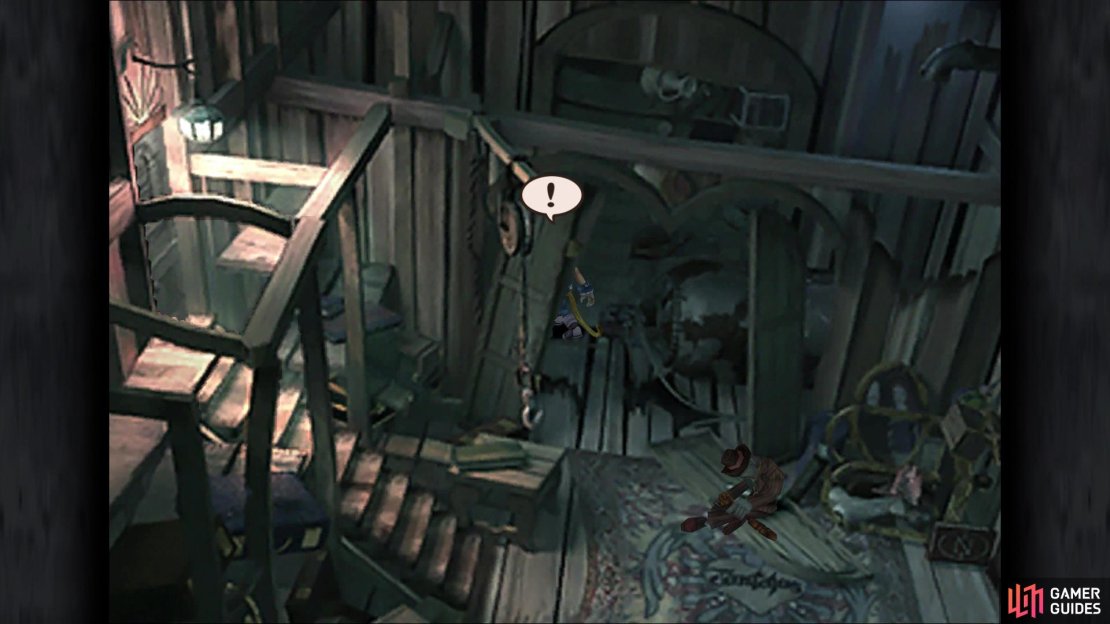
There will be 116 Gil up here and there is also a chest next to the door, holding an Ether. Speak with Vivi, then exit the room to initiate a cutscene. Once it’s over, pick whichever choice you want (it doesn’t matter) and head through the other opening on the left side. There will be a chest immediately to your south, so open it for another Ether, then head down the stairs. At the northern end of this room is a hidden treasure (Rubber Helm) and if you go through the south opening, you can find another chest (Leather Hat). When you’ve grabbed those two, head into the room on the right from the stairs to find Baku, who says he’ll knock some sense into you in the cargo room. Before leaving, open the chest along the southern side in his room for a Potion, then get ready for a fight when you talk to Baku.
The location of the Rubber Helm in the Prima Vista
BOSS - Baku
While not technically a real boss battle, the fight against Baku is one-on-one, so you will want to keep an eye on your health. At first, you will want to concentrate on stealing from Baku, as he has two items, a Hi-Potion and an Iron Sword. His strongest attack does around 30 damage, so you have a little leeway in when you have to pop a Potion to heal, which should be when you go under 50 HP or so, just to be on the safer side. Once you grab the Iron Sword, it should only take a couple of hits before Baku is finished.
With that out of the way, head to the top of the stairs and enter the room there to find Steiner. He’ll agree to help you find the princess, but asks you to go get Vivi, too. Re-enter his room and open the chest there for an Ether, then go ahead and revisit Vivi where you found him earlier. Although a little reluctant, he will also join you on your search for Princess Garnet. It’s time to go and find the missing princess!
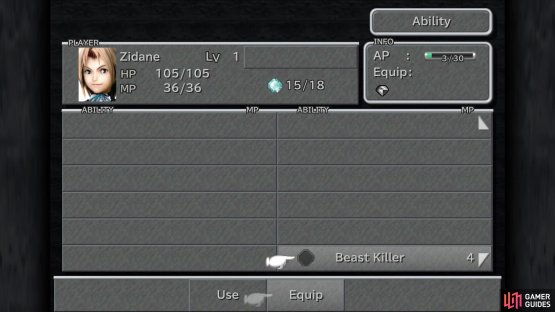
Before leaving, open your menu and navigate to Abilities. Go over to Equip and you will see some passive abilities listed for your characters. Both Zidane and Steiner should have some available, so highlight each one to equip them. Each passive has a point assigned to them and the current amount of points available is listed to the right of the character’s HP in the box above the list. Once you delve deeper into the game and have access to a lot more passives, you will need to pick and choose which ones to prioritize over the others.
(1 of 2) Don’t forget to equip the passive abilities for each character
Don’t forget to equip the passive abilities for each character (left), The number at the top will indicate how many points you have left and total (right)
Backtrack to the cargo hold room where you fought Baku and exit to the south, where Blank will give you Blank’s Medicine. You’ll also receive a short tutorial on how to equip abilities here, but it’s already been talked about above. Save at the moogle and check Mognet for another letter. Cinna also offers some items for sale, so if you’re running low on Potions, make sure you stock up on them now. Exit to the south to get back to the Evil Forest.
The Evil Forest
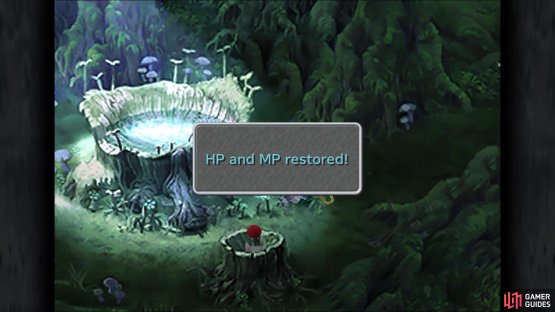
This little dungeon is relatively linear, so you’re not going to get lost. Follow the trail at the beginning until you get to the screen where you encountered the Prison Cage enemy. It is here that you will see an ATE pop up, one called Orchestra in the Forest, so go ahead and view it now. When it’s over, continue along, ignoring the one exit to the left, until you happen upon some spring. You can see a moogle hidden in the tree trunk and you can use the spring (right side) to heal your HP and MP. This moogle’s name is Monty and you have a letter to deliver to him from Kupo, so check Mognet not just once, but twice to view another letter from Stiltzkin to Monty.
Feel free to heal up and save, then on the next screen, run around and fight some monsters to level up a bit. Level 3 or 4 should be more than enough for the upcoming boss, but if you happen to run into any Dendrobiums, then you can steal a Tent from them. These are extremely helpful for both your party and in battles, but be careful in using them too hastily, as they are extremely expensive at the beginning of the game. When you enter the cave-like entrance, get ready to face your first actual boss of the game.
(1 of 2) The spring in the Evil Forest restores both HP and MP
The spring in the Evil Forest restores both HP and MP (left), so use the opportunity to grind a few levels for your characters (right)
BOSS - Plant Brain
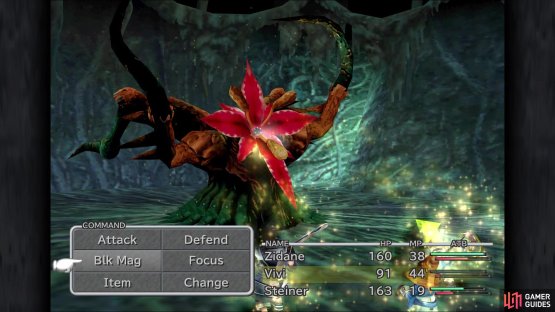
This is probably the first actual boss of the game and it shows, as Plant Brain can dish out some damage to your party. Naturally, the boss has some items for you to steal, namely the uncommon Iron Helm (Eye Drops is the common item), so have Zidane focus on that until he manages to snag it. Plant Brain has physical attacks with Left/Right Tentacle, similar to the Prison Cage, although it will deal a little more damage. It can also use Pollen, which doesn’t deal a lot of damage, but it has a chance of inflicting Darkness to the entire party (use Eye Drops to heal this).
By far, the most annoying skill in the boss’ arsenal is Thunder, both a single target version and an all-party one. While the Silk Shirts can half the damage of Thunder, you only have two of them, so Steiner will be vulnerable to the full force of the spell, unless he has the Rubber Helm equipped. However, there is a way to limit the actions Plant Brain does, which is to throw a Tent at it. Do this at the beginning of the battle to potentially inflict Darkness and Silence on the boss, which essentially gets rid of Thunder (it can still use Pollen) and can make its physical attacks miss.
At some point in the battle, Blank will join you as a fourth party member, so if you still haven’t gotten the Iron Helm, you can use his Steal command to up your chances. Being weak to fire, Plant Brain will likely go down pretty quick, as Vivi has Fire and Steiner has Fire Sword. With the Iron Sword equipped, the latter should do upwards of 400+ damage to the boss. This will make short work of the boss.
(1 of 2) Pollen can be annoying, as it inflicts Darkness, making it so your characters will miss a lot with physical attacks
Pollen can be annoying, as it inflicts Darkness, making it so your characters will miss a lot with physical attacks (left), Blank joining the battle gives you more chances to steal (right)
After the battle is over, it looks like things have finally calmed down, but they pick up even more. With the boss dead, the smaller creatures of the forest are now coming after the party, so it’s time to run. At one point, you’ll be forced into a battle with some Plant Spiders, which should go down without any troubles, but keep an eye on your health after the fight with Plant Brain. With them out of the way, continue running to the exit and eventually, a scene will take over. There will be a bunch more scenes here, including some forced tutorials from some moogles (this ATE doesn’t count towards the total for Movie Critic). Feel free to listen to them, but at the end, you will receive the Moogle’s Flute before being deposited on the world map.










No Comments