
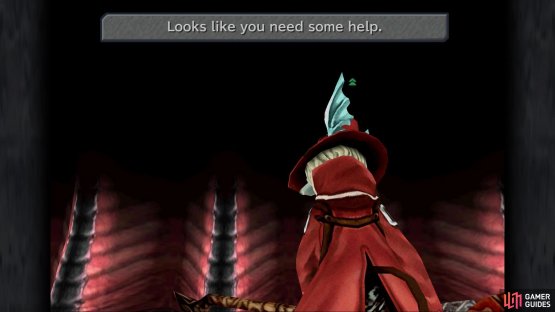
Pandemonium begins with you in control of Zidane, so move forward to meet up with Garland for a scene. Follow Garland onto the next screen, then continue doing so (the path is on the right side here) for more exposition. Once you eventually reach the scene with Zidane on a chair, things will be put into motion and the dungeon will kick off. You’re forced into a few battles here, with Zidane by himself. The first will be against an Amdusias, a familiar foe if you fought the one back in Treno. You want to keep yourself alive, until some of your friends show up to help (Freya and Amarant).

(1 of 2) You’ll need to survive on these fights in the beginning
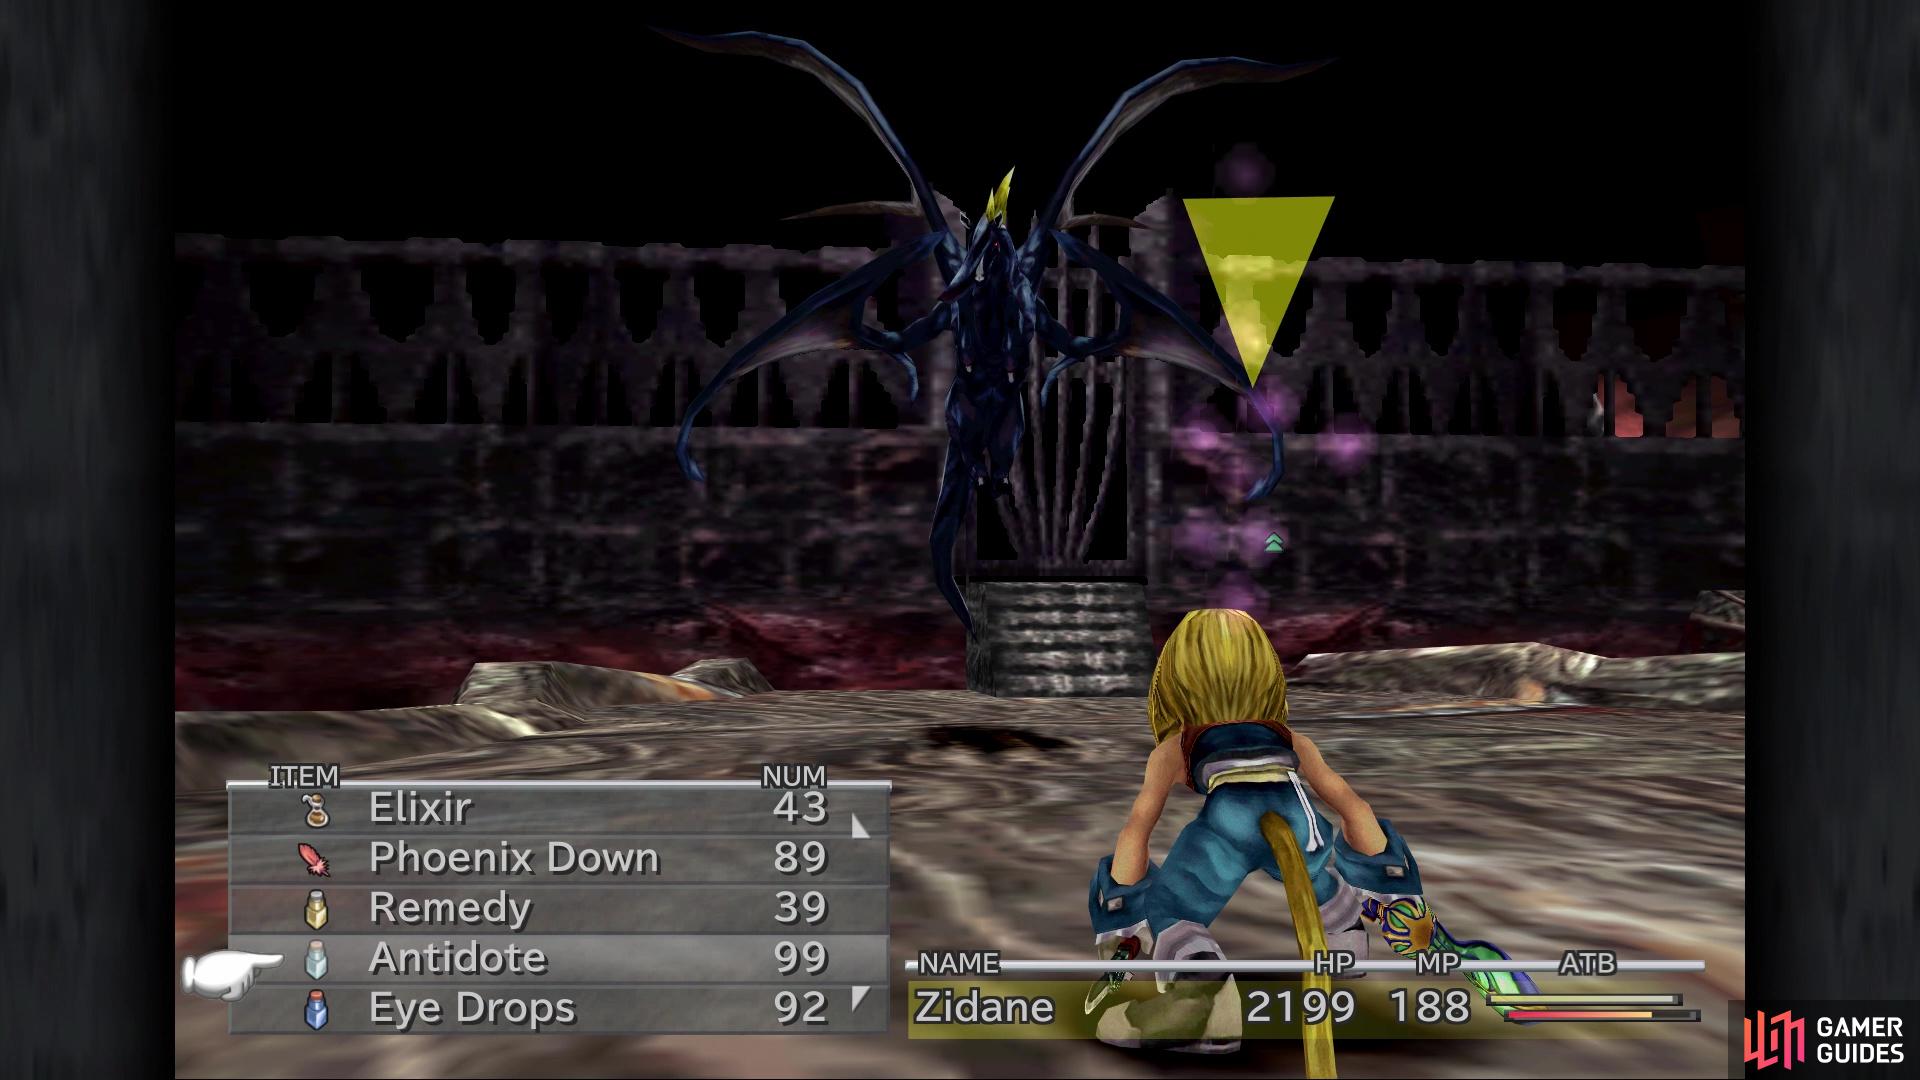

You’ll need to survive on these fights in the beginning (left), until you get some help from your friends (right)
The battle is scripted, so you actually can just fight until both of them show up, then you will be able to defeat the creature. The second battle will be against an Abadon, although it will begin with just Steiner and Quina. Quina can heal with White Wind, which will most likely be needed after Abadon uses High Wind. Attack the enemy until Zidane joins the battle, then you will be able to defeat the creature before you. The final battle here will be against a Shell Dragon, which can be pretty dangerous due to its Smash attack that reduces your HP to 1.
Like the first battle, it will begin with Zidane alone and it seems that you have to wait until the Shell Dragon uses Smash for Dagger to appear. Keep her on healing duty, in case of a Smash, while Zidane attacks the giant creature. You might also want to cast Float to avoid taking damage from Earth Shake. When the Shell Dragon perishes, you will have a party of Zidane, Dagger, Steiner and Quina, and will be done with the forced battles.
Once you’re back in control and the awesome music stops playing, retrace your steps to meet up with the other party members. Moorock, the moogle, will also be here, allowing you to heal up and save, as well as change your party members around if needed. You should be fully stock on status-ailment curatives, just in case. There’s still one more thing to do before you start your trek through Pandemonium, which is to go back to the seat Zidane was sitting on, as you can grab a Holy Miter from it.
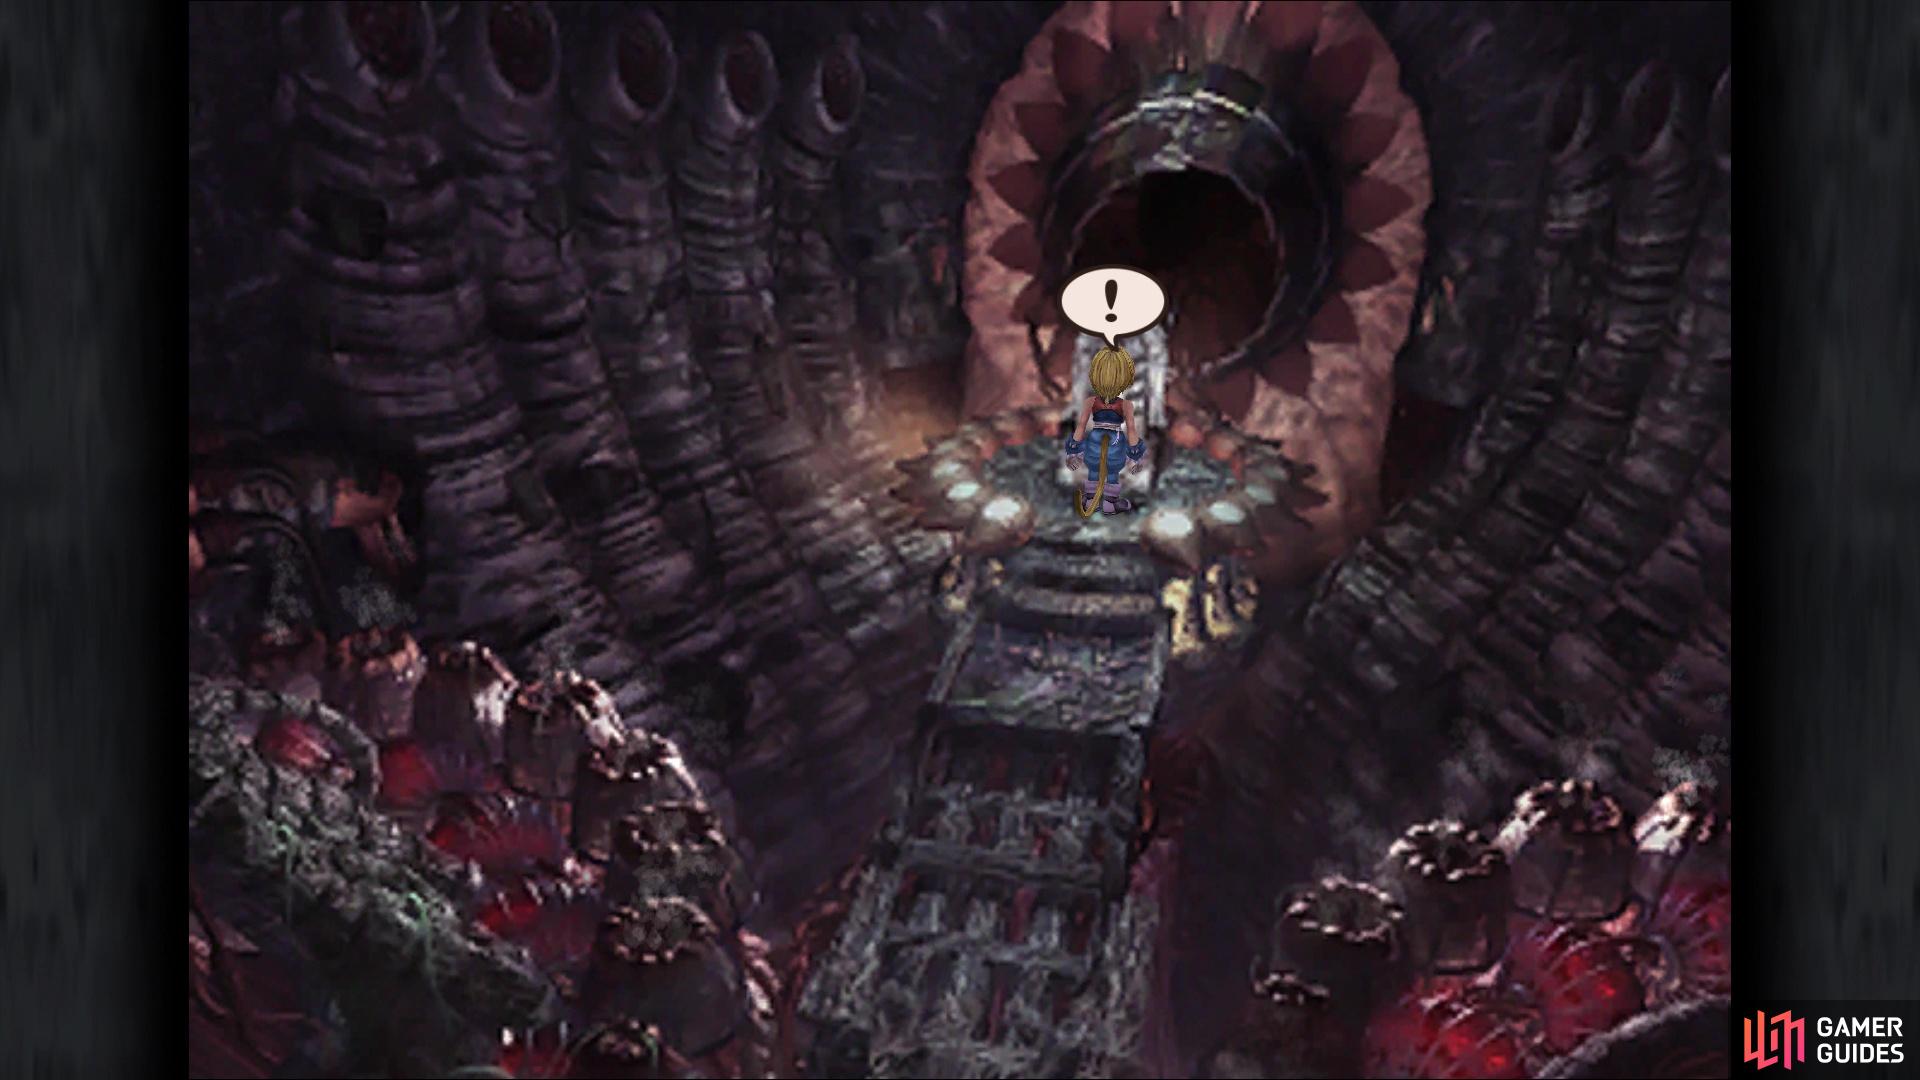
Return to the throne at the beginning of Pandemonium to find an item
Pandemonium
When you’re ready, return to where you fought the Shell Dragon and continue west. The first room you will enter will have a bunch of pedestals throughout it, and there will be a button at the top of the room, near where you entered. Press the button and the pedestals will flash a blue light, and should you pass by one while the light is on, you will be forced into a battle. Also, a 30-seconds timer will appear upon pressing the button and what you don’t see is a bridge materializing in the next room. So, your goal here is to press the button and avoid the blue lights, as the timer runs down during battle.
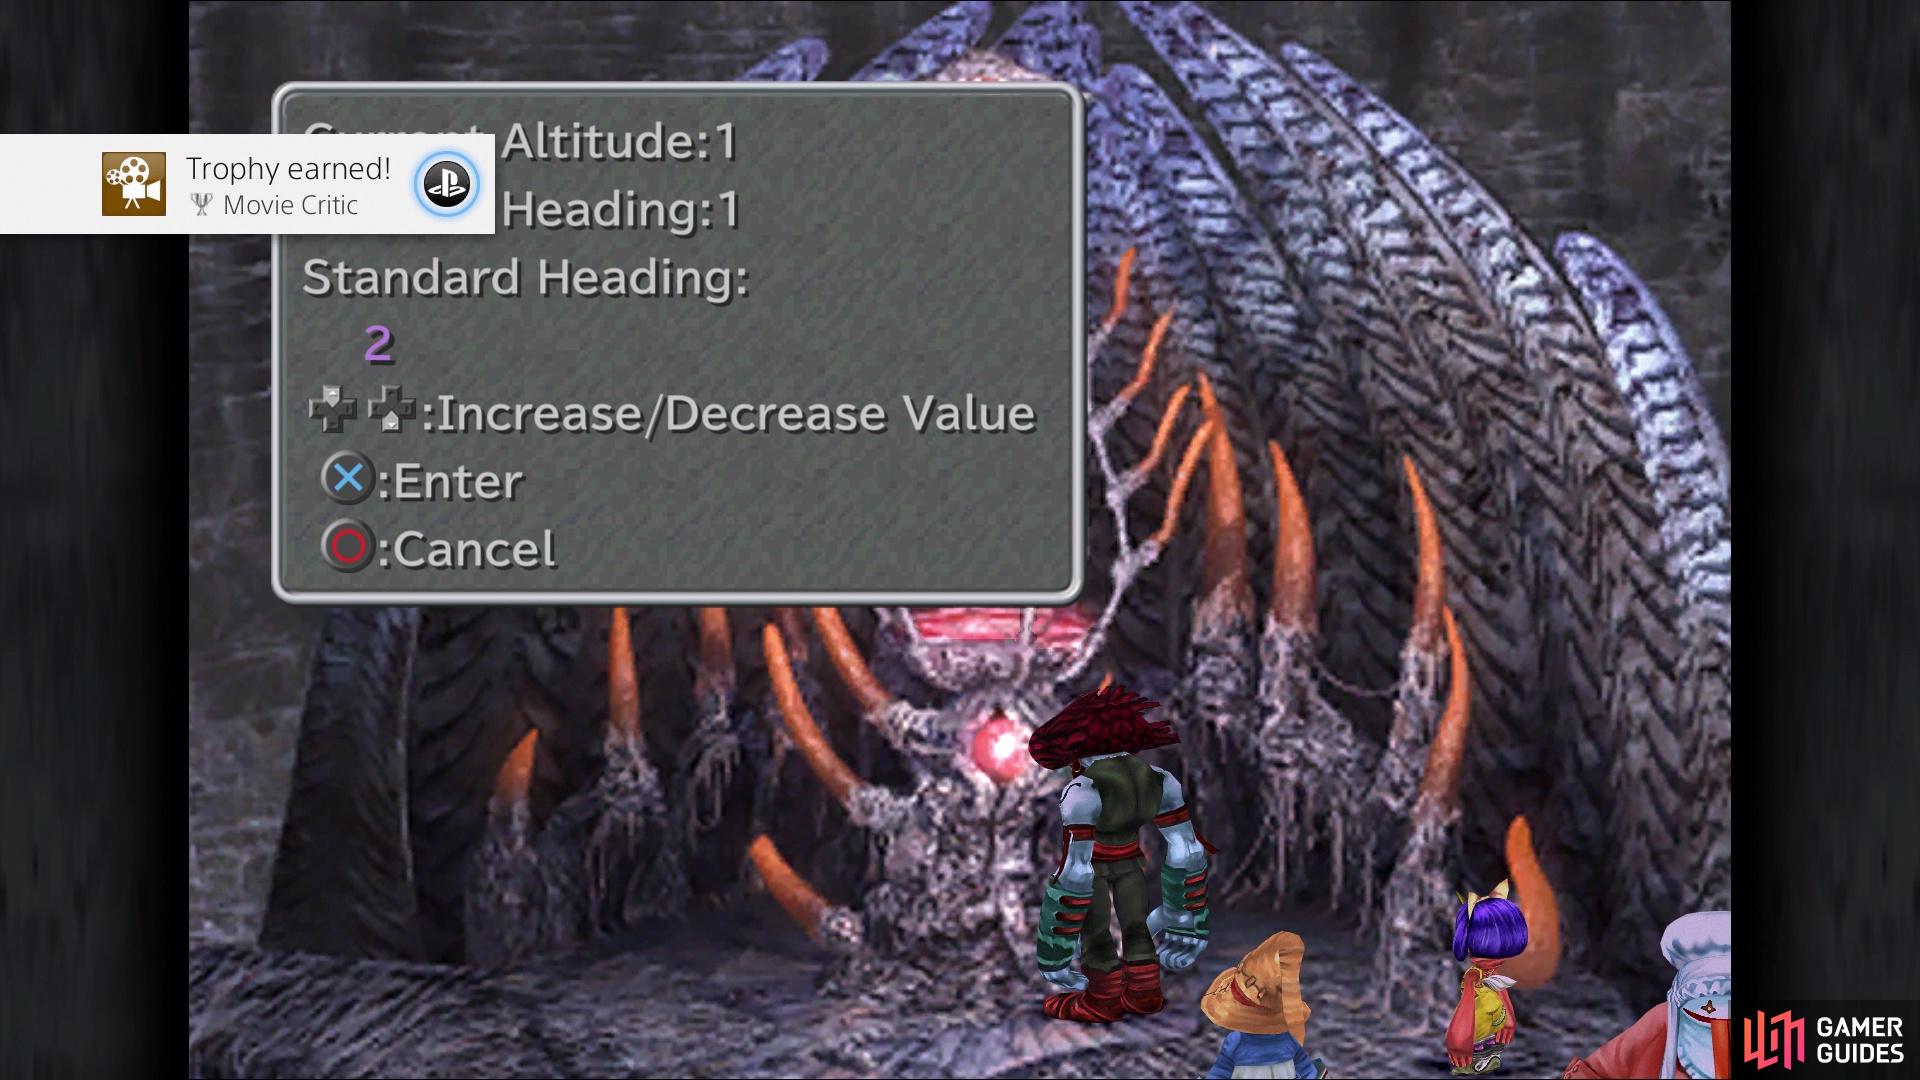
Avoiding the middle portion is the best option to getting through this area, as having to go back and constantly press the button again is a hassle. Once you cross the bridge past the pedestals, you will arrive in a room with some kind of contraption in the middle. This is actually a control for an elevator and there’s the final ATE attached to it. To get this ATE to appear, you want to do the following steps:
- Change the Standard Heading to 0
- Go into the room on the left and try to jump from all three accessible ledges, only to hit a force field
- Return to the contraption and change the Heading to 2, then repeat the previous step
- Return to the controls for a scene, then back to the left room to activate The Elevator ATE
This ATE allows your sidelined members to control the elevator, while Zidane and the others will be using the actual elevator. To begin with things, set the Heading to 3, then use the upper of the three spots to get on the elevator. This will bring you up to the next tier, where you can run up the incline on the right and use the first platform there to ride the elevator to the top, allowing you to open the chest for 20,007 Gil. Take the elevator back down the same way you rode it to the top to get to the bottom tier.
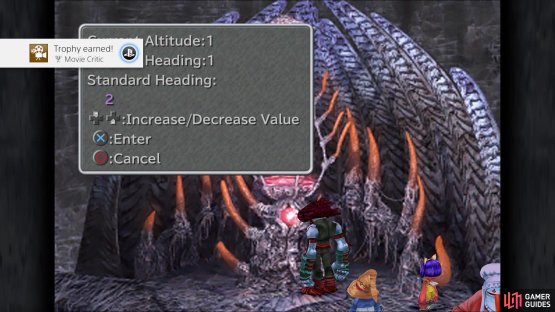

(1 of 2) Activating The Elevator should net you the Movie Critic trophy/achievement
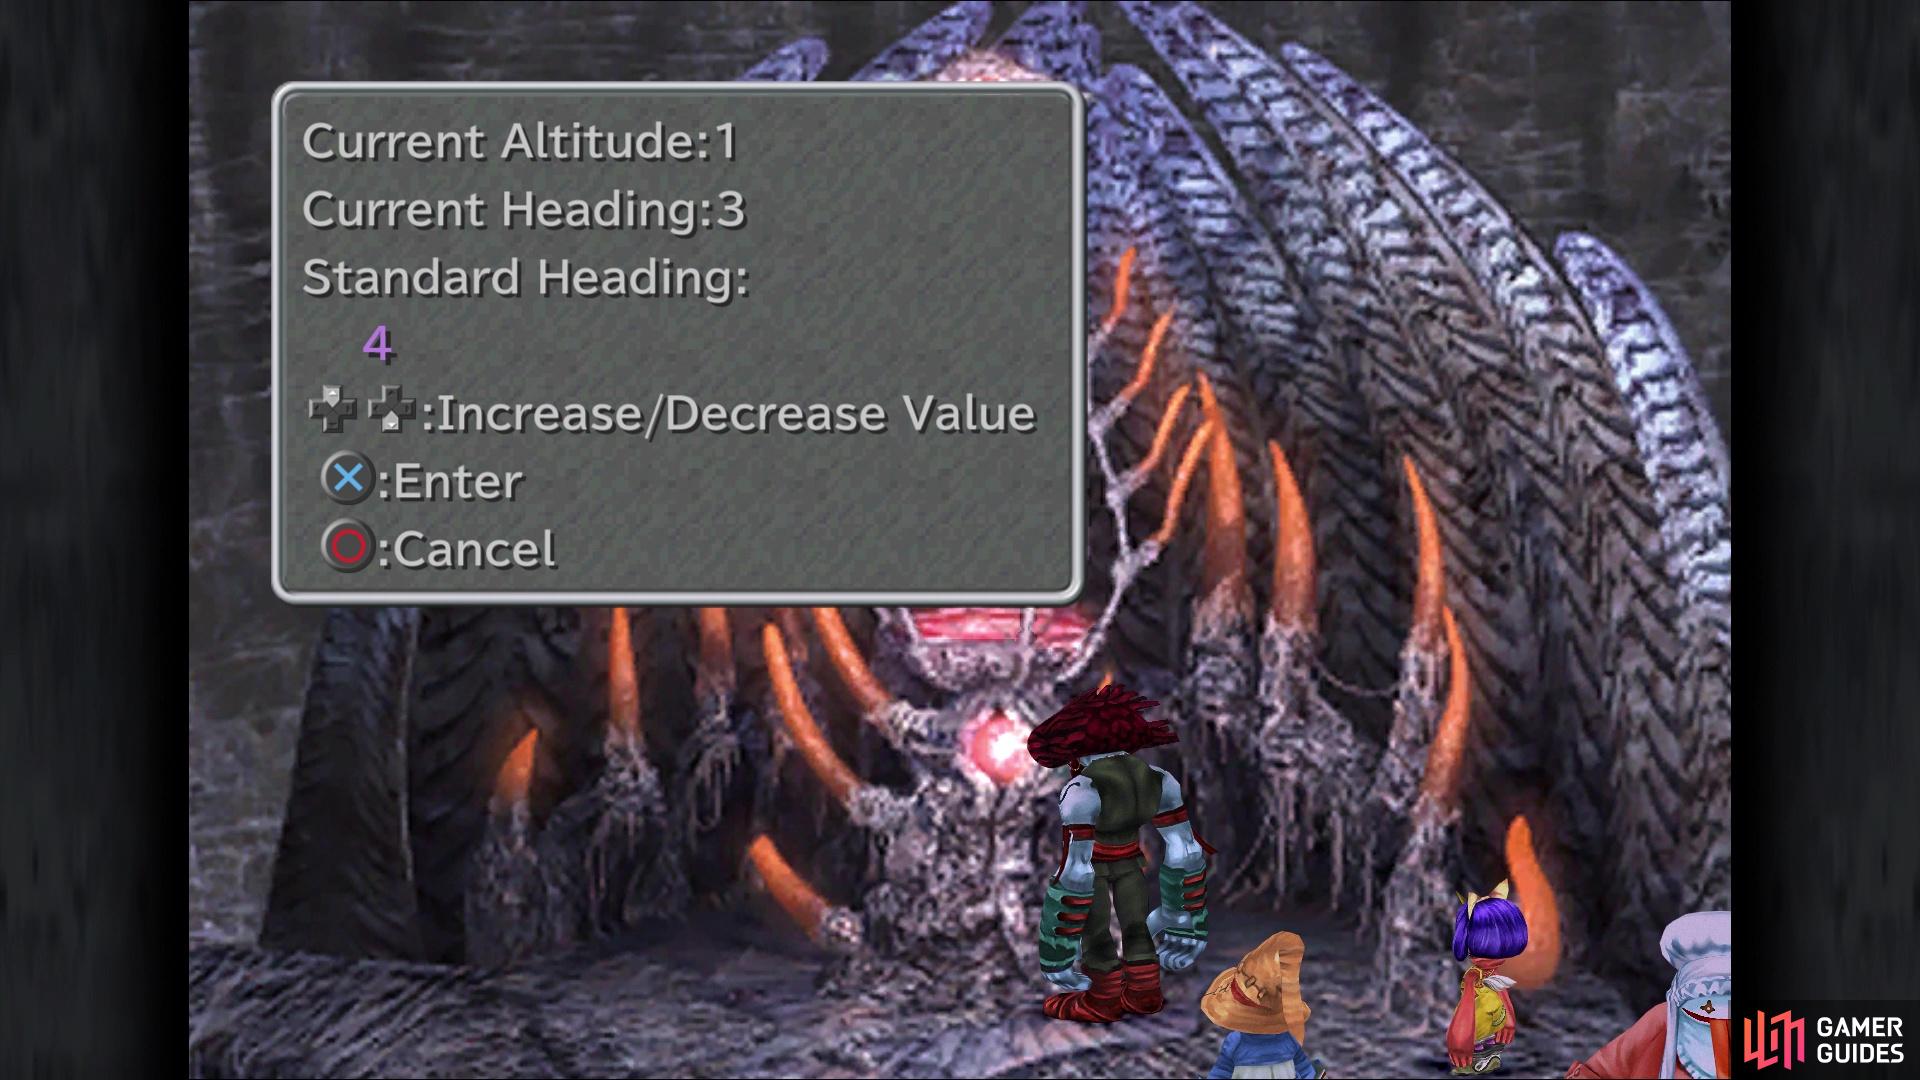
Activating The Elevator should net you the Movie Critic trophy/achievement (left), Your remaining party will let you control the elevator without going back and forth (right)


Switch back to the other party and set the Heading to 4 this time. As Zidane, use the first spot upon entering this area to go up one level, then run all the way to the top, where you will be using the left spot this time. You will have the option to go up one floor here, so do it. You will be in a large, circular room, with two paths branching off of the sides. Stand on the end of the right path to be teleported to another area, where you’ll see a bunch of blue and red teleporters.
The Teleporter Maze
Where you spawn, take the blue teleporter to your left and follow this path to the end, where a chest with a Carabini Mail inside is waiting. Return to the first set of teleporters and use the blue teleporter to the right of the red one. Open the nearby chest for an Elixir, then take the red teleporter to go back to the big, circular room. Back here, take the path at the bottom and use the teleporter here to arrive in a different part of the teleporter room. Follow your way to the fork, then use the southern of the two blue teleporters.
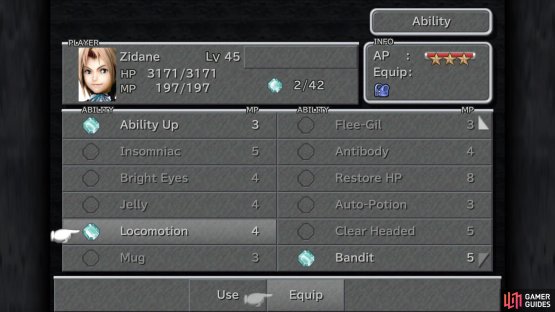
This will eventually take you to the chest on the higher ledge, which contains a pair of Battle Boots. Double back to that fork from before and use the other blue teleporter to eventually come out right by the moogle, Mozme. Use some Tents to heal the party, then check out Mognet to hand over a letter from Moorock. You also want to use this brief intermission to get ready for a boss gauntlet that will be coming up. All characters should equip Locomotion, as well as any gear that reduces wind damage. Make sure you save your game before taking the right exit, leading to the first boss.
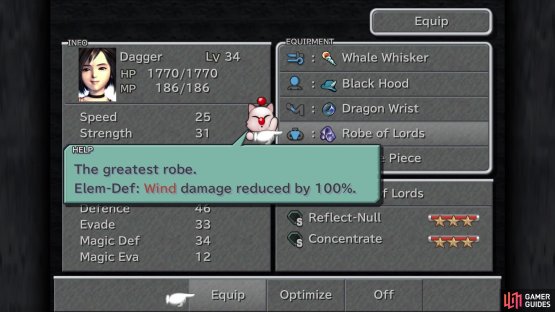
(1 of 2) Protection from wind will help with the first boss

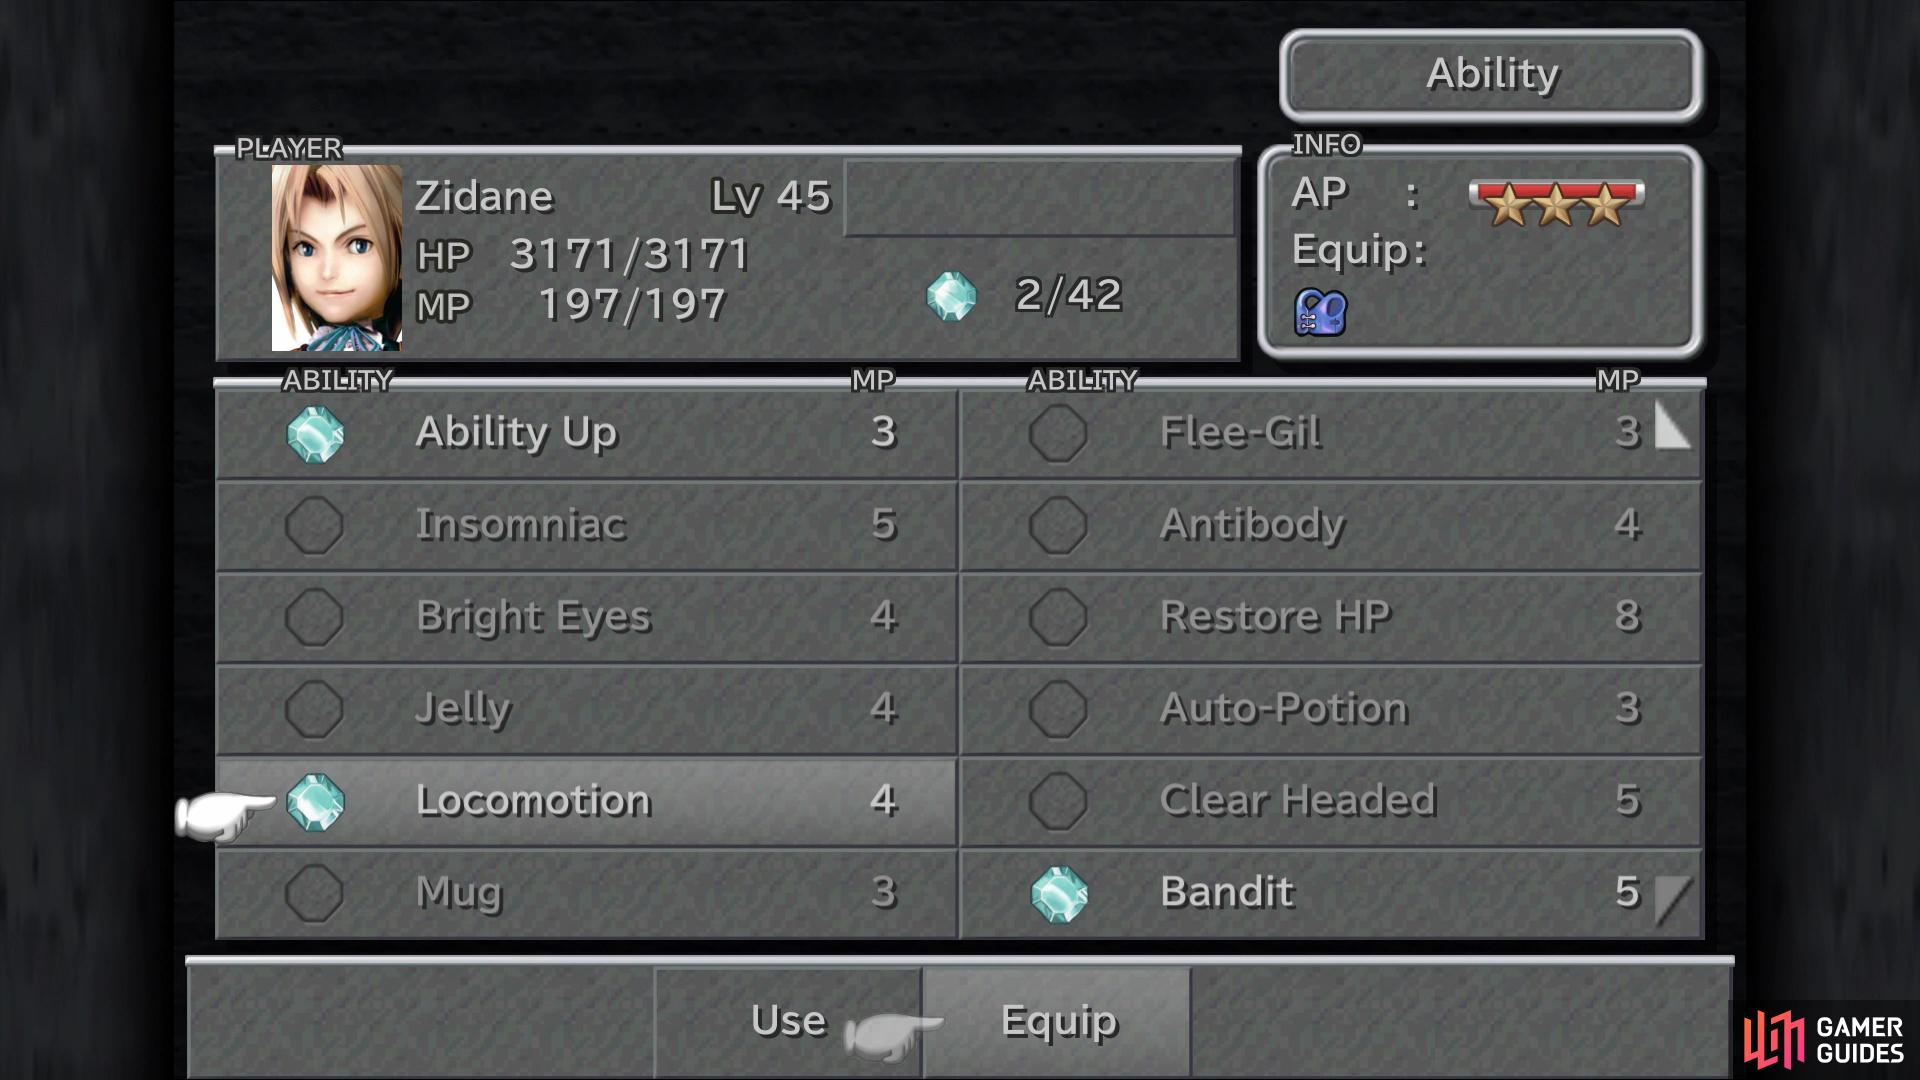
Protection from wind will help with the first boss (left), while Locomotion will be needed for the second boss (right)
BOSS - Silver Dragon
The reason you equipped the wind-resisting gear is because of this boss, as it can use both Aerial Slash and Twister. If you’re not taking damage from these attacks, then you’re going to have an easier battle, but the Silver Dragon has more up its proverbial sleeves. Claw attacks a single target physically, while Shockwave will hit everyone for physical damage. The dragon is pretty quick, so you will be seeing a lot of attacks, but there are ways around this. It is susceptible to Blind, Sleep and Slow, so you can make this battle a breeze by inflicting those ailments on it.
Remember that Sleep is broken if you use physical attacks, so stick to magic while it is slumbering. Strangely enough, it is weak to both wind and ice, so keep to those elements. From the beginning of the battle, make sure that Zidane steals the three items, which are an Elixir, Dragon Mail and Kaiser Knuckles. When the Silver Dragon is defeated, you will move onto the next boss, Garland.
BOSS - Garland
Garland is a being that will use mainly non-elemental magic, and boy do his spells hurt. Luckily, all of them only hit single targets, so you won’t need to rush to heal the entire group, but you definitely want some strong magic defense in this boss battle. Flare is something you have probably seen with Vivi, while Wave and Psychokinesis are likely new. These will hit upwards of 1k+ on the majority of characters, even with some pretty good equipment on them. The last move Garland has is Stop, but you should have Locomotion on to prevent that from sticking.


(1 of 2) Stop is a move Garland uses often, but Locomotion will protect you from it
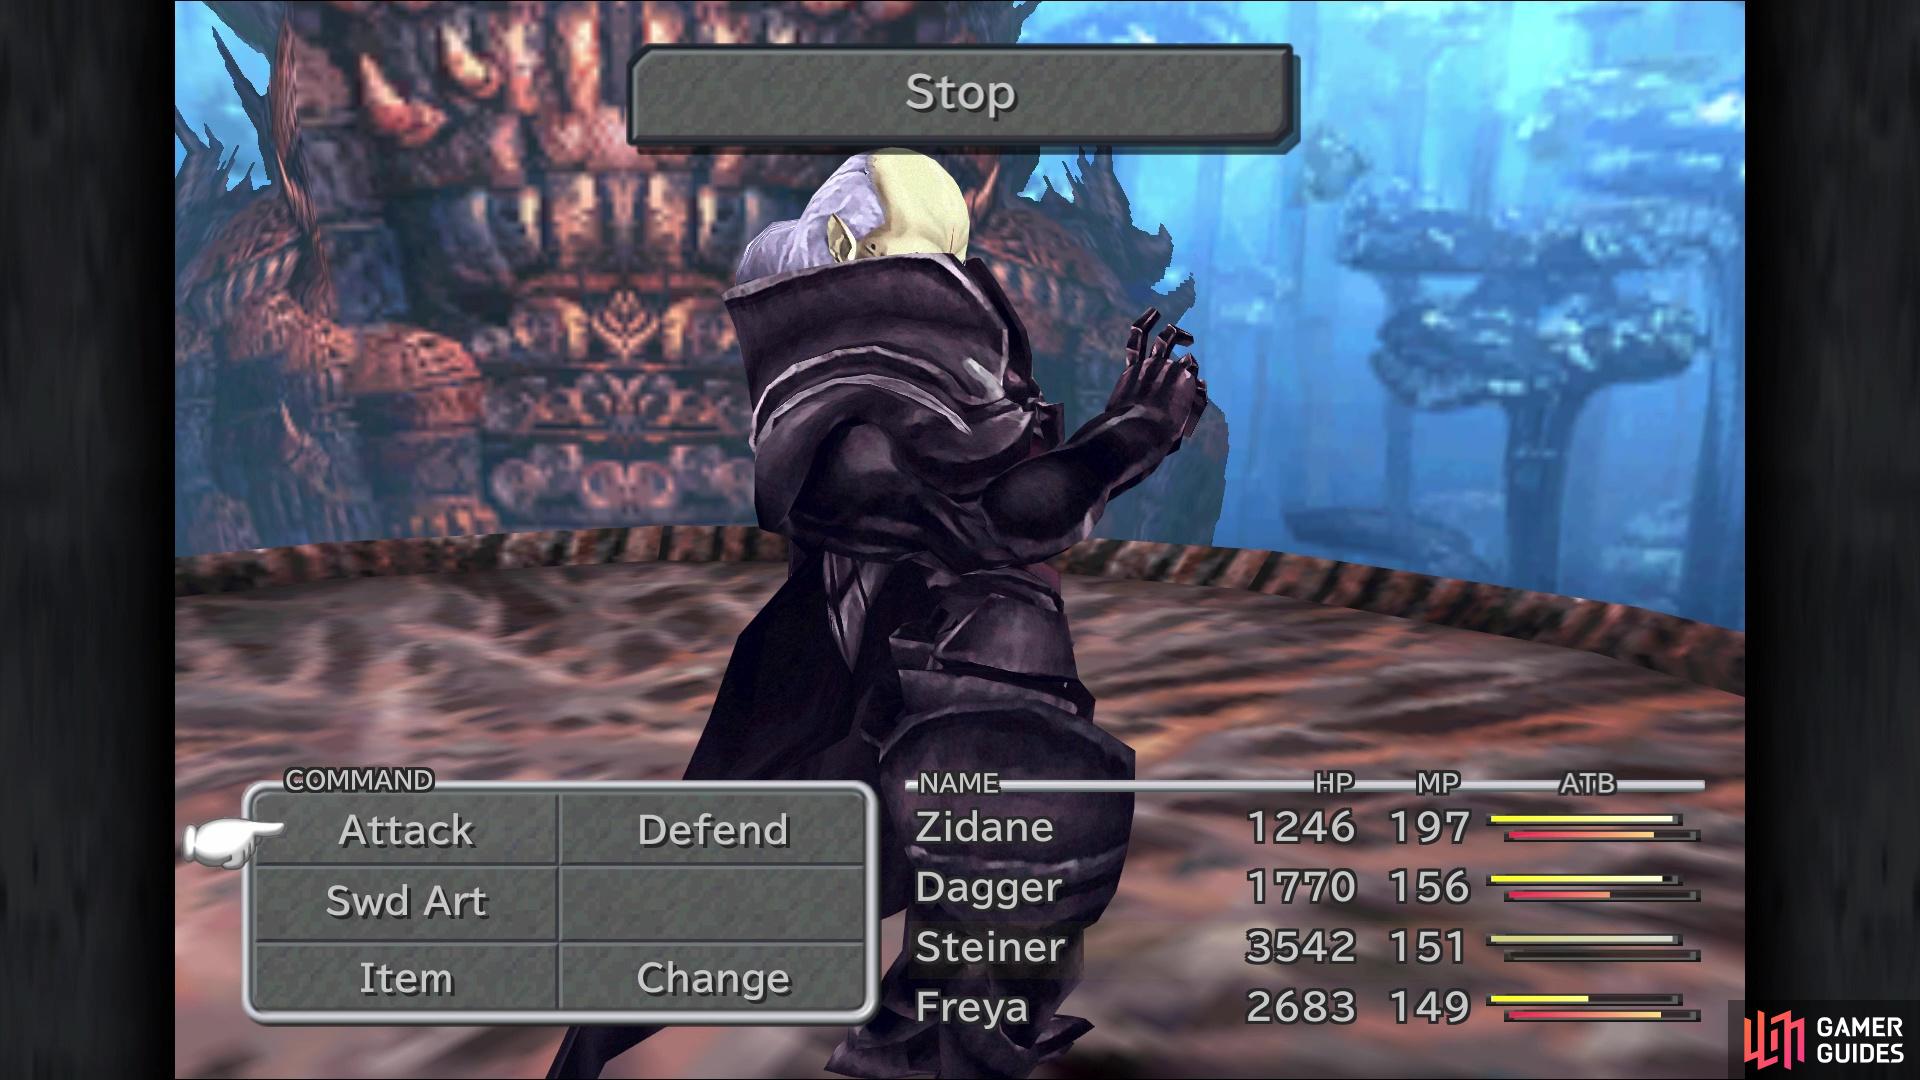
Stop is a move Garland uses often, but Locomotion will protect you from it (left), Garland will cast Flare a lot, so make sure you heal the damage (right)
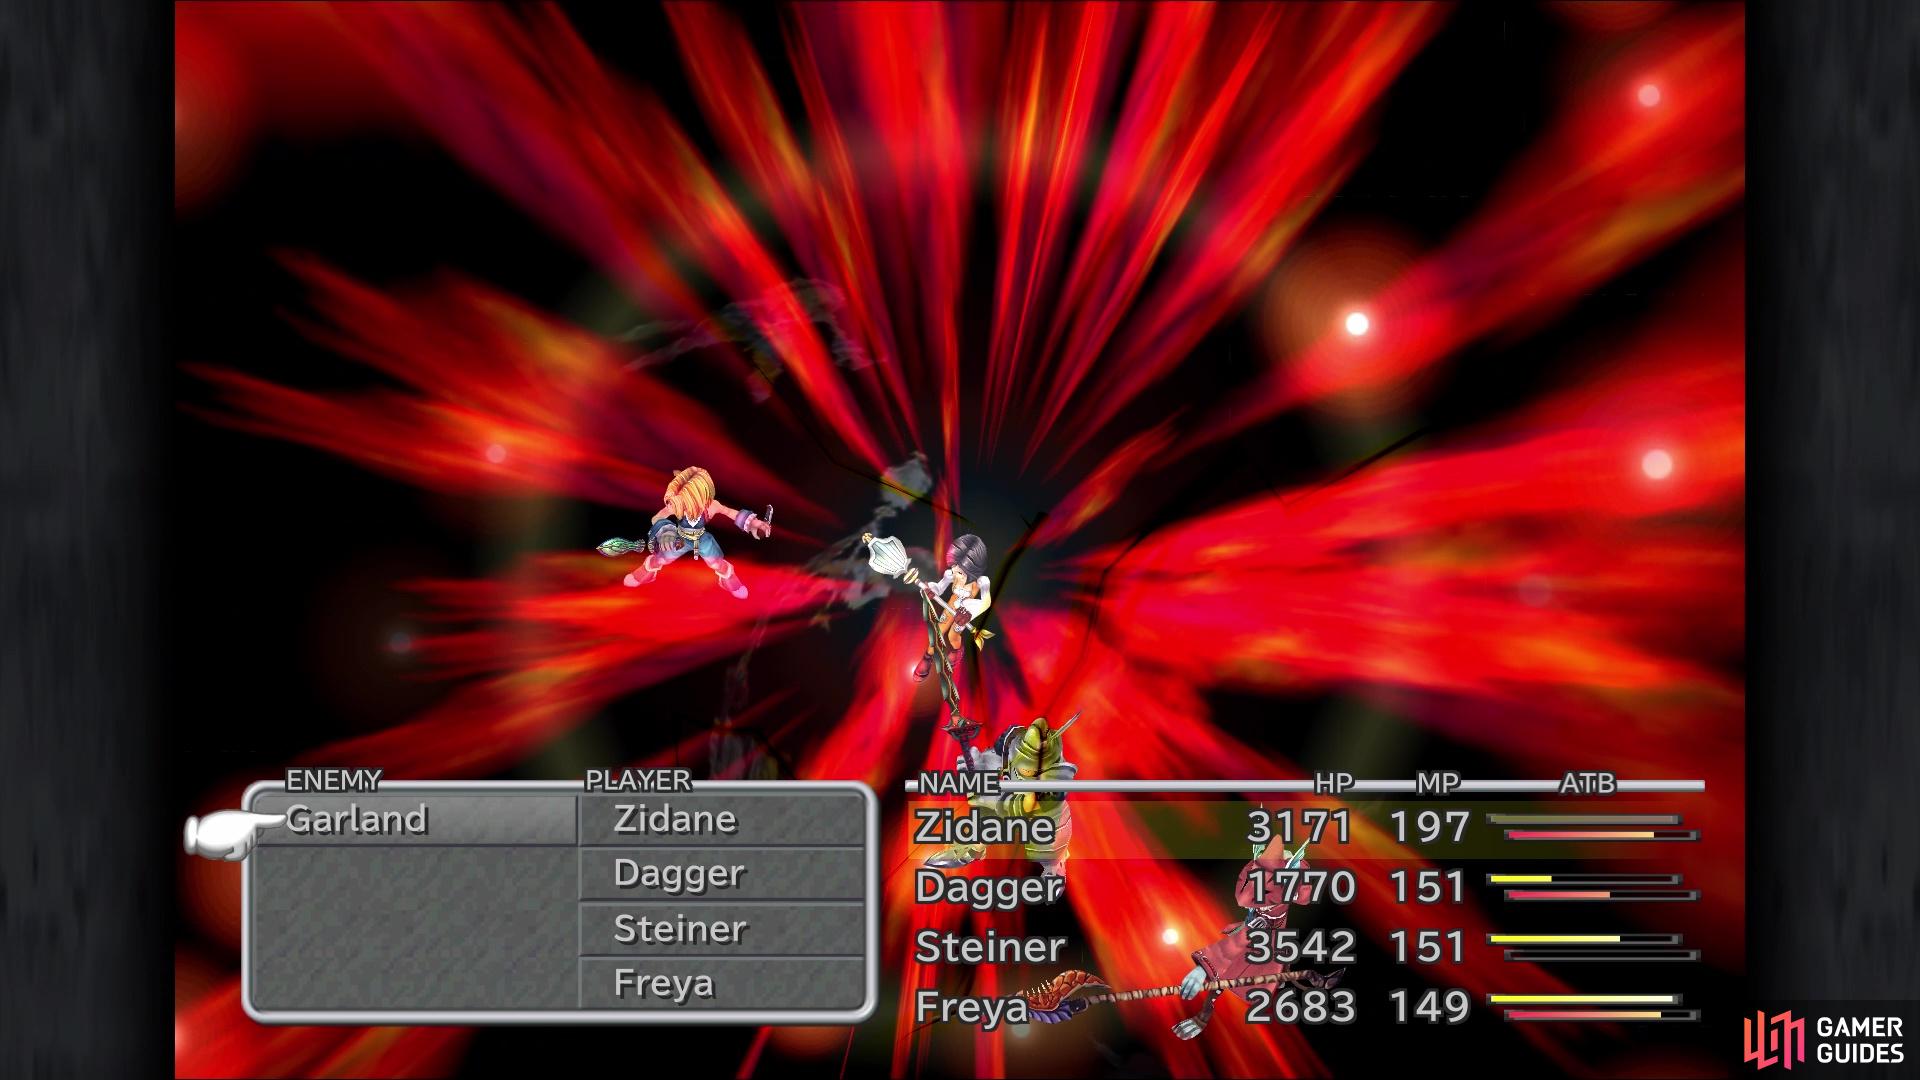
The boss doesn’t have any elemental weaknesses or strengths, so you are free to choose anything to attack him with, but you want to use strong attacks and skills to get this battle over with quickly. He is vulnerable to Slow, Silence and Darkness, but the last one won’t do anything, as his skills are all magical. However, Silence should get rid of both Stop and Flare, leaving you with only two spells. Before you finish him off, make sure you have Zidane steal the Battle Boots, Ninja Gear and the Dark Gear.
After a short scene, you will have to fight one more boss, Kuja.
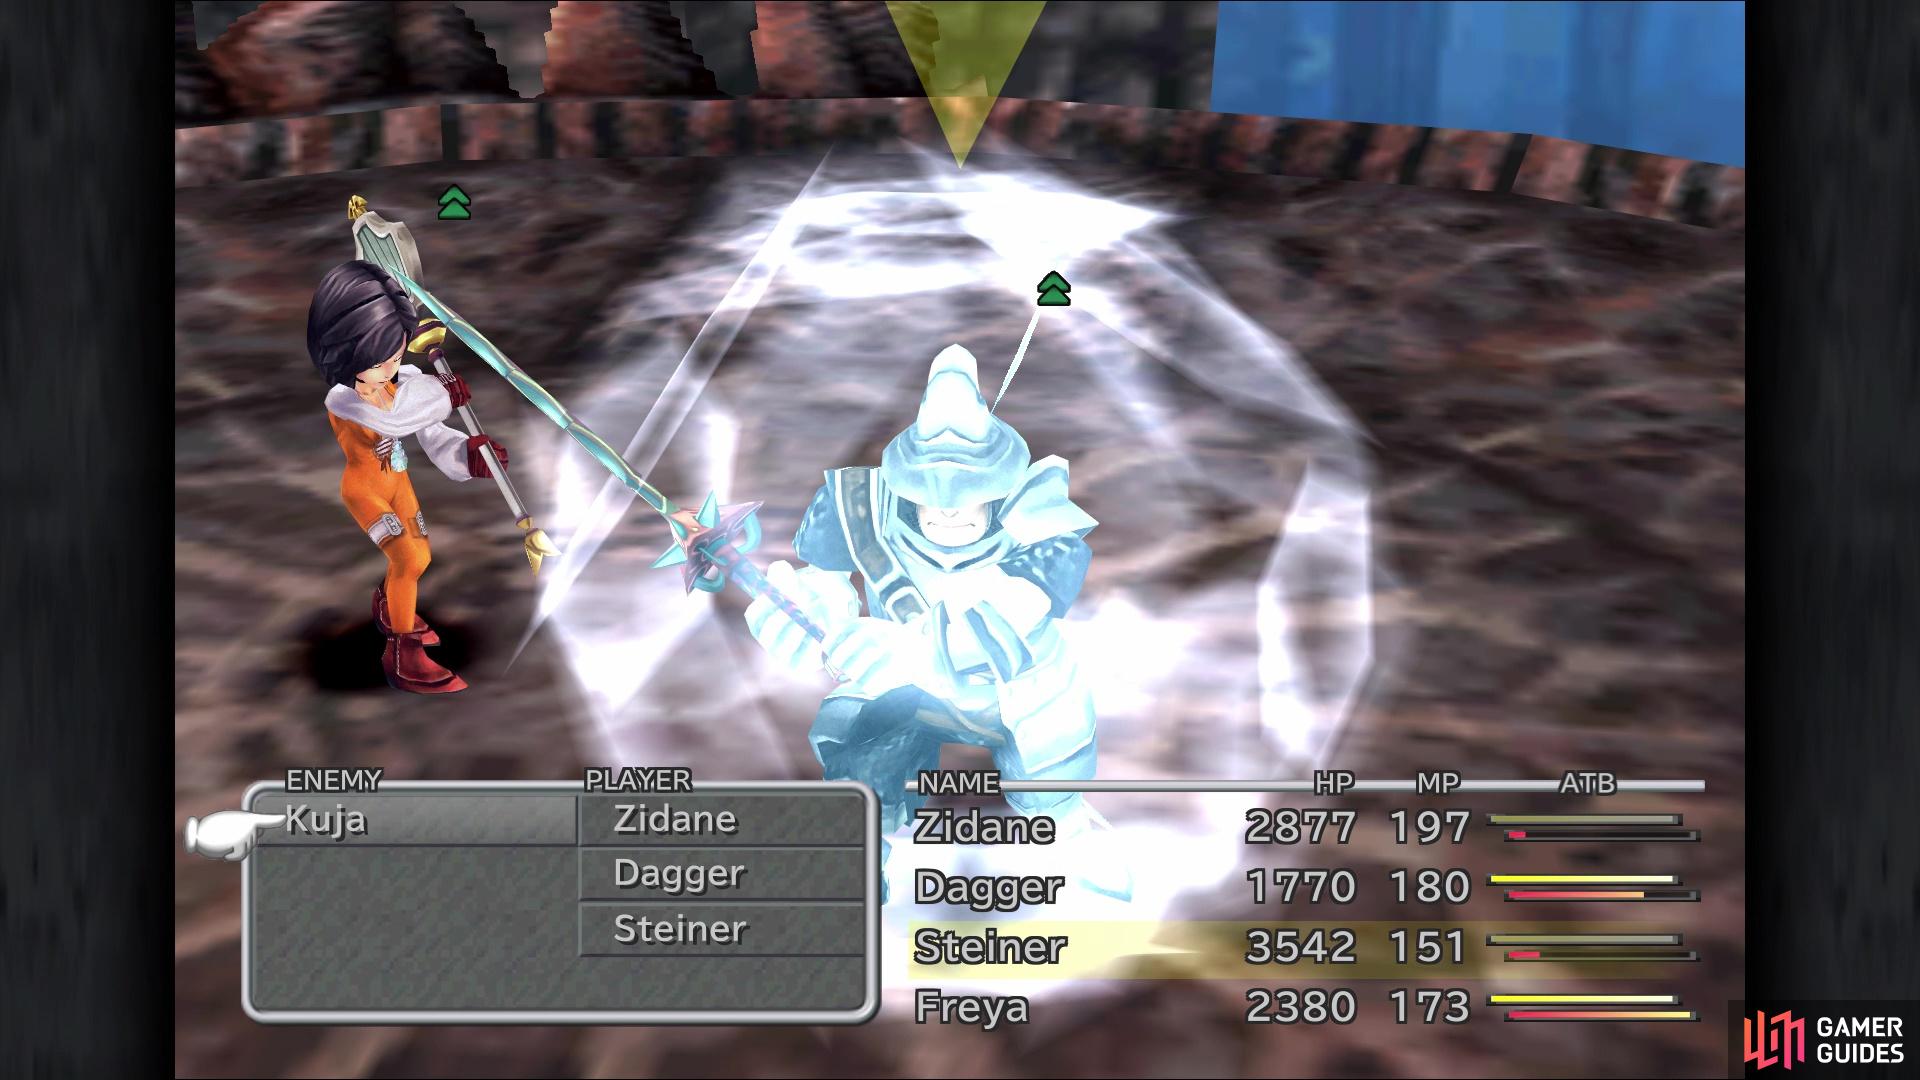
BOSS - Kuja
Like with Garland, Kuja is purely magical and has a special trick up his sleeve, depending on your own characters’ equipped abilities. If you have everyone with Auto-Reflect or if you put it on everyone during the battle, Kuja will continually use Flare Star on them. This nasty little spell deals damage based on your levels (level times 30, in this case), meaning it can do some good damage to everyone. Thus, do not put Reflect on everyone to avoid this problem. Outside of Flare Star, Kuja has access to Thundaga and Demi, the latter of which you will likely see quite often.
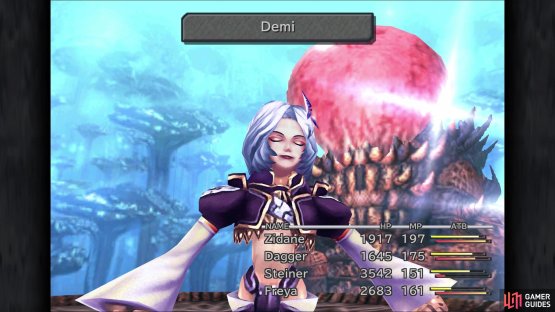
Kuja has no weaknesses or strengths, so you are free to use whatever from your arsenal, plus he is susceptible to both Darkness and Slow. You want to inflict Slow on him, just to minimize the damage from his spells, but Darkness won’t do anything as he doesn’t have any physical attacks. Keep either Dagger or Eiko on healing duty, possibly putting Shell on the weaker party members, although Demi can’t be hindered by this. As always, have Zidane steal to snatch an Ether, Carabini Mail and a Light Robe.

(1 of 2) Demi deals damage based on max HP, so it can KO you

Demi deals damage based on max HP, so it can KO you (left), Use Shell to help protect from Thundaga (right)
At the end of the battle, Kuja will transform into Trance Kuja and cast Ultima on the party, reducing them to a single HP. There will be a number of scenes here, as well as you having to travel back to Bran Bal, although the path is linear and it’s impossible to get lost. More scenes will occur and you will have finished Disc 3!
No Comments