
Upon entering Oeilvert, speak with the moogle, Mimoza, and get the letter from her for Mooel. Mimoza also has a Mogshop, where you can probably upgrade a few things. The Clear Headed skill will come in handy very soon, so you should have that on everyone or grind for it inside of the dungeon. It’s also wise to buy some Softs, if you don’t have, as they can be used to instantly kill an enemy inside (the Epitaph enemy). Once you’re all ready to go, follow the trail to the next screen, and when you get to the giant doors, they will open on their own.
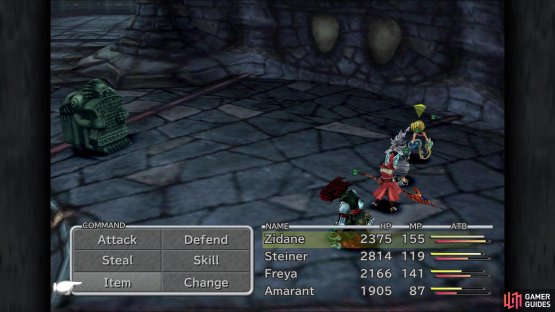

(1 of 2) The Epitaph enemy looks like a small statue

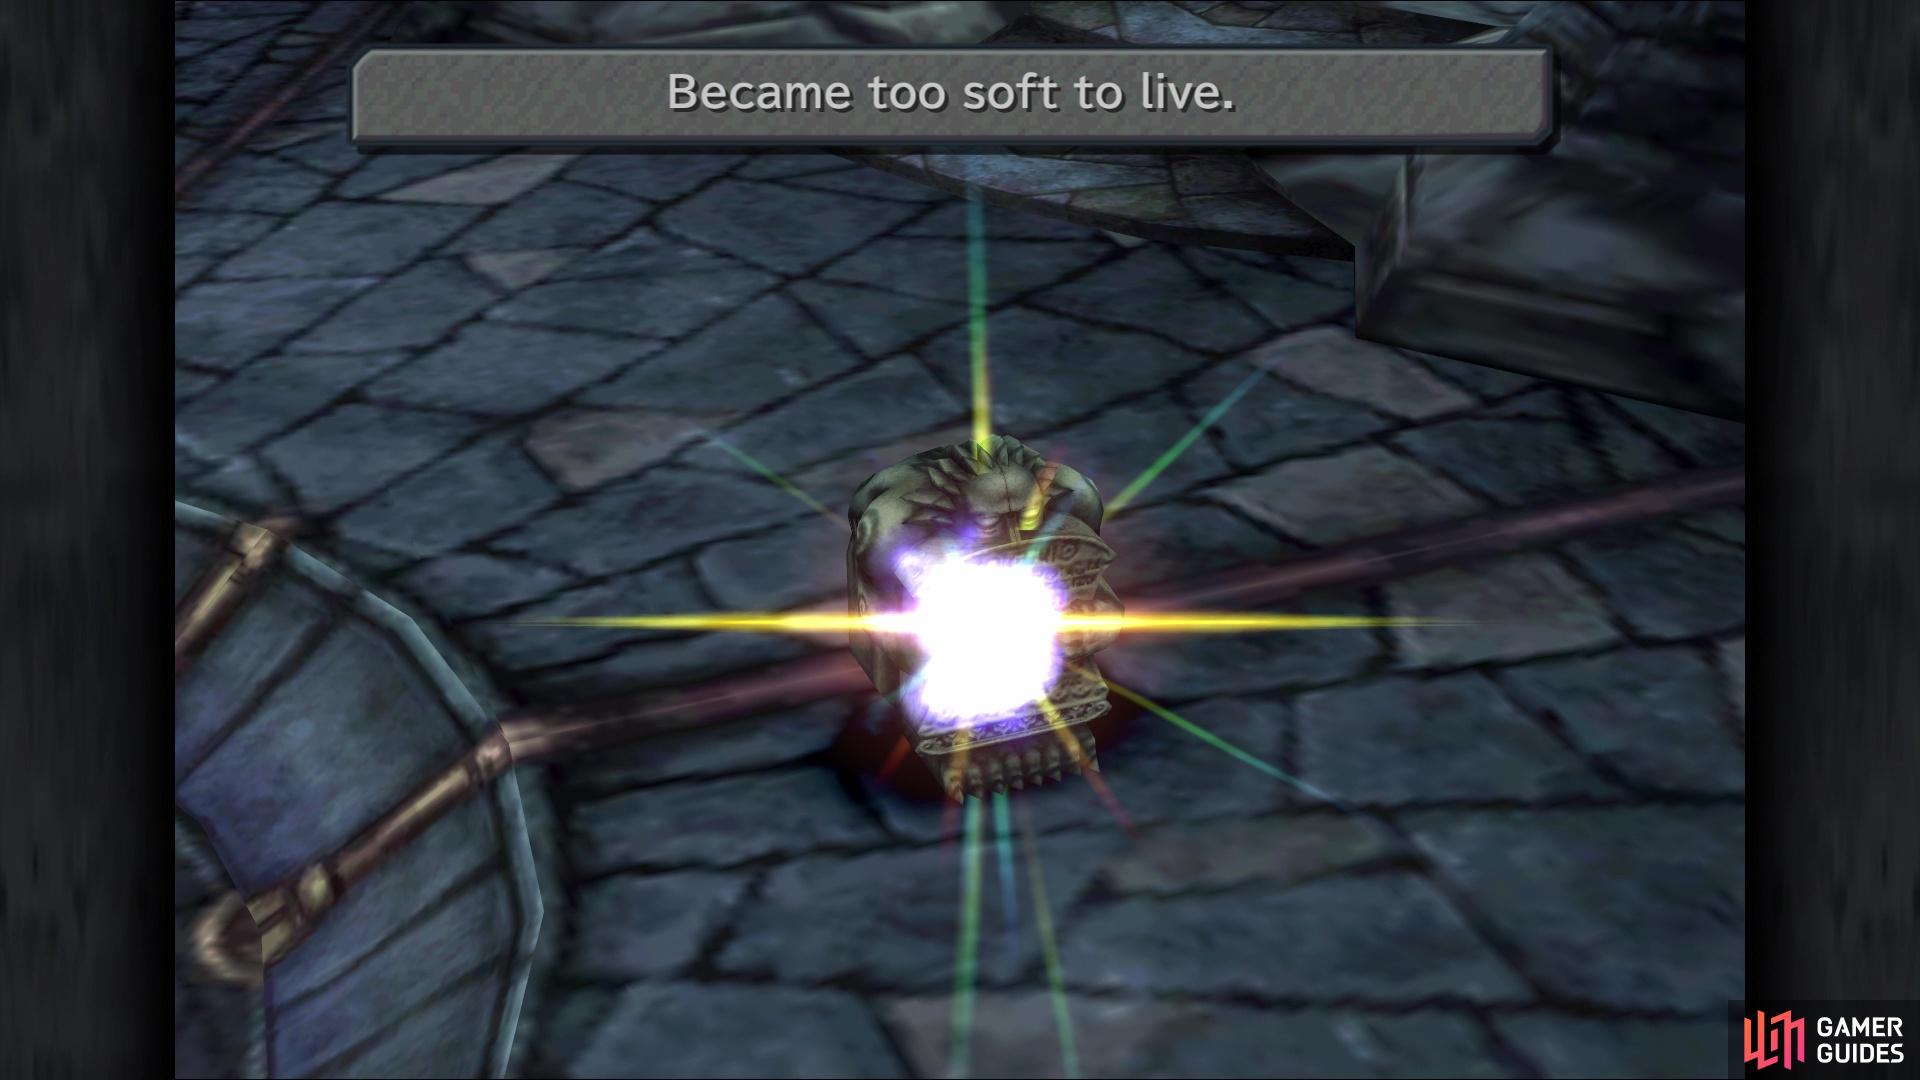
The Epitaph enemy looks like a small statue (left), Throw a Soft at it to instantly defeat it (right)
Oeilvert
Straight ahead are some stairs and to the right of them, there is a chest, which contains a Remedy. At the top of the same stairs will be another chest, which has a Rising Sun inside. To the left of the previous chest, you can enter a small room, where you’ll find a blue orb and a chest behind it. Open it for an Elixir, then interact with the blue orb to change its color to red. Return to the previous room and take the exit on the right side, leading you to a large room. There will be two moogles in here, a normal one and the travelling Stiltzkin.
Purchase the item set from the latter, for 888 Gil, netting you a Hi-Potion, Emerald, and an Elixir. Speak to the normal moogle, Mooel, and hand over the letter from Mimoza. After finishing up with them, head to the right side of the screen and at the top, you can open the chest there for a Gaia Gear. Double back to the entrance (after entering the double doors), entering the doorway on the left side of the screen. There are two chests here, one in the lower right (Diamond Sword) and another at the top of the screen that requires you to go around the left side (Shield Armor). There will be a short scene as you try to go around, by the way.
Find the stairs in the bottom left and take them, leading to a room with some yellow lights and more chests. The first chest is in the lower right corner (Power Vest), while the second is in the top section (Feather Boots). The yellow lights can be interacted with and must be lit up in a specific order. Starting at the top, go left and then right, and at the bottom, go right first and then left. Return to the top portion and use the stairs on the left side to head to the next screen.

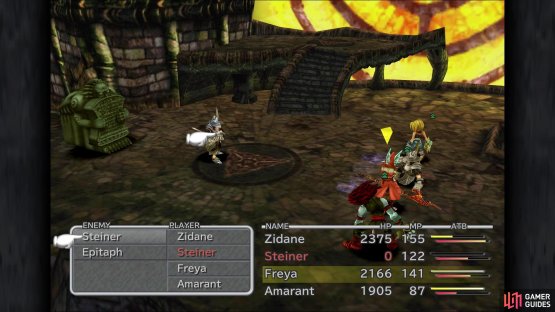
(1 of 2) Left alone, the Epitaph can summon clones of your characters
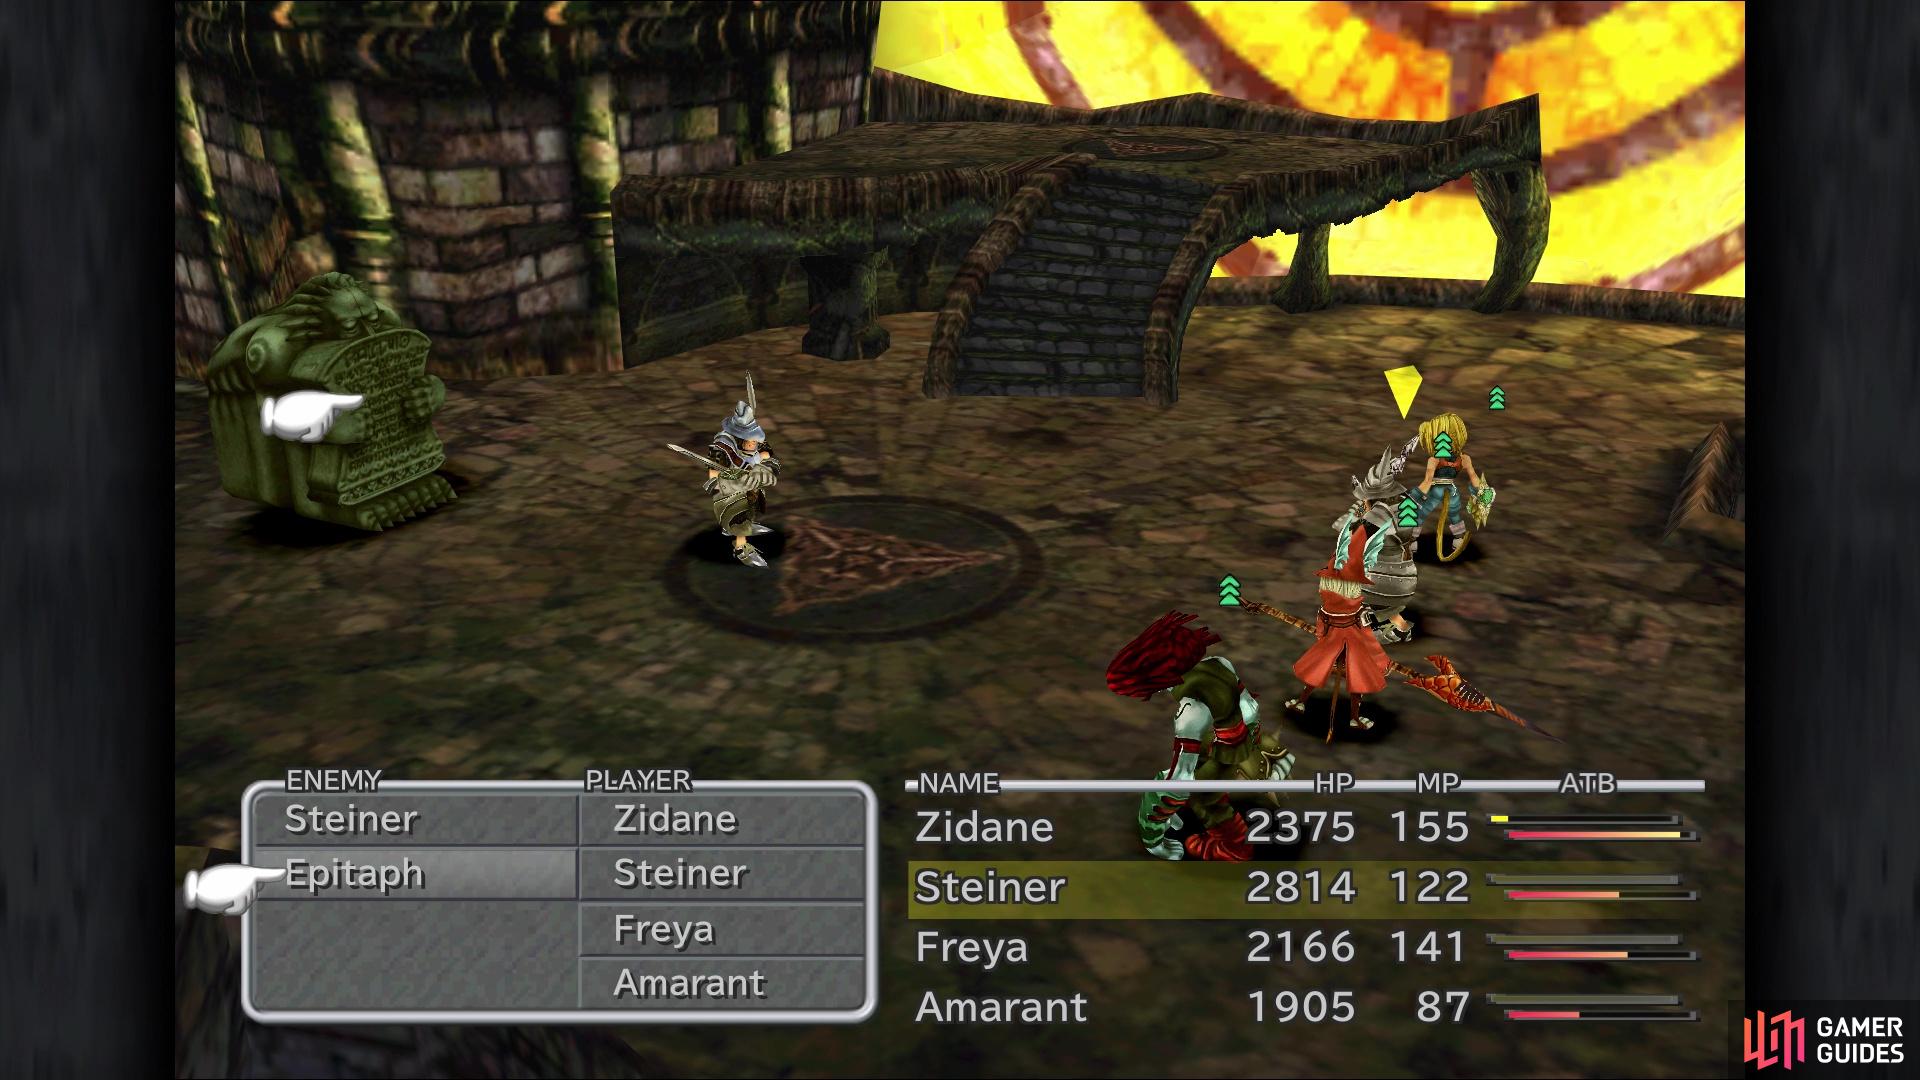

Left alone, the Epitaph can summon clones of your characters (left), If that character is in your party, the clone will KO that character (right)
Keep going until you reach a small platform with a large orb in the middle of it. Inspect it for a scene, then carry on into the room you were in earlier, with the first hologram. There will be a locked door here, which opens up as you approach it, leading to a large room with a bunch of faces on the wall. After the scene is over, retreat back to the room with the moogle and heal/save. This is when you want to equip that Clear Headed ability, as the upcoming boss can inflict confusion. Also, if you have any items that reduce wind damage, equip those on your characters, too (Gauntlets for either Steiner or Freya, then Gold Chokers for the others).
When you’re ready, approach the central structure from the south for a scene, then take the exit on the right side of the room. There is an elevator here, so take it down to a small room and inspect the central object to initiate the battle with the boss.
BOSS - Ark
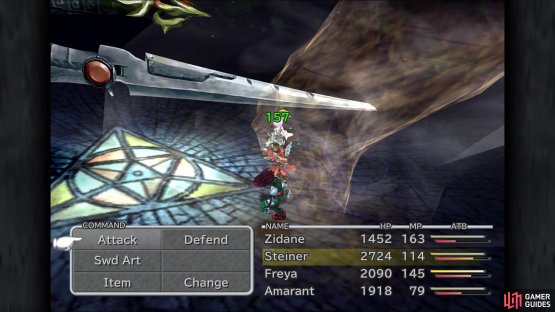
First and foremost, if you picked the physical attackers to bring to Oeilvert (since magic doesn’t work), then you will lack good healing abilities. However, Freya should have Reis’s Wind, which puts Regen on the party, and Amarant will have Chakra, which heals a small amount to a single character. Bringing your attention to Ark, it has a few nasty attacks, with the worst one being Propeller Wind, as it can inflict Confusion. Of course, that’s why you heeded the warnings above and have Clear Headed equipped, right?
Other attacks from Ark include Photon, which reduces a single character’s HP to 1, so if you see this coming, make sure you have someone on item/healing duty. Whirlwind will deal wind damage to the entire party, as well as casting Float on them. Note that Float will make it so you take more wind damage, but there’s nothing you can do about this, so you’ll have to take it. The last attack that Ark does is called Boomerang, which is a physical attack on the entire party, for low to moderate damage.

(1 of 2) Photon reduces a character’s HP to 1
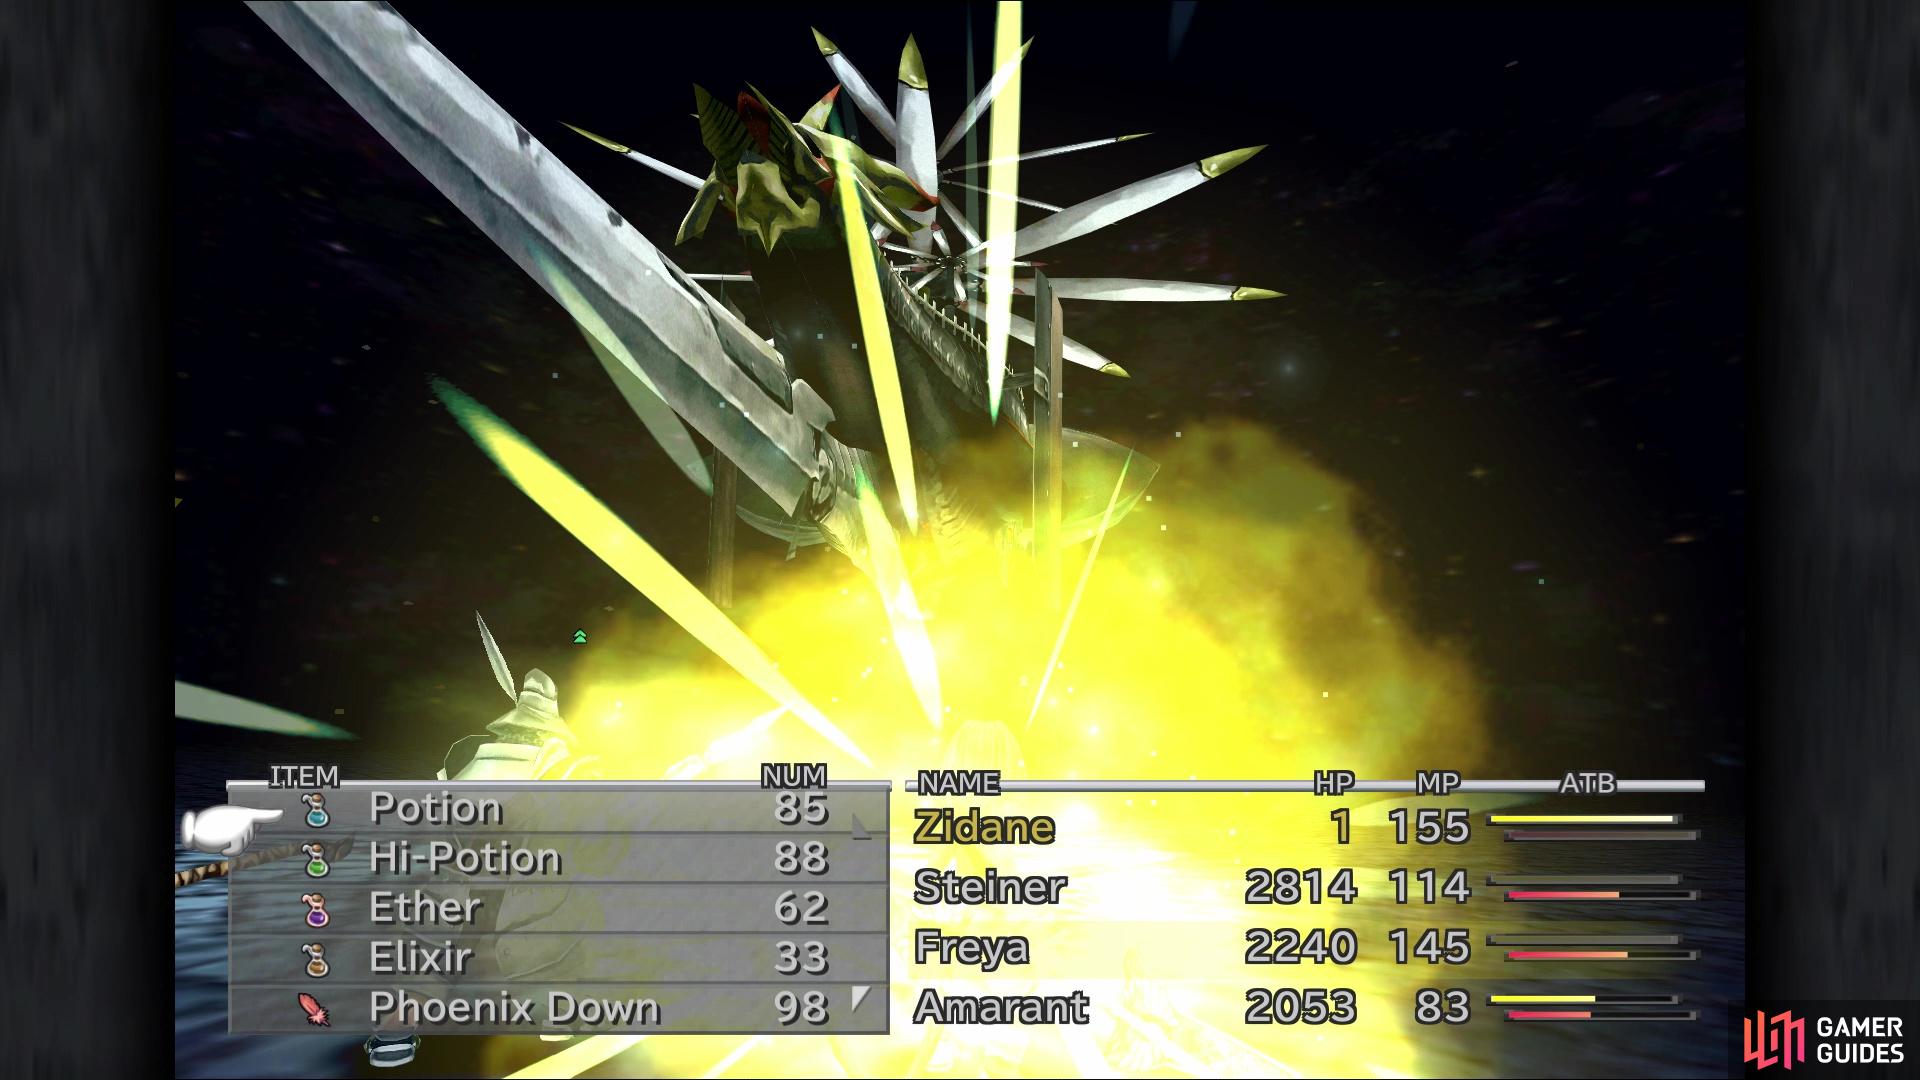

Photon reduces a character’s HP to 1 (left), Whirlwind will automatically cast Float on everyone, meaning wind damage will be increased (right)
Zidane should have access to both Master Thief and Bandit now, making stealing all items a lot easier, with Ark having an Elixir, Power Vest and a Holy Lance. With Clear Headed and wind protection, this battle shouldn’t prove too challenging.
After the battle is over, head back up to the pedestal and grab the Gulug Stone from the receptacle. The game will automatically switch over to the other party members back in the Desert Palace.
No Comments