Noore wants you to move in on Paul now before he leaves, mentioning that you can sneak into his compound via a shipment of fresh “meat” he receives. The warehouse is located far to the south, so if you have a fast travel point close by, use it; otherwise, you’re in for a long journey. Once you get there, it’s imperative that you do not get detected, as the convoy will not leave and you will fail.
Go to the back of the building and through the hole in the fencer, noting the enemy that’s back there. There’s also another enemy inside the warehouse, who should be clueless as you sneak by him. You can kill people, but you have to do it silently, so just going through the back and killing those in your way would be best. Approach the back of the truck and sneak onto it.
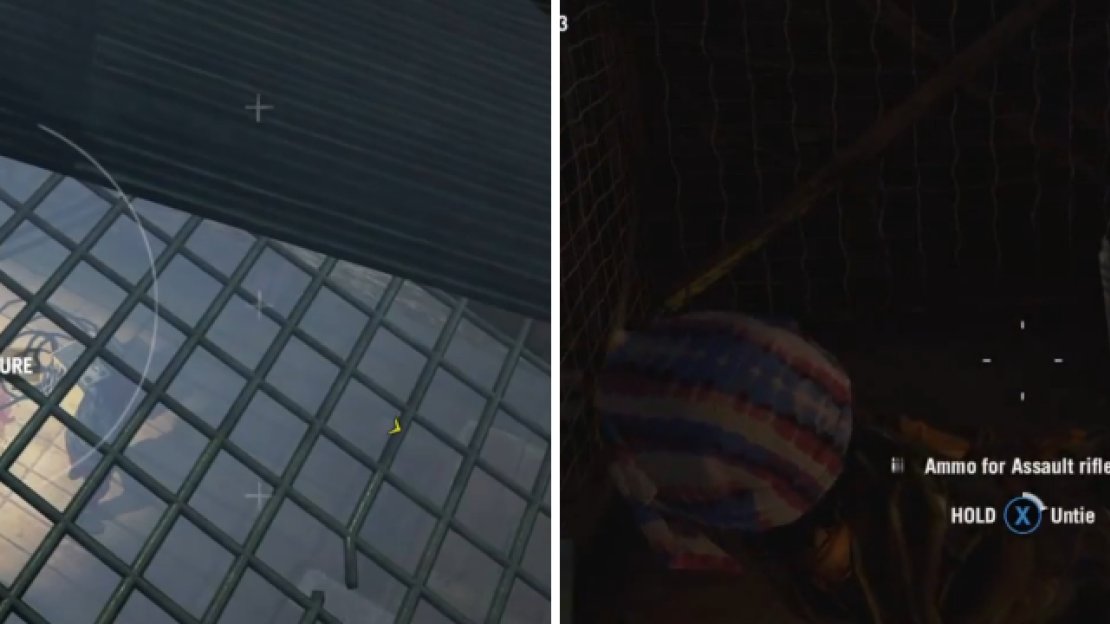
Depending on who you sided with, there will be a difference here on your extra objectives. Amita wants you to photograph the interrogation chambers, while Sabal will want you to rescue any hostages. There will be three of them, either way, and you will want to stay silent the whole time, so keep to the shadows and don’t do anything unnecessary. Be careful of the guards inside the room with the hostages if you chose Sabal.
If you happen to kill anyone, remember to do it silently and make sure you hide their bodies, especially if they’re in the open. It might be best to move along the perimeter of the compound at first, as this will allow you to use your camera to tag enemies and learn the layout of the place. You can also use the rooftops as a means of travelling, as none of the guards are up there.
Take pictures of the interrogation rooms if you picked Amita (left), or rescue hostages if you picked Sabal (right).
Once you’ve managed to free the slaves for Sabal or taken the pictures of the interrogation chambers for Amita, you can now go after Paul. Keep your stealth and slowly make your way to De Pleur’s office, going to the back to find some rope and ladder to climb and get through the window inside. Go downstairs and into the actual office, then watch the ensuing cutscene.
Well, De Pleur has been knocked out and you need to escape the compound while carrying him. You can make all the noise you want now, which will be needed to get to the vehicle. Stash De Pleur’s body somewhere safe, then attract the enemies’ attention, using the area near Paul’s office as a safe haven for now.
Go through the rest of the compound, clearing the way, then go back to grab Paul’s body. This will allow you to not have to worry about dropping the body and having to fight more enemies. Once you get to the vehicle, put De Pleur into the trunk and then get into the driver’s seat. Ignore any enemy and just drive, only going after the lone truck or two chasing you. When you get to the final marker, the mission will end.


No Comments