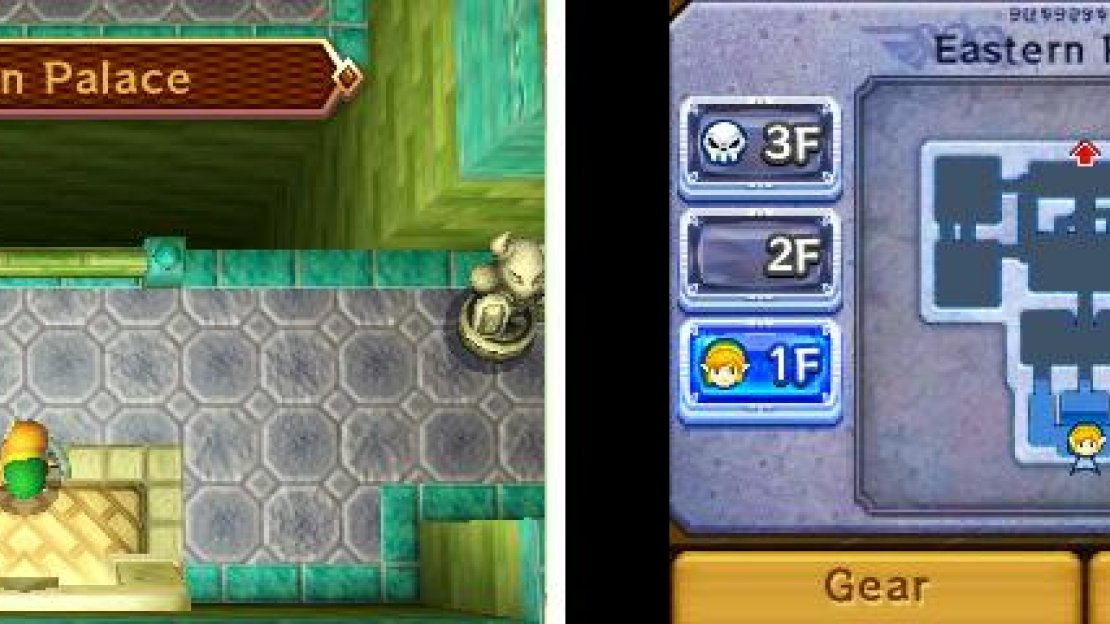
Once inside the dungeon, you’ll find a rather claustrophobic, but not overly menacing interior. In the first room (1F south) go to the bottom-right corner and step on the suspicious-looking raised floor tile–this will open the door in the top-right corner.
Head through the door for a few rupees. Back in the first room, step close to the chasm, to the right, and fire an arrow at the round switch on the other side. A drawbridge will fall, closing up the chasm and allowing you to proceed up to the next room.
In the second room (1F centre), there’s a narrow path ahead with a chasm on both sides. There’s also a laughable monster–a Popo–trying to impede your progress. Look immediately to your left to find a round switch–shoot it with an arrow to open the top-left door in the first room.
Return to the first room and go through the now-open door to find a chest with 20 rupees inside. When you’re ready to proceed, take the north exit in the second room.
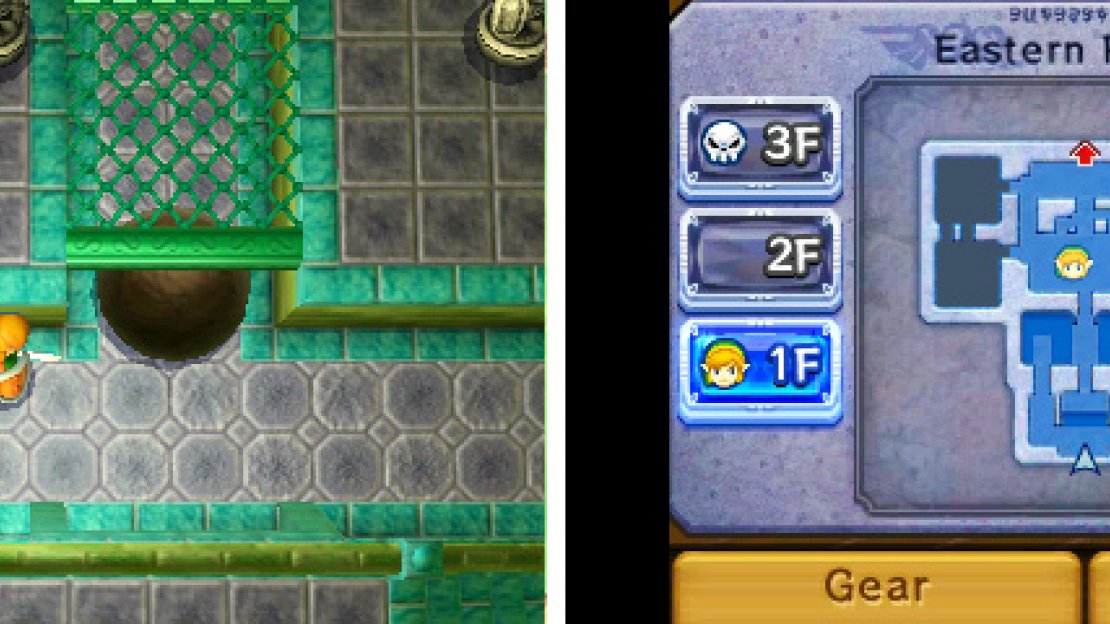
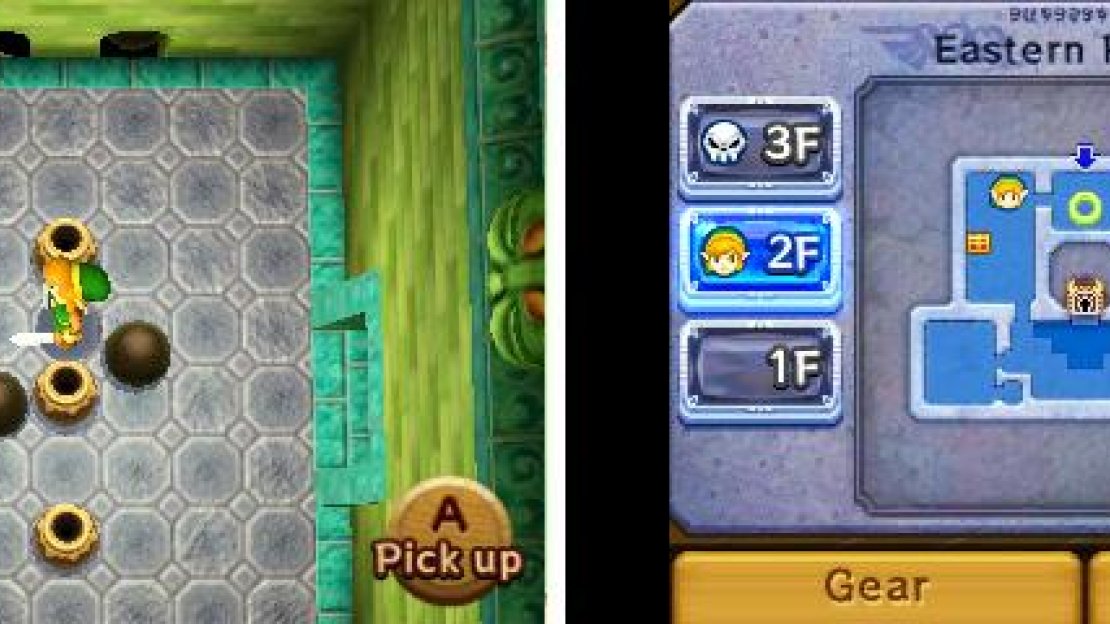
In the third room (1F north), there are cannonballs rolling down a narrow passage. If you want, break the pots and you may find hearts to replenish your health or rupees. To advance, stand near the narrow passage, away from the cannonballs and wait for the big cannonball to go past.
Once it’s gone past, run into the narrow passage; stay left first to avoid the first cannonball, then quickly switch to the right to avoid the next one. Then step into the nearest alcove to the left to safely rest.
From your safe point, wait again for the big cannonball to pass; then continue marching forward, staying left first, then right and finally run right (or left) to safety.
Having survived the cannonballs, you will find a stairway at the end, with a locked door at its centre, and two doors on the far sides. To begin with, go into the open door to the left (to 1F north-west).
The doors will slam shut and three Popos will appear; they’re slow and weak, so don’t panic. After killing the first three, four more Popos will appear. If you’re surrounded, charge your sword by holding B and let go to perform a sword spin, hopefully killing all four in one go.
Afterwards a chest will appear on higher ground, teasingly out of reach. Step directly above the chest and then head straight down to find an obscured passageway to the room below.
In the next room (1F west), step on the raised floor tile to reveal a nearby chest containing 20 rupees. Return to the previous room and take the bottom-left door to emerge on the left side of this current room.
Make your way around the room and step on the raised floor tile in the top-right corner to open the closed door to the top-right.
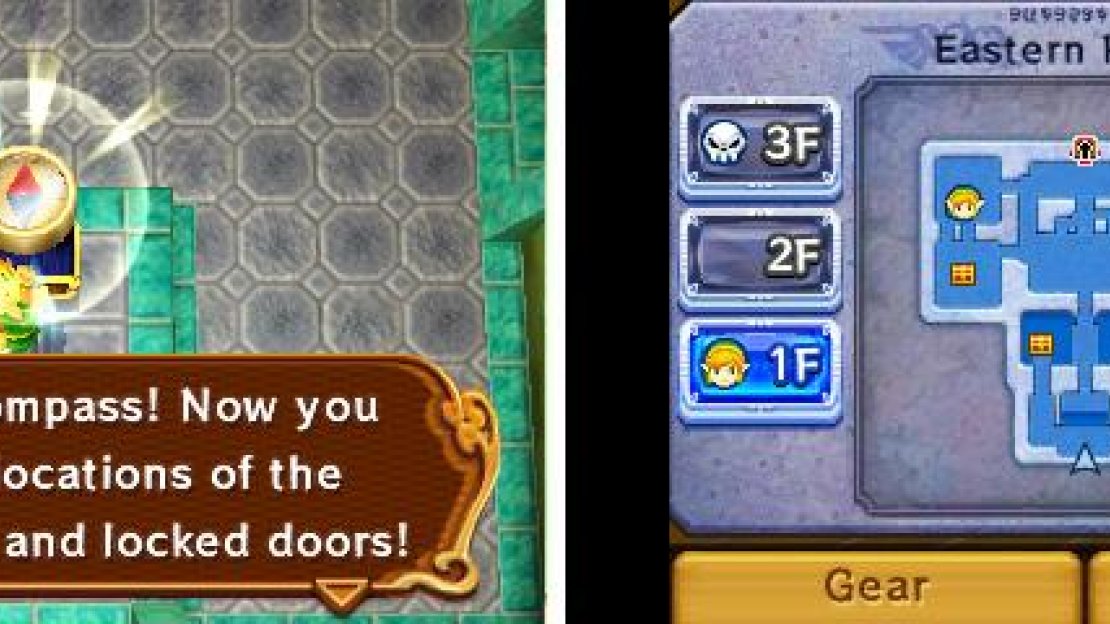
Before leaving, go through the north exit to claim the chest with a Compass . With this handy adventurer’s tool, you can see treasure chests and locked doors on your dungeon map.
Now go back and head through the newly-opened door and you will find yourself back in the cannonball room (1F north). Directly ahead is a path on higher ground; follow it all the way right.
Collect the rupees if you want, but beware that a trap will spring where the Blue Rupee is, pushing you right (use your sword to collect the Blue Rupee from a distance). If you fall off, avoid the cannonballs like earlier and make your way back round again.
Past the wire mesh bridge, there’s a raised floor tile up ahead. Step on this to open the door to the right, but be warned that an Armos statue will awake below. In the next room (1F north-east), there’s a platform that rises up and lowers down repeatedly.
Stand on the platform, after taking care of the Popos, and wait for it to lower. While it’s in this position, run down to find a secret passage to the room below (1F east), containing health-restoring fairies and rupees.
Go back and stand on the platform again. Wait until it rises and then fire an arrow to your right, activating the round switch.
Next, wait for the platform to lower and fire an arrow left to activate the second switch. Then dash up and turn right to grab the chest before time runs out and the platforms rise back up; you will get a Small Key .
Go left, through the door and you’ll be in the cannonball room (1F north) again. Head up, across the stairway, and open the locked door in the middle.
Upstairs in Floor 2F, the doors will slam shut. Stand on the red switch and get ready to face the Armos–all four will wake up at once. If you have good reflexes, use a sword spin (and then another) to deal with them. Alternatively, run for a corner and slash like crazy.
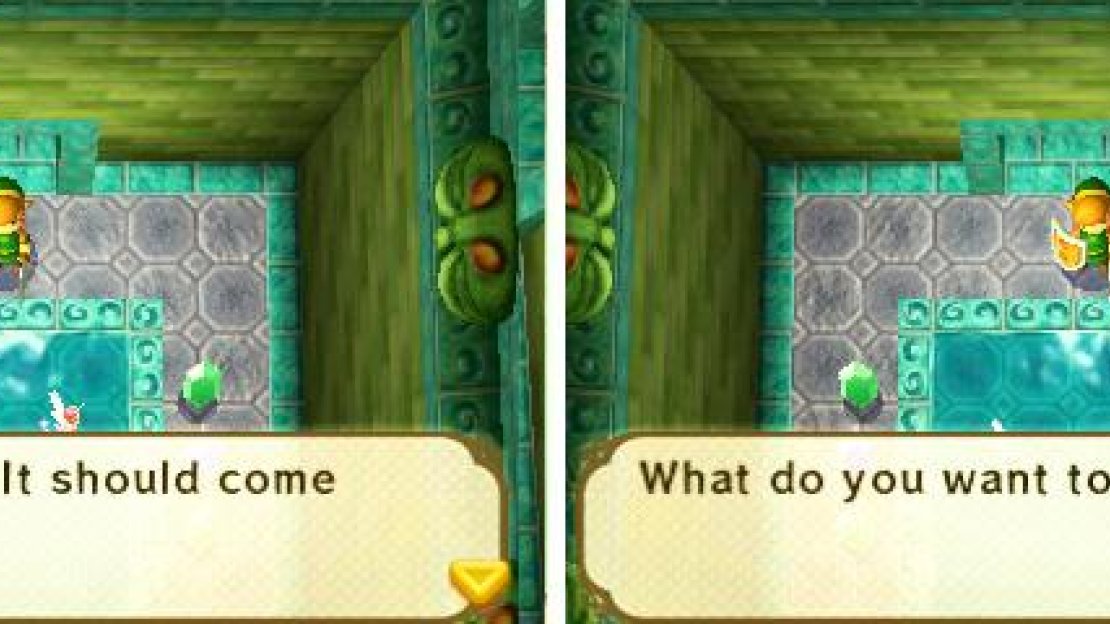
When successful, the doors will open and a warp zone will appear–use this to instantly transport between this room and the first room of the dungeon. If necessary, now would be a good time to leave the dungeon and heal.
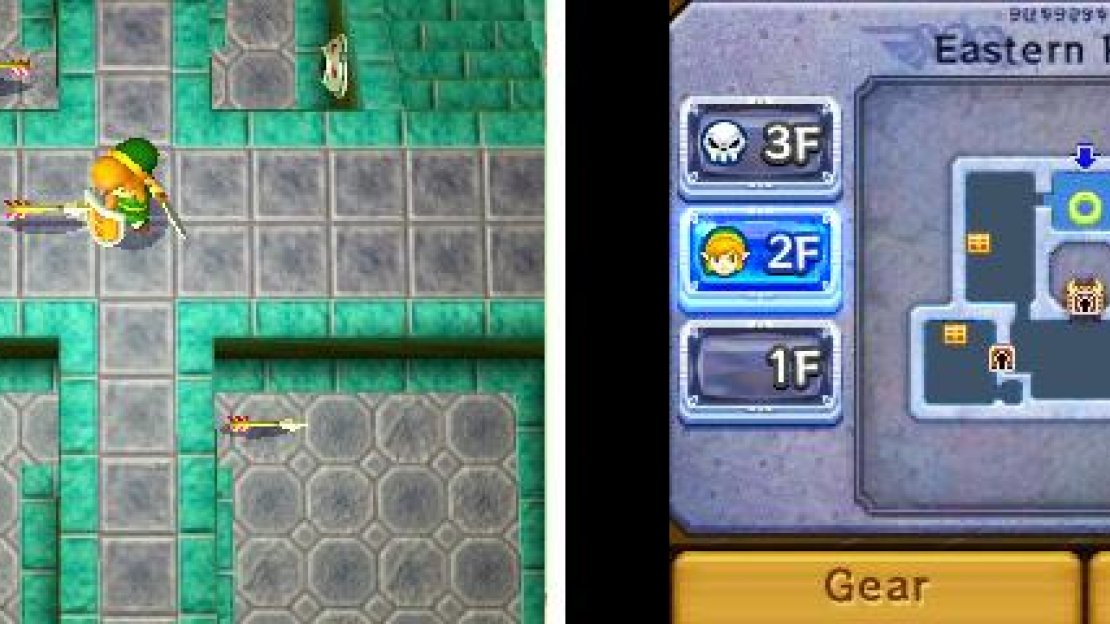
When ready, go through the door to the right. In this room (2F north-east), there are a lot of narrow paths and holes in the wall that shoot arrows. If you have the Shield, it can deflect arrows if you face their direction.
Otherwise, study the timing of the arrows to evade them. From the entrance, head down and right, through the gap in the wall. Then go up the stairs to the right. Kill all the Popos that appear from the floor.
At the crossroads, follow the higher path down and step on the raised floor tile at the end, which opens the door below. Beware that an arrow will fire from the right–jump down or shield right to avoid it. Jump down and head for the door, but don’t go in yet.
Go right toward the pots and kill the last Popo, revealing a chest in the top-right corner of the room, containing one Monster Guts . If you go for the chest, beware that two arrows will fire from above–immediately jump down or you’ll get hurt. When ready, proceed through the new door.
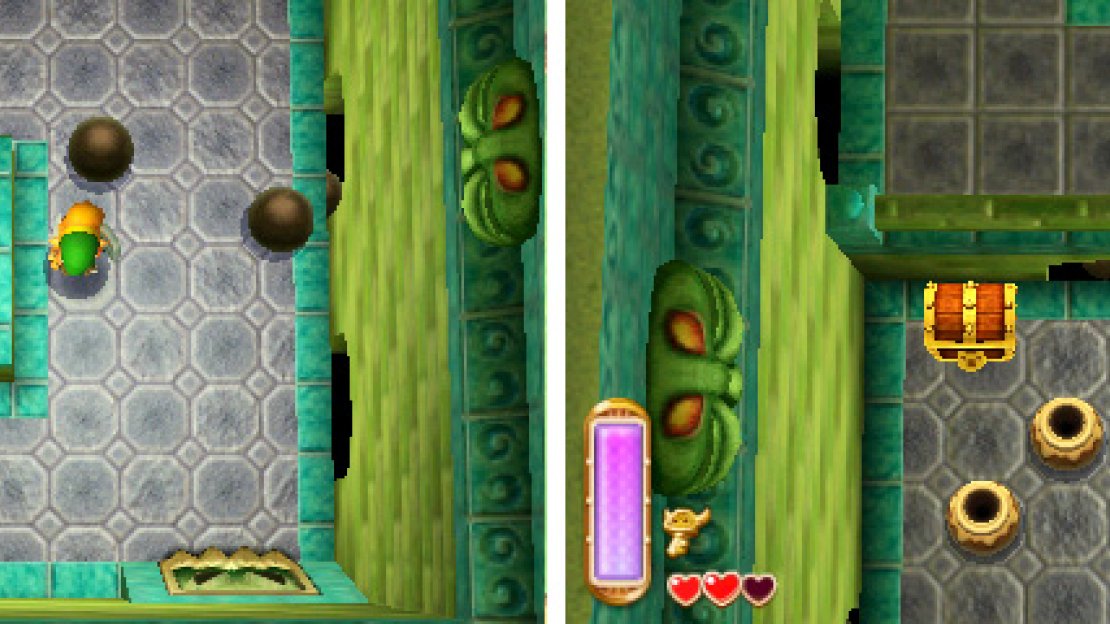
In the next room (2F south), you will be right before the big door, but you can’t open it yet. From the entrance, fire an arrow left (or go further left and fire an arrow diagonally) to activate the round switch, activating the platform further down.
Step on the platform when its lowered and wait for it to rise up, then shoot an arrow ahead, hitting the second round switch. This will open the door to the right. When the platform is raised, head right to reach the door and go in.
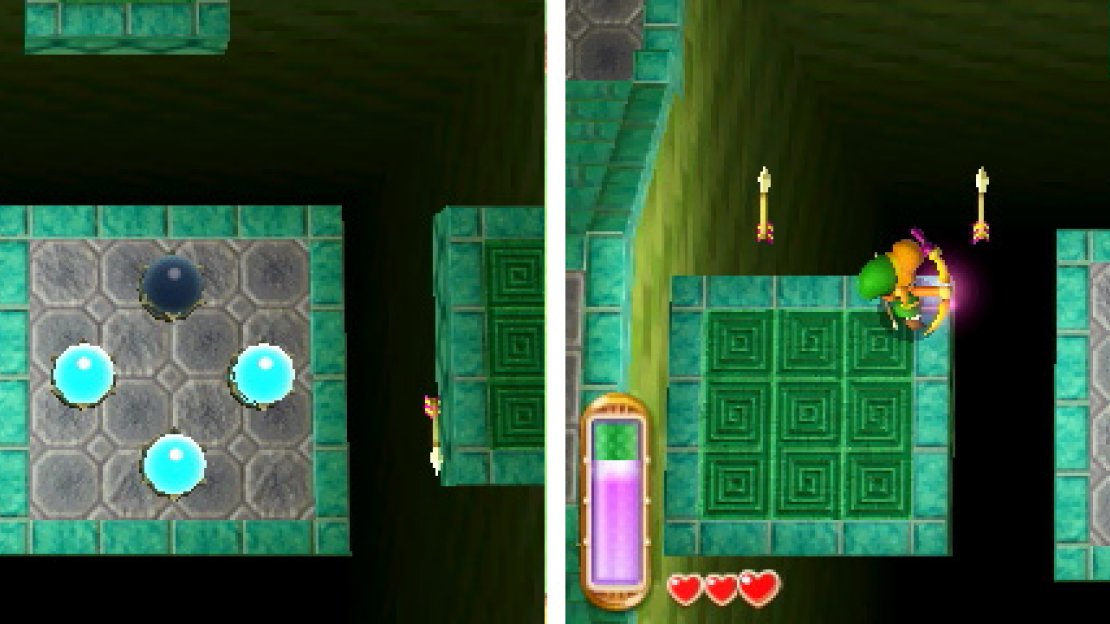
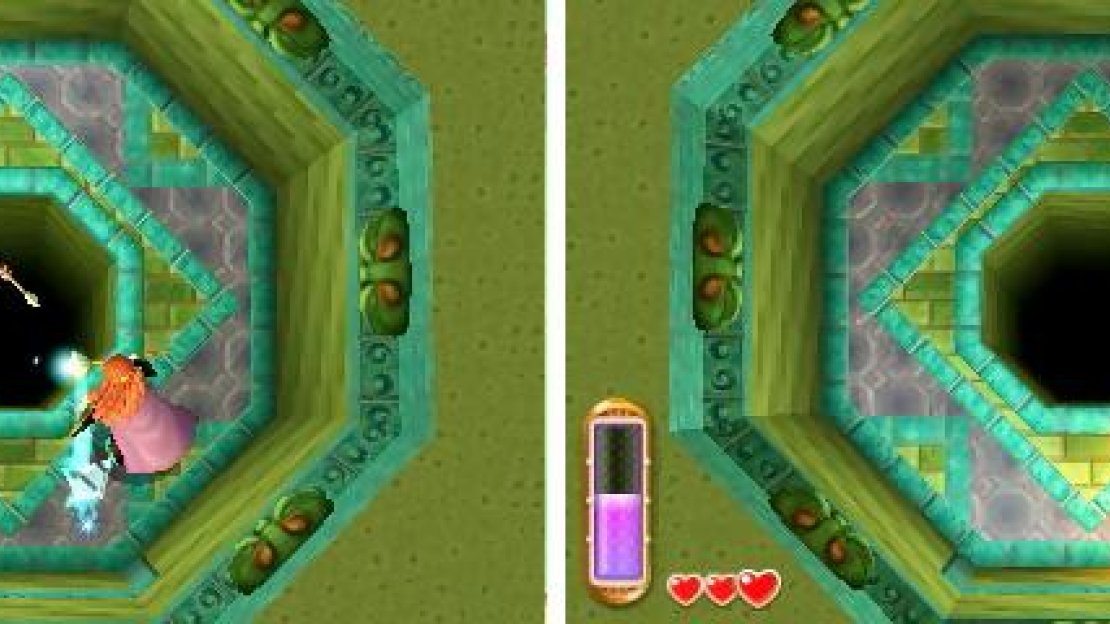
This next room (2F south-east) is quite “fun”. There will be four platforms circling a chasm and arrows firing from holes from the bottom-left and the top-right. Stand near the bottom-left of the room and wait for a big platform (with 3 x 3 tiles) to come, then step on it.
Raise your Shield down to deflect the arrows or stand near the left or right edge of the platform to avoid them. Look to your right and you will see four round switches–shoot them with your bow. To begin with, try to aim for the central one on your side.
When the platform reaches the top-left corner, it will begin moving right; if you don’t have a Shield, carefully watch the arrows and readjust your position to avoid getting hit. While the platform is moving from left to right, you will have ample time to get a good shot in.
Don’t rush and keep a track of your position.
Once the platform gets close to the top-right corner, there will be arrows shooting from above, so ready your Shield upwards and get ready to readjust your position. Finally, as the platform reaches the bottom-right corner, it will begin moving left, completing the cycle.
While the platform moves left, along the bottom of the room, you should be in a position to activate the final round switch. If not, continue riding the platform until you’ve nailed all the switches.
Should you have problems avoiding the arrows, stand at the four corners of the room and fire an arrow diagonally in the direction of the round switches and, depending on which side of the room you’re at, you can activate the left-most or right-most switch, without riding on a platform!
Once all round switches have been illuminated, a chest will appear on the right side and the arrows will cease firing. Ride a platform to reach the other side; inside the chest is a valuable Small Key . Return to the room with the big door (2F south) and make your way left.
Watch out for the two Armos by the centre. Step in front of the big door and fire an arrow left toward the round switch, activating the platform toward the bottom-left. Stand on the platform when it’s lowered and wait for it to rise, then go left through the locked door.
Once inside (2F south-west), the door will lock behind you and three skeleton warriors ( Stalfos ) will awaken. These guys are pretty nimble, so take care. Wait where you are until there’s plenty of space, then drop down to fight them one by one.
After disposing of the skeletal fiends, the platform above will lower and you can access the big chest, containing a Big Key . Next, head for the bottom-left corner of the room, go up the stairs and go right, across the wire mesh overpass, and through the door to the right.
You’ll be in a corner of the room with the big door (2F south); slash the nearby round switch to uncover another round switch that’s currently out of reach. Make your way back to the main area of the room with the big door.
Step on the platform right next to you and wait for it to rise up, then fire an arrow up at the round switch. This will flip the platform in front of the big door, allowing you to reach it. Before heading inside, you may want to tackle the remaining room in the dungeon.
Go through the top-right door, into the room with the firing arrows (2F north-east), and make your way back into the room with the warp zone (2F north). Then head through the door to the left (to 2F north-west).
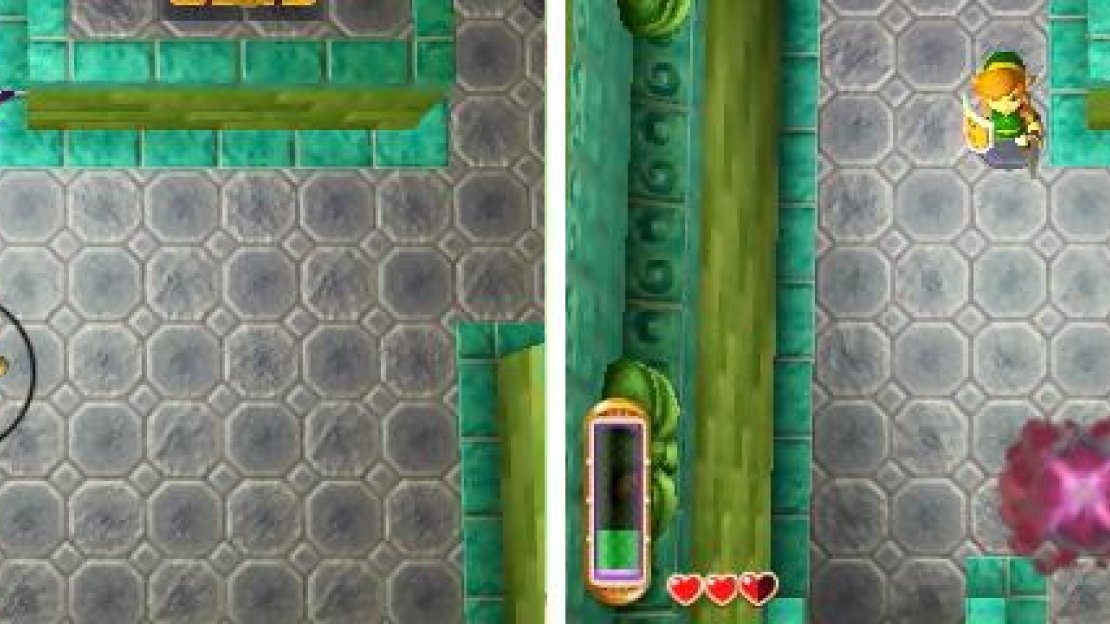
In front of you are three lines of cannonballs. Study the timing and slowly make your way left, using the gap between the pots as a safety zone.
Don’t slash the pots because you’ll likely rebound off the cannonballs, causing you to take damage. If necessary, shoot the pots with arrows instead, but without the pots it may be more difficult to judge the safety zones.
On the left side is a raised floor tile. Stand on it to reveal a staircase going up. When it’s fully revealed, run down quick, because the staircase will subside back into the wall.
Next, you’ll find a long passage with giant cannonballs. Two cannonballs will come out in close succession and there will then be a long pause. Wait for the long pause to begin and then run right and descend the stairs at the end.
This next part is fairly evil; now there are cannonballs coming out diagonally. Initially, the cannonballs can be very confusing, because there are many and they come from weird directions.
However, just locate a nearby safety zone–a place where no cannonballs reach–and carefully watch which cannonballs stand between you and the safety zone. There will only ever be one set of cannonballs blocking your path at a given time.
From the stairs, look to your left and wait for a cannonball to roll in front of you, then run diagonally past it to the raised floor tile. This will make the staircase above subside. Press up on the D-pad to look up and you can see a new raised floor tile, where the staircase used to be.
Watch the same cannonball and quickly run for the floor tile when it’s safe; beware that the stairs will re-emerge. Stepping on the tile causes a chest to appear to the left. As the staircase subsides, move down a pace so you don’t get hit by cannonballs.
To reach the new chest, run to the area directly above the raised platform near the middle (you will be watching out for the same cannonball as earlier). Next, watch for a new cannonball coming from your left; run towards the chest and the pots when it’s safe. Inside the chest is one Monster Guts .
To escape the room, from the chest, run to the area directly left of the middle raised platform. Next, fire an arrow diagonally at the pots, breaking them and creating space. Then watch for the cannonballs coming from your left; two will come out in quick succession and there will be a pause.
Run for the raised floor tile and step on it, causing the door in the bottom-right corner to open. From here, head for the area directly below the middle raised platform and finally go for the door.
Once again, you’ll be back in the room with the big door (2F south). Once you enter the big door, you will face the dungeon boss. Before entering it might be wise to catch a fairy in a Bottle.
Boss: Yuga
This fiend has a number of attacks, but if you’re quick with your fingers, he shouldn’t have a chance to use any. When the battle begins, fire an arrow up ahead, hitting Yuga. This will damage him and stun him.
While he’s stunned, run up to him and slash him repeatedly with your sword. Yuga will then merge into the wall and move around as a painting. Watch his movements and try to stay directly opposite of him. As soon as Yuga emerges, he will try to do a painting attack.
Yellow: A line of thunder will appear in front of Yuga. Sidestep out of the way to avoid it. If you miss with your arrow, don’t bother trying to shoot a second or you’ll get hit. When angry, there will be a second thunder line, creating a cross shape.
Green: Two enemy soldiers will appear to attack Link. When angry, three soldiers will appear. Keep your cool and don’t worry about Yuga, because he won’t do anything until you kill all of the soldiers. If you take damage, you may be pleased to know the soldiers may drop hearts to replenish your health.
Red: Fireballs appear from the wall and, beginning from Yuga, circle their way across half of the room. When angry, there will be a second series of fireballs on the opposite side of the room, moving in the same angular direction.
At this point, fire an arrow straight at him to hurt and stun him. Hit Yuga while he does a painting attack and his attack will fail; for some painting attacks, you may have time to fire a second arrow, if the first one misses.
If you’re standing diagonally opposite, hitting him with an arrow might be tricky, but try your best. Should you have trouble with diagonal shots, move until you face opposite him and then fire an arrow.
While Yuga is stunned, walk up to him and and slash him like before. After taking some damage, Yuga will merge back into the wall again; just repeat the same process.
When he’s sustained significant damage, Yuga will get angry and his attacks become tougher, plus he will move faster in painting form. However, just use the same strategy as before and you can defeat him without taking a single hit!
No Comments