Make your way to the front of Hyrule Castle and Sahasrahla will tell Link to strike the dark barrier with his Master Sword. Approach the barrier and slash–the barrier will disappear, allowing you to enter. Expect a lot of enemy soldiers crawling in and outside the castle. Go all the way up and enter the large castle door. Inside the castle, go forward, then up the stairs immediately to the left or right and take the nearest door.
Next, go down the long corridor to reach the outside of the castle. Be careful of the red soldiers–these ones throw javelins and are pretty sturdy. Outside, head in the direction of the big open door, just above the castle gate. If you came here earlier, you may remember it was closed off, but not any more; head on through.
You will now be “Inside Hyrule Castle” and in the dungeon for real. We say dungeon, but it’s more of a gauntlet than anything; there aren’t any real puzzles, just a load of enemies. Keep vigilant at all times and prepare to break through a horde of enemies to get to the top. Before advancing, stock up on potions and fairies if you haven’t already done so; there will be no warp zone for easy access back. From the dungeon entrance (2F south), head up to the next screen (to 2F north).
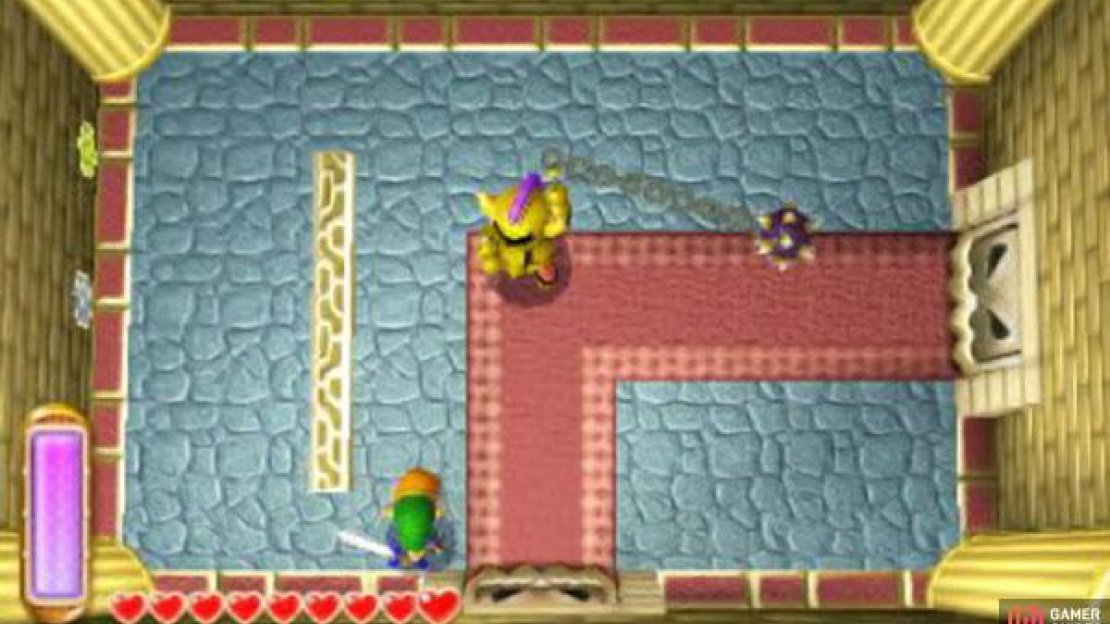
The doors will lock and Link will be stuck with a ball and chain soldier. As soon as the door locks, stun the soldier, then repeatedly attack and stun them. If the soldier regains its senses, move in big circles or merge into the wall to avoid his spiked ball, then wait for him to toss the ball again.
Ball and Chain Soldiers are tough cookies. At the earliest opportunity, use the Hookshot, Boomerang or Tornado Rod to stun one. Then run in and slash once (or twice), before immediately stunning him again and repeat. If the soldier becomes unstunned, run back and do a big circular movements to avoid getting hit. When the chain’s stretched, go in and stun him again.
After defeating Sir Ball and Chain, head through the door to the right. In the next room (2F east), a bunch of soldiers occupy a narrow corridor; as always, keep your distance and fire arrows at them. The Fire Rod and Ice Rod are also good. Head down and around, up the stairs to reach the door to Floor 3F.
The next room (3F north) will lock and you’ll be in the middle of a couple of soldiers. Make a break for the left to avoid the rain of spears from the right. When you’ve defeated all the soldiers, merge into the wall above or below, from the highest point, and walk all the way to the right side of the room to slay the Javelin Soldier. The doors will now unlock.
Step through the southward door and you’ll be in a corridor lined by statues (3F centre). As soon as you reach the door to the far right of the room, the doors will lock and the statues–Armos–will come to life. Kill them all to proceed. Through the next door and you’ll be outside the castle (3F south). Descend the stairs and go left to find a similar flight of stairs leading to a new door, which takes you upstairs. If you’ve taken a few hits, merge into the wall between the stairs for a few hearts.
Upstairs in Floor 4F, a cutscene will play and then four soldiers will come down the stairs to mob you. Run left or right and then take them as they come. After disposing of the threat, go up and take the door in the top-right corner, which leads further upstairs. Next (5F north), head down and through the door, while avoiding the Bomb Soldiers.
As their name suggests, Bomb Soldiers will throw bombs at Link to hurt him. If they’re on higher ground, just avoid them and their bombs. Beware that they’re often located near other soldiers, causing you to get easily distracted.
Outside (5F south), descend the stairs. If you need more health, merge into the wall below the stairs for hearts. Through the door going up and you’ll be in the previous room (5F north), but on the left side. Head up, avoiding the bombs again, and watch out for the red soldier standing near the end. Go through the door in the top-left corner to be taken upstairs.
In the next room (6F west), go down and then head right, while avoiding the Bow Soldiers. If you want, before going right, let the two kill each other with their arrows. At the far end, go through the door to the right to be taken outside. There (6F east), head up and dispose of the patrolling soldier. If needed, merge into the wall to the left for some hearts. Take the door to the left, which takes you to the previous room (6F west). From here, go through the door above to reach the next floor.
Upstairs in Floor 7F, ascend the stairs below. Should you desire, merge into the wall between the two doors and walk across for some hearts. Pass through either of the doors leading south to go outside. From there (7F south), make your way to the centre and go up the stairs. When ready, head through the door going up to meet the boss.
Boss: Yuga
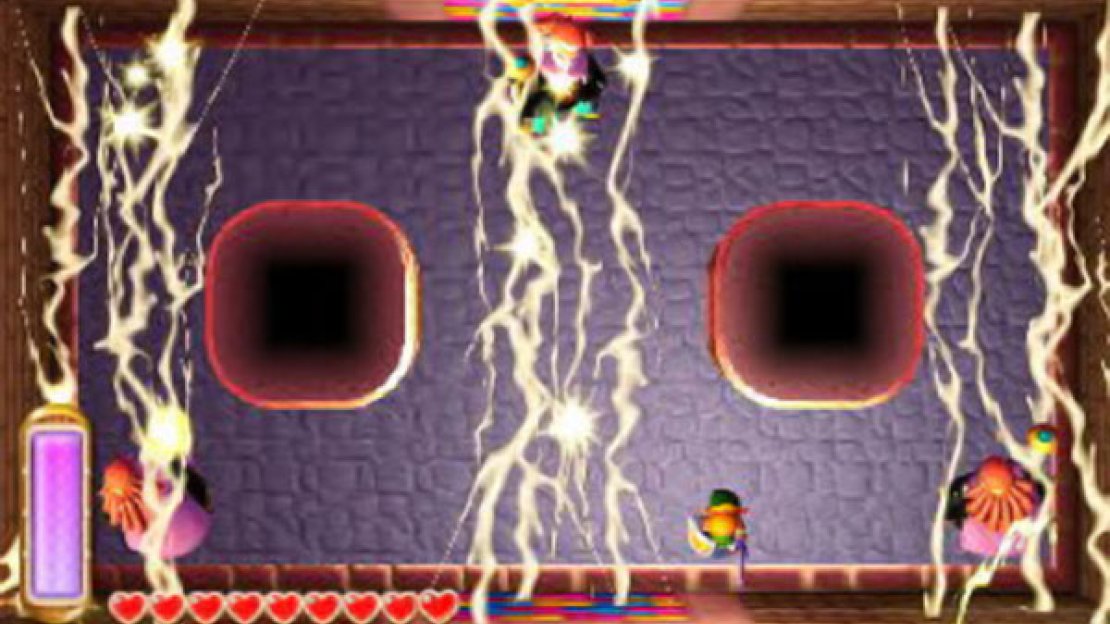
You fought him earlier in the Eastern Palace and now he’s got some new tricks. Like before, Yuga will do a painting attack when he emerges; after that, he will merge into the wall to avoid your attacks. However, this time he’s accompanied by two fakes that do the exact same thing. The real Yuga carries a glowing flame on his staff–ignore the others.
Like in the first battle, you can stop Yuga from doing a painting attack if you hit him quick enough, although arrows no longer work. Slashing him with a sword, smashing him with the hammer or stunning him with the Tornado Rod are all fair game though. Just be careful that while Yuga’s attack will stop when you hit him, his fakes will still continue their attacks.
When the Yugas emerge, identify the real one and give him a good pummelling. After taking a hit or two, the Yugas will all merge into the wall and move around the room; if you have a keen eye, follow the real Yuga’s painting, so you know where to run to next. After a couple of hits, Yuga will get angry and his attacks become tougher. Keep your cool and deal with him in the same way.
His painting attacks for reference: Yellow: Lines of lightning fill most of the room. To avoid, run for the area where there’s no lightning or merge into the wall; it’s easier to do the latter. Green: Three enemy soldiers will emerge from the wall to harass Link. When angry, four strong soldiers will appear. Stun them with the Hammer or Tornado Rod and hack them to bits. If cornered, merge into the wall to escape. Red: Fireballs cycle around the whole perimeter of the room. Just stay in the middle to avoid.
Upon besting Yuga, follow him through the door ahead. You will appear in a balcony outside the castle. Smash the pots for hearts if you need them, then go all the way left. Through the door, you’ll end up in what is presumably Zelda’s room.
Go up to the suspicious curtain flapping in the wind and slash it. The curtain will fall, revealing an even more suspicious-looking gap in the wall. Well, there’s no time to stare. Merge onto the wall, beside the gap, and then walk into the direction of the gap.


No Comments