
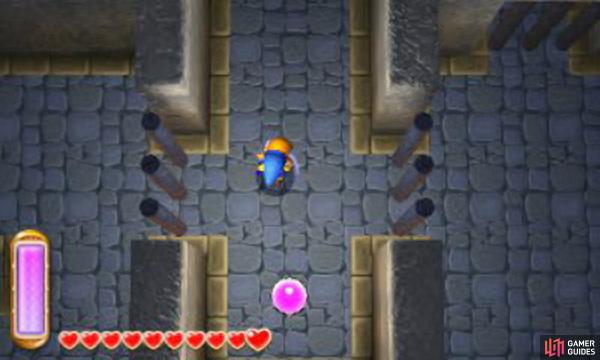
Step into the dungeon (Floor B1) to meet Spear Boy, who mistakes Link for a new recruit and lets him into the hideout. The camera will then pan to show somebody stuck in a prison cell down below; well, let’s go and see this person, shall we? Go all the way up, along the wire mesh railing and then turn left into the door. In the next room (B1 west) is chest containing a nice 50 rupees. Return to the first room and go back down the railing, then turn left into the door at the end.
In the next room (B1 south-west), strike the round switch ahead to toggle the iron bars. Merge to the wall on the left, then pass through the bars to the other side. Head for the bottom-left corner to find two gargoyle statues. Press and hold A next to one to grab it; drag it to the right, then up and all the way left, blocking the shooting arrow. Step behind the statue and drag it upwards, leaving it on top of the raised floor tile. Then merge into the wall to the right and walk right to get back out.
Next, return to the bottom-left corner and grab the second statue. Drag it right, past the lowered iron bars, then leave it. Return to the round switch and strike it to toggle the iron bars back to their original position. Go back to the statue and drag it up, then right, above the round switch. Then pull it up and leave it on top of the raised floor tile. Finally, go right from the round switch and up, then merge through the iron bars and into the prison cell.
You’ll be using the merging ability a lot in this dungeon to skip past the iron bars in numerous rooms.
Open the chest to claim 50 rupees, then step on the raised floor tile. With all three floor tiles pressed, the door leading up will open. Make your way back and enter the new door. In the next room (B1 west), there’s nothing of note; follow the path up and take the north exit. In the corner room (B1 north-west), go all the way right, then drop down to the floor below.
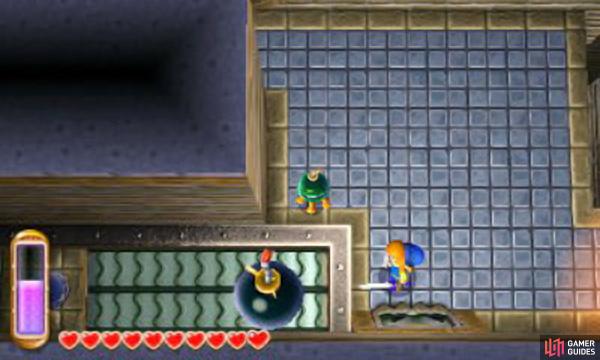
Downstairs in Floor B2, open the nearby chest to earn yourself 50 rupees. From here, follow the path up and around. You will now be before a fast conveyor belt going leftward; walk on it and go down. Repeat for the next one; at the end, take the south exit. In the next room (B2 west), climb the stairs going right, then walk on the conveyor belt. At the end of the belt, merge into the wall above, then walk right across the gap before emerging. From here, hit the round switch up the stairs.
The conveyor belt in the bottom-left corner will change directions. Drop down left and throw a bomb left, toward the conveyor belt; the conveyor belt will carry the bomb toward the round switch. If you don’t have bombs, hit the Bawb and grab and chuck it instead.
Head through the newly-opened door going down, just right of the conveyor belt. In the next room (B2 south-west), there’s nothing to do; take the right exit. Next room (B2 south), continue right and take the right exit; here (B2 south-east), go up to find a chest containing one Monster Guts . Return to the previous room.
If you’ve got your own bombs with you then they’re quicker to use than dropping the Bawbs.
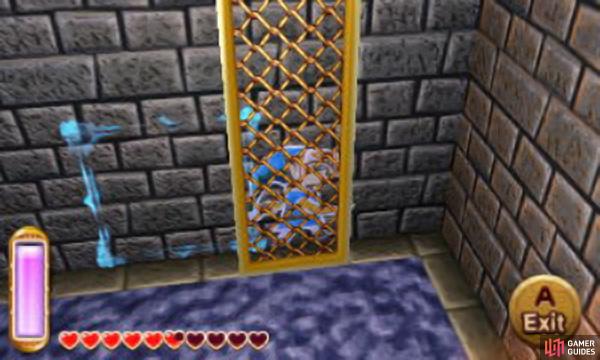
Now, head up and through the door and you’ll be in the prison room (B2 centre) that you saw at the beginning. Go up and at the junction, turn right. At the end, merge through the iron bars above. Inside this prison cell is a Stalfos, who we dearly hope isn’t a prisoner that’s been stuck here for too long–either way, put it out of its misery and open the chest to obtain the Compass .
Head back and merge through the iron bars below. Step on the floor switch to open the door to the left. Return to the junction from before–now a crossroads–and go left.
From here, merge through the iron bars above and go all the way up. At the end, bomb the cracked wall; as usual, there’s a Bawb if you didn’t bring along bombs. Go through the hole left behind and turn left, then walk all the way down and, at the end, go right.
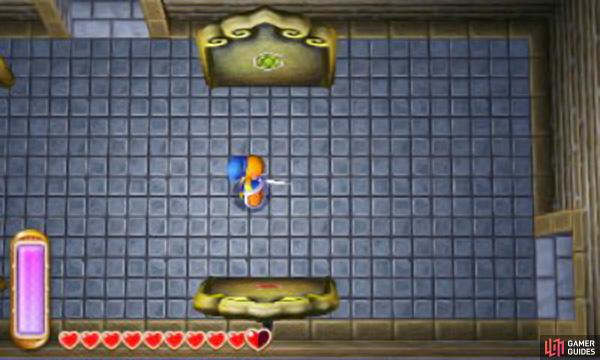
Here; stand on top of the lowered red barrier and strike the round switch to the left. Next, stand on the lowered blue platform, above, and strike the round switch to its left. You can now walk on top of the rooms; carefully make your way up and drop down through the hole in the top-left corner, where the round switches and coloured barriers are.
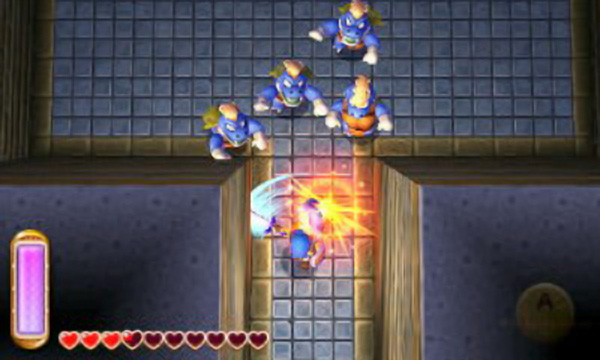
Through the door leading up and the doors will lock. Inside (B2 north), it’ll be pitch black and you’ll be ambushed by 5 menacing eyes. Don’t panic and slash like crazy. When the eyes disappear, flash out your lantern to discover that the eyes are actually red Eyegores.
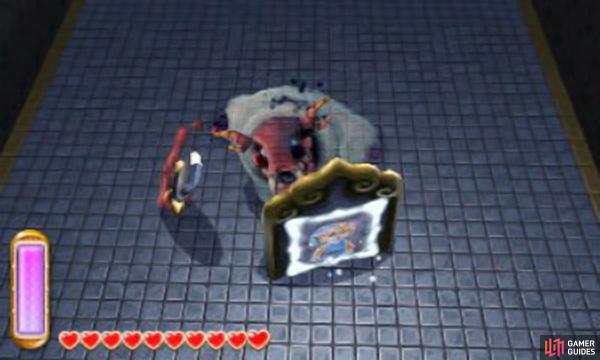
Wait for the Eyegores to awaken again, then slash them; repeat until they’re all dead. You probably don’t even need to move from where you stand. Afterwards, the room will light up and the chest in front of you will lower, plus a warp zone will appear. Open the chest for a Small Key .
This wall panel will look very familiar when you reach the boss; so keep that in mind if you don’t want to use our guide for beating him.
Before you progress, you may wish to use the warp zone to leave the dungeon and save. From here on, you’ll be doing a lengthy escort mission and you won’t get a chance to save at the end. When ready, return to the prison room (B2 centre) and use the nearby round switches to raise yourself back up to the top of the rooms.
Head for the bottom-right corner where our lonely captive is and unlock the locked door. Speak to the captive, known only as Thief Girl, and she’ll ask Link to take her outside. Press A in front of her to lead her and A again to make her wait.
Like all good escorts, Thief Girl won’t do anything else to help you, not even fight monsters. However, you can use her weight to help you move through the dungeon. To begin with, go left and the door leading down will lock, blocking off your means of escape.
Head all the way up to find two floor switches. Lead Thief Girl on top of one of the switches, then press A to separate and step on the second switch yourself, opening the door to the right. Next, lead Thief Girl again and go through the new door, or she’ll moan at you.
The lizard-like Zazak move slowly, but often appear in groups, which can be intimidating. Stun them with the Tornado Rod when surrounded; otherwise, just swing your sword to keep them at bay. When escorting Thief Girl, don’t let them grab her. If necessary, run to a corner and fight them from there.
In the next room (B2 north-east), go right, then all the way up. Near the end, four Zazaks will ambush you; don’t let them grab Thief Girl or she’ll be thrown back in the prison cell where she started. Kill all four and the door leading up and downstairs will open. Downstairs in Floor B3, go around and across the wire mesh bridge. Next, merge across the gap and step on the floor switch to create a platform to the left.
Lead Thief Girl again and head down from the depressed floor switch. From here, merge through the iron bar below. Head down, then swim left. Along the way, watch out for the shadowy inhabitants, including a blue Eyegore.
At the end, go all the way up, then right and up again, where a long wire mesh platform rests on the wall to the left. Merge next to the platform and emerge behind it to push it right, creating a bridge. Return to Thief Girl and lead her back to the two floor switches you encountered moments earlier; use the same trick as before. The iron bars leading down will lower.
$$$item 3913
Swim down, past the wire mesh bridge and surface to the right. Grab the pull switch and pull it back to lower the water level. Head left and go back the way you came, but first merge through the iron bars to the right to claim the chest containing 100 rupees .
Get back to Thief Girl and lead her down. At the end, go right and use the round switch and blue platform to raise the two of you up to higher ground. From here, go left, across the bridge. Leave Thief Girl on the red platform, then return alone to the blue platform.
Merge into the wall to the right and walk all the way right, emerging next to a door. Go right, then down and emerge behind the long platform to the right to create a bridge going left. Cross the new bridge and strike the round switch while standing on top of the lowered red platform. Lead the Thief Girl again and go down. Before you get anywhere, three Zazaks will spawn. Separate from Thief Girl, then drop down and kill them.
When you’re done, hit the round switch to lower the platform and lead Thief Girl once more. Use her to activate the double floor switches, revealing a long passage above. Go all the way up, collecting the rupees, and open the big chest at the end for a Master Ore . Once you have two Master Ores, you can improve the Master Sword. Head back down to the floor switches and go all the way right, then go through the door at the end, which leads upstairs back to Floor B2.
Watch out, this next part is tricky. Leave Thief Girl on the floor switch in the bottom-left corner, then go up the stairs to the right. Merge into the wall below and walk right to cross the gap. Next, go up the stairs and step on the second floor switch to the right. The door going left will open, but two Zazaks will appear to grab Thief Girl.
Quickly run back round and drop off near the stairs to intercept them. Lead Thief Girl and run for the bottom-left corner and defend from there. Should you fail, be prepared to begin from the prison room again, but all of the puzzles up to now will already be solved.
In any case, lead Thief Girl and take her through the door to the left. Then go through the door in the bottom-left corner to leave the room and arrive in the room right before the prison room (B2 south). Well, that was a long detour, but you’re almost there. Head left and go through the door to the left. In the next room (B2 south-west), head up and four Zazaks will ambush you. This bit is fun–run left and strike the round switch to make the monsters plummet to their doom. Wait for the floor to return, then head on up to the next room.
Here (B2 west), there’s nothing to do, so just skip along and continue heading up. In the next room (B2 north-west), pass the first conveyor belt and three Zazaks will ambush you. Stun them with the Tornado Rod and knock them into the conveyor belt, sending them into the chasm.
Next; either strike the round switch ahead with a projectile (e.g. arrow) or run to it and slash it to reverse the belt direction. Then take the stairs ahead, which lead to the next floor. Upstairs in Floor B1, go left and leave Thief Girl in front of the nearby fan. Merge to the wall below and walk left across the gap. Now go around and step on the floor switch just ahead to blow Thief Girl across.
You’ll be familiar with this technique if you’ve been saving all the maimai’s that have stuck themselves to the walls dotted around the world map.
Follow her and step on the second floor switch to activate the right-side fan. Lead Thief Girl and leap into the wind current below to reach the other side. Then head through the door going down. In the room below (B1 west), slay the lone Zazak and activate the double floor switch with Link and Thief Girl. The chest in the top-right corner will be unblocked–go and open it for a nice 100 rupees . In the next room (B1 south-west), head down and the doors will lock and two Zazaks will come.
Run down and strike the round switch to stop them; then poke them through the iron bars. Just be careful not to accidentally hit the round switch; if you do, run up. Once the Zazaks are dust, the doors will unlock; go through the door to the right.
This is it: the final area (B1 south). Unfortunately the door going down–the entrance–closes as soon as you enter, which means you can’t leave. You also can’t save … Go up across the wire mesh railing and activate the double floor switch at the end. Ascend the stairs and merge into the moving shield and let it take you to the big chest, containing the Big Key .
Finally, go back down and, when ready, open the big door to the right to battle the big bad boss. When you go in the boss room, the door will lock before Thief Girl comes in, so don’t worry about her being a hindrance.
Boss: Stalblind
When the battle begins, run up to the boss’s shield and merge into it. This will confuse the boss and it will look around for Link, moving its shield behind itself. At this point, emerge and attack the boss from the back. You can use Link’s good ol’ sword or other offensive items, such as the bow.
When the boss notices Link, keep away and run as it’ll spray black breath at you. Walk around and wait for the boss to swing its sword at you, then step back. Right afterwards, try to strike the boss and it will put up its shield. Repeat what you did at the beginning.
Next, the boss will do the same moves, but its sword swing becomes a double swing. After the final swing, poke it again and it will raise its shield in defence. Again, merge into the shield to get behind the boss, where it’s vulnerable. After taking a good bashing, the boss will realise its mistake and chuck away its shield.
At this point get ready to run, because the boss will ready a sword spin attack and spin around the arena. After this, it will pause and you can use this opportunity to give it a good beating. When the boss moves again, get back, as it’ll swing its sword down at you.
When the sword is stuck, use this chance to throw in some more punches. After taking some more hits, the boss’s head will come flying off and spin around the room, spraying black breath; keep running to avoid it. Close in on the boss and it will dice its sword at Link several times–wait for it to stop dicing, then attack.
Keep up the pressure and before long the boss will keel over. Link and Thief Girl will then leave the hideout and make for the boss’s treasure room, where a heart container and Osfala’s Painting are stored.
Video Guide With Commentary
Having rescued Osfala, you will obtain the Sand Rod from him, but as soon as you step foot into Lorule, Sheerow will swoop in to grab it. If you want to use the Sand Rod, you’ll have to pay a visit to Ravio’s Shop.
When you have time, return to the Swamp Palace area and, from the northern entrance, enter the cave to the left to find Thief Girl again. To repay Link, she lets him take the contents of the cave’s treasure chest: a sweet 100 rupees . Keep your eyes peeled for the classic Zelda reference too!
No Comments