
Sword
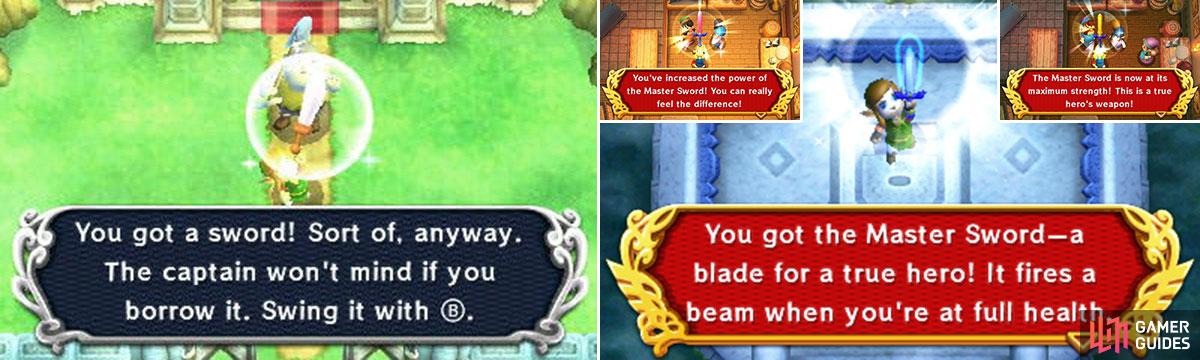
Obtained: After visiting the Sanctuary How to use: B Button Upgrade and how: Master Sword (complete the first three dungeons) How to Upgrade the Master Sword: (2 Master Ores per extra level of damage)
The weapon of a hero and the bane of many a monster. This sharp piece of steel can be used to cut down grass, break pots and hurt things; primarily, you will use this to attack monsters. Press B to swing the sword. Hold B and wait for a circle to briefly surround Link, then let go of B to perform a sword spin, damaging surrounding monsters. After obtaining the Master Sword, your sword damage will increase you can fire a beam of energy whenever you’re at full health–excellent for dealing with monsters from a distance.
You can upgrade the Master Sword further by collecting two pieces of Master Ore, of which there are four in existence–hence you can upgrade it twice. With each upgrade, your damage input will increase. Also, after redeeming all of the item upgrades from Mother Maimai and rescuing all 100 of her children, she will upgrade the sword spin attack into the Great Spin attack, which deals increased damage and has a much, much larger range.
Green Mail (Tunic)
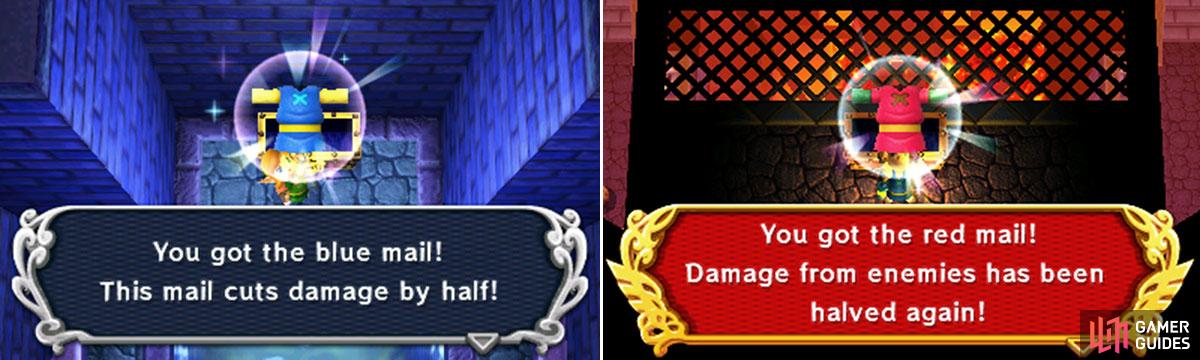
Obtained: Automatic How to use: Passive Upgrade and how: Blue Mail (Swamp Palace) and Red Mail (Lorule Castle)
No Link is complete without his famous green tunic–the clothes of a hero of Hyrule. Although to be frank, besides the colour, there’s nothing really special about Link’s tunic. It’s definitely not heat resistant and it’s not cold resistant either. We suppose it does make blonde princesses attracted to you, but… ahem. Anyway, each time you upgrade the tunic, you will take half the amount of damage from monsters; with the final upgrade, you take quarter of the damage. Now that is rather impressive!
Shield
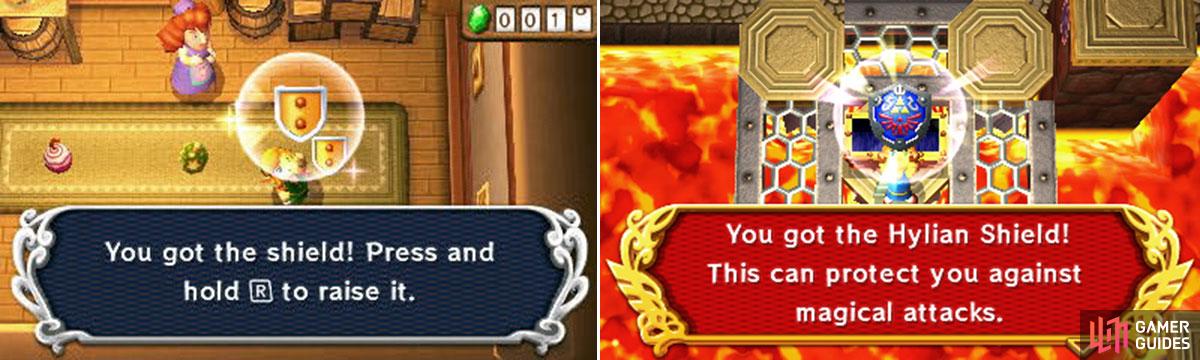
Obtained: Item Seller (Kakariko Village or Lake Hylia) How to use: R Button Upgrade and how: Hylian Shield (Turtle Rock)
Offence is all well and nice, but don’t underestimate the power of good defence as well. How are you supposed to properly fight monsters when you’re walking around impaled with arrows and lances? With a shield in hand, you can press the R button to raise the shield, deflecting attacks and protecting yourself from oncoming monsters. Not all attacks can blocked, mind, so you will need to move around to avoid damage. When you get the Hylian Shield, you can block a greater variety of attacks, especially magical ones.
Ravio’s Bracelet
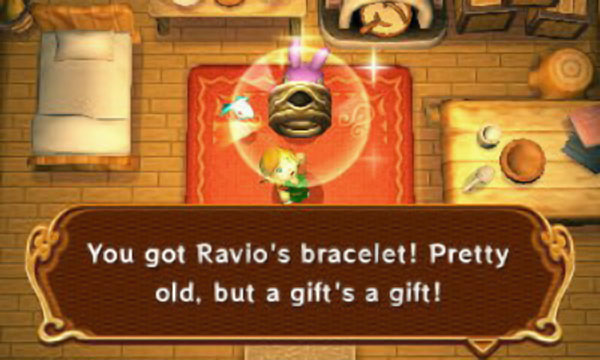
Obtained: Ravio (after the Graveyard secret way) How to use: A Button Upgrade and how: Not applicable
This rather old and worn out bracelet seems like a booby prize at first, but its magic will kick in after completing the first dungeon. With this bracelet, Link can merge into walls and walk left or right along them as long as there aren’t any obstacles in the wall. While merged into a wall, the energy gauge in the bottom-left corner will slowly deplete–should it run out, Link will be forced out of the wall. You will be using this ability a lot, to get across gaps or solve puzzles that are otherwise impossible for a normal human being.
Power Glove
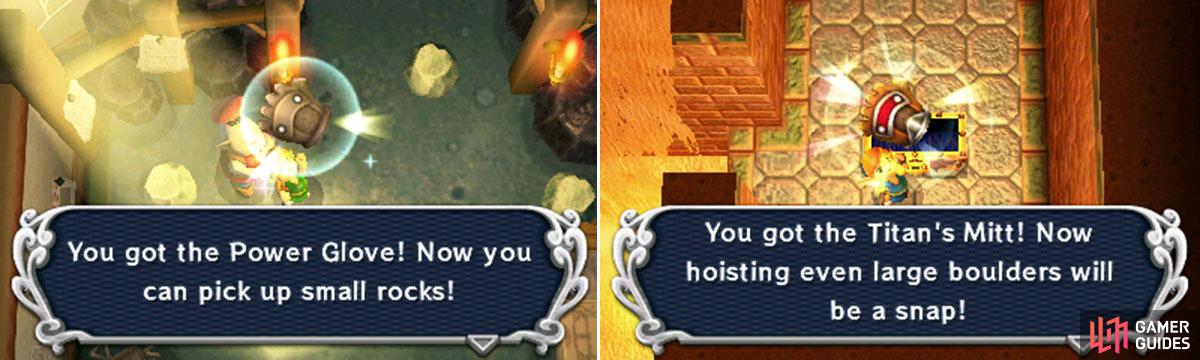
Obtained: Rosso (after the first dungeon) How to use: A Button Upgrade and how: Titan’s Mitts (Desert Palace)
When you need power and we mean real manpower, look no further than this awesome glove. With the Power Glove equipped, Link can lift up small rocks by stepping in front of them and pressing the A button and throw them by pressing the same button. Very handy when you need to get rid of some small rocks in the way. Big rocks though… that’s a bit beyond its scope. However, when you own the legendary Titan’s Mitts, you can lift up big rocks just as easily as small rocks! Link’s the man!
Pegasus Boots
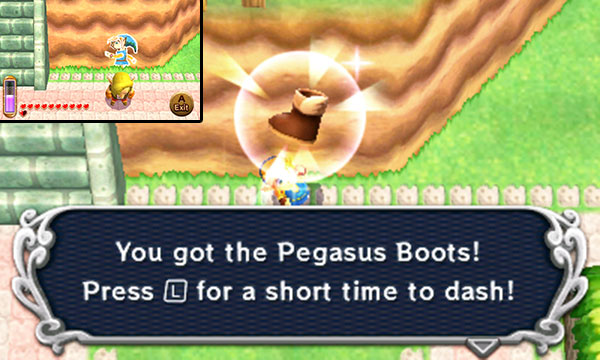
Obtained: Shady Guy (Kakariko Village - after the first dungeon) How to use: L Button Upgrade and how: Not applicable
We’re ashamed to admit we only discovered this piece of gear towards the very end of the game, while you can actually obtain it very early on in the game. Which is a hint to its usefulness… To save you the embarrassment, after visiting Zora’s Domain, you will find Shady Guy standing near the top of Kakariko Village. Normally, he’ll run from Link, but if you merge into the wall ahead of him, then emerge behind him, you’ll catch him before he dashes and obtain the Pegasus Boots.
With these fabled boots, Link can dash in a straight line by pressing the L button. You can dash to damage monsters or ram into objects. As a means of attack, it’s a bit unwieldy because there’s a startup time, leaving you vulnerable. As a means of travelling, it’s also a bit limited because you can only move in straight lines, plus you can easily overshoot your destination. What it is useful for is getting items hidden in trees or on top of pillars.
No Comments