Whenever you first start Tales of Graces F Remastered, you will have to fiddle with some settings that can be changed later, if you want. New to this version of the game is the Grade Shop being available from the beginning, although not all options will be there quite yet. If you wish to make things easier, or harder, purchase some of the options here. Note that you should pay attention to some of them, as they cannot be turned on or off, but most of them can be toggled in the Options menu once you start the game. The game will start you off with Asbel and Hubert at Lhant Hill.
The game will start you off at Lhant Hill.
| Items |
|---|
| Apple Gel x3 |
| Glassphere |
| Life Bottle |
| Gauntlets |
| Misty Blouse |
| Plucked Flower |
| Glassphere |
| Skits |
|---|
| Wellspring of Deceit |
| Rebel Without a Cause |
| Seek the Sparkles! |
| Titles Checklist |
|---|
| ???: Amnesiac |
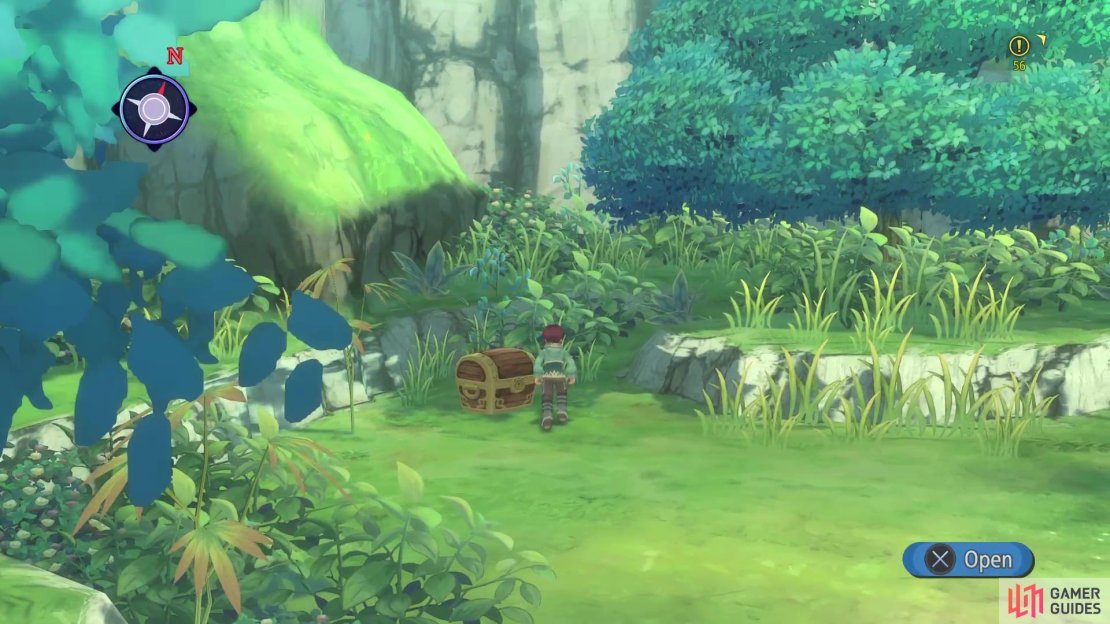
Once you gain control after the short intro, run north and look to the left for a chest, which contains x3 Apple Gel. These are one of the healing items in the game and if you look at the description, you will see it’s a percentage of your max HP, not a set amount. Locate the enemy that might be running nearby and come into contact to start your first battle.
Always keep a lookout for chests in corners and hidden behind other objects.
Battle Tutorial
This section will go over some of the basics that you will learn about combat in this short area. When you initiate combat, you will be locked onto the enemy, although you can change which enemy is being targeted. This is done by holding R1 and then using left/right on the Left Analog Stick. To attack, you simply press the Circle button, but there’s a little more nuance than just mashing the button. The direction you’re holding on the Left Stick while attacking will determine the attacks you perform. For example, holding Up or Down will have Asbel perform a three-hit combo with his assigned Artes (skills).
Of course, each time you attack, you will use up something called Chain Capacity, or CC for short. These are the numbers underneath your characters’ portraits along the bottom of the screen. Each action will take up CC, so if you don’t have any, then you aren’t going to be dealing damage. Thankfully, just sitting still will allow the CC to quickly replenish. Other tutorials in this area will teach you about Guarding, as well as Evading. To guard an enemy’s attack, simply hold down the Square button. While it won’t completely negate the damage, it will mitigate it by some, so it definitely helps.
(1 of 3) You’ll always be locked onto enemies during combat.
The other way to avoid damage is by evading, which is a little more complicated, but not by much. First, you initiate a guard like normal, then you simply press the Left Stick in any direction. Note that you need to be set to Semi-Auto or Manual in order to perform this maneuver, since if a character is set to Auto, they won’t be able to do it.
Exploring Lhant Hill
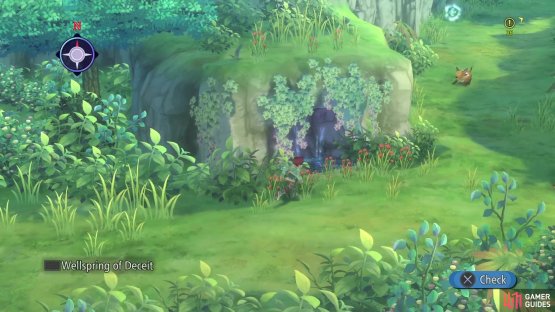
After the battle continue forward to the small waterfall area to learn about skits, watching the Wellspring of Deceit skit. You will always see the skit prompt appear in the lower left corner of the screen, so always keep an eye out for them. Now, head east at the split to another treasure with a Glassphere inside, kind of behind the tree there.
(1 of 2) Look for the button prompt in the lower left corner for Skits.
Look for the button prompt in the lower left corner for Skits. (left), Skits will help develop your characters more and there are a lot of them. (right)
You can now go north and encounter your first save point, with a treasure directly across from it, which contains a Life Bottle. The next screen will have some scenes and once they are over, return to the save point for another skit, Rebel Without a Cause. You’re done here in Lhant Hill, so exit it to get to North Lhant Hill.
North Lhant Road
At this point, the game wants you to return to Lhant, but let’s not do that just yet. Instead of heading straight to town, head west past the guards to a shining spot on the ground. These sparkling spots are random, both in appearance and what you get. However, it’s a good idea to always check them out, as there are some rarer items to be found, especially in later areas.
Continue northwest for a treasure chest with another Glassphere and then head east to the save for the skit, Seek the Sparkles!. You can now head south to reach Lhant.




No Comments