
Welcome to our Control Room walkthrough for Stray, which will teach you everything you need to know about the final story chapter. This level is not that long at all. However, it does have a few tedious puzzles to figure out throughout the building. With no further ado, here is how to solve the Control Room puzzles and complete Stray.
Now it’s time to work out how to escape the city.
Stray: Control Room walkthrough
At the end of the Jail chapter, Clementine throws you into the subway and gives you the battery to power the tram. So, do your duty and walk into the subway, past the metal fence and slot that battery into the driving seat of the tram. You then take a subway journey to a new destination in the walled city. Head out and immediately see some robots cleaning the subway per their protocol. Now it’s time to climb the stairs into the new section of the city.
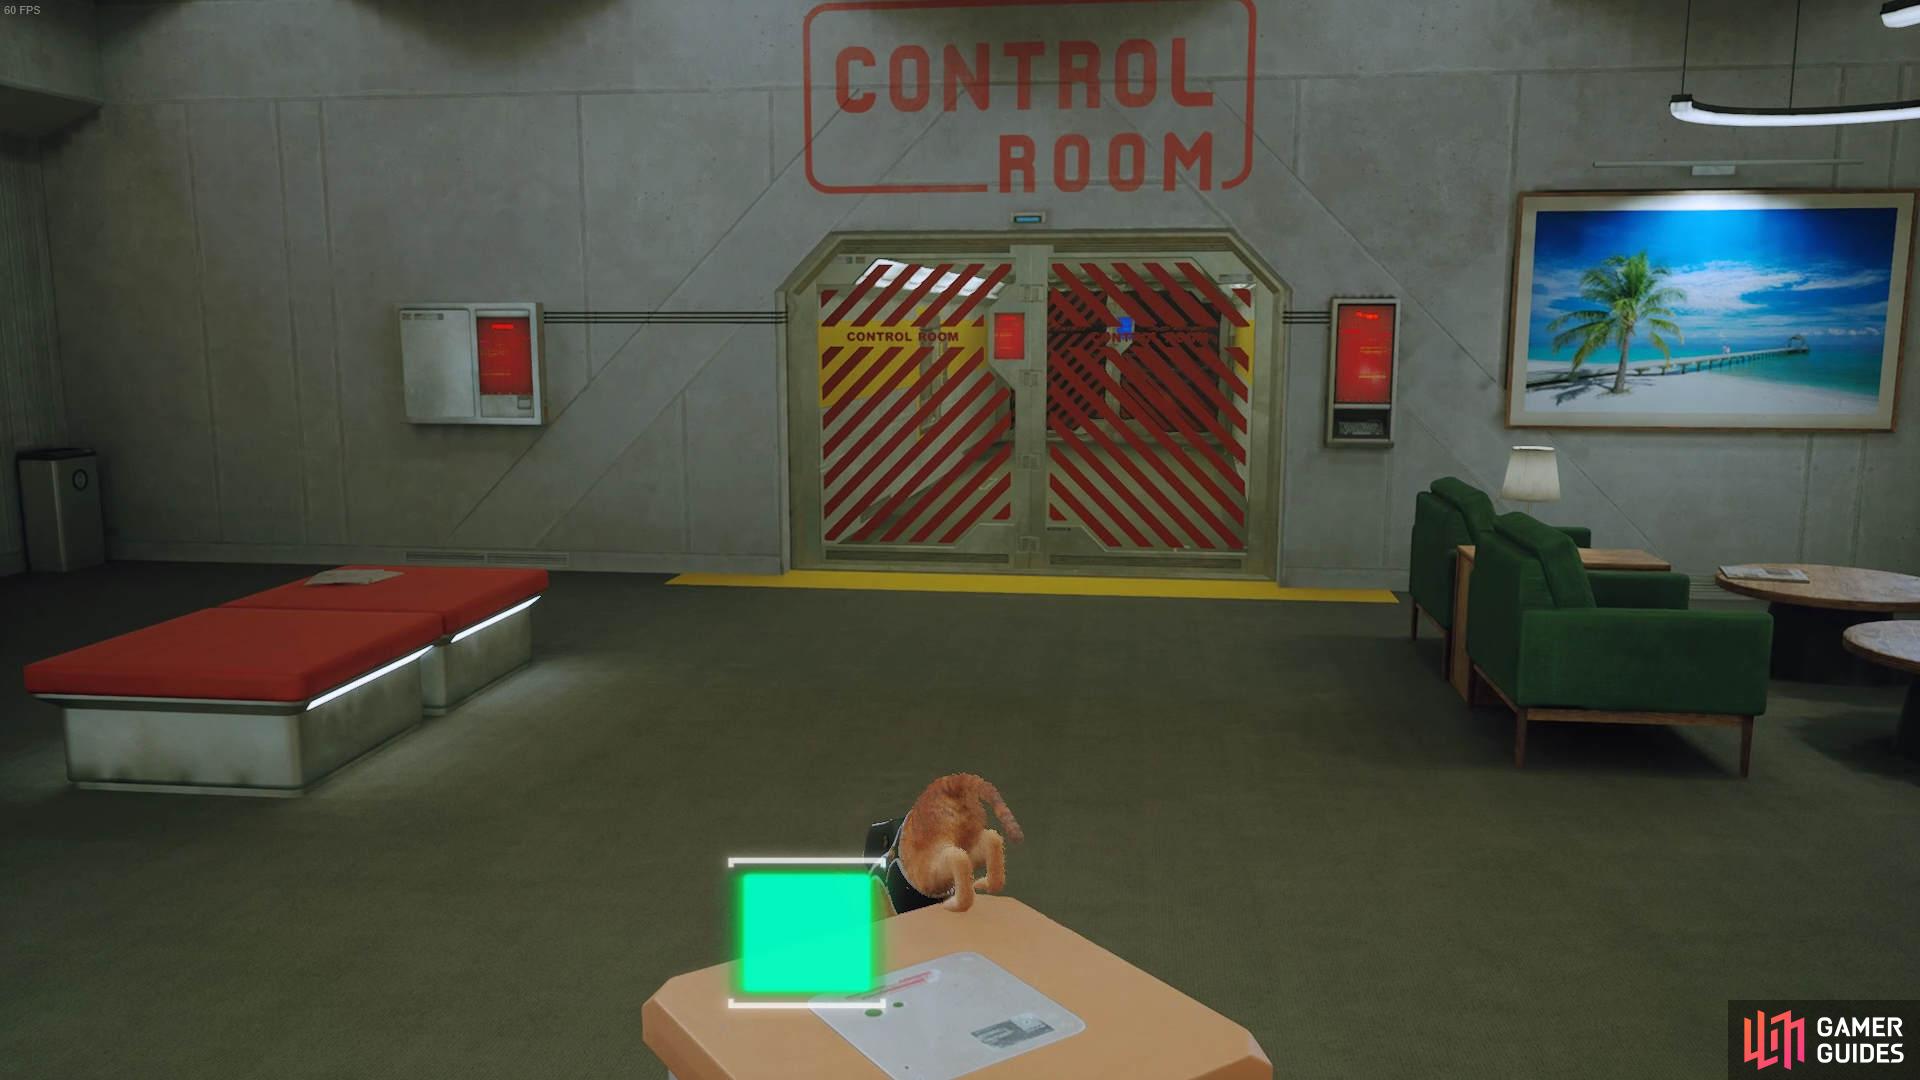
Upon arrival, you will see more doors shut per the lockdown protocol to protect the city, and more cleaning robots doing their duty. Avoid all this noise and head towards a glass door. Here is the first puzzle of the Control Room walkthrough.
Take the droid to the panel you can see on the left.
You need to get a robot that follows you, similar to those in the Neco factory, and activate it. Bring it over from the half circle-red sofa with the back facing the door. Activate it and make it follow you and place deactivate it under the electronic panel to the left of the door. Now you will get B-12 to interact with the actual computer terminal on the right while you stand on the yellow floor. It will pop open the panel on the left of you to scratch. Climb aboard the robot and scratch the wiring while B-12 hacks the terminal. The combination of the two will let you through into the next room.
The Control Center walkthrough
This is the main room where you need to solve the puzzles of the chapter.
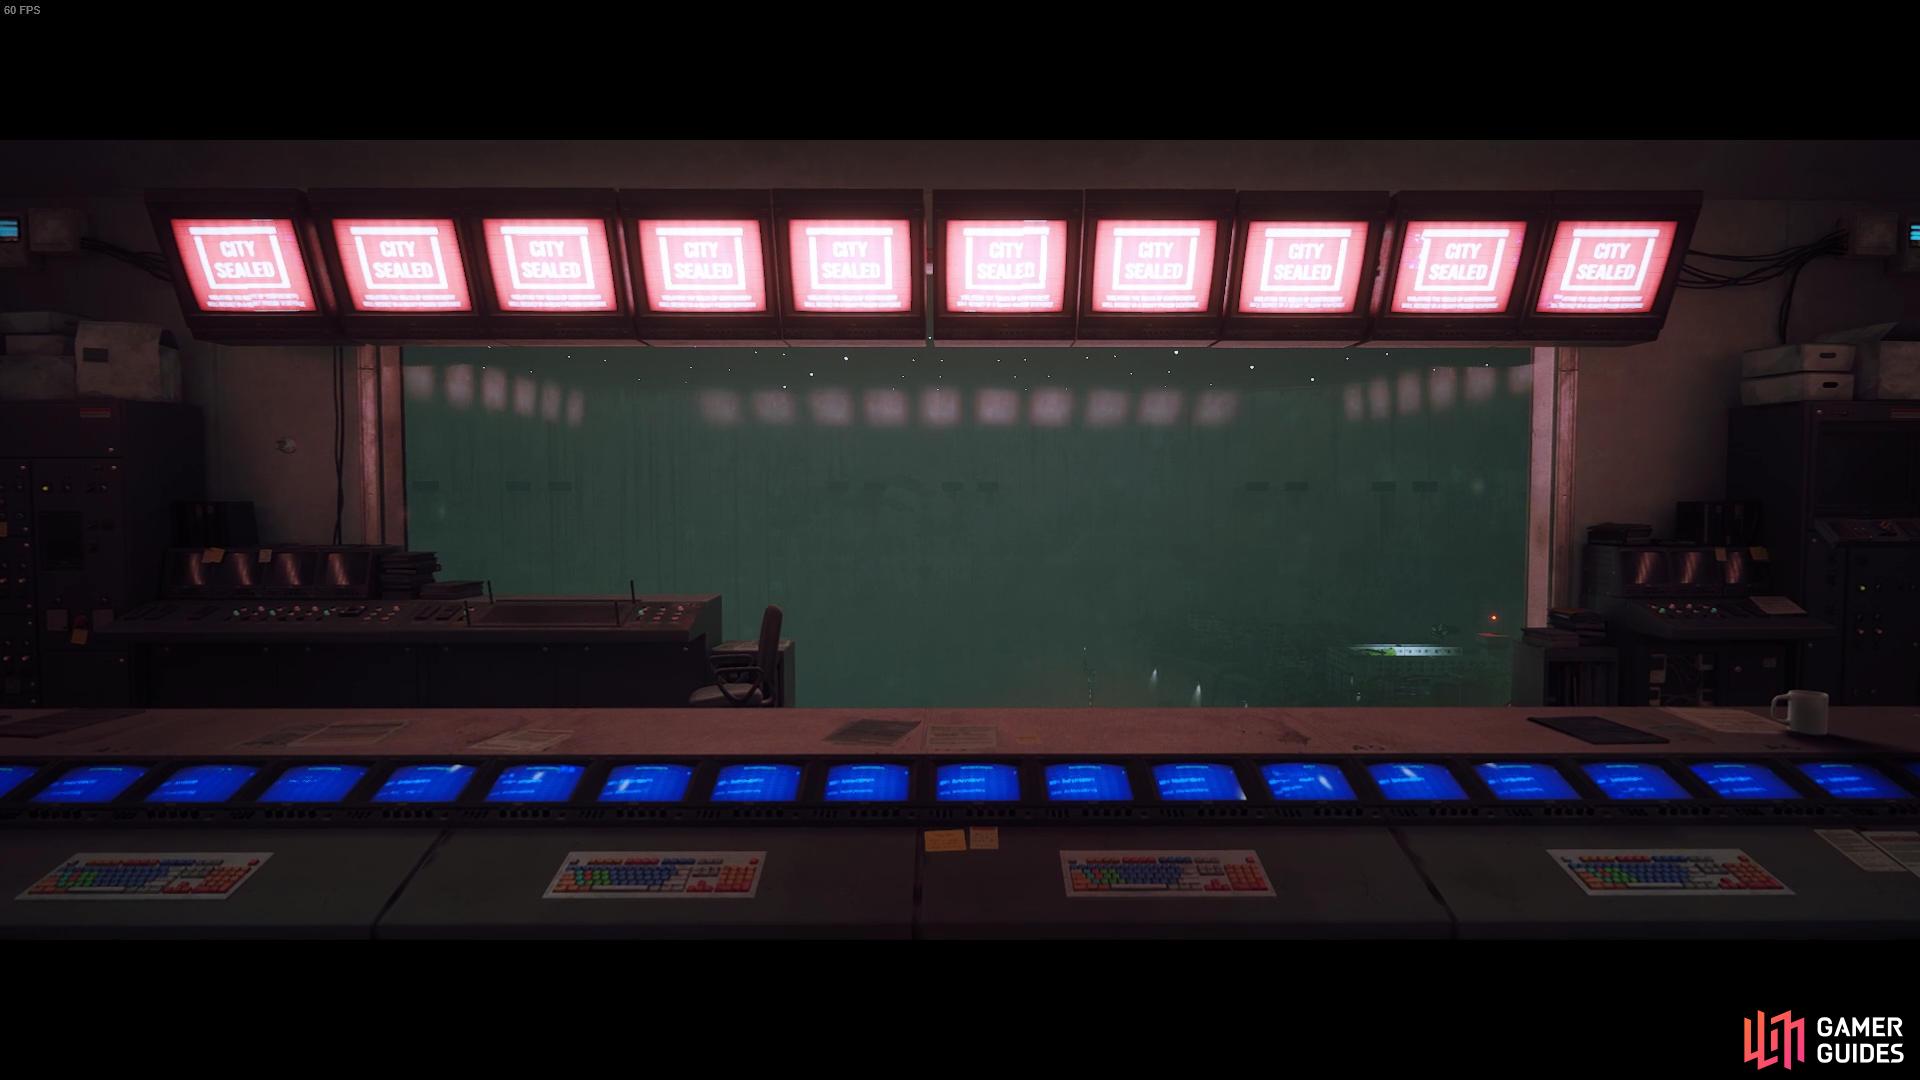
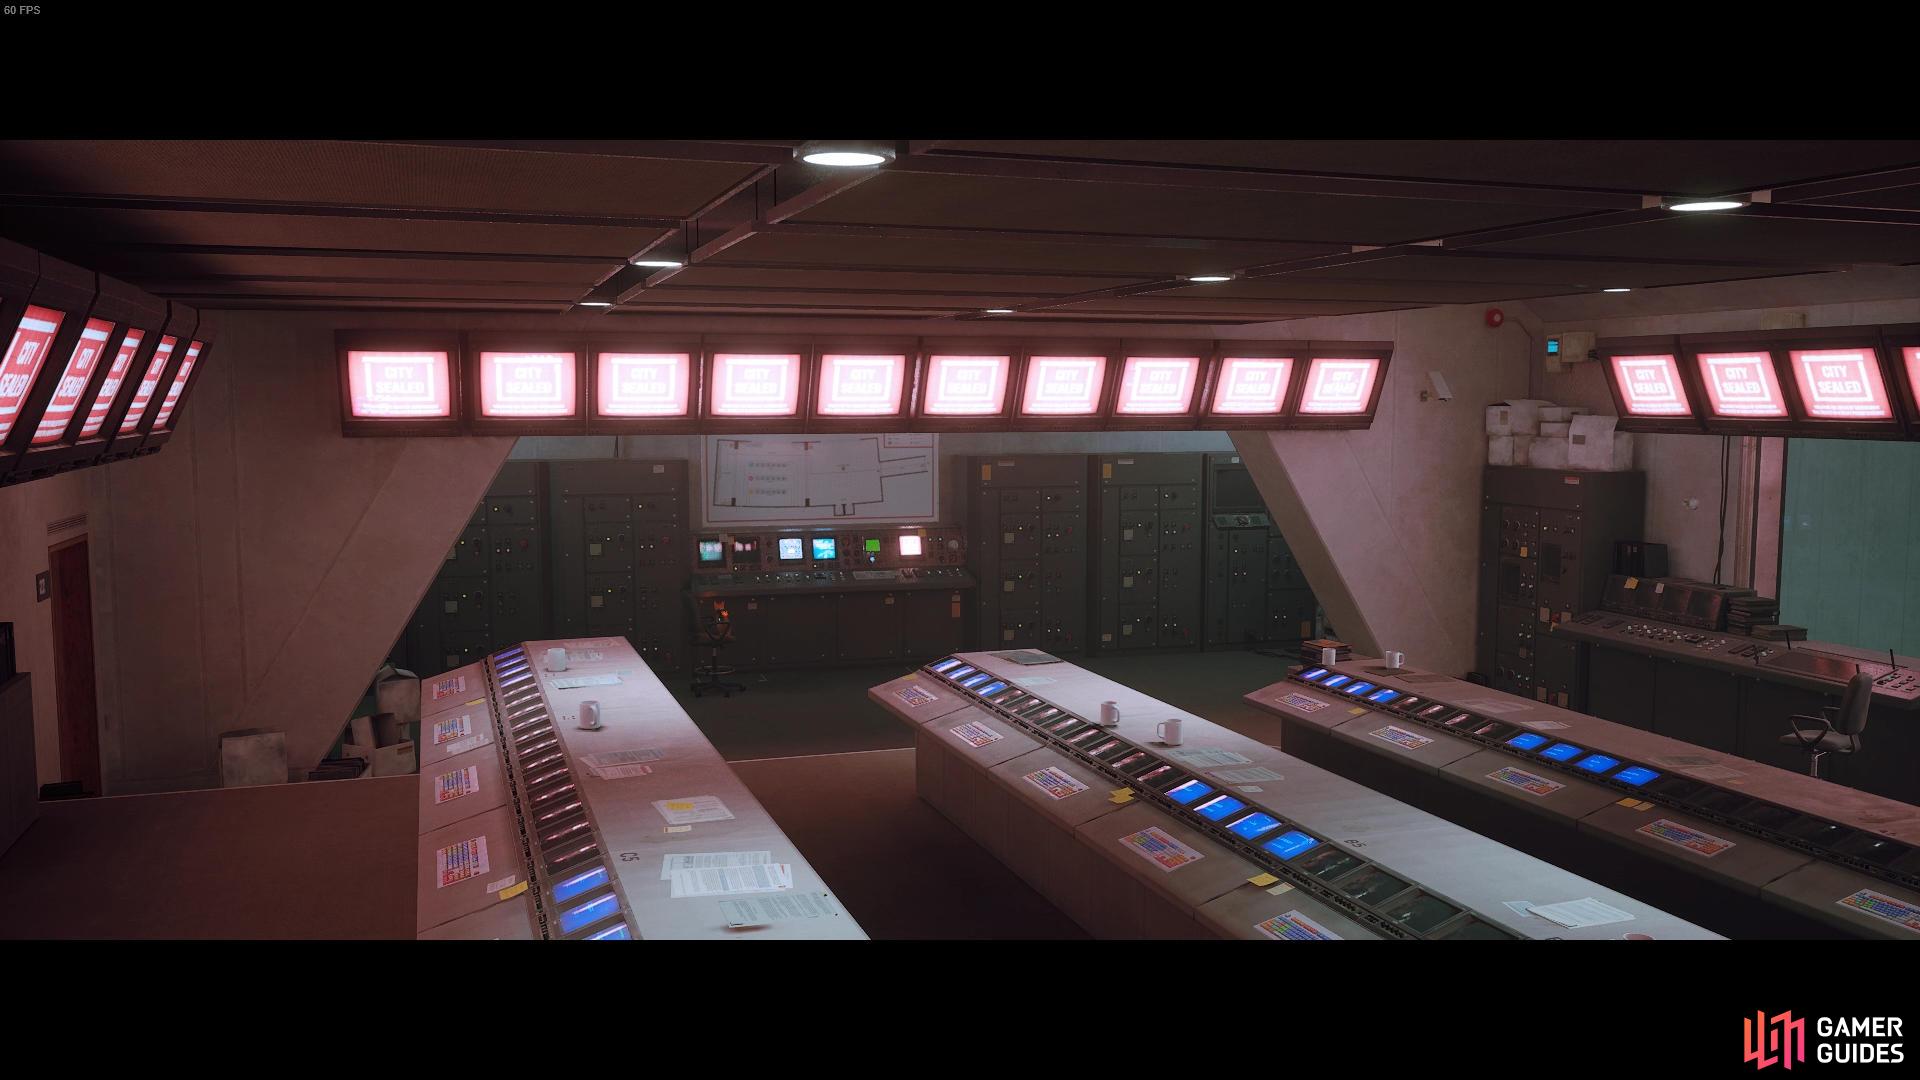
Now you’re inside, you’ll arrive in some NASA-like facility. There are computer desks everywhere, alongside high-tech equipment. In this very room, you want to initiate the command to open the outside and flee the city. Keep walking through, and you will reach a server room, with a main terminal under the control room blueprint. Interact with it to begin the actual puzzle of the level.
The first thing you want to do is turn all the monitors on in the NASA-like room. Simply jump on every row in the room, and walk on the keyboards of the desks with the screen turned off. The aim is to light every single row up with blue screens. As they all become enabled, you get a new cutscene with three items you want to interact with.
The three interaction points are more PC terminals you want to scratch and claw, which are found at:
- The right corner of the NASA-like room, is adjacent to the window overlooking the city. You scratch the wires on the front face of the terminal.
- Against the left wall of the control terminal room. You need to jump on the dark cabinet sticking out and knock the stood-up plate over to get to the wires.
- The right wall of the control room terminal. Jump on top of the machine and scratch the wires on the top.


(1 of 3) The first scratchpad is on the right of the main room’s window.
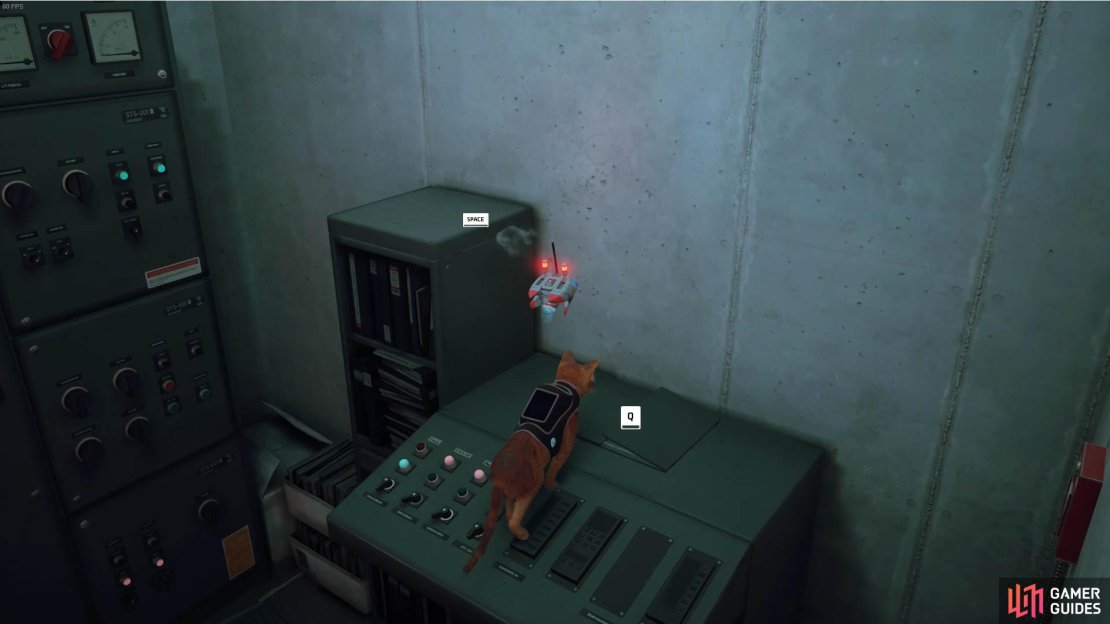
Every time you scratch the wires of each terminal, B-12 will hack it, but get a shock for it. After the third one, B-12 will not be able to fly, and you must carry it to the lockdown terminal. You can find it with the blue hologram monitor to the left of the main room, adjacent to the window. Place B-12 on top of the hologram, and he will initiate the freedom sequence.
Spoiler Warning
The following content is spoiler related. If you are reading this in advance of the mission, or you have come here for some tips, click the text to read on only if you are willing to spoil what is to come. Otherwise, complete the level and see what happens for yourself.
The lockdown will have lifted once you are done with the puzzle. However, it costs the final moments of B-12’s battery, frying the little robot pal in the process. R.I.P. However, B-12’s life was not in vain, as you unlocked your freedom. Head back to the main longe area of the map with the cleaning robots, and the blast door will have opened up, leading you to your outside freedom. Congratulations, you completed the Control Room Walkthrough and the main story!
No Comments