The rooftop level is the game chapter requiring you to take a transceiver to a skyscraper as part of the Outsiders storyline. After dealing with Momo and reigniting his passion for finding the outside world, you then hatch a plan to contact his distance pals. This is the first mission where you have to actively deal with Zurks scattered around the level, along with a few jumping and gate puzzles. To make it easier, continue to read on for our Rooftops walkthrough in Stray’s main story arc.
You’re going to be navigating a lot of Zurk-infested rooftops during this chapter.
Stray: Rooftops Walkthrough
The rooftop level begins as Momo boots you out of his apartment, and you enter a new area of the Slums map, which is filled with Zurks and their nesting grounds. The level is filled with danger, so knowing how to combat the Zurks and avoid them is key to victory.
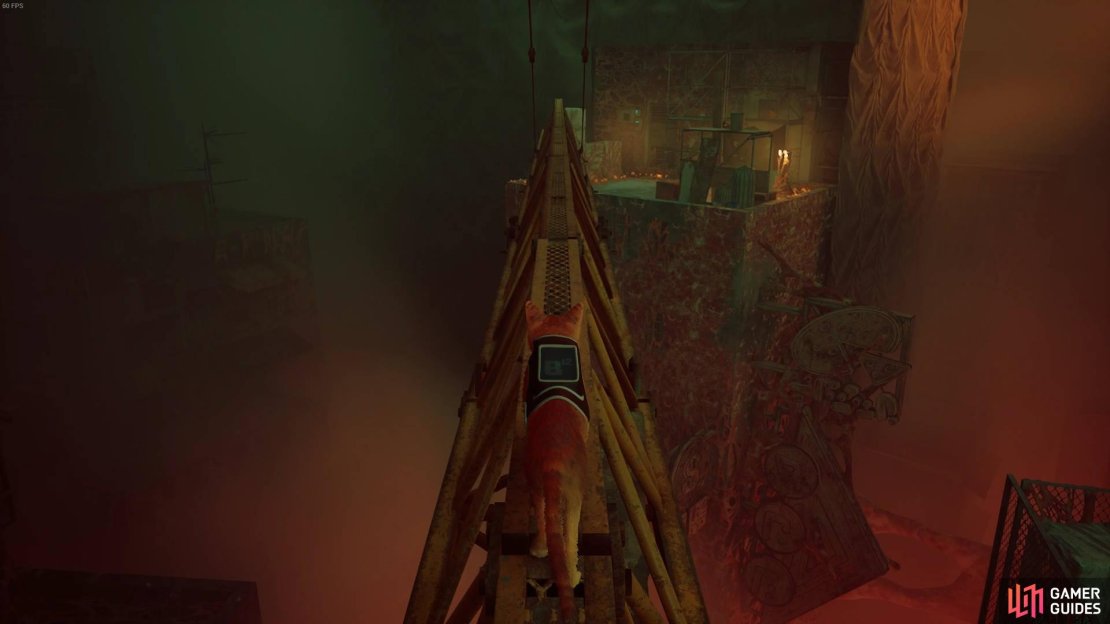
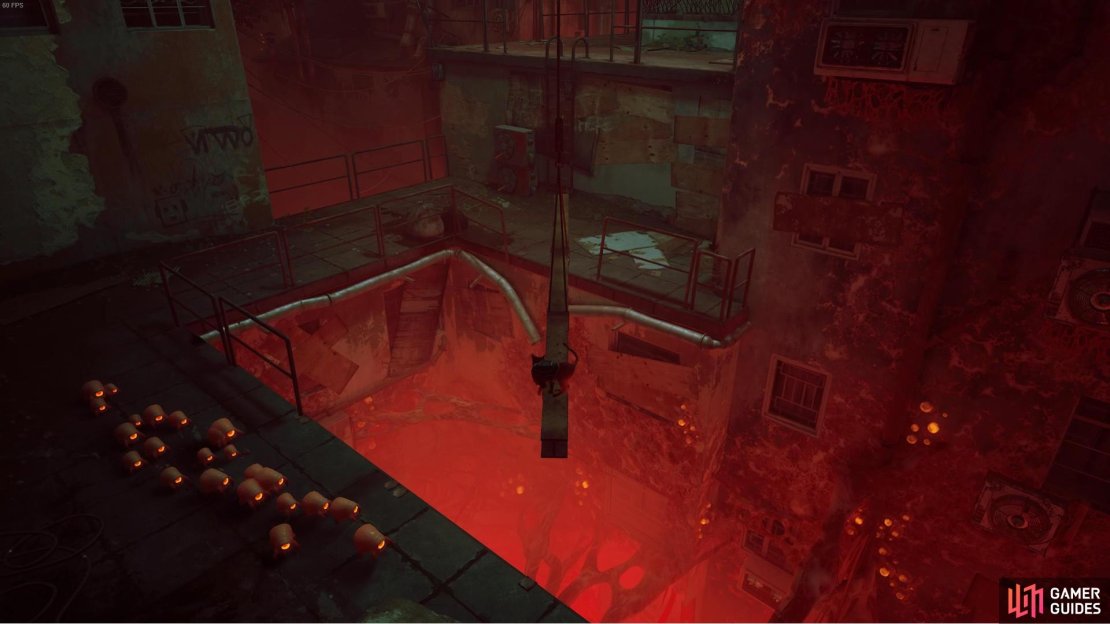
The first bit is a little jumping puzzle, but nothing too difficult. You need to run forward, hard run left to bait the Zurk jumps, then run to the scaffolding and ascend to the next level. You then come across even more Zurks with a girder hanging from a crane. Use the crane and balance yourself on either side of the rooftop. The Zurks in that area will gravitate towards the area where you’re hanging towards. Bring them away from the ladder, and then launch yourself to that side of the roof and climb up it.
Use the girder to trick the Zurks and force them to move away from your objective.
You can proceed through the level as normal. There is a neon sign Rooftops memory for the trophy. After the jumping puzzles, follow the jumping puzzles and then get a new rooftop. You will need to roll a red barrel over to the next rooftop. It allows you to climb up the building, cross steel beams, and jump onto another building with more Zurks.
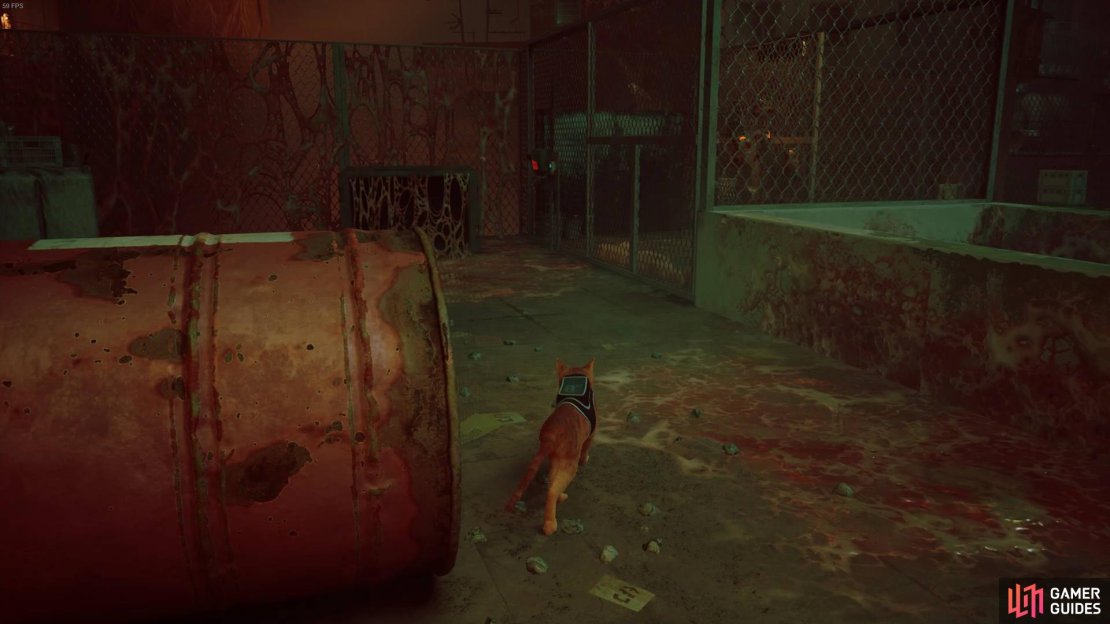
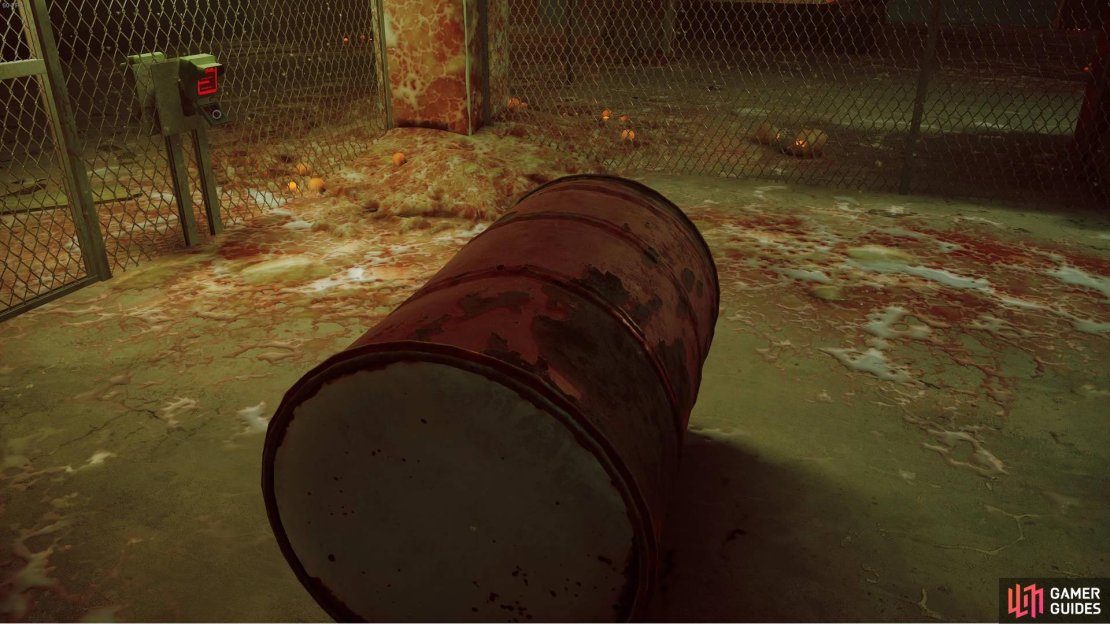
The Zurks are imprisoned on the other side of the fence, unable to get you until you play with the switches. There are a few tactics you can use. One is to open the switch to let them onto the fence checkpoint. You can then activate the switch again and jump across the gap to avoid the oncoming Zurks about to enter you’re half of the roof. The fenced-off area should now have shut on the other side, preventing the Zurks from getting back to where they came from. Alternatively, you can activate the switch to let them back to the roof you’re on, get inside the barrel, line the Zurks up and run them over. It depends on how evil you’re feeling. Either way, you can climb up the building and get into the skyscraper using the barrel as a jumping platform.
Hack the terminals and fence the Zurks off so you can climb out of this section of the rooftops chapter.
Skyscraper walkthrough
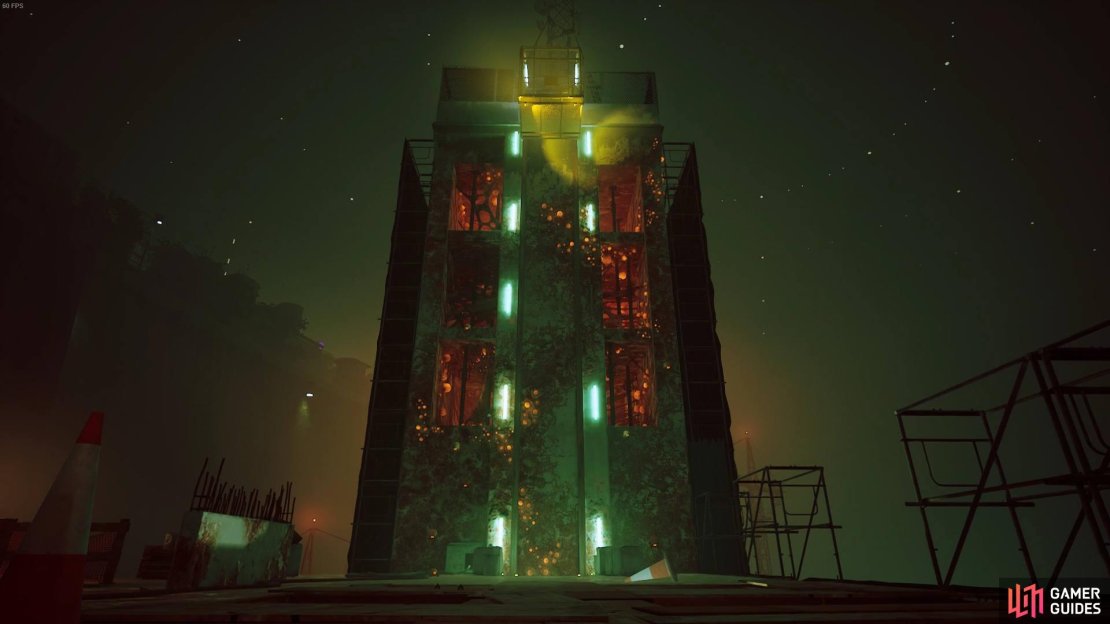
Now you’re climbing up the under-construction skyscraper. You need to cross the crane and get to the new building. As you arrive, you need to climb the scaffolding, cross the wooden plank and enter the broken vent. You will not enter an under-construction area. Cross the obstacles as normal.
Eventually, you will enter a larger room filled with metal pipes stacked and bundled together. Use these as tools to avoid the Zurks in the area. Be warned that the Zurks can jump on them too. However, Zurks jumping upwards and not launching themselves horizontally slows them down, which you can use to your advantage.
Eventually, you should see some scaffolding at the edge of the floor you’re on. Jump towards the scaffolding and sit on them. To the right is another scaffolding that allows you to bypass the fence. You will need to jump into this section, charge around the Zurks on the other end of the floor and fire yourself at the next set of scaffolding. These scaffolding pieces allow you to climb to the floor above.
Another gate puzzle requires a barrel to get the jump out of this section.
The next floor has another gate puzzle, with a room full of Zurks locked away. You need to enter that room because the barrel is needed as a jumping spot. What you need to do here is hack the door and let the Zurks out. From there, run around to where the wrapped construction parts are, jump on them, followed by hopping on top of the scaffolding beside the fence. You then need to roll the red barrel towards the bucket and the wooden crate. Positioning the barrel against those two objects allows you to leap towards the girder and escape.
The Elevator
This section of the mission is all about holding out until it allows you to jump over and into the Elevator. It’s time to dance with the devil.
Now for the harder part in this Rooftops walkthrough. The Elevator is the final stage of the level, with a switch you need to press to get the elevator to come down. However, the game has slight left-for-dead vibes, as you alert the horde of Zurks. The trick to this mission is to continue running around the gaps around the rooftop, which will help you avoid Zurks and increase the likelihood they punt themselves off the map. The aim is to use these avoidance tactics until the elevator comes to a complete stop.
As the elevator comes to a complete stop can then head to the left side of the elevator, jump on the object and then onto the fence and inside the container. You can then flip the switch and climb up the elevator to the top floor.
Now you’re at the top of the skyscraper, you may now place the transceiver into the control panel. You will now complete the Rooftops chapter. But, to confirm it, head toward the bucket, repel all the way back to Momo and kickstart the second chapter of the Slums.
No Comments