The jail level is the penultimate level in Stray, which takes you, B-12 and Clementine to prison because of the storyline. This mission has quite a bit of stealth and a few lite puzzles you need to be wary of. So, to make this mission a lot easier on you, here is a Jail walkthrough for this Stray chapter.
Stray: Jail Walkthrough
The Jail chapter starts with our cat suspended in a cage over the chasm. However, the way to escape the cage is by swinging from side to side. Eventually, the cage will fly into objects, freeing you from your torment. From there, you need to mauve around the sides of prison walls, jump down onto the cage, then onto some barrels and into the jail complex you go.
Now you’re inside the jail, look for a yellow air conditioning unit on the wall, and then climb the pipes. You will ascend to the next floor in the jail. Walk along it until you can see you have crossed a fence on the floor below. Jump down and then head towards the stairs further down the corridor. You will need to avoid the sentinels flying in the area. You can do so by going into the open jail rooms and crawling through the vents between cells. Look for a stack of green plastic boxes by a giant Neco green bin at the end of the hall. Climb on top of the objects, launch yourself to the metal beams above and onto the next floor. In the corner, you’ll find Clemtine’s Cell.
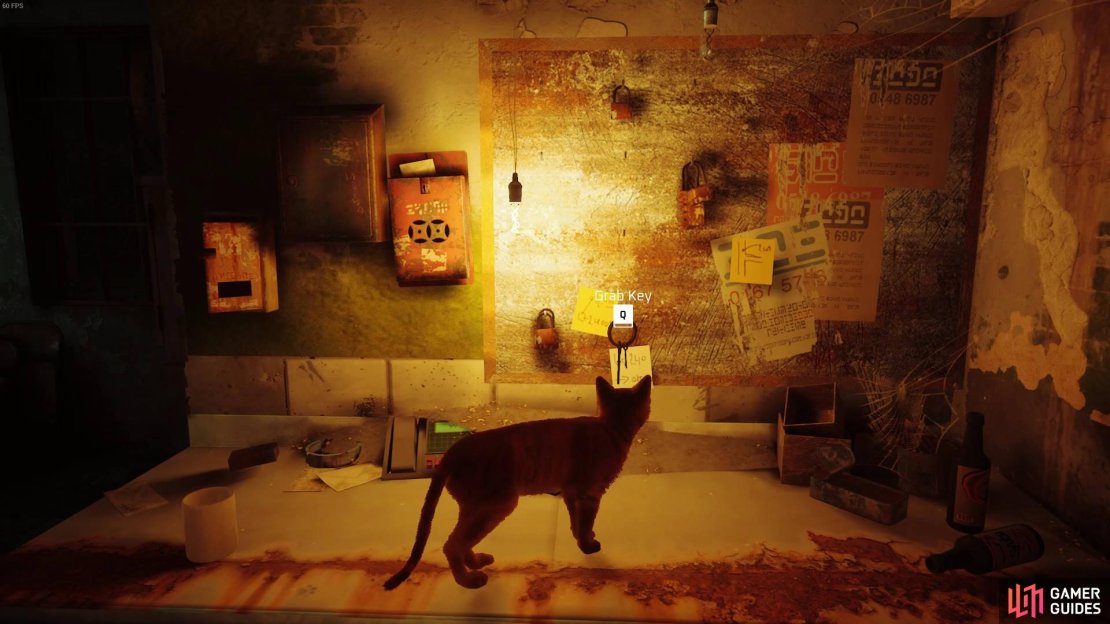
Find the keys after you find Clementine to free her from her cell.
As you walk up to Clementine, she will point you towards the room with the keys. Walk into the room by slipping through the bars in the door, and then jump to the window. You can then walk across the outside wall, back into the second room, and pick the keys from the wall. Now, you can head back to Clementine and give her the keys so she can get out. Simply follow here as she sneaks around, and you’ll be fine.
How to rescue B-12 in the Jail
The second part of eh mission requires solving the B-12 puzzle and freeing the robot from its cell.
Now you have snuck around the jail, you’ll come to a massive hall where the Sentinels are holding B-12. When the cutscene ends, follow Clementine down the stairs and to a control room you can jump into. This is how you infiltrate the next area. Jump into the office, bounce out through the windows on the other side, and enter the complex.
Throughout the area are red lazer beams you want to avoid touching, along with sentinels. This is a stealth segment to the mission that you want patience and to time your moves right. Otherwise, you’ll have to restart at the beginning of the room.
The first hazard to avoid is the red lazer near the office. In the area, you will find boxes with a white drape over them. Climb aboard the boxes and then leap to the ventilation pipes hanging from the ceiling above. Cross the ventilation until you see the hanging lights, jump across to the light and then over to the next vent. You may land onto the half wall and return to the floor.
Next, you want to follow the pathway into a new hallway, where there are lazers that manoeuvre up and down the corridor. Look to the right; you will find a small but open window to jump through. Jump into there and wait for the lazers to move to the start of the corridor. You may then jump back in and run up the corridor.
The next obstacle is a Sentinel stationed at the end of the corridor. You will want to hide just under it and not in the light to avoid getting zapped by the lazers. Once it’s gone, feel free to run behind the desk and use that as cover. Wait for the robot to look the other way, and then you may move into the next stage of the corridor.
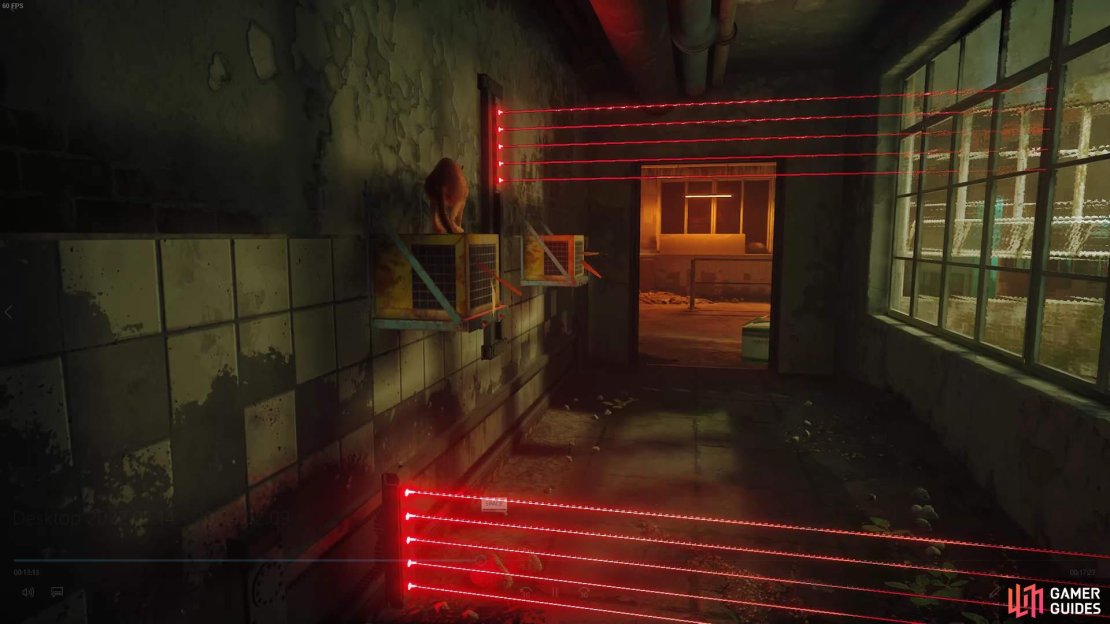
There’s plenty of lazers to avoid this corridor.
The third puzzle of this segment is the double lazers. These are simple enough to evade, as you need to jump on the yellow air conditioning units. Wait for the vertical one to get low enough to jump over to the next one. If the horizontal floor lazer is near the door, wait for it to pass and then jump down and walk into the next room.
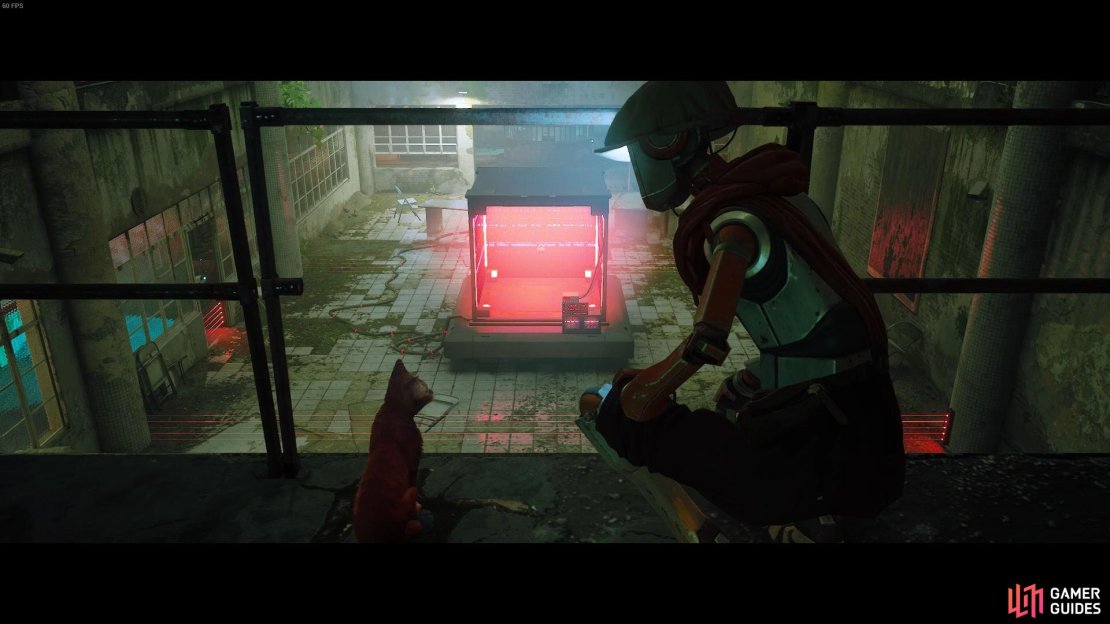
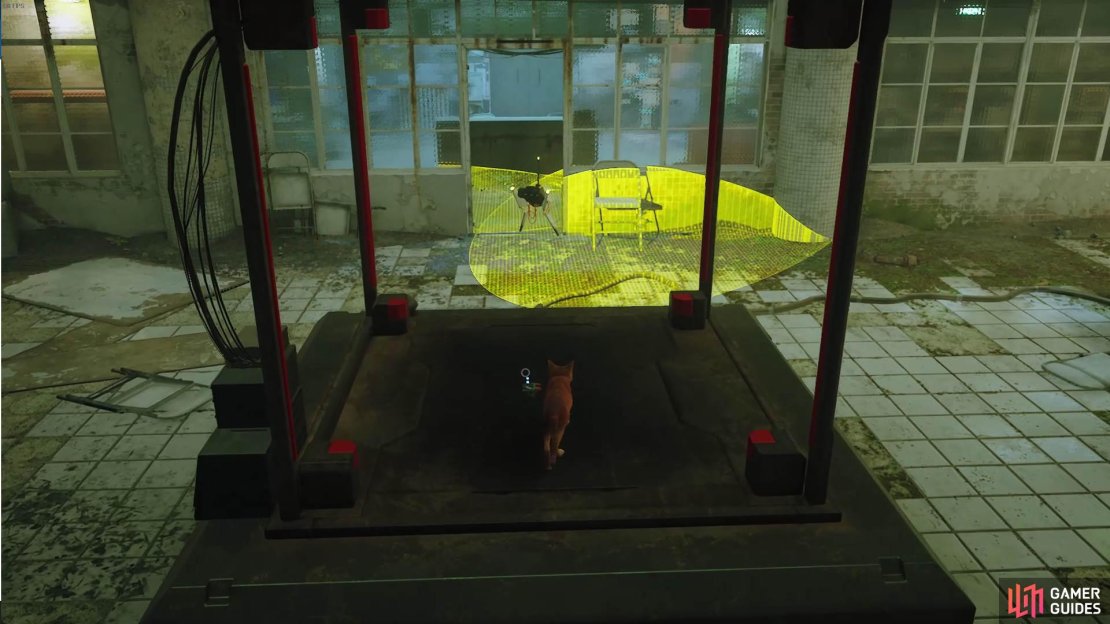
Now onto the switch part. The switch is located in a small circular room towards the back wall with glass panel windows and a blueish light. Head inside and jump on the switch to free B-12 from its prison. The Sentinels will become more alert upon flipping the switch, and you will have to pick your droid friend up. If you’re facing the switch, head to the left side of the larger room and jump through the window. Avoid the Sentinels if you can, and feel free to hide under B-12’s jail and wait for an opening. You may then climb on top and acquire your friend. Now head back to the office room, avoiding the sentinels and get back to Clementine.
Hide under the platform and wait for your time to pick up B-12.
The yard puzzles
The final major segment of the Jail walkthrough is the yard. Here you have a yard with three different segments to navigate through to get to the garage and escape The main solution to this is to get the sentinels away from the gates they guard so Clementine may open them up.
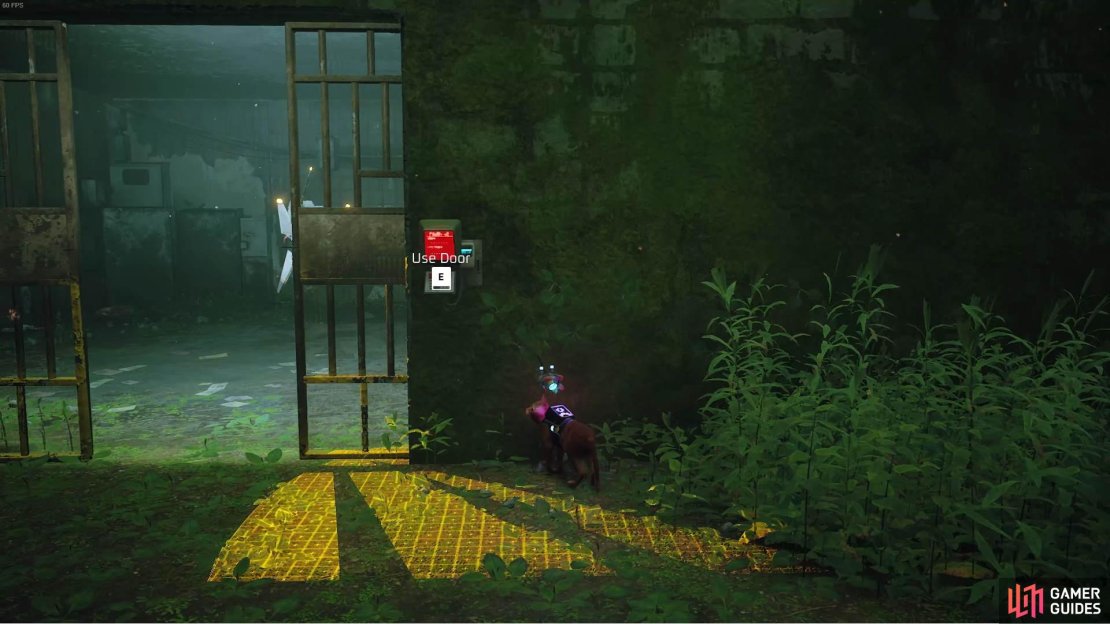
Here are some general tips for completing yard puzzles. Each puzzle is relatively the same for each segment of the yard. To the left of each yard is a strange room. You need to bait the sentinels by standing in their spotlight or meowing at them and bringing them into the storage room. Once they are inside by a considerable margin, get B-12 to hack the terminal and shut the gates behind them. It frees Clementine to walk up to each gate and open them.
It’s about time someone put the angry police robots behind bars.
The final segment is a little tricker, as there are two Sentinels rather than one. You need to bait one in at a time, making sure one goes to the other far content of the room, as that will make it safe to lure the other one into the room before shutting the gate. There are two gates in there, too, which should make it easier to lure both sentinels into different corners and then shut the gates behind them.
Once the third segment is done, you will break into the garage and complete this story chapter. But first, you must point out the vehicle with the keys in its door to Clementine and then cat parkour onto a switch to open the jail’s exit. This starts a chase scene with the Sentinel drones. Swerve to avoid their weapons and try to catch up with the car, and leap to the back of it to complete the chapter officially.
No Comments