
One of the many new features in Sons of the Forest is the Shovel. This allows you to find treasure in the many dig spots in the world. Although you can get it early on, you’ll need to do some prep work first.
The Shovel can be found deep within the cave to the west of the mountainous region.
Shovel Location
First things first, you’ll need the following items:
The Rope Gun is used for the zipline at the beginning of the cave, and the Rebreather is so you can go underwater for a longer period which you’ll have to do a couple of times in this cave. Finally, you’ll need a decent weapon as there are some strong mutants hidden deep within.
When you have the required tools, head towards the west side of the mountainous region where you’ll find a cave in the center of the map where the two streams link up. The cave will be hidden within the rock face. As you approach the cave, the entrance will be barricaded, thankfully it only requires a few well-placed hits with any weapon to break it.
Once you’ve entered the cave, it may look on the small side at first, but that’s where the Rope Gun comes in. If you look up, you’ll see a zipline if you hug the left wall. This can be hard to see in the dark, so have your lighter equipped to give you better vision. If you have the Rope Gun, you can automatically use the zipline by facing it, and pressing  .
.
If you are struggling to locate the shovel, you will find our Interactive Map essential.
The Zipline can be difficult to spot at first.
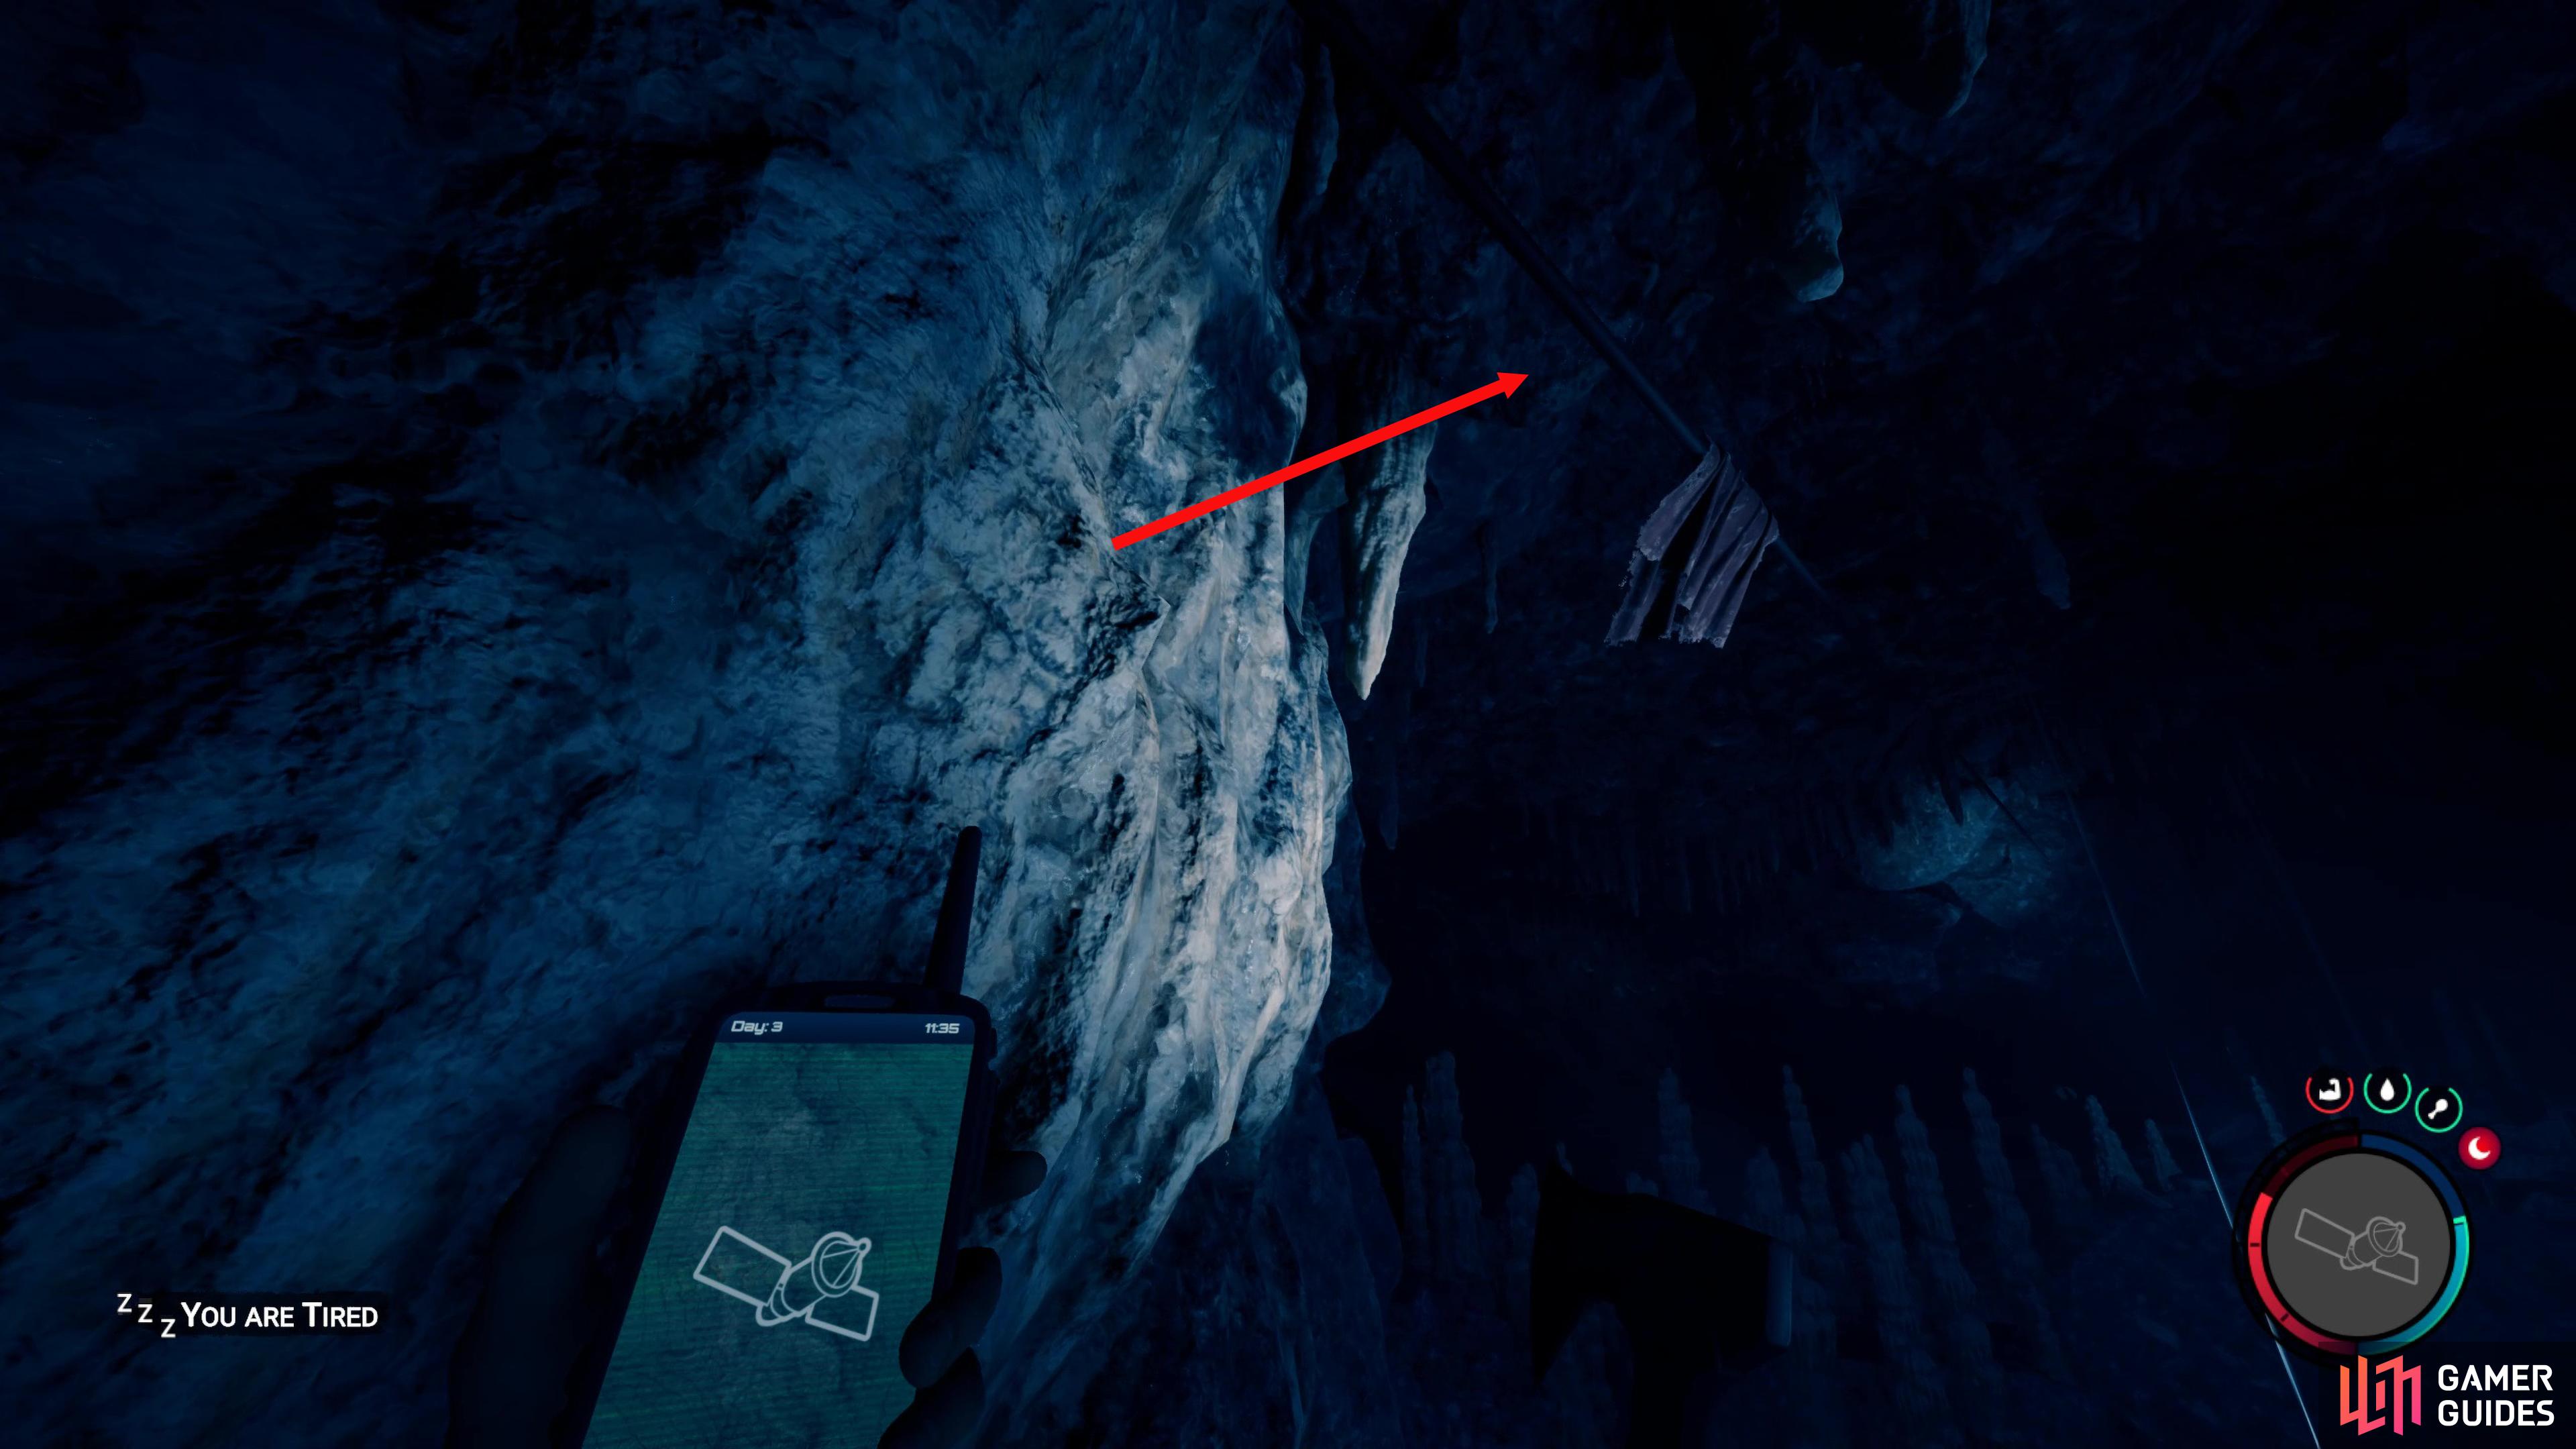
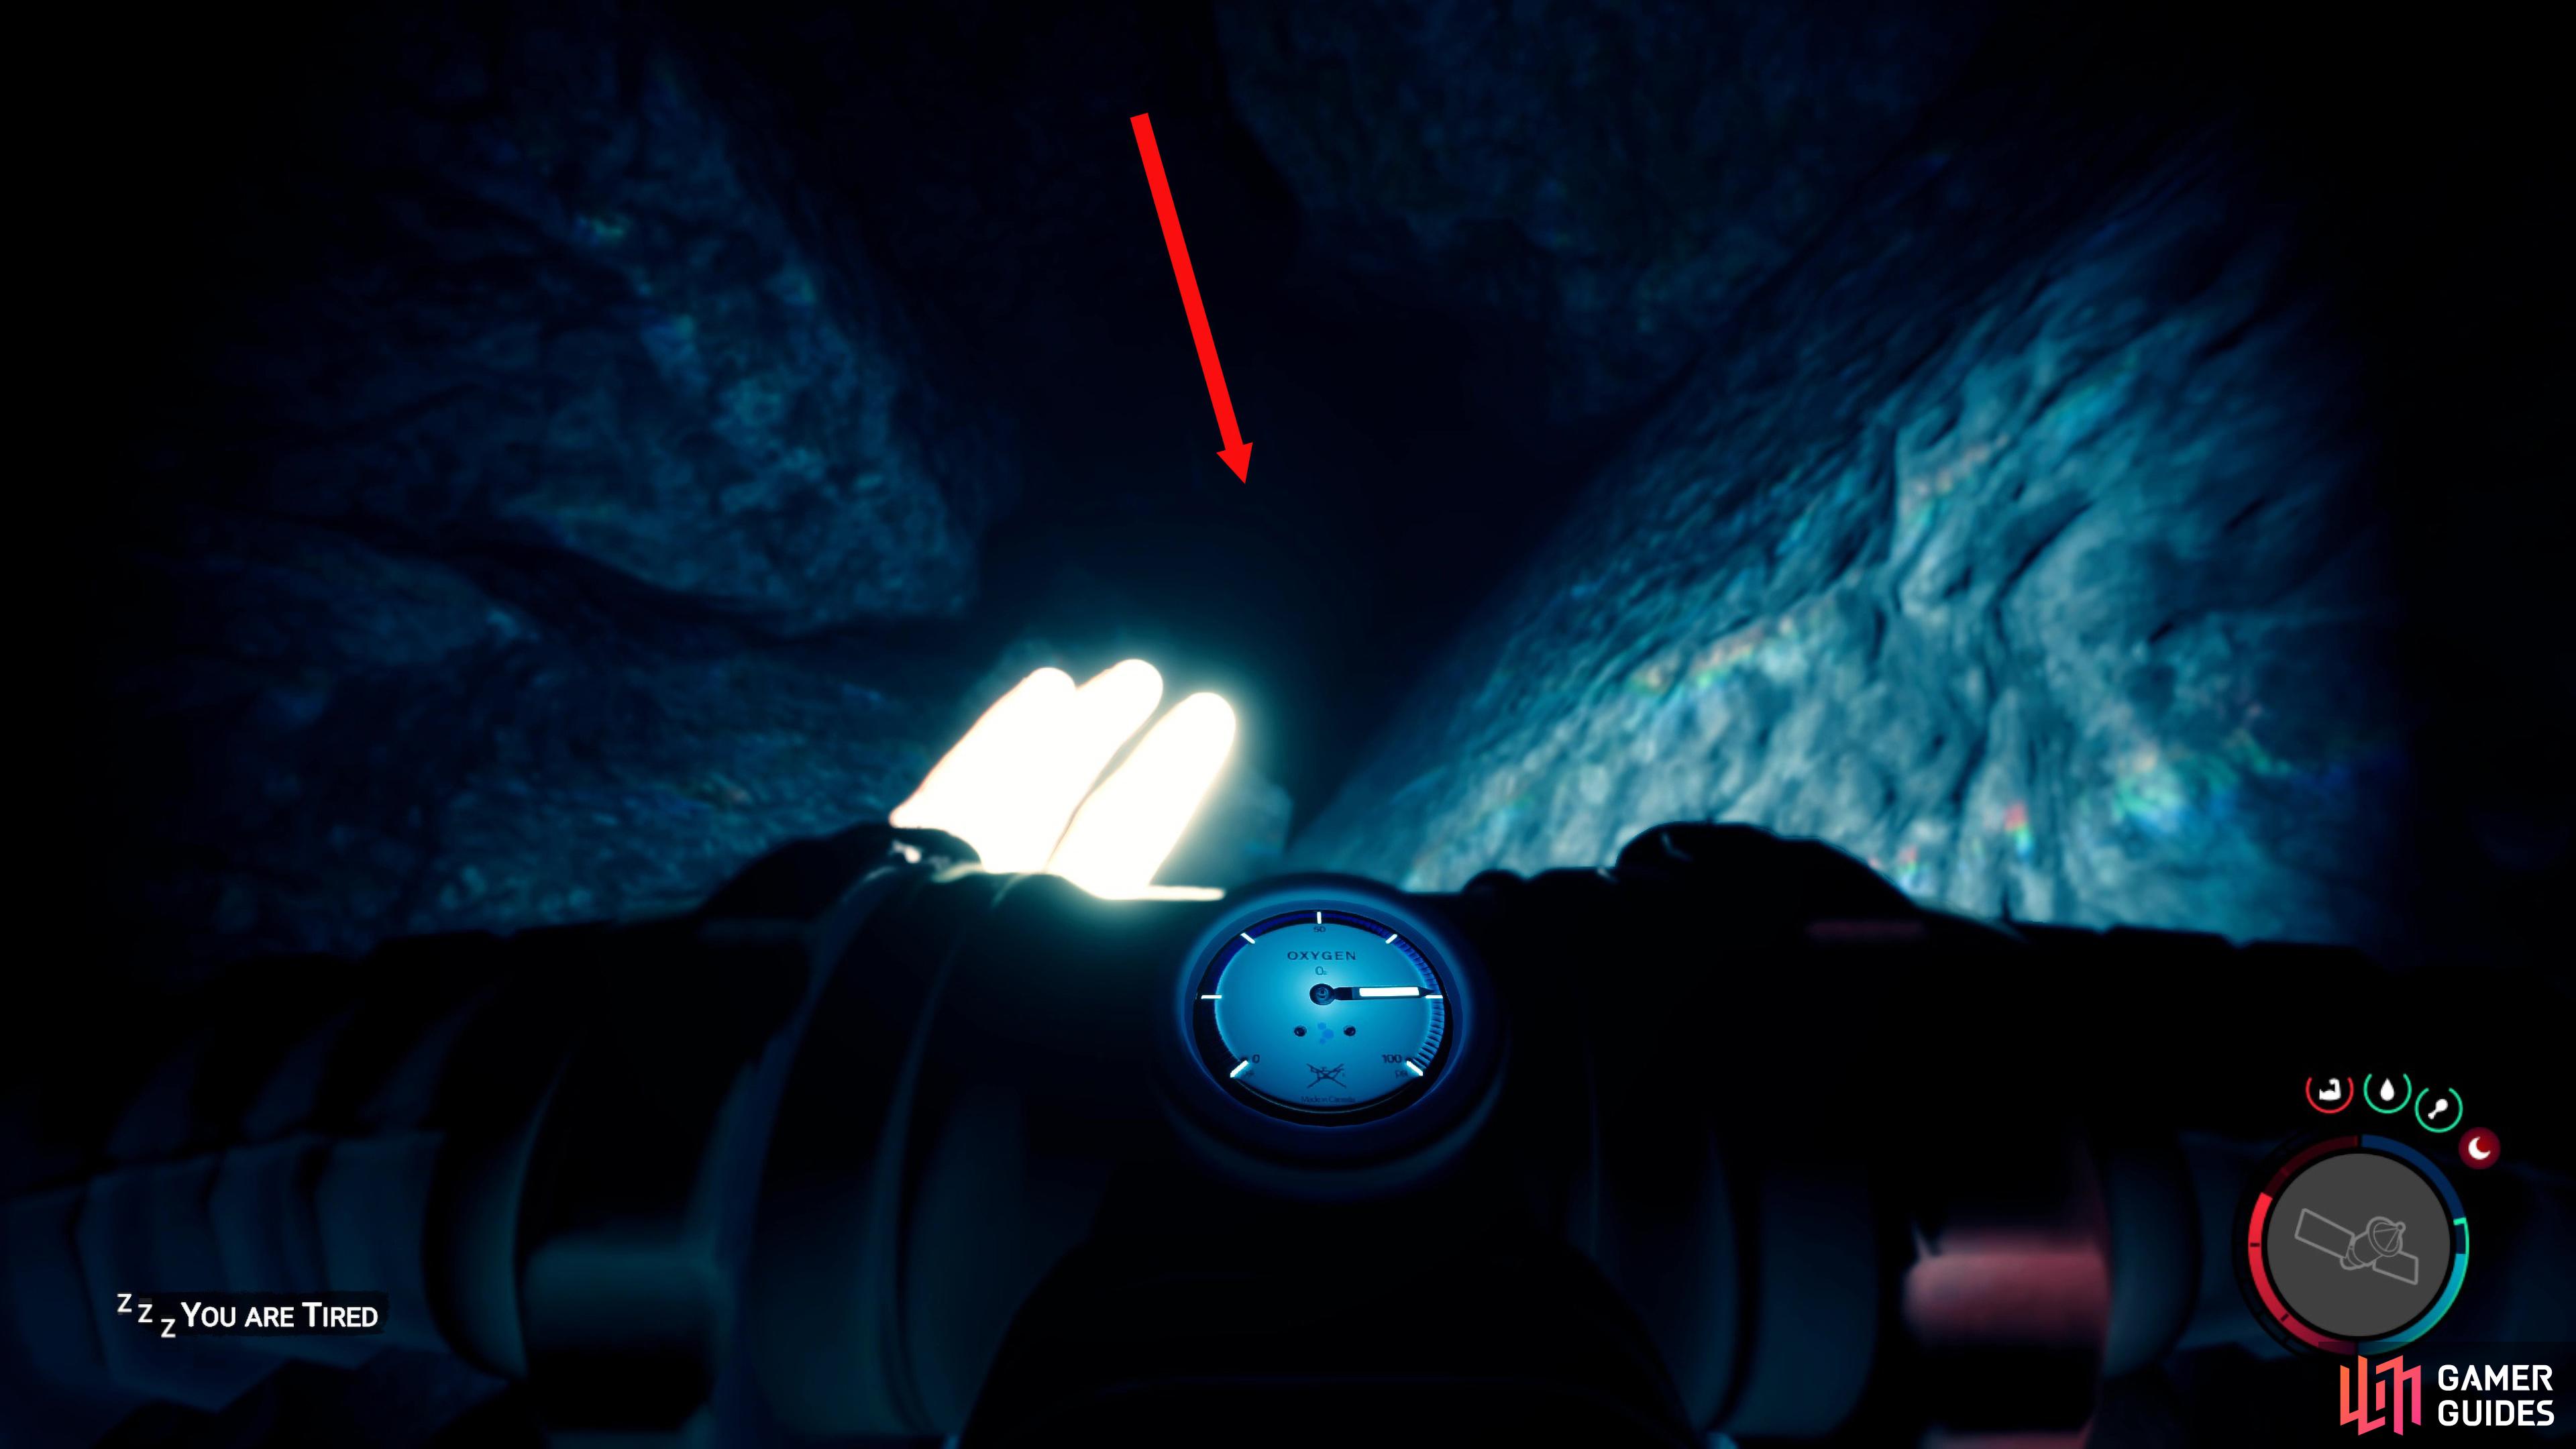
This will take you over to the other side, and you’ll soon find out that this particular cave is rather large. When you land on the other side, head toward the light, and you’ll almost immediately land in some water. This is where the Rebreather comes in handy. Immediately go underwater and hug the floor, and the cave will go deeper. Follow the hole down, until you reach the bottom then rotate your camera to spot the opening.
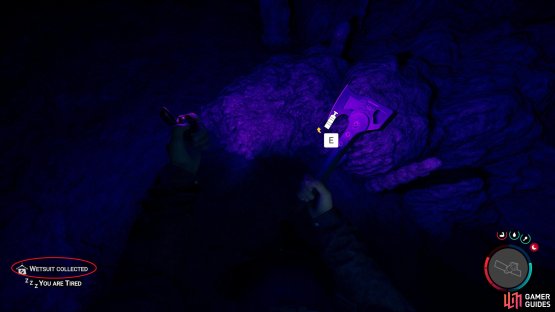
There’s only one direction you can go at the moment, so head that way and eventually, the floor will begin to head upwards where you’ll end up out of the water. Proceed onwards, and you can find a ![]() Wetsuit and an Air Tank at the bottom of the slope when you leave the water. Continue up the slope, and go through the small tunnel where you’ll find another slope leading down. As this has a stream of water going down it, you’ll slide down the slope to the bottom into a pool of water.
Wetsuit and an Air Tank at the bottom of the slope when you leave the water. Continue up the slope, and go through the small tunnel where you’ll find another slope leading down. As this has a stream of water going down it, you’ll slide down the slope to the bottom into a pool of water.

(1 of 2) Follow the hole down until you reach the bottom then rotate the camera to find another path.

Follow the hole down until you reach the bottom then rotate the camera to find another path. (left), The Wetsuit can be found after sliding down the slope and exiting the water. It will be at the bottom of the following suit. (right)
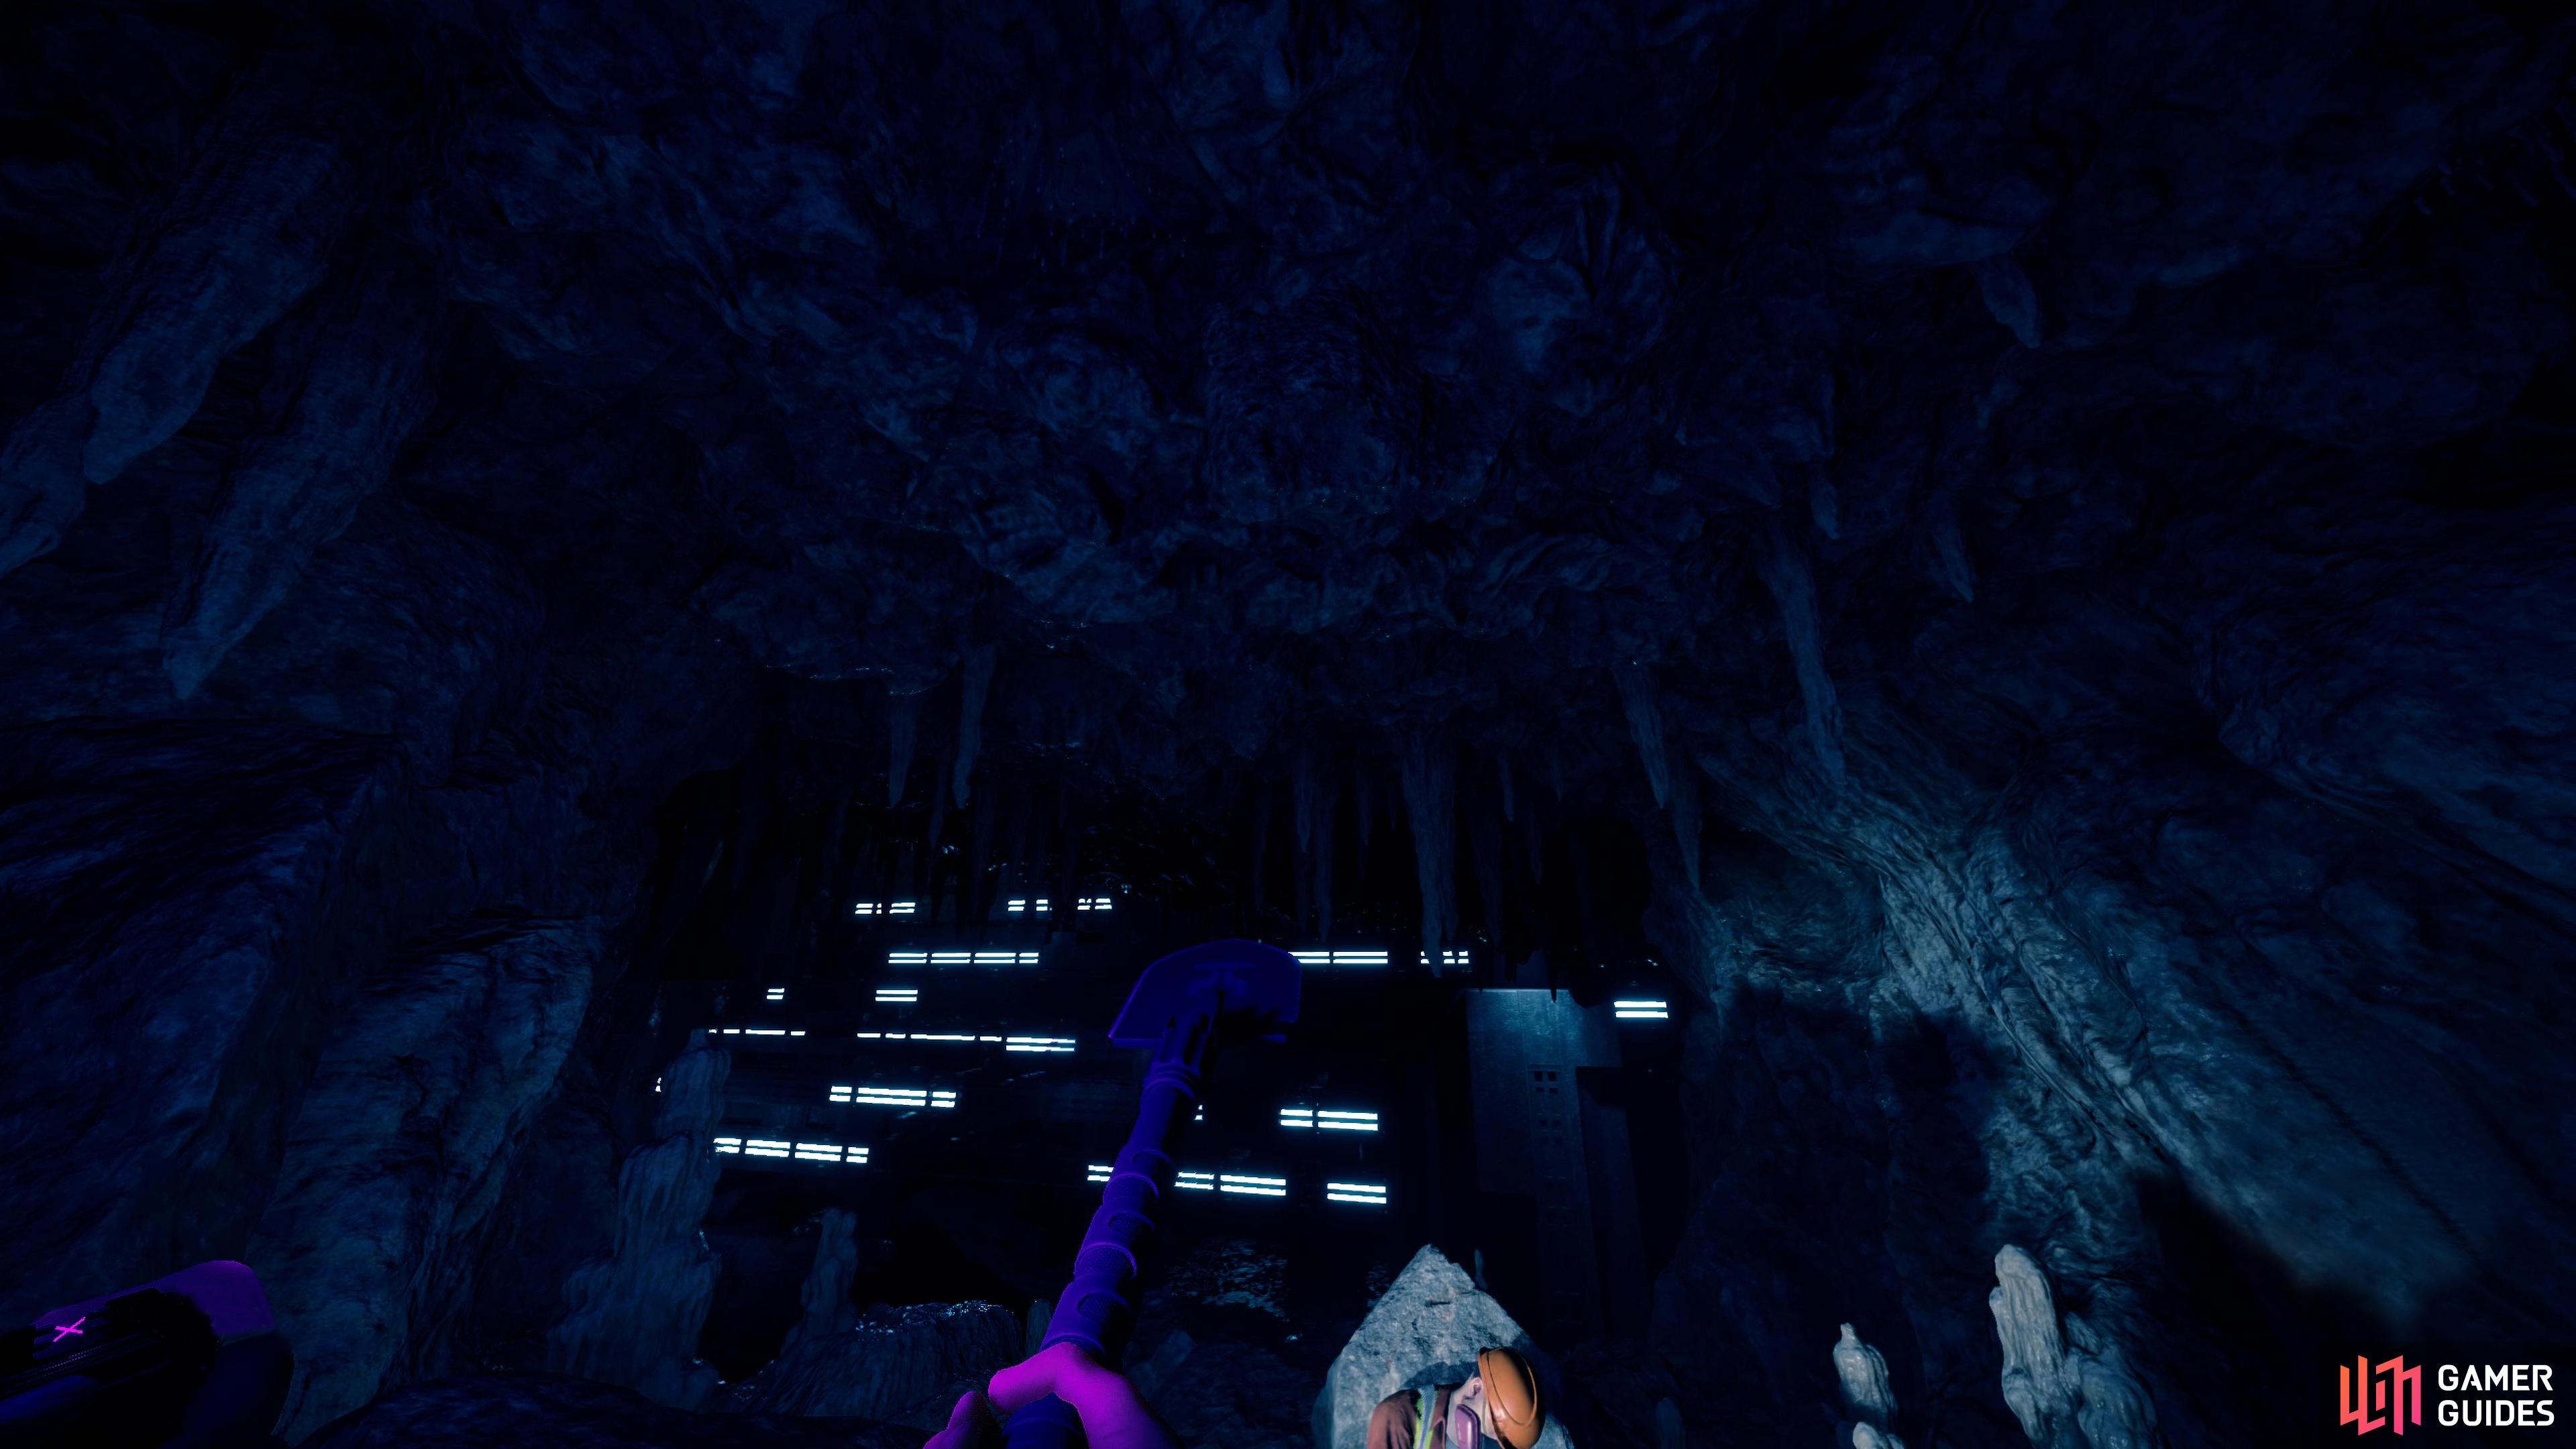
Get out of the water and rotate the camera until you can see some light in the distance. Head towards the light, and you’ll find a bunch of suitcases that host a variety of useful supplies. When you’re done looting, proceed onwards down the next slope, and follow it until the next light source. Here you’ll find a couple of human corpses and some more supplies. Continue down the slope, and go through the narrow twisting path where you’ll end up in an area with crystal deposits on the walls.

(1 of 2) After exiting the crystal deposits area, you’ll find the Flashlight Attachment among the supplies at the next light source.


After exiting the crystal deposits area, you’ll find the Flashlight Attachment among the supplies at the next light source. (left), This passage can be difficult to spot at first, but you’ll find it if you follow the path down while heading to your left. (right)
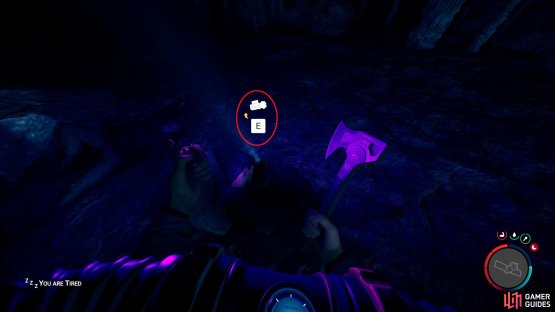
A bit further forward is another light source with even more supplies, and more importantly the Flashlight Attachment. After you’ve picked up the supplies, continue heading down while moving to your left, and you’ll find a passage obscured by the dark. Follow this path down, and before you jump in the water, pick up the loot near the backpack.
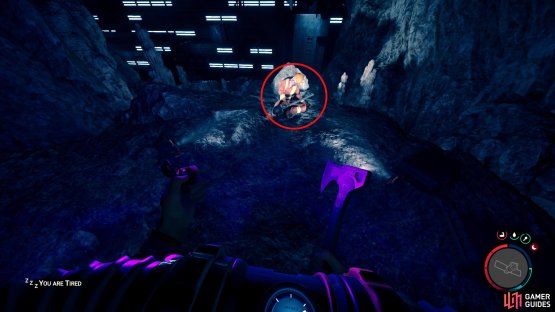
(1 of 2) The shovel will be lying in the hands of the dead man slumped against the rock.
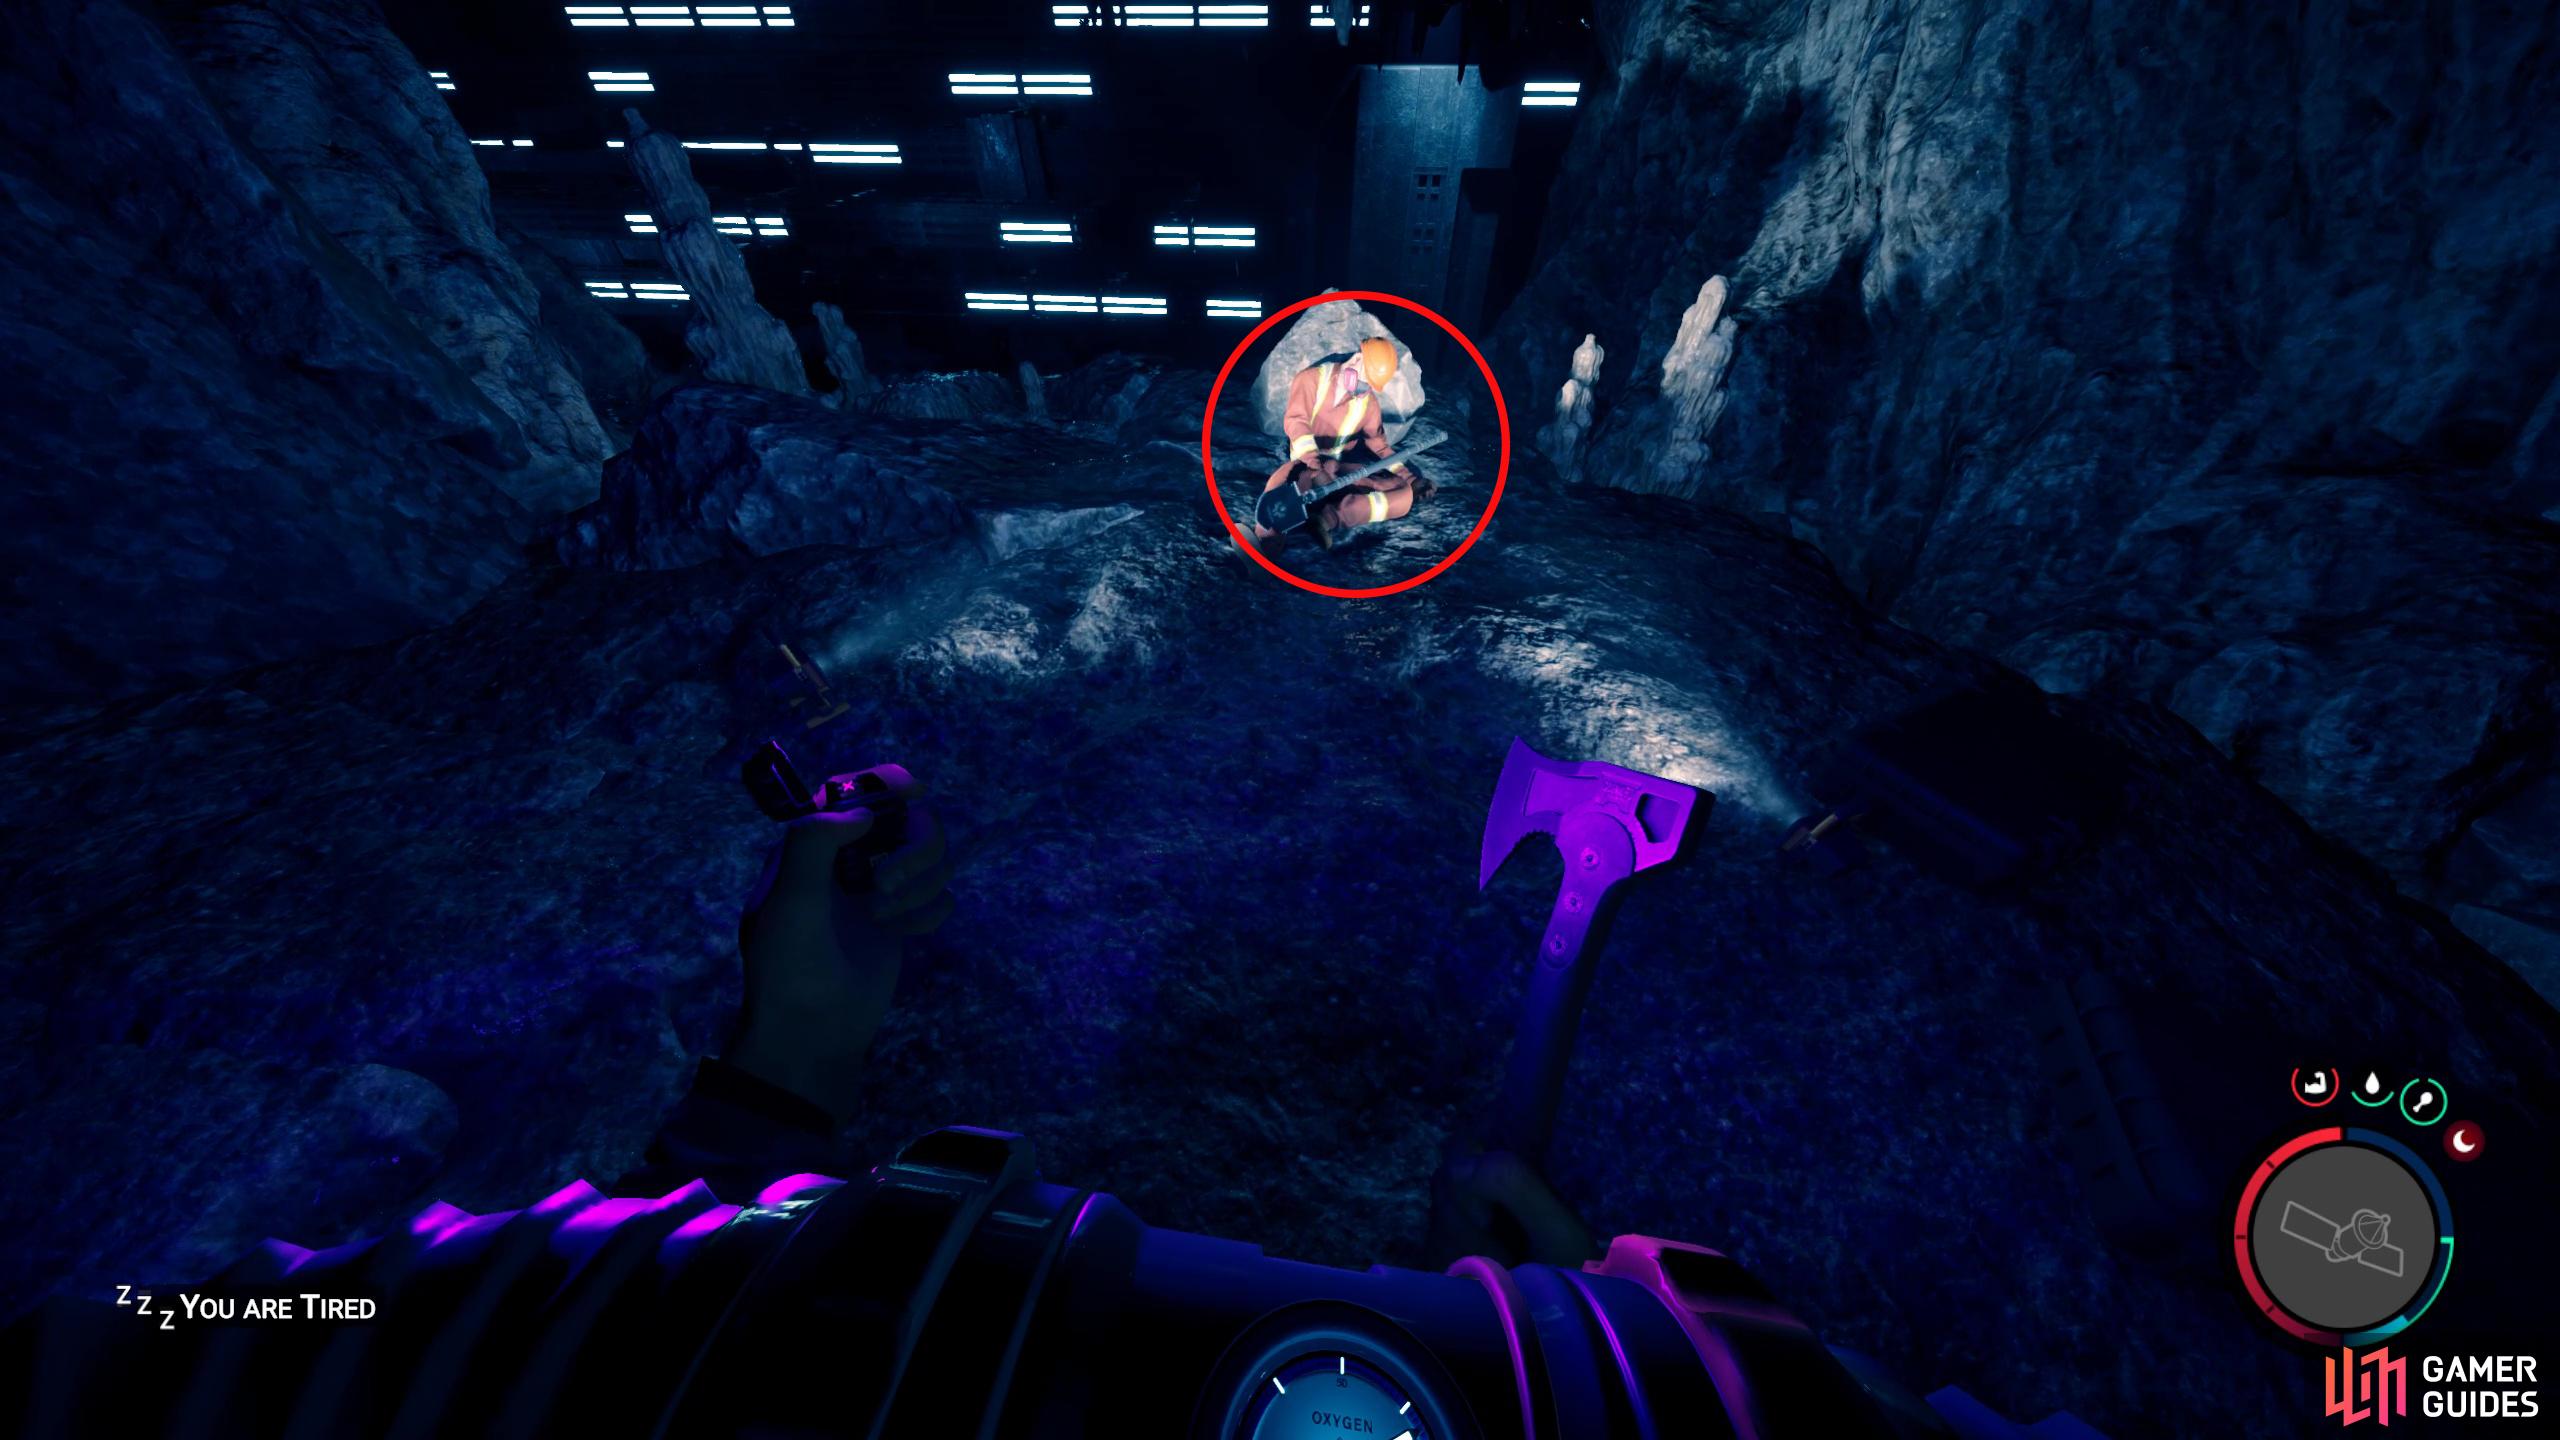
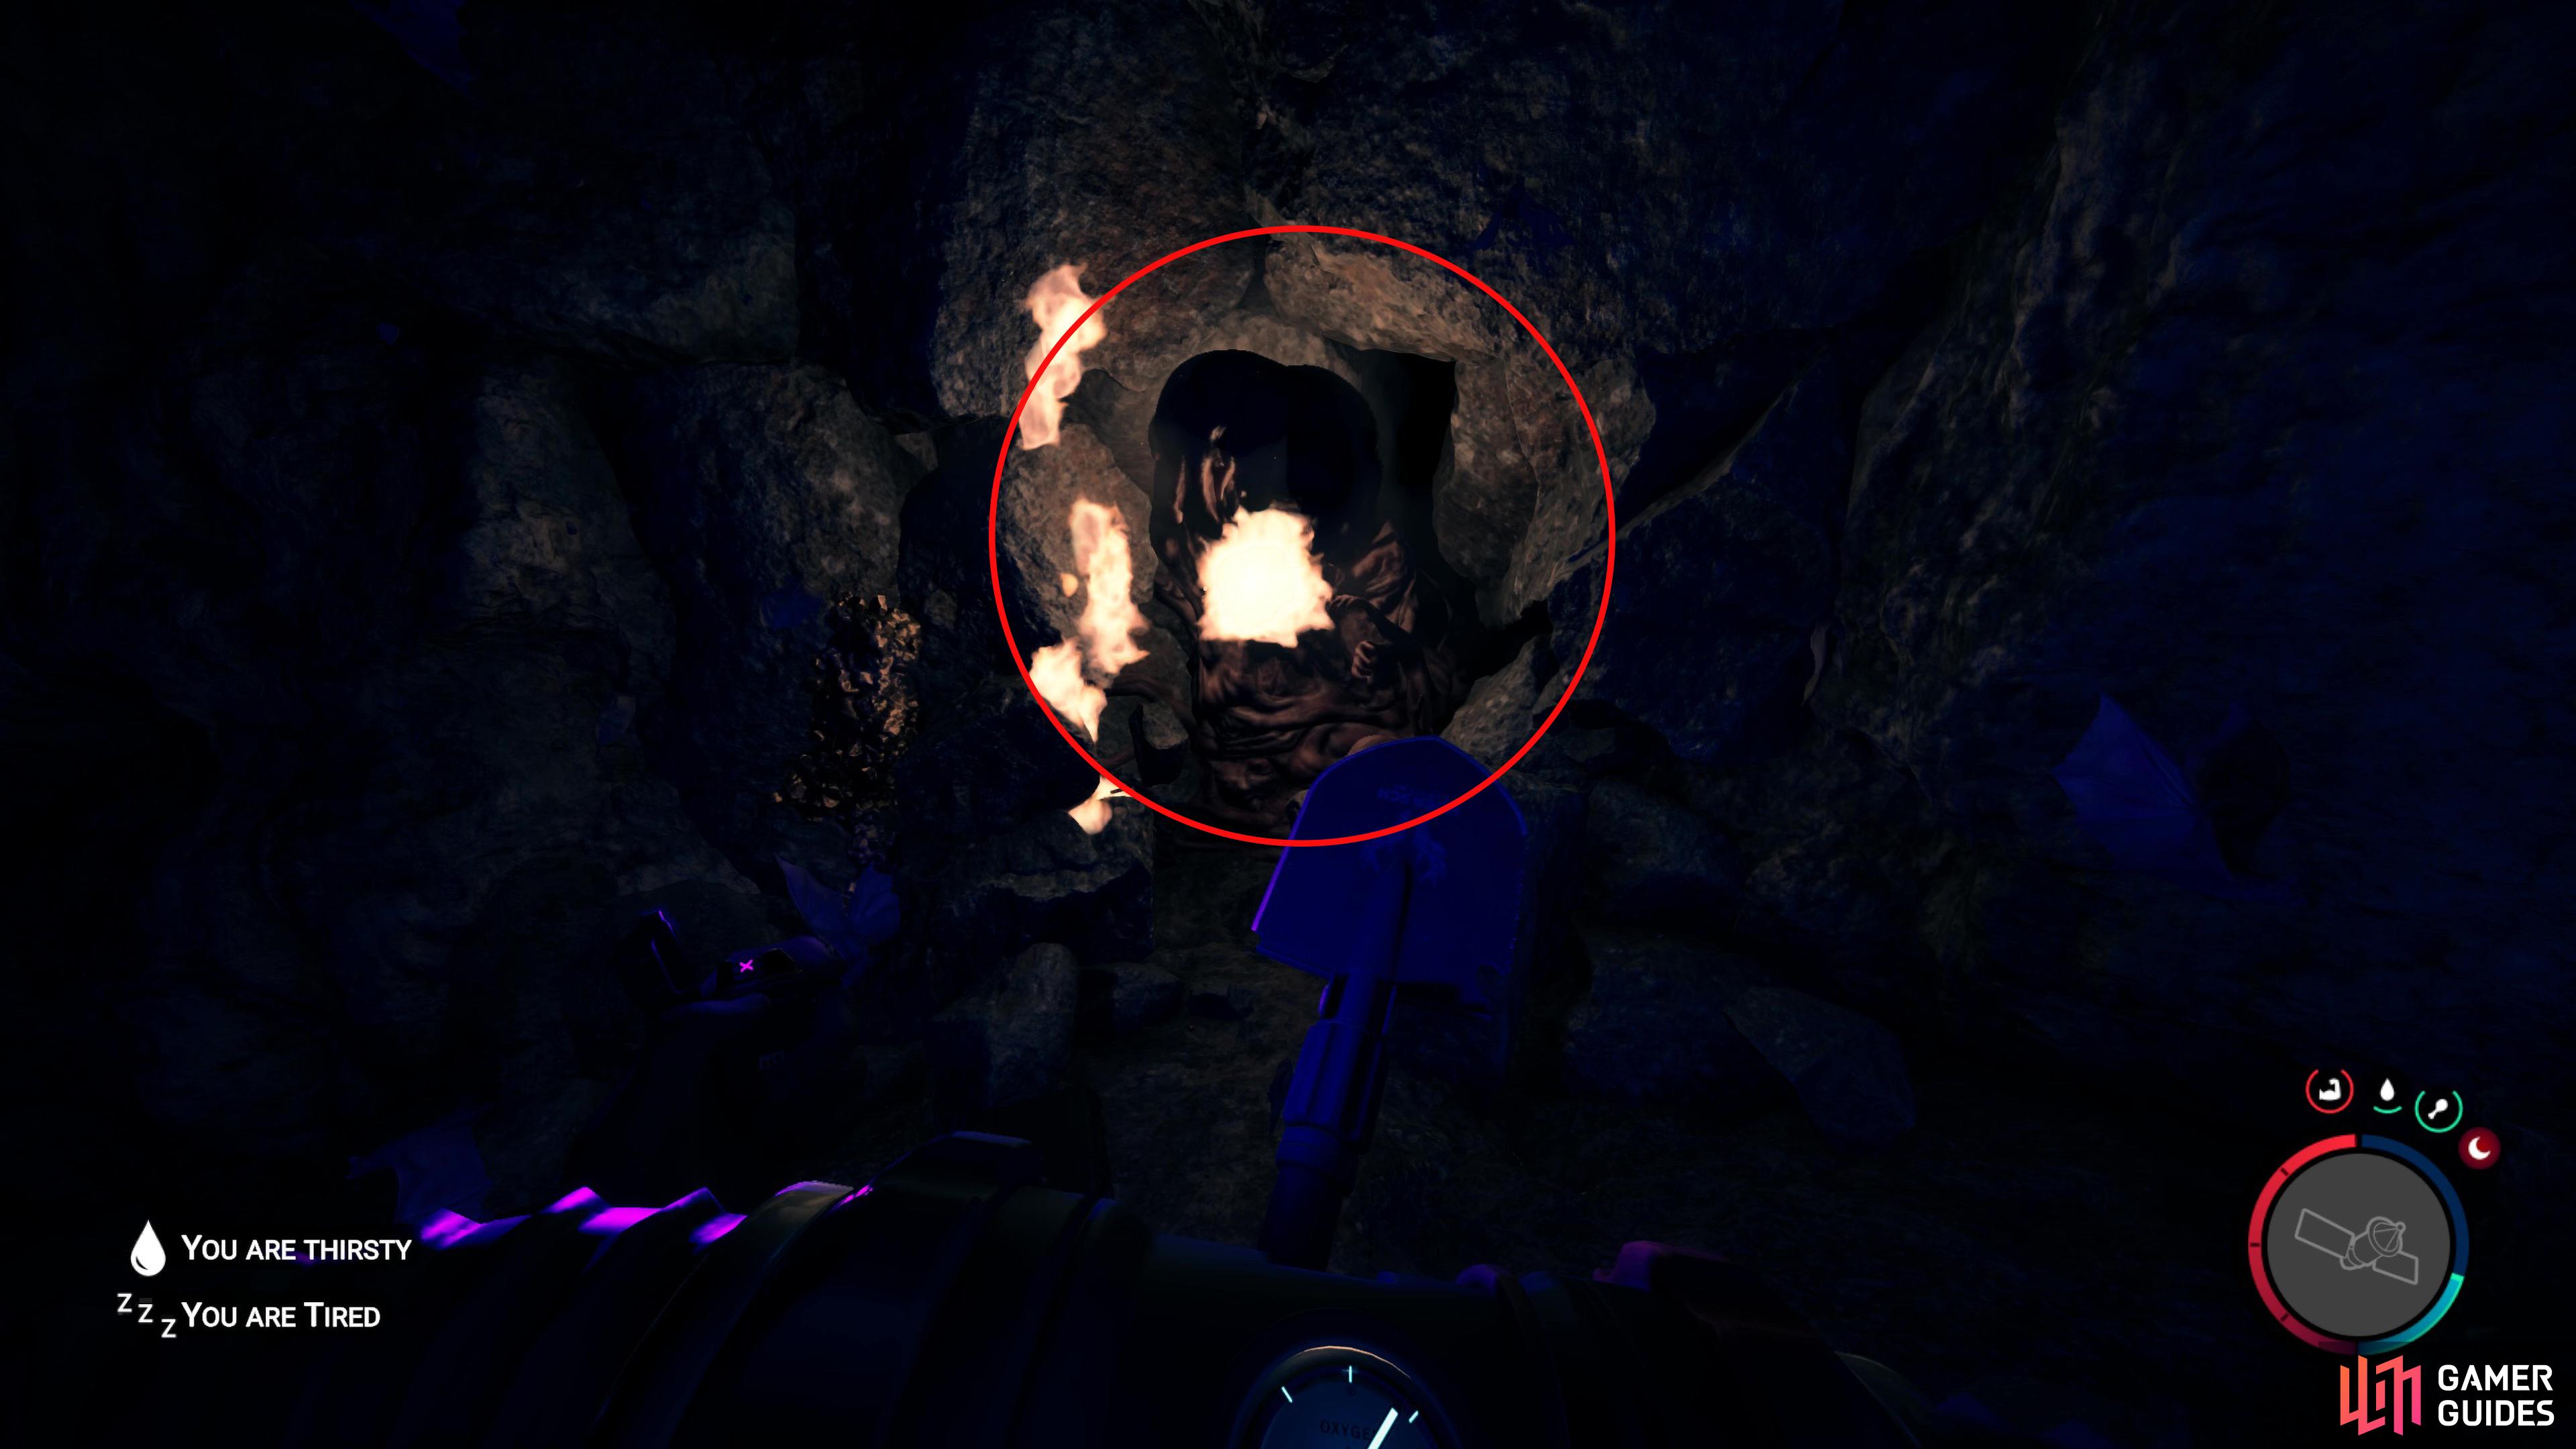
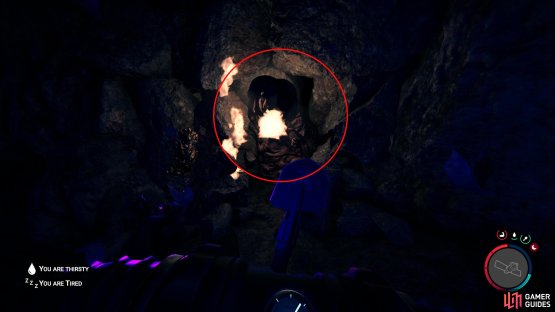
The shovel will be lying in the hands of the dead man slumped against the rock. (left), When exiting the area, look for the wall mutant against the wall. Defeat it and follow the path behind it. (right)
In the water, head downwards to go through the gap and keep heading straight until you get out of the water. Back on the surface, follow the path which will turn to the right, and you’ll see some lights in the distance. Move towards the light where you’ll find a dead man slumped against a rock holding the shovel. To get out, you’ll need to come back the way you came while keeping an eye on the walls. On one of the walls, there will be a wall mutant blocking your exit. Use an explosive or two to kill it, and follow the path behind it. This will lead to a hole you can drop, and eventually, the exit.
No Comments