The Black Road
| Herbs | Artifacts | Ithildin |
|---|---|---|
| Blue Milk | Hoe Blade | Nu nam nin |
| Lothrond | ||
| Elgaran | ||
| Niphredil | ||
| Pipeweed | ||
| Earthbread | ||
| Azuradan | ||
| Remmenthond |
Fast travel from The Black Gate back to the Udun Foothills Forge Tower… you know, the only one you have access to? We’ll fix that soon enough. Our next journey will be to the sizable area to the east-The Black Road. So much “black”. We get it, Mordor is bad, so everything has to be “black”. Still seems a little unimaginative to just name everything “the black”, though. If you still need another Azuradan herb, you can find one near a bridge south of this Forge Tower, which should be enough to complete Survival Challenge 3 . Survival Challenge 4 tasks you with discovering two Niphredil , two Lothrond , and one Azuradan -all herbs we’ve previously disovered. That being the case, you can complete this Challenge at your leisure-all of these herbs can be found in The Black Road. Survival Challenge 5 requires you to grab two Blue Milk (blue mushroom) and two Mallos (yellow arrow), both of which can be found in the Udun Foothills.
When you’re ready, our next goal is the Forge Tower to the north-east of the one in Udun Foothills. Set your map-marker and head towards it. In the low ground between the two Forge Towers you’ll find Uruks overseeing (and abusing) slaves, Uruks patrolling, and Uruks hanging out, usually near campfires. Three favorite activities of Uruks in Mordor, it seems. You can probably sneak past all opposition without too much trouble. When you do, scale the tower and at the top hit (R1) to reforge the tower, revealing the details of The Black Road, and the three smaller areas to the south-east that collectively make up on large Uruk Stronghold: the Internment Camp, the Uruk’s Hollow, and the Uruk Proving Grounds. Between these four areas there are three side missions (one for each weapon type, three Artifacts, and three Ithildin. Looks like we got our work cut out for us, eh?
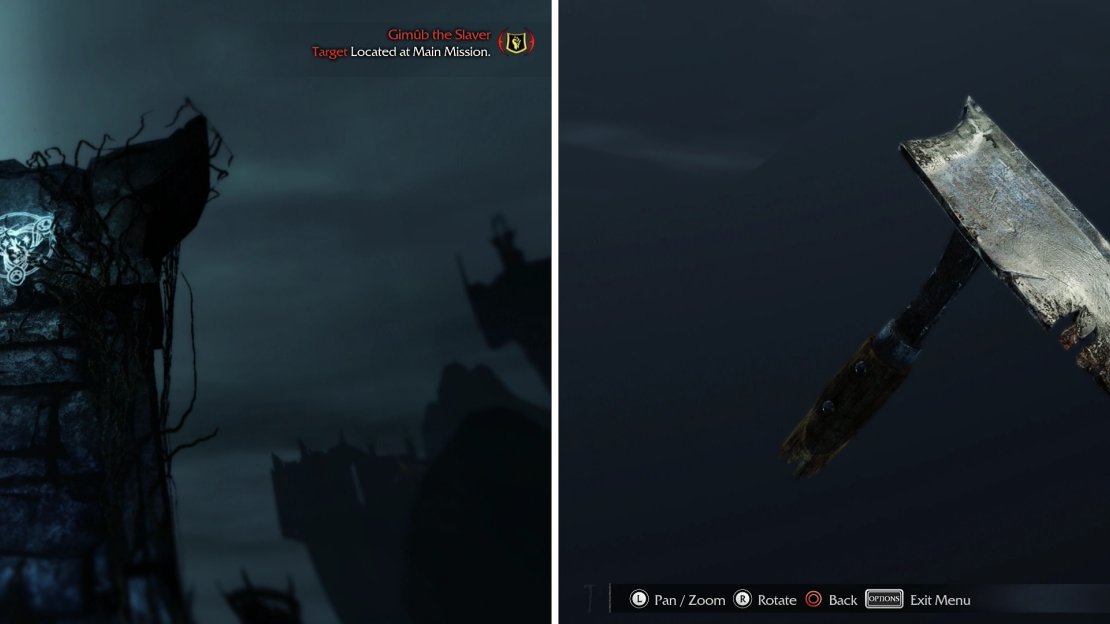
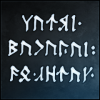
Claim the Ithildin “Nu nam nin” (left) and grab the Hoe Blade Artifact (right).
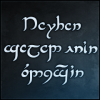
First up is the Ithildin south (and slightly east) of the Forge Tower. You’ll find it on a free-standing stone pillar near some stacked logs, just climb up there to discover the words “Nu nam nin” . After you’ve claimed that, set your sights (and your map waypoint) on the Artifact to the south. You’ll find a Hoe Blade on a grassy ledge, behind some bushes. Further south youll find the bow side quest “A Elbereth Githoniel” , another easy legendary weapon mission. Having an Elf-Shot upgrade will help, but it’s not necessary. It’s discussed in more detail in the “Bow Mission” section of the guide.
Internment Camp
| Herbs |
|---|
| Elgaran |
| Azuradan |
| Remmenthond |
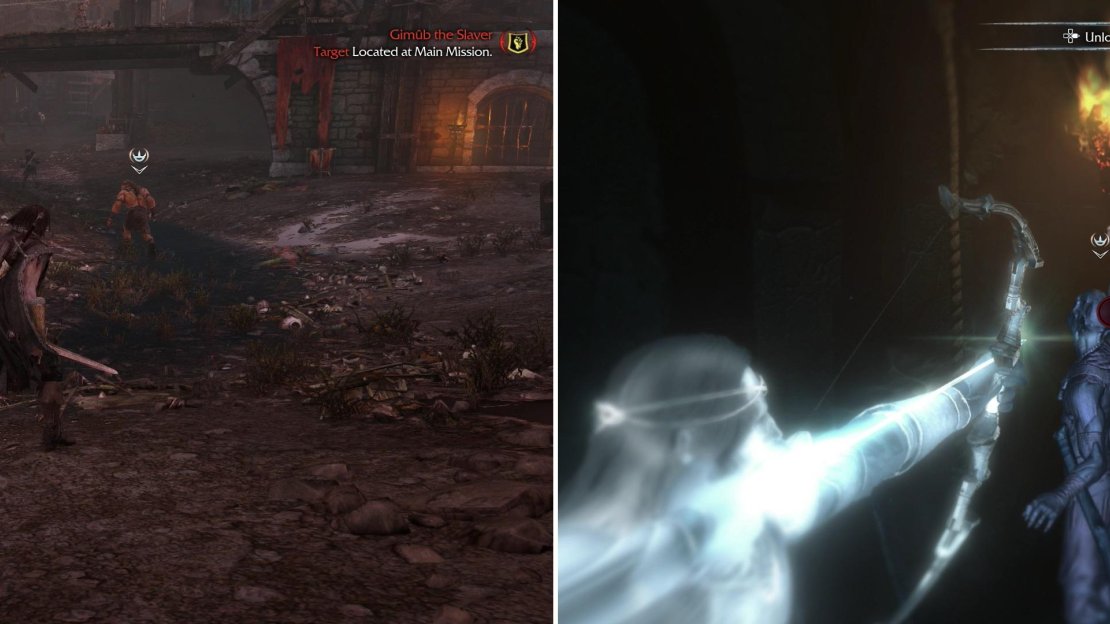
In Strongholds, tattle-tale Uruks will runs off to sound the alarm (left) and can be spotted by the symbol over their heads. If the alarm is raised (right) you’ll have to fight through respawning hordes of Uruks.
We’re done with The Black Road, head east to reach the Internment Camp. There’s only one thing of note here, the dagger mission “Display of Power” , which we can’t access until we unlock the “Brutalize” Ability. This area, and the subsequent two eastern areas, are both “Strongholds”, absolutely crawling with Uruks, both normal ones, and Captains, which, if we’re victorious, should get us plenty of Power and Runes. One thing to note about Strongholds is that they have alarms. If you cause a ruckus, an Uruk might run off to raise said alarm. If they succeed, an endless supply of scrub Uruks will arrive to harass you. They’re not worth much XP, and their numbers can be overwhelming, so you might want to consider retreating if an alarm is raised. Again, use Wraith Vision to spot lurking Captains. If you can take a few of them out quickly, you’re less likely to find yourself fighting a group of them.
Uruks Hollow
| Herbs | Artifacts | Ithildin |
|---|---|---|
| Blue Milk | Branding Iron | Ochedin Valannor |
| Pipeweed | Natha Tognir inAinn | |
| Remmenthond | ||
| Earthbread |
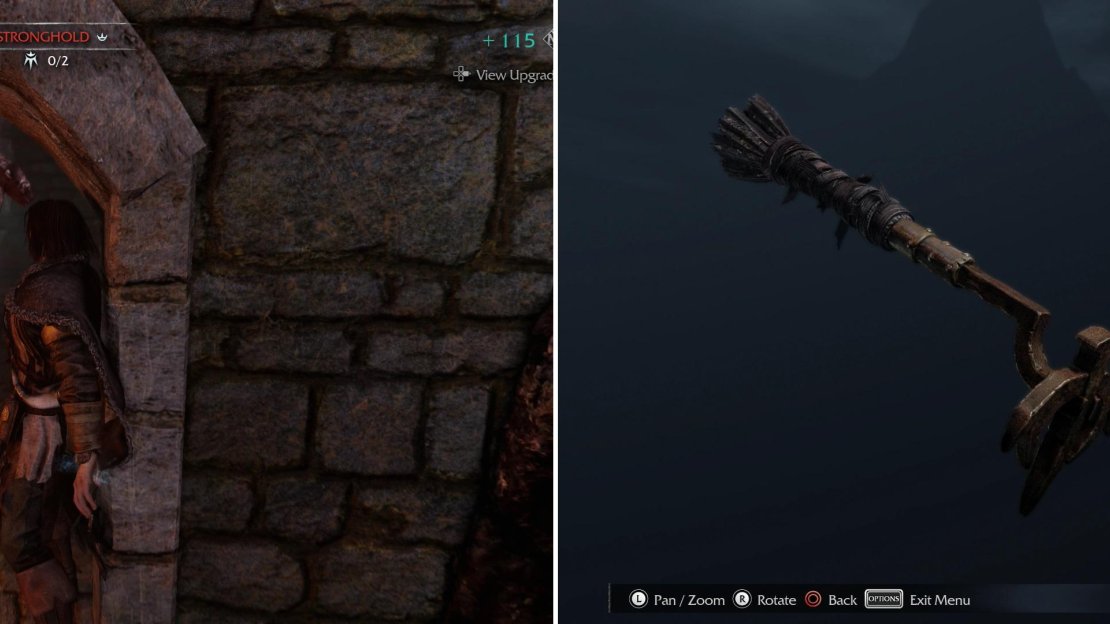
Squeeze through a grate to reach the interior of a stone foundation (left) wherein you’ll find the Branding Iron Artifact (right). Ah… “Old Scorchy”…
Continue east to find Uruk’s Hollow, which is more interesting than the Internment Camp. There are two Ithildin and one Artifact here. At the western edge of this area is a wooden bridge built upon stone supports. There are cracks in these stone supports (or broken metal gates) that Talion can squeeze into to get into areas these stone structures enclose. In the southern support you’ll find the Artifact Branding Iron , while in the northern support you’ll find the Ithilidin “Ochedin Valannor” .
There are also some new and interestingly recurrent gameplay elements here. First up, caged Caragors, which can be freed and killed to make progress on Hunting Challenge 3 . With any luck you’ll be able to kill your third Caragor here, which starts Hunting Challenge 4 , which tasks you with killing four rats. Like spiders, they’re harmless critters that can be found running underfoot. Unliked spiders, though, shooting them is easier than stepping on them. You’ll find rats in pretty much any Uruk stronghold (including this area), as well as The Black Gate. Once this Hunting Challenge is completed, we’ll need to progress the story to unlock more.
Shooting Morgai Fly Nests will stir up the insects within, to the sorrow of any nearby Uruks (left). Shoot explosive barrels and, if you have the “Detonate” Ability, campfires, to cause potent explosions (right).
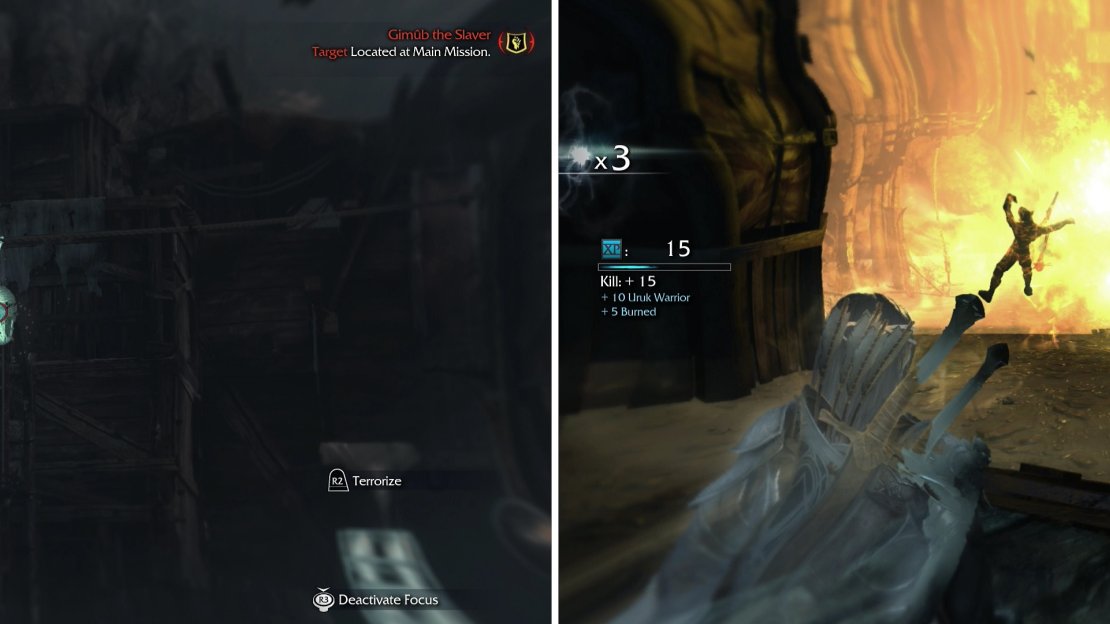
Explosive barrels are a new hazard-if you have the “Detonate” ability you can shoot them to cause a pretty potent explosion. You are immune. Uruks are not. If you have the “Detonate” ability you can also shoot campfires for similar explosive fun. Do this often enough and you’ll unlock the “And it Burns, Burns, Burns” Trophy/Achievement. Another new element you’ll find are Morgai Flies. You’ll find their nests hanging around. Shoot them down and watch the Uruks suffer. This is less useful for dispatching Uruks than explosive barrels, but some elite Uruks are afraid of them, which can make them much easier to kill. It also will score you the Trophy/Achievement “Fly you fools!” if you do it enough, which is always nice.
Our final objective in this area-the second Ithildin-can be found in a tower surrounded by a cluster of buildings. This cluster of buildings is just east of the center of this area, and you’ll find the Ithildin “Natha Tognir inAinn” along the western face of the tower here. Once obtained, continue north-east to reach the Uruk Proving Grounds.
Uruk Proving Grounds
| Herbs | Artifacts |
|---|---|
| Lothrond | Tattered Note |
| Niphredil | |
| Pipeweed | |
| Gwinuial |
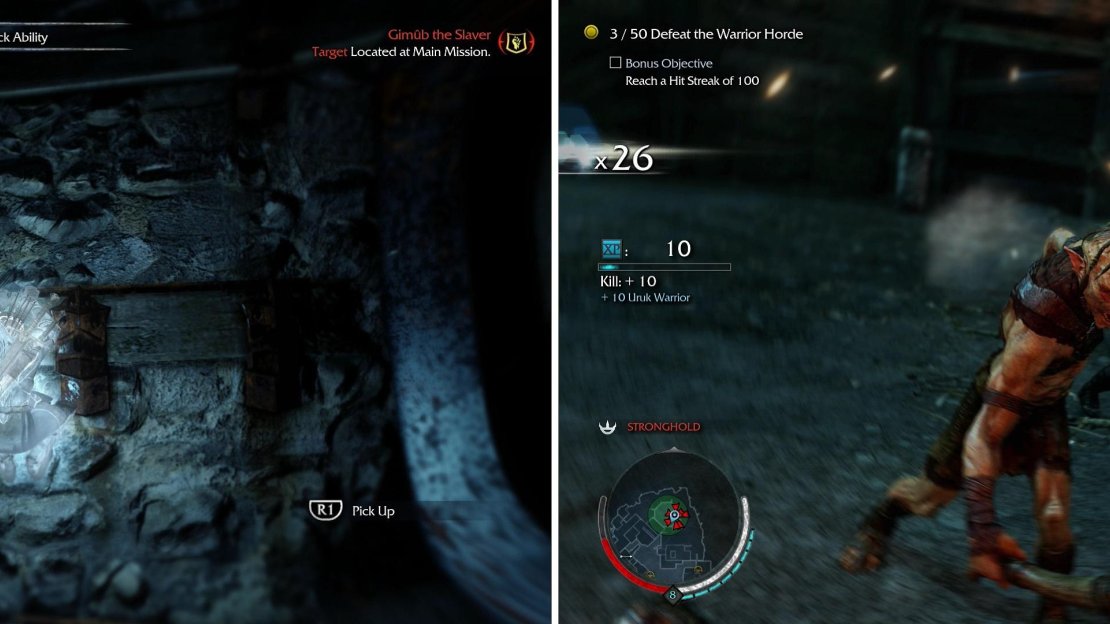
Climb a tower in the Uruk’s Hollow area to find the “Natha Tognir inAinn” Ithildin (left), then stop by the Uruk’s Proving Ground and indulge in some pit fighting (right).
There are two points of interest in this area-an Artifact, and the sword mission “Into the Pit” . The Artifact, a Tattered Note , is in a tunnel amidst some wooden buildings in the north-western corner of this area. Follow the northern cliff face east and you should find it easily enough. The Sword Mission (follow the link for more details) will test to see if you’re up to snuff in combat yet, and it’s good training. Kill 50 Uruks to succeed, get a Hit Streak of 100 to complete the bonus objective. Once those are done, it’s time to head south to find the Forge Tower in Southern Udun Pass.
Once those are done, it’s time to head south to find the Forge Tower in Southern Udun Pass.



No Comments