Treasures of Utzaal is a side quest in Act 3 of Path of Exile 2. In the quest, you’ll explore The Molten Vault, and deep within its chambers is Mektul The Forgemaster. Read on to find out how to unlock the Treasures of Utzaal quest, how to defeat Mektul The Forgemaster, and what you’ll get as a reward.
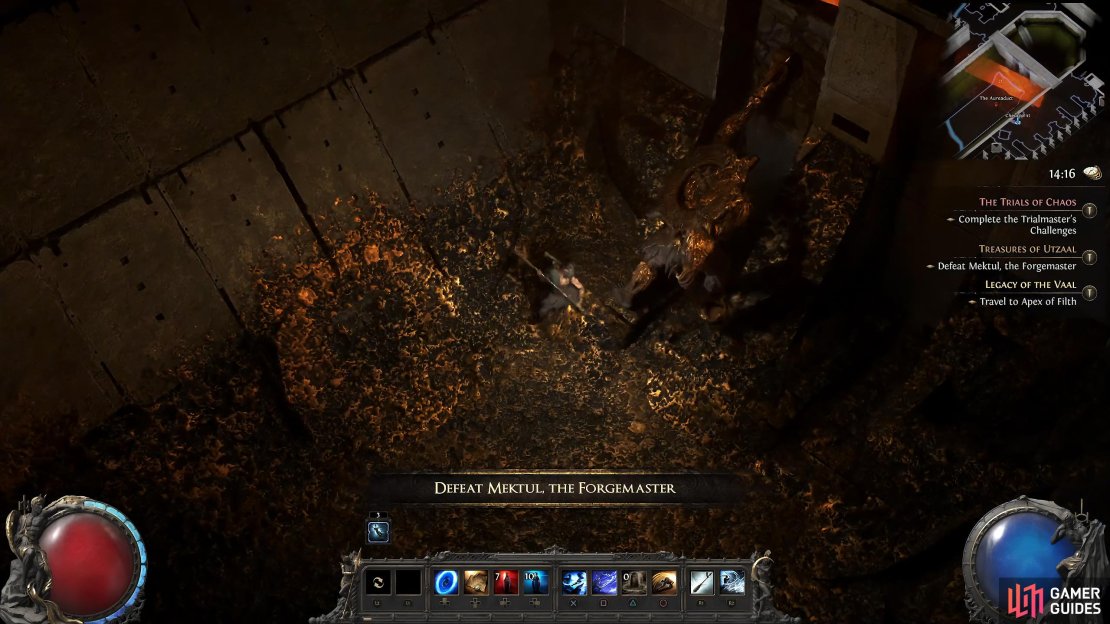
Mektul The Forgemaster is the main boss of The Molten Vault.
Table of Contents
If you want to jump to a specific section, click on the links below.
| Quickjump |
|---|
| Unlocking Treasures of Utzaal Quest |
| The Molten Vault |
| Mektul The Forgemaster Attacks |
| Boss Strategy |
Unlocking Treasures of Utzaal Quest
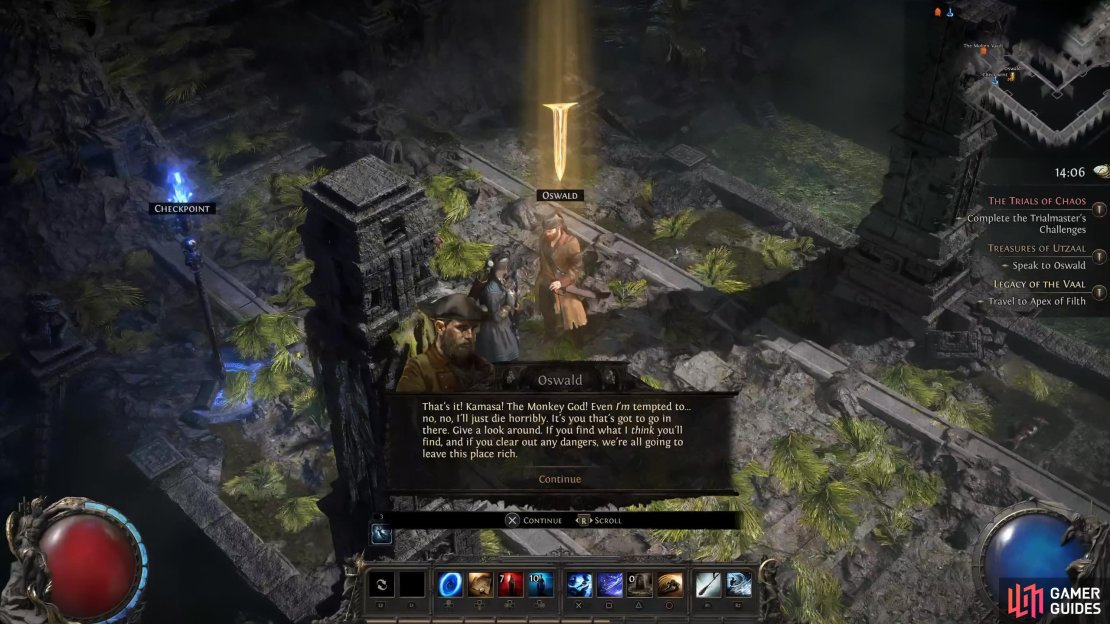
To begin the quest, you’ll need to progress through the main story until you unlock The Drowned City in Act 3. Inside The Drowned City, explore every nook and cranny until you find The Molten Vault. Outside the vault, you’ll find a quest marker where you can summon Oswald. Do so, and speak to him to obtain the quest. He’ll task you to venture into The Molten Vault to find the Hammer of Kamasa. Before you enter, make sure you bring a charm and anything else that has resistance to fire as well as ice or lightning attacks, as it’ll make the dungeon and boss slightly easier.
You can start the quest by finding the entrance to The Molten Vault in The Drowned City.
The Molten Vault
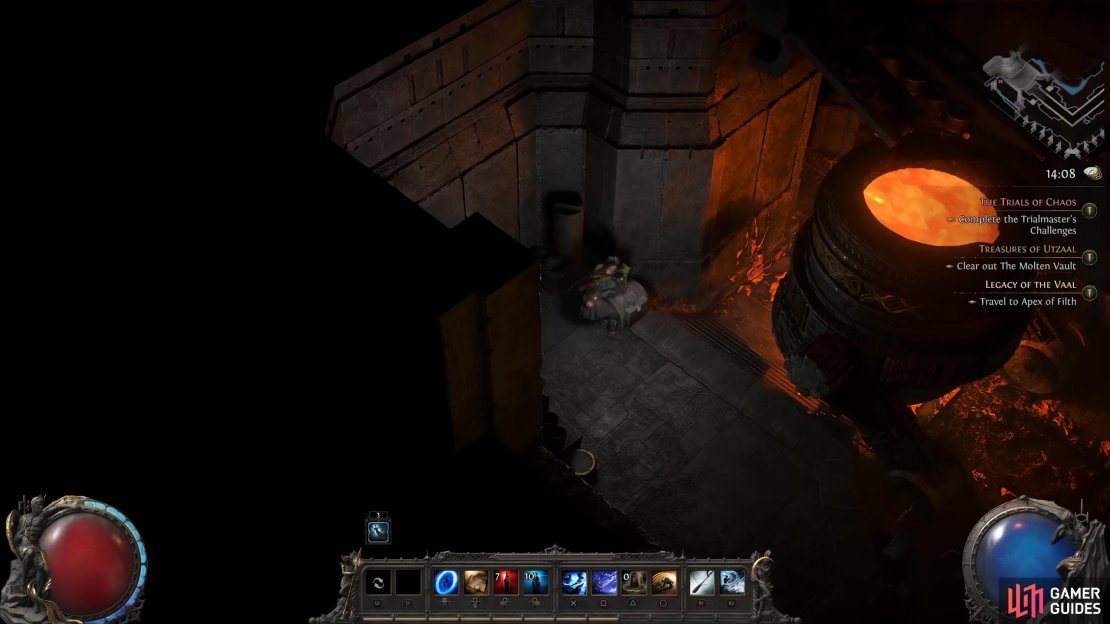
Inside the vault, you’ll need to make your way through the maze-like rooms until you find a lever and pull it to tip the molten lava into the channel. Now, follow the channel as it fills up with lava, but you’ll need to move up and down the rooms to get through the maze. Eventually, you’ll find a lever to the sluice gate. Pull it and move to the nearby arena, where you’ll fight Mektul The Forgemaster.
(1 of 3) In The Molten Vault, you’ll need to find the lever to release the molten lava from the cauldron.
Mektul The Forgemaster Attacks
Mektul has a mixture of close and long-range attacks, although it prefers to be up close and personal. Let’s take a look at its attacks.
Pounding Fist
Mektul will slam its fist at your location. This is a generic melee attack that can easily be avoided by moving or rolling away from the attack.
Aside from regular melee swings, Mektul will pound the floor with its fist, creating a small impact zone.
Leaping Slam
Similar to the Pounding Fist attack but this time Mektul will leap in the air toward you before slamming down with its hammer. Unlike the previous attack, this one is more difficult to avoid and has a larger impact zone. To avoid it, you’ll want to either roll toward Mektul as it comes toward you, or wait until the last second, and dodge through the attack with invincibility frames. We recommend rolling toward Mektul over the other suggestion, though.
Mektul will leap in the air before slamming down at you with its hammer, creating a large impact zone.
Rolling Lava
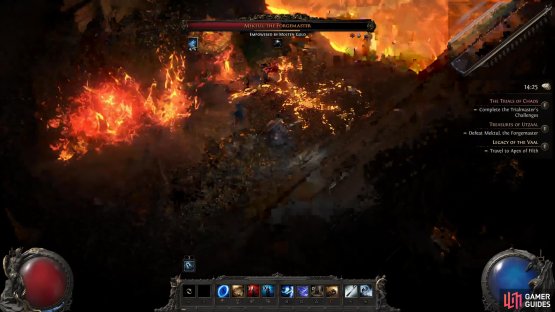
At certain stages of the battle, Mektul will run into the lava that is slowly coming down the channel. If you have ranged attacks, you can get some free hits on it while it’s in there. When it makes its way back out of the lava, it will send out waves of lava that roll down the channel. These will come in three areas of the channel, left, center, and right. Attack Mektul with ranged attacks by weaving in between the waves of lava.
Toward the end of the attack, it’ll jump in at you with a Leaping Slam attack, so make sure when you have ample space to dodge. Later on in the battle, these will come down the channel quicker, leaving you less time to maneuver around them. Note that the trails the lava leaves behind won’t damage you, only the lava itself.
(1 of 2) When Mektul walks into the lava, it’s preparing the Rolling Lava attack.
When Mektul walks into the lava, it’s preparing the Rolling Lava attack. (left), This will send numerous waves of lava that travel down the left, center, and right of the channel. (right)
Charged Shockwave
Mektul will pull its arm behind its back before it unleashes a shockwave in a line toward your location. This attack has a long charge time, giving you more than enough time to move to the side of it. Mektul will unleash the shockwave in your last location when it charges the attack, meaning you can stand to the side. Note that this does travel quite far down the channel, so make sure you move to the opposite side.
(1 of 2) When Mektul pull back its arm, a Charged Shockwave is incoming.
When Mektul pull back its arm, a Charged Shockwave is incoming. (left), Move to the opposite side of your previous location to avoid the attack. (right)
Explosive Stalagmite
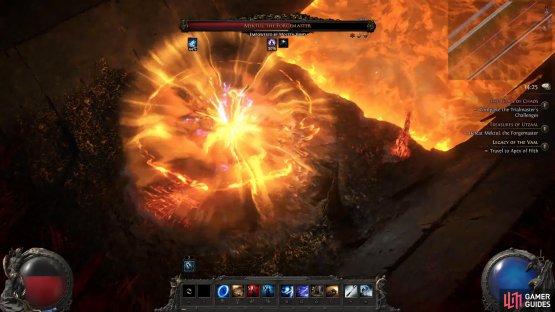
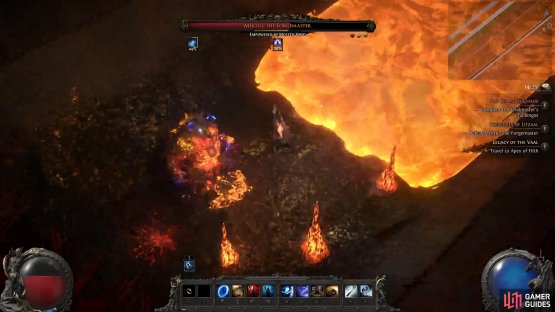
You may notice that throughout the channel there are stalagmites protruding out of the ground. These aren’t here for decoration, and Mektul will ignite them and make them explode. If you’re near one when it explodes, you’ll take significant damage, and most likely die depending on your class. Fortunately, you can see this coming because Mektul will spread its arms apart and the stalagmites will briefly get an orange glow before they explode. Whatever you do, make sure you get as far away from it as possible, even at the cost of taking damage from one of its other attacks.
(1 of 2) Throughout the battle, Mektul will unleash a roar that ignites the nearby stalagmites scattered throughout the arena.
Throughout the battle, Mektul will unleash a roar that ignites the nearby stalagmites scattered throughout the arena. (left), These will explode, dealing devastating damage. (right)
Fire Glyph
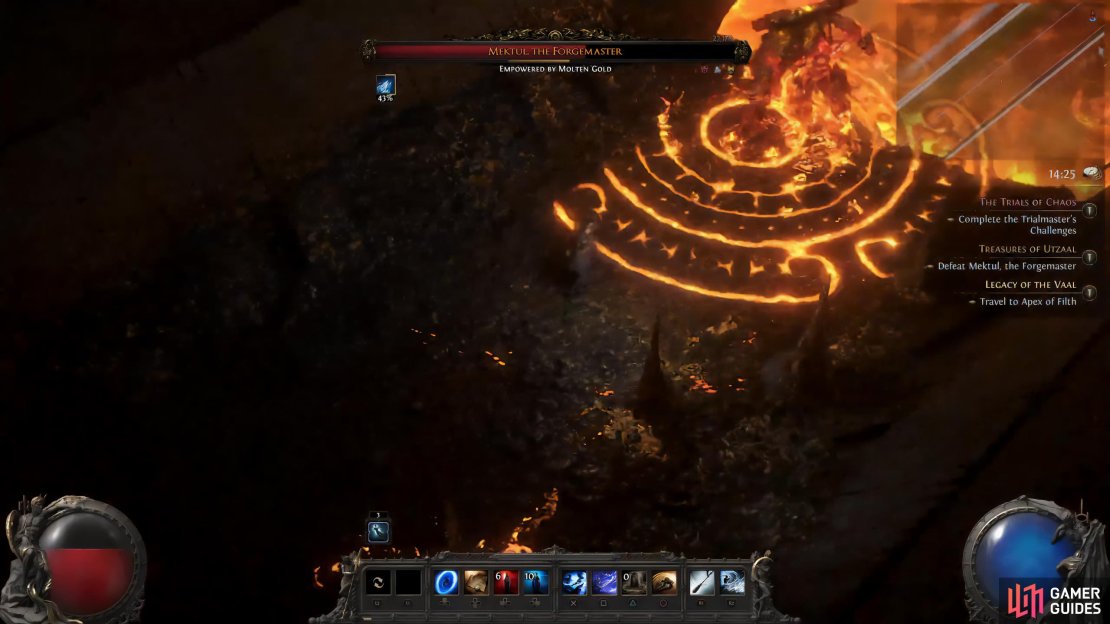
Mektul will crouch to the ground to place a large orange glyph underneath itself. Shortly after, the glyph will explode, dealing fire damage. When you see the glyph, roll/run away from it as soon as possible to avoid the attack. You get more than enough time to get away from the glyph, so this shouldn’t really hit you. Just make sure you stop attacking and immediately leave the glyph.
At times, you’ll see a large orange glyph appear on the floor. Make sure you get out of the glyph before it explodes.
Mektul The Forgemaster Strategy
This battle is unique due to the arena you fight in. Technically, you have a timer as molten lava will slowly trickle down the channel you’re fighting in, and if you don’t defeat Mektul quickly enough, you’ll fail. The reason we say “technically” is that you should defeat it way before you get that far, but it is a possibility. Before you start the battle, make sure you equip fire-resistance gear and check that you have a fire-resistance charm and that it’s charged.
Next, equip any skills that inflict ice damage (preferably ranged), and failing that, lightning. Mektul is weak to ice, and if you don’t have that, lighting is a good second choice. Naturally, Mektul will be strong against fire, so try not to use it if you can help it.
Most of Mektul’s most difficult-to-avoid attacks are its melee attacks. They hit hard, and have a respectable impact zone, meaning you’re going to get hit by some of them. If you do, heal up, as Mektul can and will one-shot you if you don’t. For the majority of the first half of the battle, you’ll have to deal with mainly melee and jump attacks, and then at a specific moment, it’ll walk into the lava and do the Rolling Lava attack.
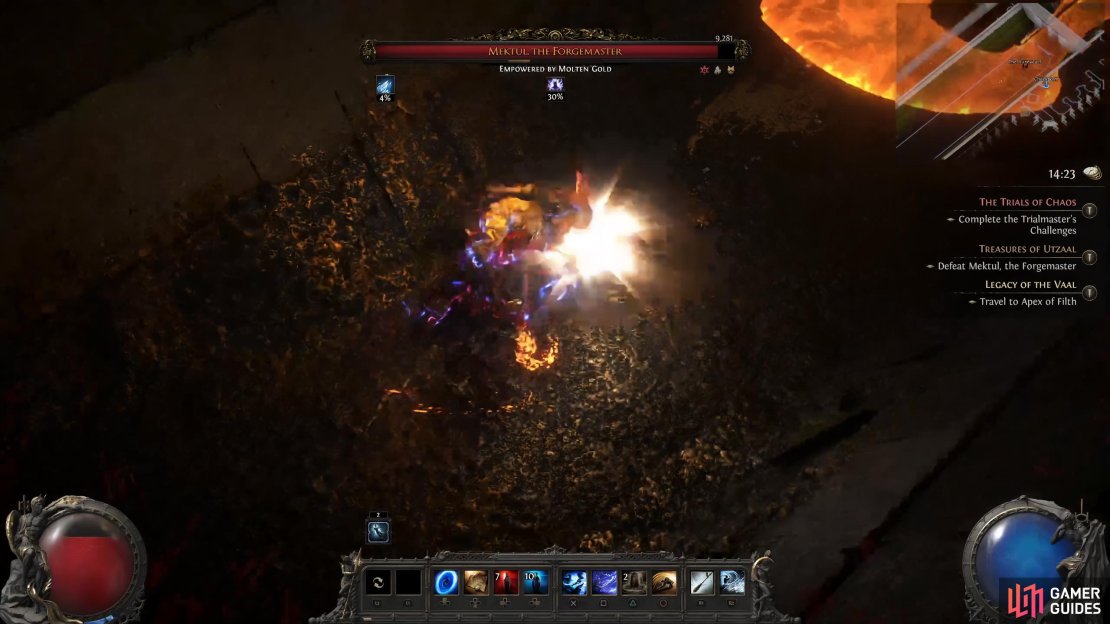
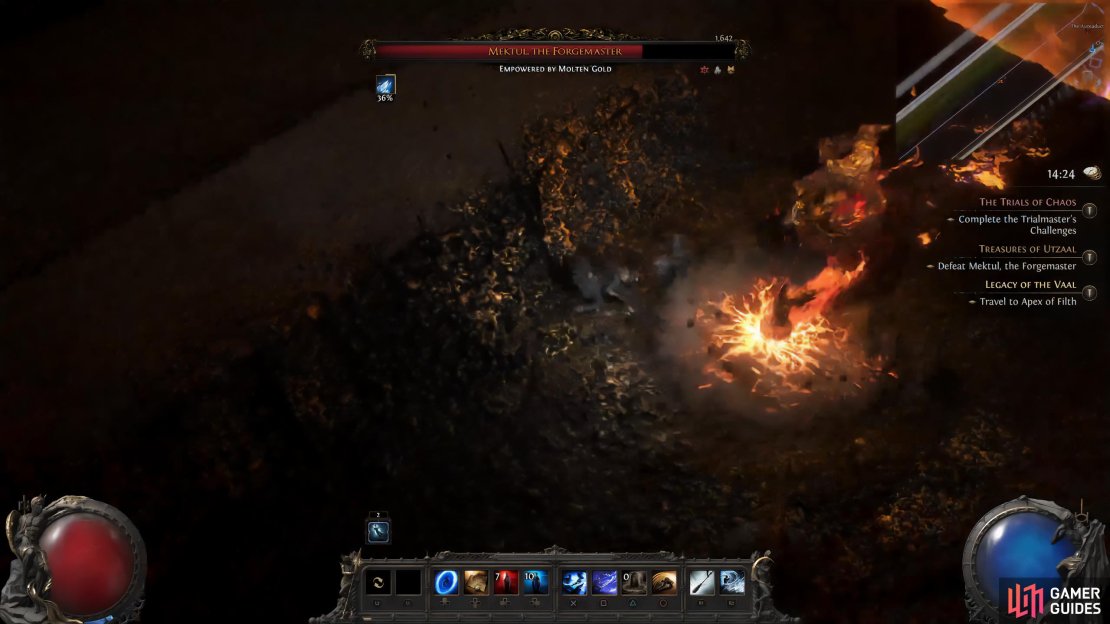
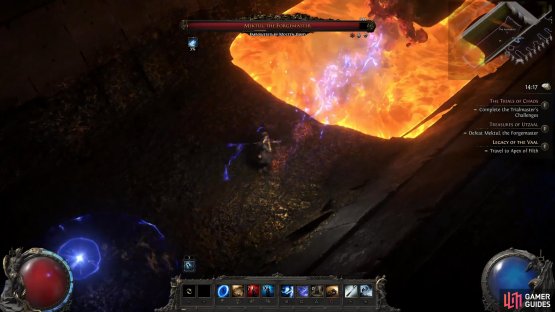
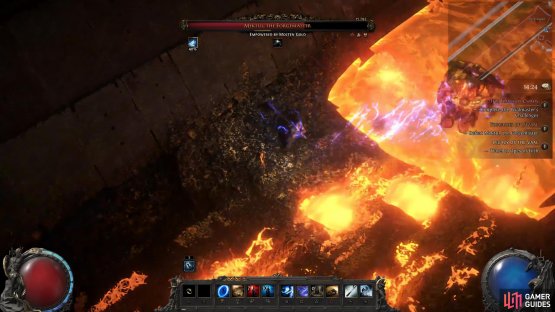
(1 of 3) A great time to attack Mektul is when he goes into the lava to prepare the Rolling Lava attack. You can get a few free hits in while he’s doing it.
Get a bit of distance to give the rolling waves of lava some time to move down, and then move back and forth between the lava. The attack will end when Mektul gets ready to perform a Leaping Smash. As the battle goes on, Mektul will introduce the Charged Shockwave and Explosive Stalagmite attacks to its arsenal. Whenever you see Mektul pull its arm back, make your way to the opposite side of the channel to where you were standing previously. This will make Mektul waste the attack as it goes down the channel.
If you happen to be near a stalagmite that glows orange, get away from it immediately as it will explode, dealing significant damage. The further down the channel you go, the more stalagmites you’ll see, so this is another reason to defeat Mektul as quickly as possible. As the battle gets toward the end, you’ll see a lot more shockwaves, melee attacks will come quicker, and the rolling lava will travel further. Mektul will also detonate multiple stalagmites at once. Finally, it’ll start to use the fire glyph more often, so you’ll need to keep on the move.
Now that you know what to expect from the battle, let’s focus on your part. Ideally, you’ll want to fight mid-long range if you have the attacks to do it. Otherwise, you’ll want to hit Mektul a couple of times before you’ll need to reposition. When Mektul walks into the lava to initiate the Rolling Lava attack, you’ll be able to get a good amount of free hits on the boss before you need to start avoiding the waves of lava. Finally, a good time to attack Mektul is when it charges up a shockwave attack as you’ll be able to get behind it before the attack goes off, leaving the boss open for a few hits.
Once Mektul is defeated, you’ll notice that nothing has dropped on its corpse like the other bosses. Don’t worry, the loot is there, but you’ll find it at the end of the channel, along with the hammer needed for the quest. After picking up the loot and hammer, head back to Ziggurat, and speak to Oswald to complete the quest.






No Comments