As you reach the later stages of Act 1 in Path of Exile 2, it’ll be all about dealing with the atrocities wrought from Count Geonor. As you pass through Ogham Village, it’s clear to see the man has lost his mind, and it’s up to you to put a stop to him. Unfortunately, The Executioner stands in your way before you can reach the ramparts, this page will tell you how to find and deal with him.
The Executioner is a boss in the Trail of Corruption quest in Act 1 of Path of Exile 2.
Table of Contents
If you want to jump to a specific section, click on the links below.
The Executioner Location
As mentioned above, you’re going to need to progress through the main quests in Act 1 until you reach The Trail of Corruption, which tasks you with heading through the Hunting grounds and Ogham Farmlands to reach the village itself. Once there, consider bringing along any resistance to Fire, as you’re going to be dealing with it a lot here (and for the boss). This is a large area, and you’ll find the entrance to the ramparts just after one of the checkpoints.
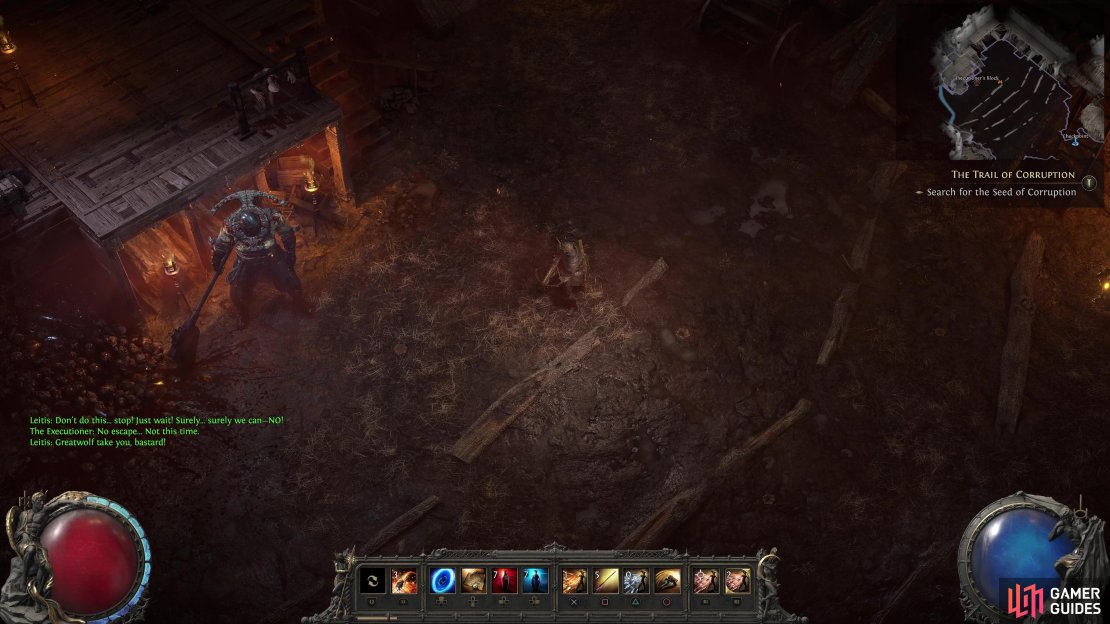
While in the area, don’t forget to visit Renly’s home and forge as part of his quest, being able to salvage will come in handy on later adventures. Outside of this, you’ll be facing Werewolves, burning undead, and other like-minded enemies before you meet The Executioner, who, as you may expect, is in the midst of executing a villager!
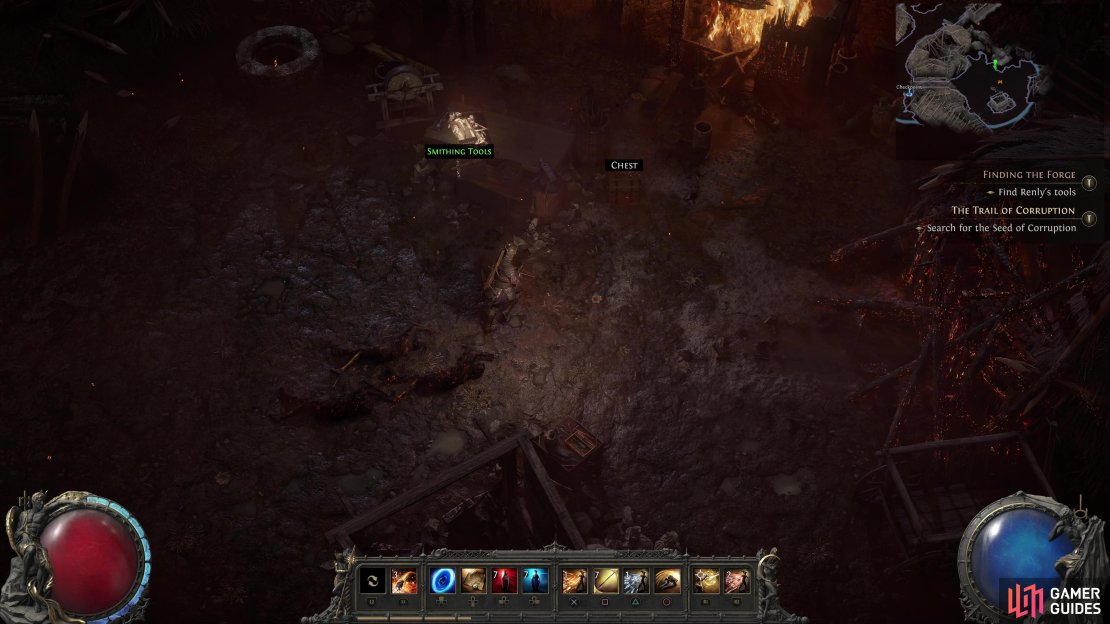
Don’t forget Renly’s Smithing Tools as you explore Ogham Village.
The Executioner Boss Strategy
The battle against The Executioner is one of the tougher ones in Act 1, and if you’re not careful, you can be killed instantly by him if you suffer a blow head-on. The arena is large for this battle, but you’ll need to be on the move constantly due to all of the AoEs being fired off from his reinforcements. As with all bosses, there are many attacks you will need to watch out for, and you can learn about them below:
Ground Pound
The Executioner will leap into the air and bring his massive axe down to the ground, dealing heavy damage and creating an aftershock line AoE. Your best best is to dodge to the side from him when you see him leap in the air, that, or create some distance.
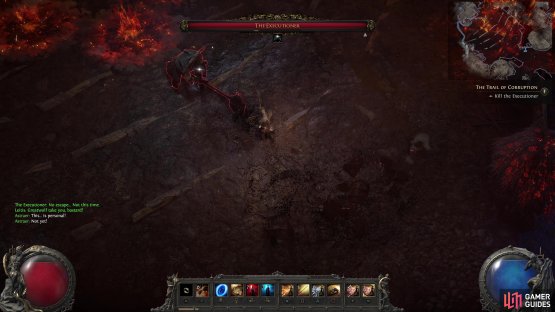
(1 of 2) If you suffer the full damage of the Ground Pound, it can kill you outright.
If you suffer the full damage of the Ground Pound, it can kill you outright. (left), The Explosion attack has a large radius, be sure to create some distance. (right)
Explosion
The Executioner will charge his axe behind his head and then smash the ground with it, causing the ground around the impact to create an explosion and deal damage in a large AoE. As soon as you see him bring his arm behind his back and charge the weapon, try to circle around him and get some free attacks on his back.
Guillotine
The Executioner will shout out “The Guillotine… Drops!”, this is your cue to move from your current position as a large Guillotine will drop where you’re standing, dealing damage in an AoE around the impact.
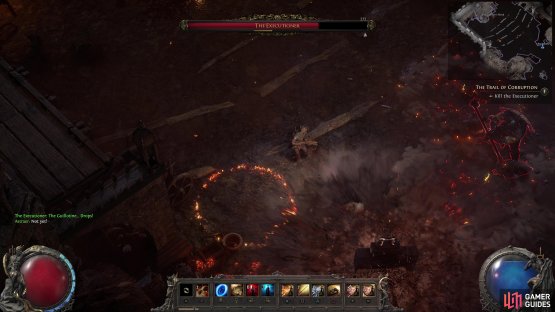
(1 of 2) Guillotine is simple to avoid, just back away a little.
Guillotine is simple to avoid, just back away a little. (left), You will be dealing with Fire Circles throughout the battle, so keep on the move. (right)
Fire Circles
Throughout the battle, The Executioner will command the soldiers to attack you, usually by rushing you. On top of this, however, the ranged soldiers will shoot fiery arrows that set a circle AoE on the floor that burns. This will limit where it is safe to stand, so once this ramps up later in the battle, keep on the move.
There’s no way to sugarcoat this battle, it’s much easier to deal with the many mechanics going on at once as a ranged Class rather than one in the thick of things. The Executioner has strong attacks that hit a wide area, and you’re going to be constantly harassed by his reinforcements while needing to deal fire circles on the floor.
As such, once the battle gets to the point where you’re constantly dealing with enemies, you need to be on the move at all times. It’s probably better to focus on The Executioner himself, it’s easy to get caught in a cycle of just killing the unending waves of soldiers, but do take the time to cull some of them if it gets to be too much to handle.
Of all of his attacks, watch out for the Ground Pound especially, as a Mercenary, we were killed instantly when hit by this attack head-on, but your build might change that a little. Your best friend going into this battle is to make sure you have at least some form of AoE so you can use it in the moments where you’re getting overwhelmed.
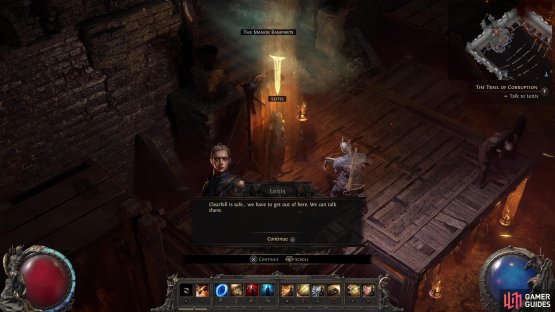
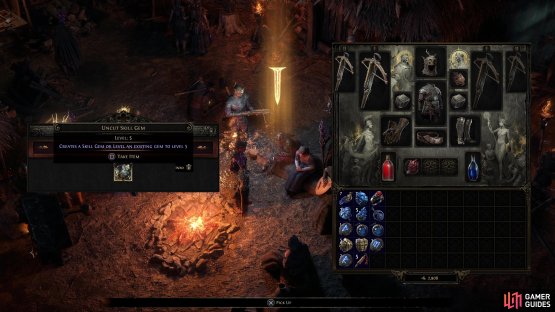
(1 of 2) Release Letis after the Executioner is defeated.
Release Letis after the Executioner is defeated. (left), Then return to Clearfell Encampment with her to get your reward. (right)
Once The Executioner falls, release Letis and return with her to Clearfell Encampment to complete this quest. As a reward, you’ll bag yourself a Level 5 Uncut Skill Gem, allowing you to unlock a tier 2 skill for your Class! Now it’s time to head into the ramparts and take the fight to the Count.






No Comments