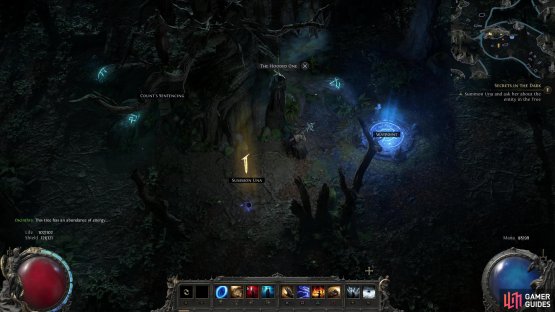
Your hunt for Count Geonor will eventually lead you to the Grelwood, where you’ll come across The Hooded One, who may be more appropriately dubbed “The Hanged One”, given its predicament. After chatting with Una you’ll be tasked with entering The Red Vale and accumulating some Runes of Power - required to free The Hooded One - but your ownership of these runes will be challenged by The Rust King. This page will provide strategies for defeating The Rust King in Path of Exile 2.
Page Breakdown
| Quick Search |
|---|
| The Rust King Location |
| Seven Sword Strike |
The Rust King Location
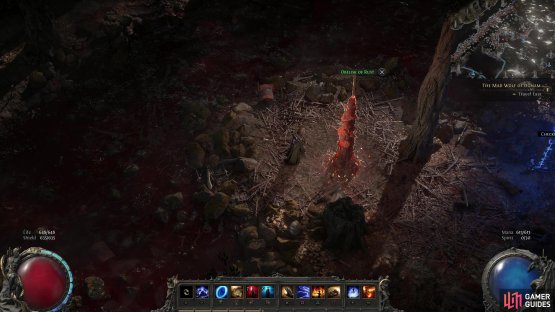
Explore the Grelwood until you find “The Hanged One” on tree and examine the poor strung up creature, ultimately conferring with Una to start the quest Secrets in the Dark, tasking you with seeking out some Rune of Power in The Red Vale. In The Red Vale you’ll find several Obelisks of Rust, and when you interact with them you’ll provoke a wave of undead. Survive and you’ll obtain some runed item or another - the items you need to free The Hanged One. The last Obelisk of Rust, however, is guarded by a more malevolent being - The Rust King, who will appear in a vortex.
(1 of 2) Find The Hooded One and you’ll be tasked with finding Runes of Power to free him.
Find The Hooded One and you’ll be tasked with finding Runes of Power to free him. (left), These Runes of Power can be found by searching Obelisks of Rust in The Red Vale - the final obelisk is guarded by The Rust King! (right)
The Rust King Boss Strategy
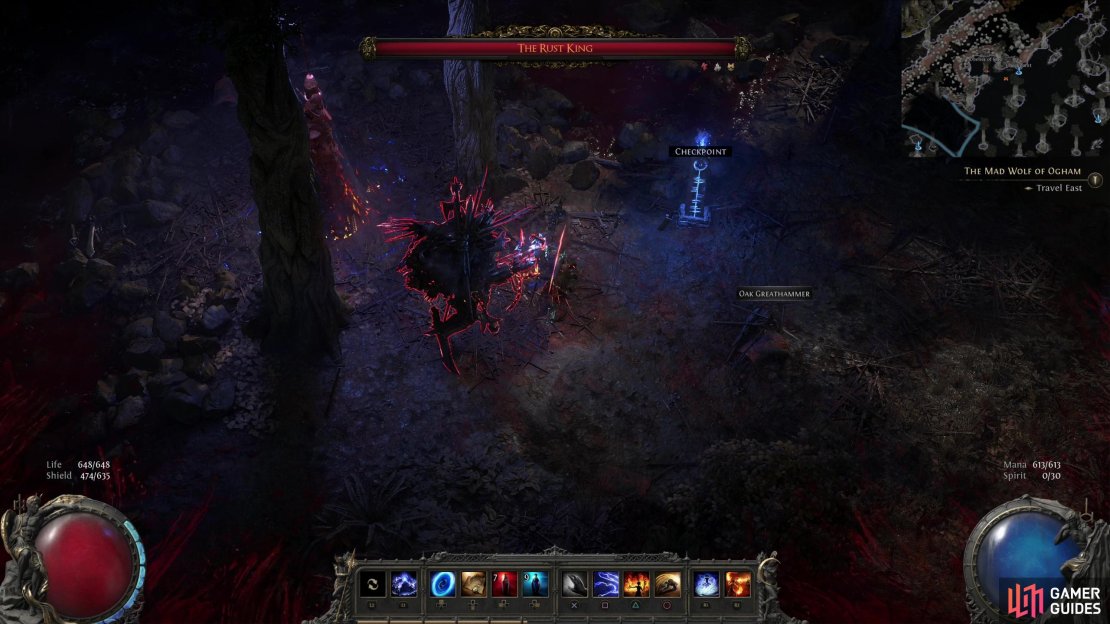
The Rust King is perhaps the first in a peculiar line of bosses: namely foes that are easier to dodge if you stay close to them. Left to his own devices, The Rust King will shuffle about the forest trying to smack you, but once you hurt him he’ll start showing off his impressive ability to telekinetically fling objects at you. Since this is an old battlefield, it should be little surprise that your foe decides to make use of the various discarded and decaying weapons lying around.in numerous painful configurations. While generally having good range and AoE, all of The Rust King’s attacks have one major weakness: they have poor tracking. If you stay close and roll behind your foe whenever he makes a hostile gesture you should find it easy enough to greatly mitigate damage. To help you familiarize yourself with The Rust King’s significant attacks, they’ll be listed below:
Seven Sword Strike
As soon as he takes some damage The Rust King will start using this attack, summoning seven swords in a ring around himself for a moment before propelling them outward at great speed. If you find yourself losing a game of tag with one of these swords you’ll take heavy damage, but since you can see them before they launch, not standing in front of the pointy end shouldn’t be hard. The Rust King also unleashes an AoE around himself when this attack fires off, but it deals relatively little damage.
Line of Weapons
The Rust King will summon a series of weapons skyward, then send them plummeting down in a line. This row of weapons deals heavy damage if it hits and is the bosses’ only real attempt to punish you for the hug-and-dodge strategy. Since the weapons land a short distance away, however, if you’re a good hugger and dodger this should always miss. Also punishes greedy melee foes.
(1 of 3) The Rust King is initially content to shuffle after you and swat you,
Animate Ezomytes
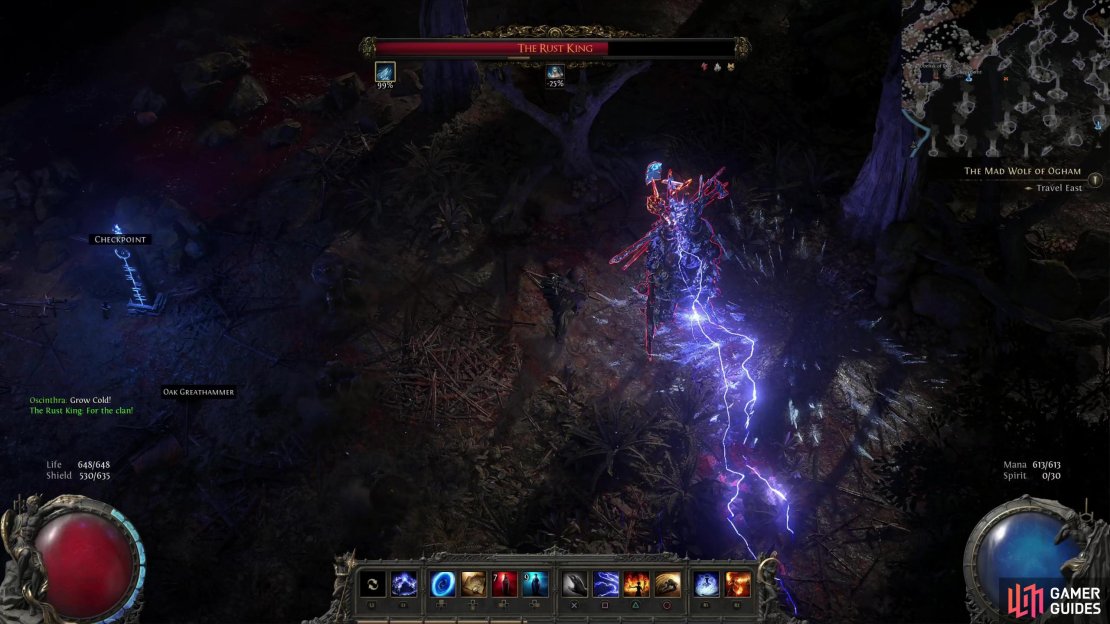
When reduced to around 60% of his health, The Rust King will decide that if you can’t beat ‘em, summon some minions and keep trying! He’ll send out bolts of lightning that cause Undead Ezomytes to rise from the ground in a ring around the rusty royal. They are slow, shambling and sturdy - good at obstructing the ol’ hug-and-dodge. Make it a priority to kill them so they can’t block you in and get you hit by The Rust King’s attacks. The Rust King will summon more at set points when his health drops to 30%, but he doesn’t summon more when his current supply is depleted, so you don’t have to worry about keeping any alive to ward off further reinforcements.
Armament Barrage
Reduce The Rust King’s health is reduced to around 60% - after summoning his first wave of adds (see above) - your foe will start using this attack, along with his “Seven Sword Strike” and “Line of Weapons”. The Rust King will gather an armory’s worth of weaponry above him, and after taking some time to gather them, he’ll send them forward in the direction he’s facing, covering the ground in a large AoE attack, dealing tremendous damage. You don’t want to get hit by this attack, and fortunately, The Rust King is bad at tracking you with it. Once he starts gathering the weapons he’s committed, and if you get behind him (or even to his flank), the entire attack will miss you.
Once further wounded (after his second “Animate Ezomytes” at 30% or so health) The Rust King will be able to further embellish this attack, lashing out with a whip (which has a surprisingly wide reach) before unleashing an even bigger barrage of weapons. The same hug-and-dodge trick works, although if you’re slow you might take a bit of a lashing. Still,as long as you avoid the weapon barrage you’ll be fine. Note that this attack will not replace the standard “Armament Barrage”, you’ll still see both, but the attacks are similar enough that you can avoid them the same way.
(1 of 3) At regular health-based intervals, The Rust King will animate a horde of Ezomytes to harass you.
Stay close to The Rust King and dodge through his attacks - you can eat the odd swat, but doing this should allow you to avoid his weapon attacks. You should be able to punish during said weapon attacks, and if you get the dodging down, the only thing you need to worry about is when The Rust King summons mobs, which will get in your way, deal damage to you and generally muck your dodging. Once you whittle this foe down he’ll drop another runed object along with a standard, random boss drop (the text for it will be green, so it should be hard to miss). Pick it up and return to The Hanged One to progress the story!








No Comments