
This quest begins immediately after Doubts and Secrets. You will need to wait three days before you can speak with Cardinal Bourlamaque to accept the first task.
Once you have spoken with Cardinal Bourlamaque after three days, you will be asked to find two spies from Levant and two warriors from The Blue Chamber Collective, who have recently escaped custody. To discover their whereabouts, first speak with Damian Lockwell’s guard in the City Hall. You will find him in the southern room at the back of the hall. If you are a Champion of Elatt at this point, you will be able to use this power to influence the guard by selecting the following dialogue option:
- “Do you know what a Champion of Elatt does to liars? I have ways to make you talk.”
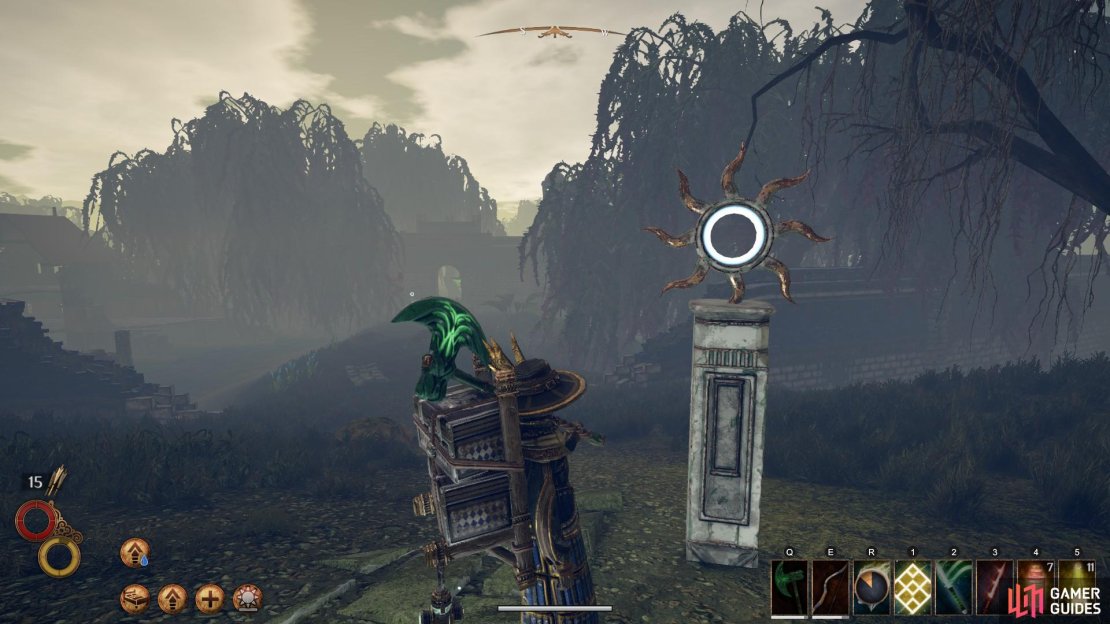
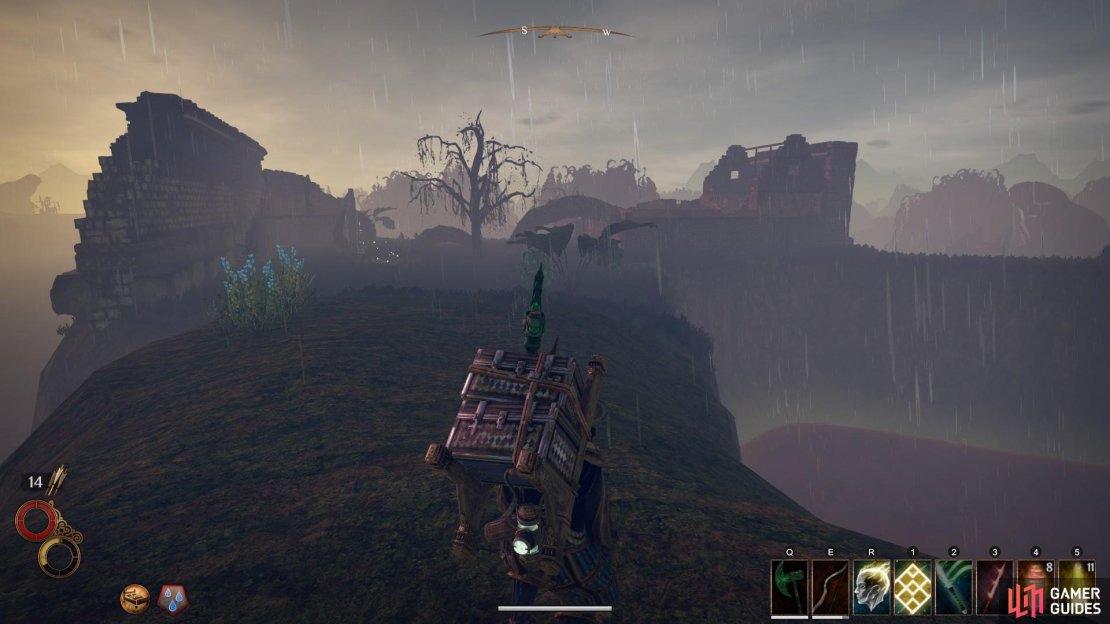
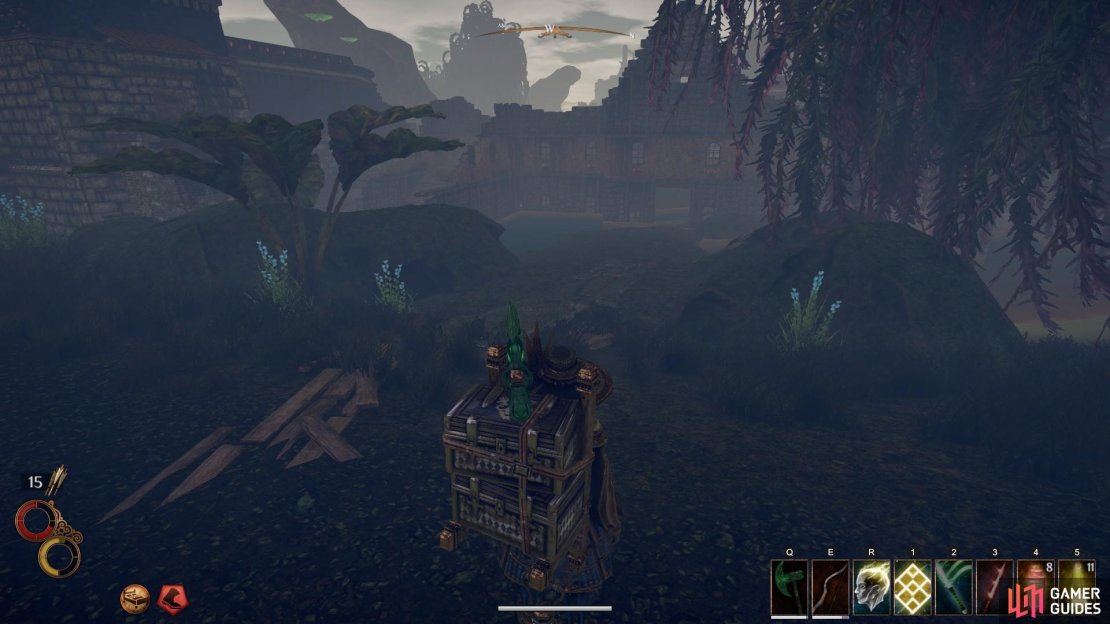
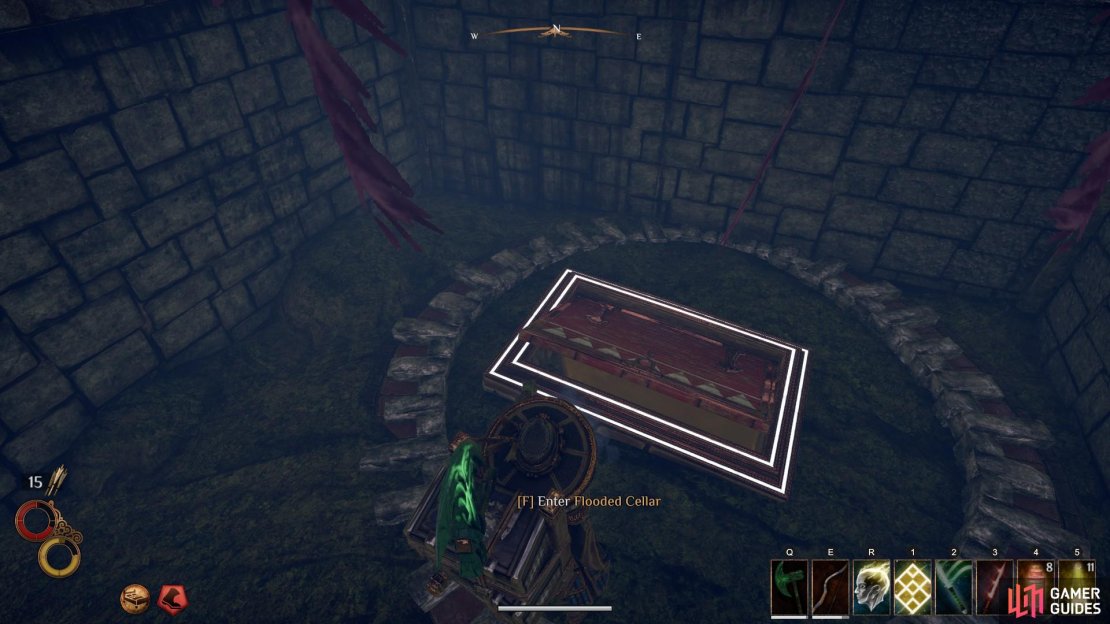
If you aren’t a Champion of Elatt at this point in the story, you will need to bribe the guard with 50 silver. Either way, you will discover that the prisoners are being held in the Flooded Cellar, in the centre of Hallowed Marsh. To reach the cellar, take the Pilgrim Road south, beyond the Huge Tree in the centre of the marsh. Follow the pillars of white stars south until you reach a stone bridge. From the bridge you will be able to see the ruins where the flooded cellar is located. Continue over the bridge until you see a path leading to an entrance on your right. Follow it through the rancid water until you come across the cellar door.
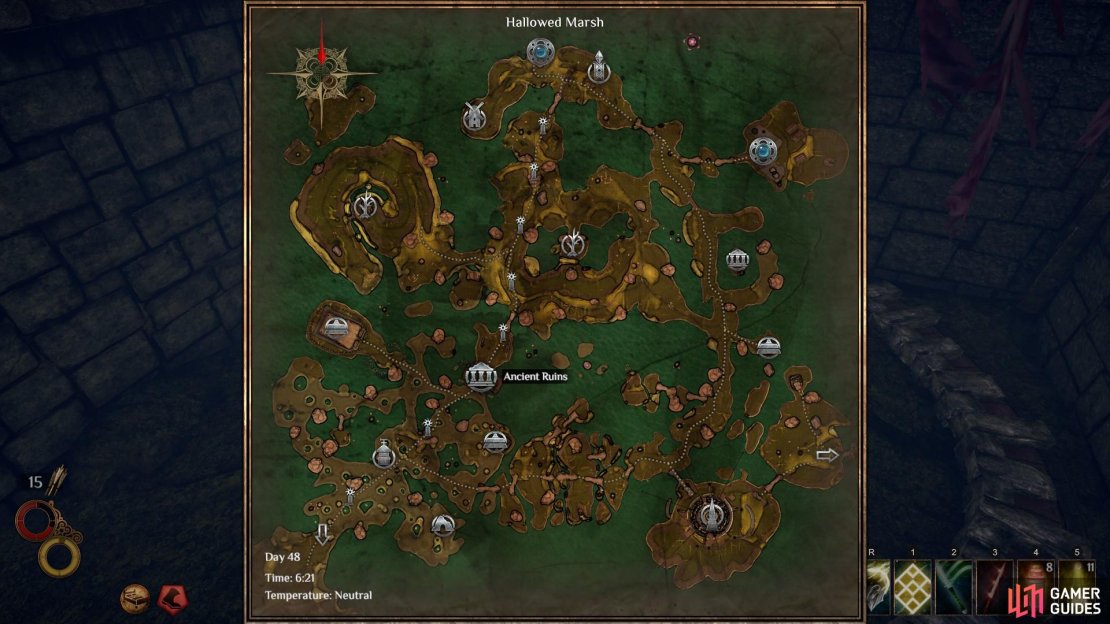
(1 of 5) The location of the Flooded Cellar on the Hallowed Marsh map. Follow the Pilgrim Road south, beyond the Huge Tree.
When you have defeated the two bandits on the top level of the cellar, you can use the lever beside the iron gate to open it. Speak with one of the Levantine agents to learn some valuable information. You can then return to Cardinal Bourlamaque in Monsoon. There is a regular chest and one more bandit in the lower levels of the cellar if you want to gain more loot before leaving. After speaking with Cardinal Bourlamaque again, he will ask you to travel to the city of Berg in Enmerkar Forest to seek the aid of Rissa Abderdeen. Take the main road south east from Monsoon, beyond Giants’ Village, Giants Ruins and Ziggurat Passage, to reach the entrance to Enmerkar Forest.
Convinving Rissa Abderdeen and Sagard Battleborn
Once you’re in Berg, you will find Rissa in the north east of the city, standing beside an ancestral tomb. To enlist her help, you will need to provide either a Writ of Tribal Favour or 150 silver. Whichever you choose, when you have convinced Rissa you will need to convince Sagard Battleborn next. You will find him in the Old Coin’s Inn, to the south west of Rissa. When speaking with Sagard, you can persuade him with one of three options; provide him with a valuable Tsar Stone (only if you have one, there will not be enough time to travel in search of one at this point), ask a favour (available only if you gave evidence to Sagard druing the Purifier quest), or you can fight to force him. To fight Sagard, select the following dialogue options:
-
“Call off your armies, or I’ll call them off for you.”
-
“Oh, is the great Sagard Battleborn too pathetic to fight one puny little person?”
The fight with Sagard can be difficult, but if you know his skillset beforehand you will have a much better chance at defeating him on the first try. He is generally aggressive and has a high amount of health, so smart use of evasion techniques such as dodge and sidestep are key. As soon as the fight begins Sagard will charge you with a leaping attack which deals high damage, so be ready to evade this. If you need to take some time to adjust to Sagard’s movement, use the table where he usually sits to create a barrier between the two of you. This ensures that you don’t use too much stamina by spamming evade manoeuvres.
Sagard has extremely high impact resistance, so if you want to take advantage of impact interruptions, you will need to equip a weapon with at least 40 impact, preferably one with 45 or higher. Otherwise, you can use the table to get in some cheap shots with your bow or with the use of magic. Using the table also allows for enough time to place traps which you can goad Sagard into. His main attacks are the powerful leap attack and a swift, two-slash AoE attack. Keep this in mind as you approach him, be ready to evade and quickly retaliate, and you should be fine.
Convinving Gabriella Sullivan
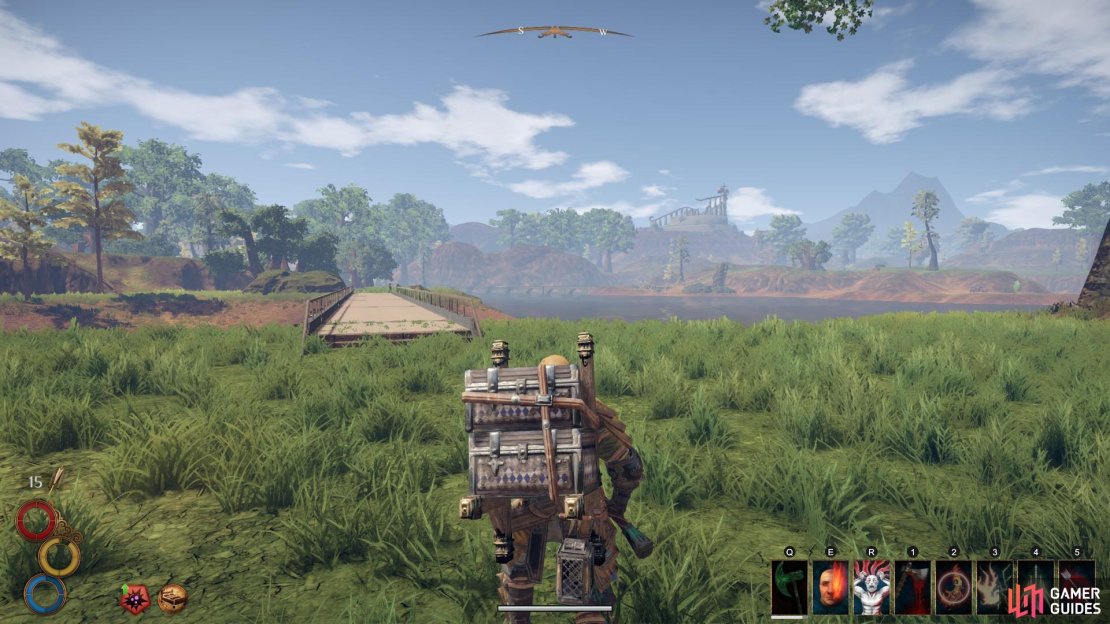
Now that you’ve convinced Sagard, the last person you will need to enlist help from is Gabriella Sullivan. You can do this by providing a Writ of Tribal Favour if you have one. Alternatively you can give her a Coralhorn bow, crafted with two Coralhorn Antlers, one Crystal Powder and one Recurve Bow. If this isn’t possible, you can travel to the Cabal of Wind Temple, in Enmerkar Forest’s south west, to acquire a Horror Chitin. Take the southern exit from the city of Berg and follow the main road south, along the eastern shore of the lake. You can see the temple from the bridge south of Berg, as shown in the image below. When the road south splits, head toward the temple structure. At the split in the road, you will see a path to the south west which leads up a hill. Once you’ve ascended the path, a main road will turn west. Follow this road to reach the temple.
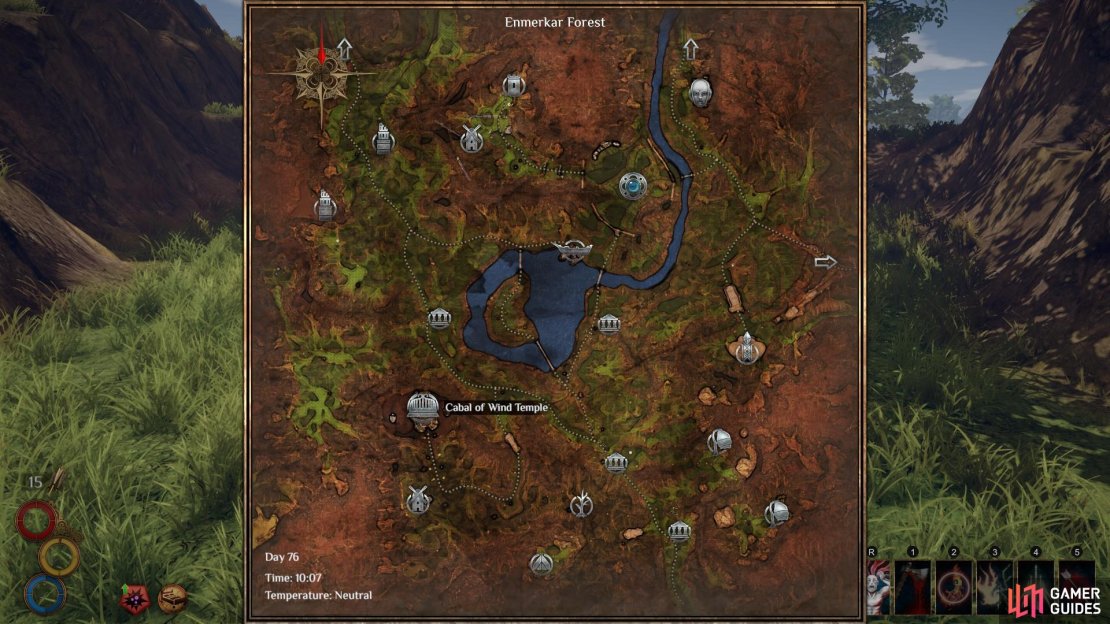
(1 of 3) The location of the Cabal of Wind Temple on the Enmerkar Forest map.
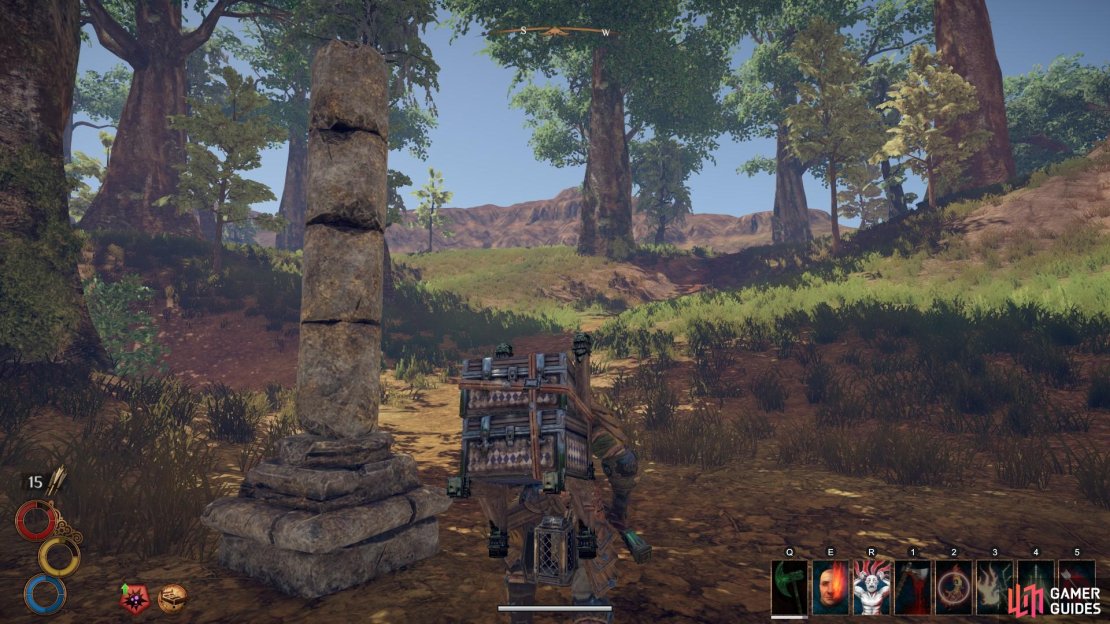
To save time, you can climb the side of the hill on which the temple is built by following pathways of lighter soil. Otherwise, approach the temple from the west for an easy ascent. Approaching the temple from the west will also lead you to a supply cache on a small hill and a ruined tower which contains a chest of loot. You can enter the temple structure from its southern side, and then climb down into the temple from the large hole in the ground. There will be an Immaculate guarding this hole; you can choose to kill it or just enter without bothering. Once inside the temple, patrol the corridors until you see a Shell Horror. It will charge you immediately, but is relatively slow. Use the space in the corridors to kite it and whittle down its health.
Take the Horror Chitin and speak with Gabriella in Berg. After convincing her, Elatt will speak to you from afar. You are instructed to travel to Levant to intervene in the civil war which has erupted there. When you enter the Abrassar desert from Enmerkar Forest, you will find a group of merchants, usually within the city of Levant, camped beside Nomad’s Oasis to your left. Speak with the merchants to acquire any essentials, and to Smooth the Tailor for some information on the situation. He will inform you that you should enter Levant through the Undercity Passage. However, you will need a key for it.
The key can be acquired from Zagis, who can be found in the Hive Prison to the south east, at the Colossal Hive. He is locked up within the prison, so you will need to let him out before he will provide you with the key. As you enter the Colossal Hive, look to your left (east) for some ruins. The Hive Prison can be found within these ruins.
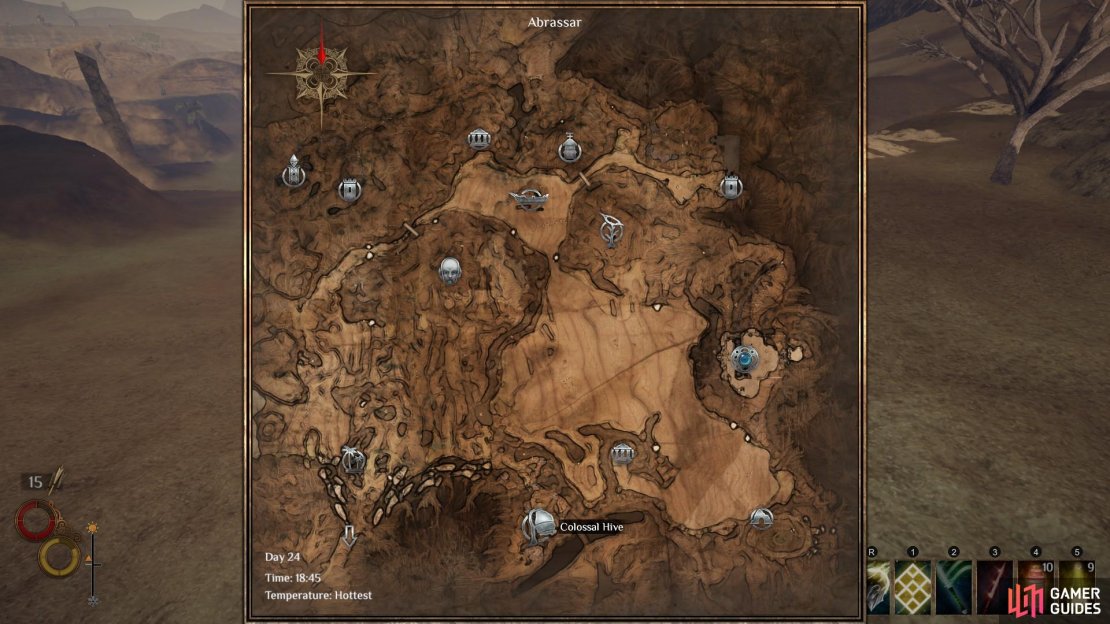
(1 of 2) The location of the Colossal Hive, south west of Levant, on the Abrassar regional map.
Within the Hive Prison you will encounter a Hive Lord and two Walking Hives. These can be dangerous if not dealt with properly. They are vulnerable to both Fire and Decay damage, so make use of these damage types if you have them available. You can use the prison cave to kite the mobs if necessary, or even leave the cave to recuperate if things become difficult.
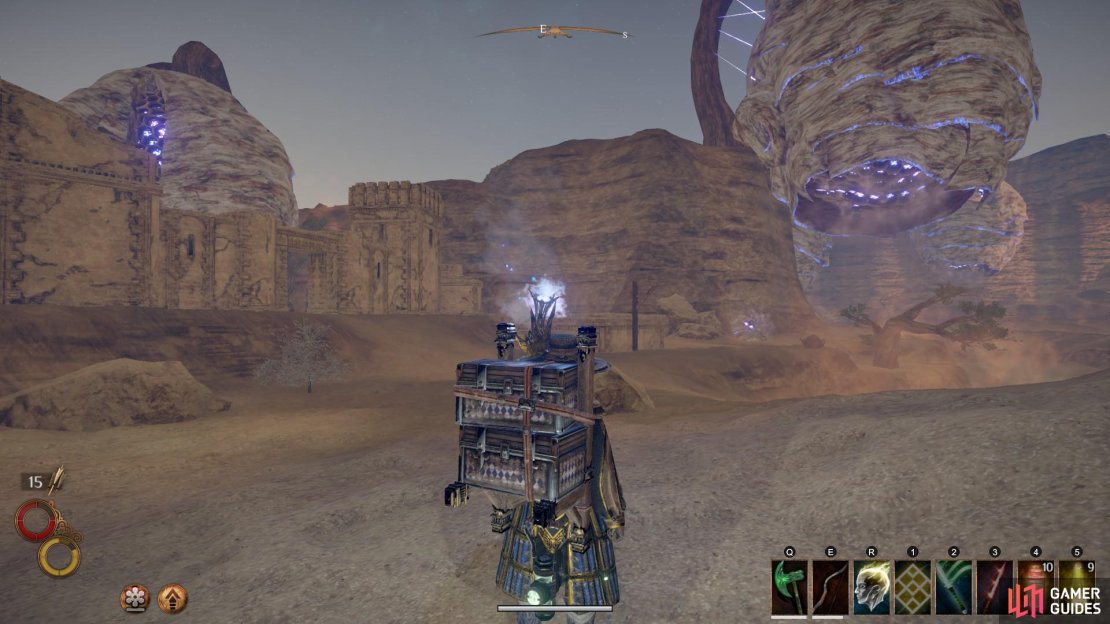
Once you have the key from Zagis, make your way to Levant by heading north east through the desert from the Colossal Hive. When you’re near the city walls, turn south and keep going until you see some ruins, as shown below. This is the entrance to Undercity Passage.
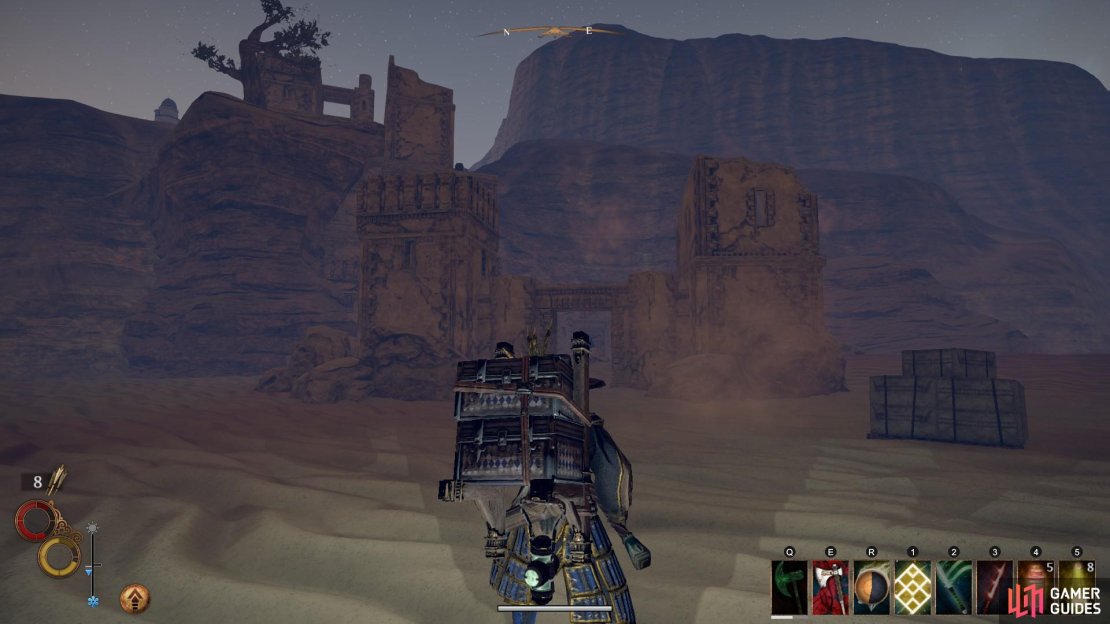
(1 of 3) The entrance to Undercity Passage, found south of Levant outside the city walls.
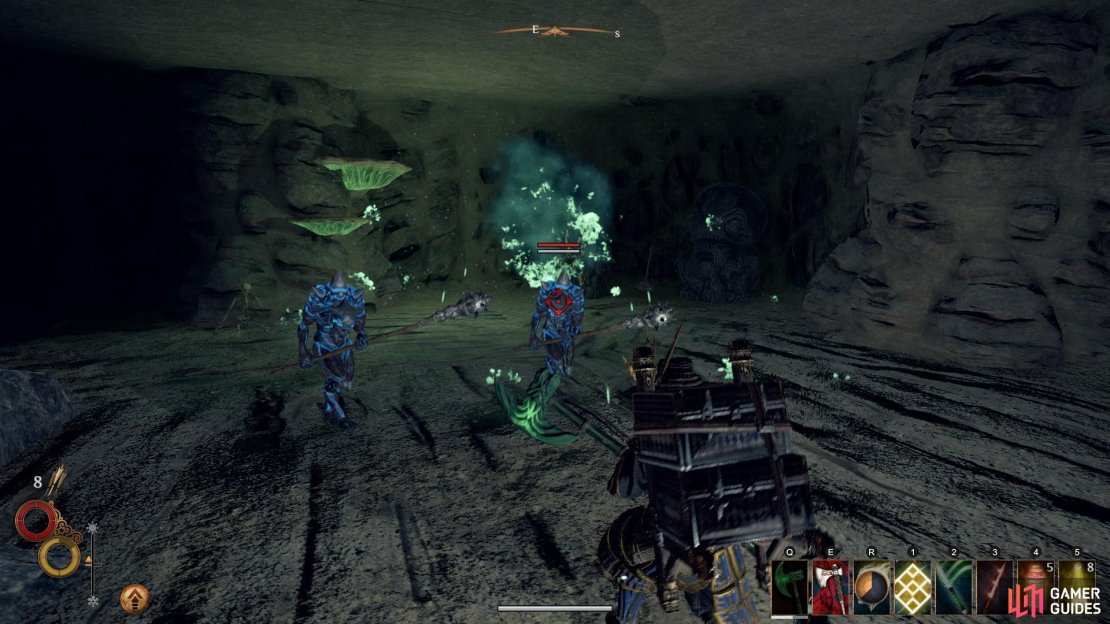
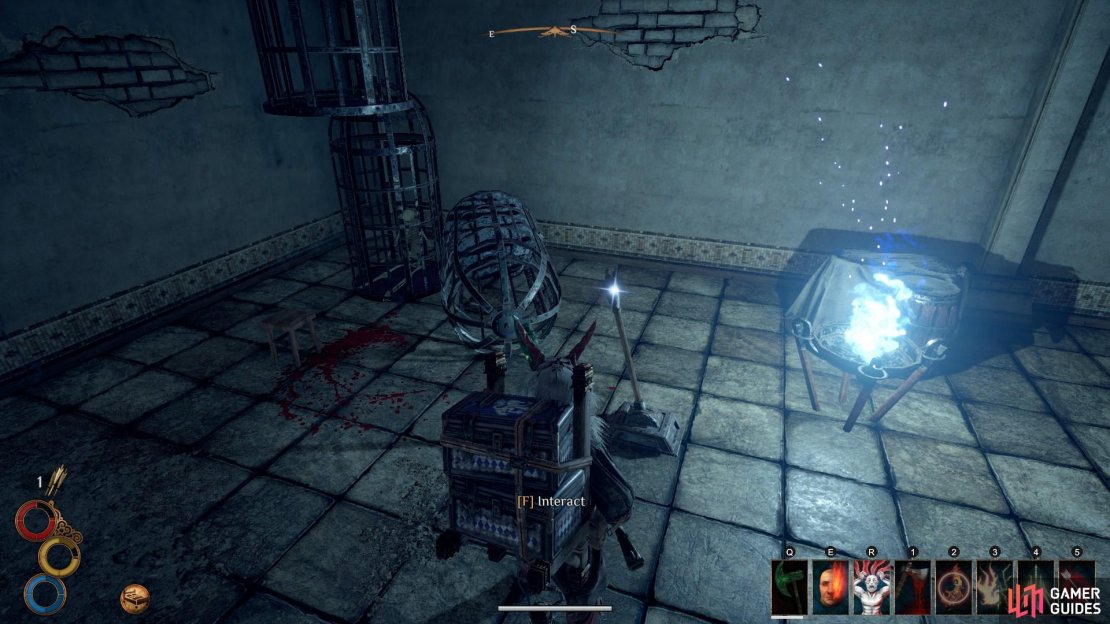
Once you’re inside Undercity Passage, turn right and follow the slope down to the north. You will approach a wooden platform which breaks when you walk over it. You will need to do this if you haven’t already extended the stone bridge. When you hit the bottom you will encounter three Troglodytes; two melee and one ranged. Take them out by using the space within the chamber to kite them, and then pull the two levers in this room, opening the gate to the west. Turn right from this gate and follow the path north, then east. Interact with the iron gate to open it. Pull the lever to your right in this room, under the blood on the wall. You can now pull the final lever beyond the gate to the south, extending the stone bridge.
With the stone bridge extended, return to where you fell down the wooden platform. Cross the stone bridge and continue east to what looks like a dead end. Approach the stone wall until you are able to interact with it. You can now use the Undercity Passage Key to open it.
Continue north to the palace door and enter the throne room. Once inside, speak with Yzan. You will need to convince him to abandon the coup by selecting the following dialogue options:
-
“The Blue Chamber is willing to negotiate, even after Levant burned and pillaged their villages. This is proof they’re willing to accept a fair peace.”
-
“I won’t let the Blue Chamber take advantage of Levant. I suffered under them too, remember? You can trust me.”
-
“You left Cierzo because of how they forced Roland’s problems onto you. You’re doing that same exact thing to Levant right now!”
After successfully convincing Yzan, aid him in defeating Cyrene. You can then speak with King Simeon and join him at the gathering in Monsoon. After being teleported, head to Elatt’s Temple to join the gathering. Approach Cardinal Bourlamaque to begin the discussion. At the end of the dialogue, go to the altar at the back of the temple, where members of The Holy Mission of Elatt are gathered around Queen Calixa. Here you will have two options; you can choose to sacrifice your life to save Monsoon from the Scourge attack, or you can allow the ritual with Calixa to proceed and choose not to sacrifice yourself.
If you choose to sacrifice yourself, you will receive the passive skill ‘Exalted’, providing you with +2.0 to all damage, increasing damage resistances by +10, and reducing Stamina and Mana costs by -30%. In addition, you will acquire the permanent effect of ‘Life Drain’. This means that you will slowly lose maximum health over time, until you are completely depleted of it and enter a space known as ‘In Between’. Here you will dwell forever and cannot escape. The Life Drain progresses gradually, beginning with -30% after 10 days, -60% 10 days after that, and -90% another 10 days after that. It is at this point that you will enter In Between.
If you choose not to sacrifice yourself, you will be instructed to enter the streets of Monsoon and help to fight the battle against the Scourge beasts. In particular, you will need to defeat a unique immaculate known as the Butcher of Men. Before exiting the temple to the streets, be sure to drink the Peacemaker Elixir, granting a permanent boost of +20 to Health, Stamina and Mana.
To end the fight quickly, focus on defeating the Immaculates primarily. In particular, you will need to defeat a unique Immaculate named the Butcher of Men, who can be found to the south west of Elatt’s temple. The Immaculates are particularly powerful and can knock you down with two hits if you have light armour. You should take advantage of the help from other heroes such as Sagard Battleborn to ensure that you aren’t defeated. Wait until an Immaculate is focusing on a particular hero and then use your most powerful attacks or spells to deal heavy damage from behind.
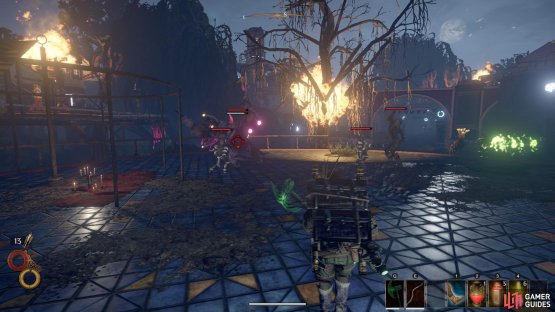

(1 of 2) Take out each group of Immaculates as you defend the city with the guards.

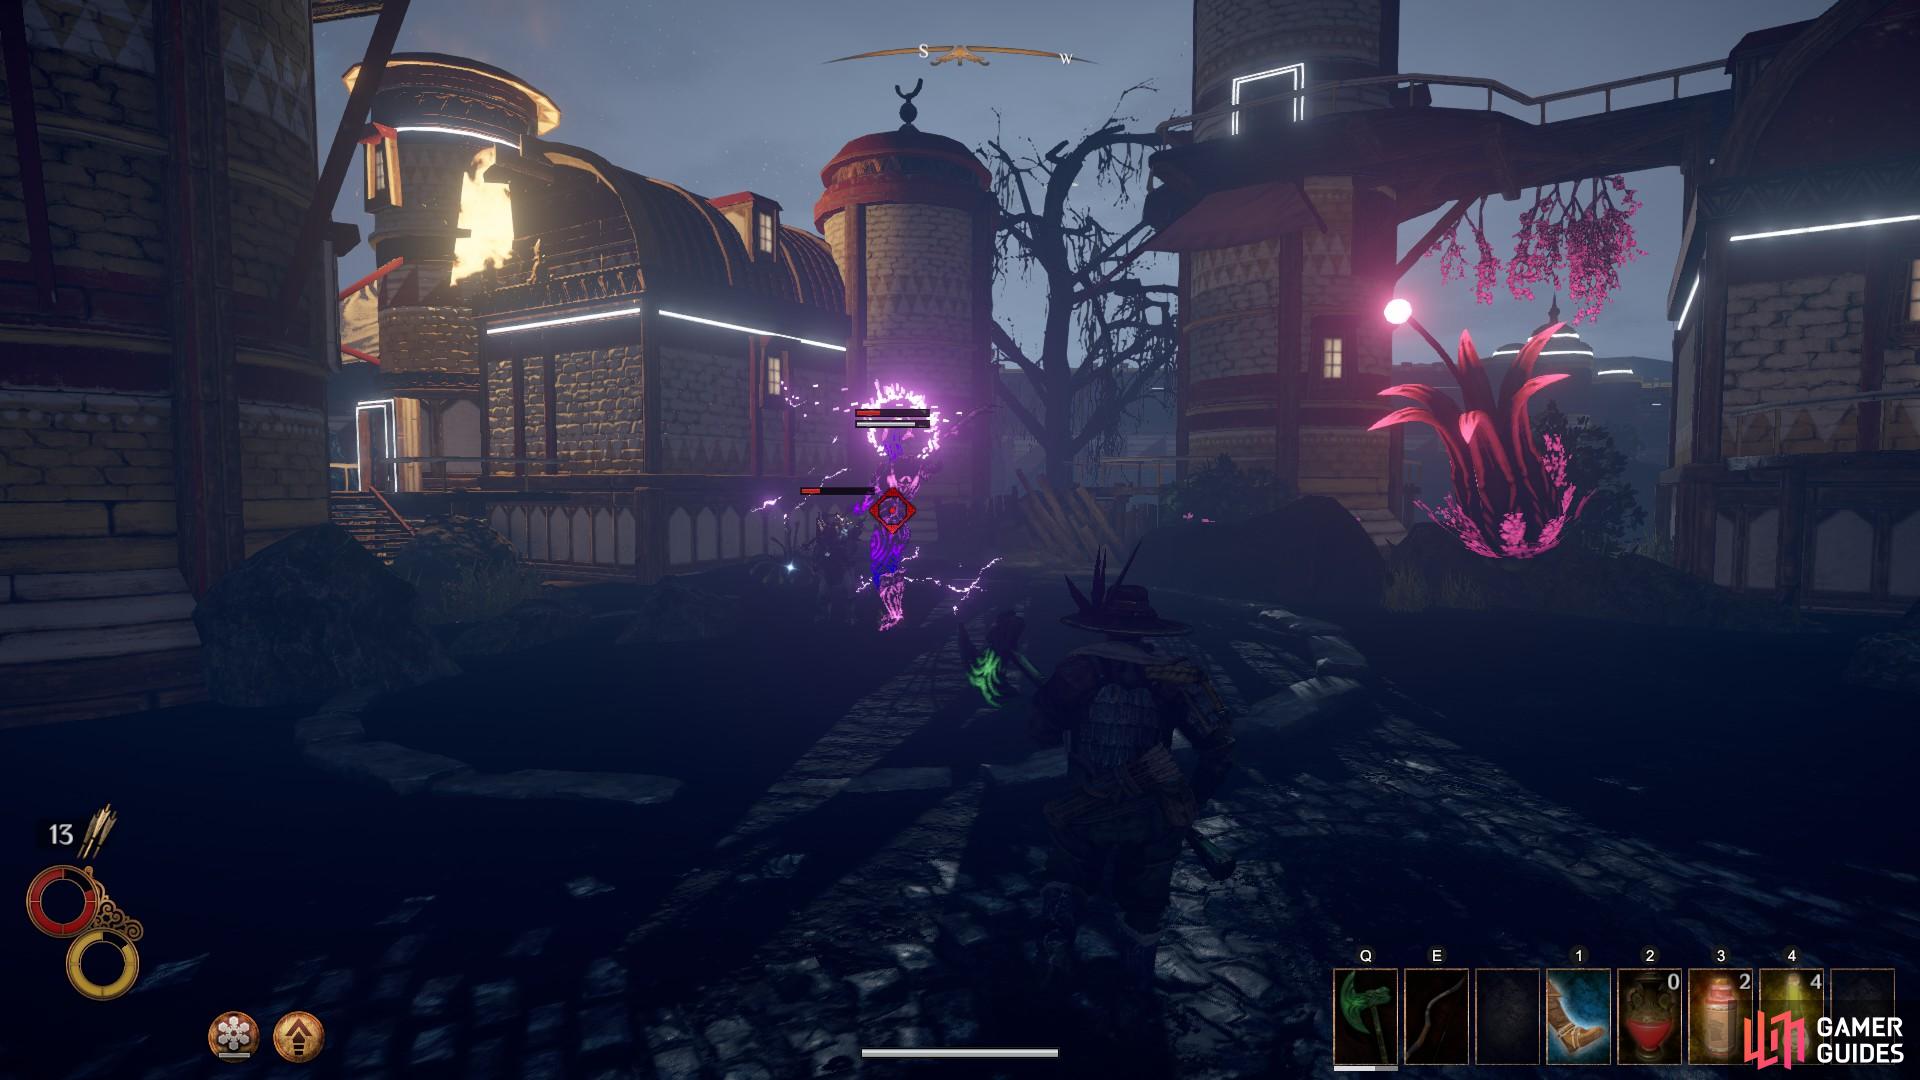
Take out each group of Immaculates as you defend the city with the guards. (left), When you reach the Butcher of Men, keep your distance as he strikes your allies. You can then move in and deliver powerful hits without being knocked back. (right)
At the end of the fight, be sure to loot the Butcher of Men and then speak with Cardinal Bourlamaque. You will be granted further rewards and the quest will complete.
No Comments