
To begin this quest, speak with Cyrene. She can be found in her usual location, to the left of the entrance of the Heroes’ Palace in the north east of Levant. Once you’ve been informed about the dire situation regarding food supplies in the city, you will need to find out more information to locate the Sand Corsairs headquarters. Go to the slums in the south of the city, where you will have the option to speak with two individuals.
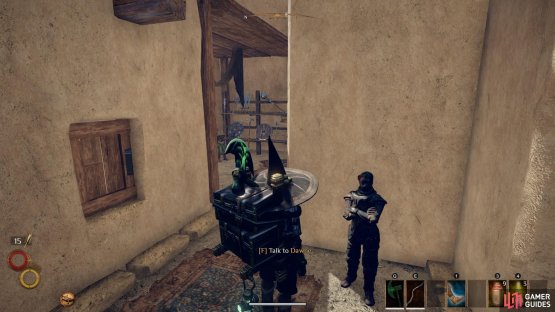
(1 of 2) Speak with Dawne near the training area of the slums for information. Must have completed ‘Silver for the Slums’ to access her.


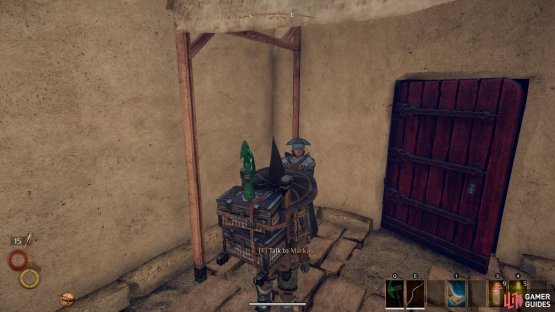
Speak with Dawne near the training area of the slums for information. Must have completed ‘Silver for the Slums’ to access her. (left), Speak with Markus in the south west of the slums for information. (right)
Dawne
To speak with Dawne, you must have completed the quest Silver for the Slums. You will find her in the eastern region of the slums, near to the training area. When speaking with her, choose option 2. “Where did you get that food?”. She will then ask you to provide some silver in exchange for the information. The minimum amount that you need to provide is 50 silver. However, if you provide 100 silver you will be rewarded with a Desert Khopesh; a one-handed sword which deals 20 physical damage and 17 impact, with an attack speed of 1.1.
Markus
If you haven’t completed Silver for the Slums or would rather speak with Markus regardless, you will find him in the south west of the slums, near the entrance to the Undercity Passage. When speaking with him, choose option 2. “You seem shady enough. I’m looking for some information.”. Markus will then challenge you to a fight for the information, and you must pay 50 silver in advance by selecting 2. “Ok, let’s do it.”. The fight is relatively easy, but if you’re having difficulty be sure to use the surrounding slum streets to kite Markus as you recover stamina. After defeating Markus, speak with him again to receive the information and 100 silver.
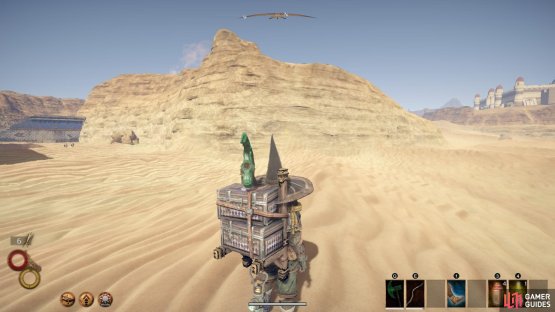
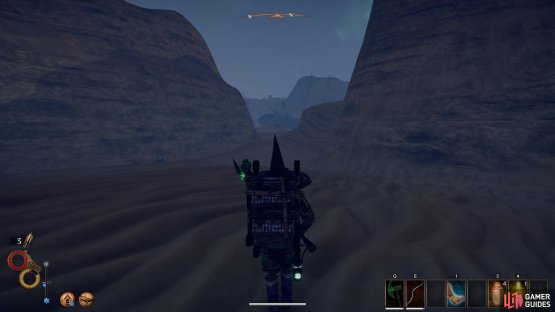
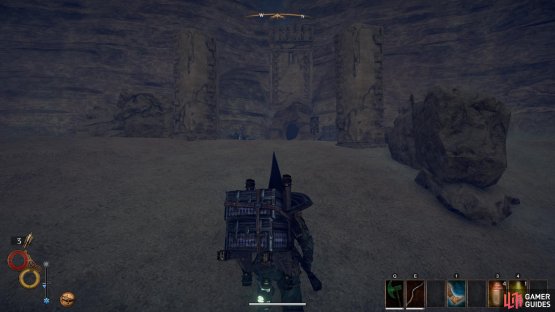
When you have successfully negotiated with either Dawne or Markus, the quest log will update and you can make your way to the ruined outpost. The outpost is located in a valley to the south west of Levant. Upon leaving the city by the main entrance, head south until you see an opening to the west. The ruined outpost is located within this valley. You will know it is the correct place by noting the presence of a Desert Lieutenant and either a Desert Bandit or Ice Witch. You will encounter more of these enemies as you make your way to the entrance of the ruined outpost. You can choose to either kill them or run through them to the doorway.
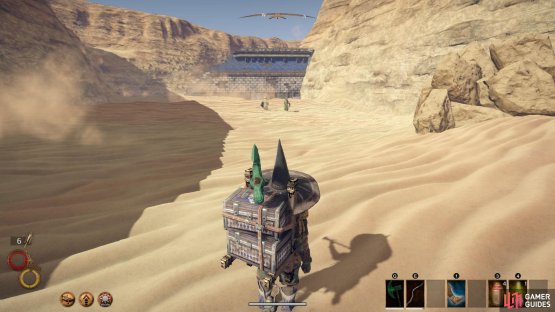
(1 of 2) You will find the entrance to the Ruined Outpost south west of Levant.


You will find the entrance to the Ruined Outpost south west of Levant. (left), The entrance is patrolled by bandits, including a number of Lieutenants. (right)
Once inside the outpost, speak with the Blue Chamber Scout. Here you will have three options:
-
Pay 100 silver and bribe the scout to reveal information.
-
Threaten the scout for information, at which point you can choose to fight or not.
-
If you have a Writ of Tribal Favour, you will be able to invoke it for information.
Regardless of what you choose, at the end of the discussion you will have the information you need. You can now return to Yzan in Levant and inform him about the situation. When speaking with Yzan the dialogue options are entirely linear; you will propose a plan of attack and suggest that you enter Old Levant through The Slide, a cave system which leads into the Ruins of Old Levant.
There are multiple entrances to The Slide, however the most convenient one is located west of the Parched Shipwrecks, north west of Levant. To reach the Parched Shipwrecks, head north west from the main entrance of Levant, passed the Walled Garden. You will see an opening in the cliff leading to a valley with a large shipwreck at the centre of it. Make your way to the ship and then head north west. You will see the main entrance directly ahead.
(1 of 2) Follow the cliff edge south passed the Walled Garden until you see an opening, leading to the Parched Shipwrecks.


Follow the cliff edge south passed the Walled Garden until you see an opening, leading to the Parched Shipwrecks. (left), Once you reach the ship, head north west until you see the entrance to The Slide. (right)
Once inside The Slide, take the path to your right until you reach a metal gate. Use the key to open the gate and continue west into the room ahead, where you will encounter three bandits. Kill them or run passed them and then take the stairs immediately to your right upon entering the room. Follow the stairs until you reach another metal gate and use the key to go beyond it to the large wooden door, leading to Ruins of Old Levant.
When you enter the Ruins of Old Levant your quest log will be updated. You must now make your way to the western part of Old Levant and stop the Corsair leader at the Vigil Tower. Turn right from the oasis in front of you and head south. Continue south west until you reach the Corsairs’ Headquarters. Once inside you will see a room immediately in front of you to the north. Kill the two bandits inside and then speak with their leader, Zagis.
At this point you have two options to resolve the conflict:
-
1: “Then the only way my people will be safe is to kill you. Defend yourself, Zagis!”
-
2: “Then surrender honorably. Take responsibility for your actions, and end this conflict before your people end up slaughtered!”
If you choose option 1 you will need to fight Zagis and defeat him. This will result in you obtaining his weapon, ‘Zagis’ Saw’, which deals 40 physical damage and 48 impact, with an attack speed of 0.8. In addition, the weapon inflicts pain upon contact. Zagis is swift and deals high damage, so you will need to use the space of the room wisely to evade his attacks. You can also use the nearby stairs to gain some distance between you and Zagis, allowing you to recover health, stamina or mana. Option 2 will allow you to resolve the conflict without a fight, but you will not be able to obtain Zagis’ Saw in this scenario.
Regardless of your choice, when you’re done with Zagis you can leave the tower and walk forward a short way until you are transported to a location with Yzan and Cyrene. Here you will have to decide what to do with one of the main culprits of the Sand Corsair operation; Clayton. As a high profile banker, he has a fair amount of power which can be manipulated depending on your decision. Here you will have two options:
-
1: “Double your food deliveries to Levant, at a quarter of the price. People are starving to death.”
-
2: “The best kind of favor. The kind we get to decide on whenever we need it.”
Choosing option 1 ensures that you help the slums, which provides access to Tamara and Dawne without having to complete Silver for the Slums. In addition, the timer for the subsequent quest ‘Mouths to Feed’ will be extended. Option 2 will allow you to demand a favour from The Soroboreans during the ‘Mouths to Feed’ quest, saving the player 300 silver.
Whichever option you choose, when ready you can speak with Cyrene to complete the quest and be transported back to Levant if you wish.
No Comments