
This quest can be acquired from Rissa Aberdeen, who can be found in her usual place at the market in Berg. After discussing the details of the backstory for the quest with Rissa, she will ask you to travel to Conflux Mountain in Chersonese. Here, your first task will be to protect Roland Argenson and ensure he is able to unlock his mana abilities.
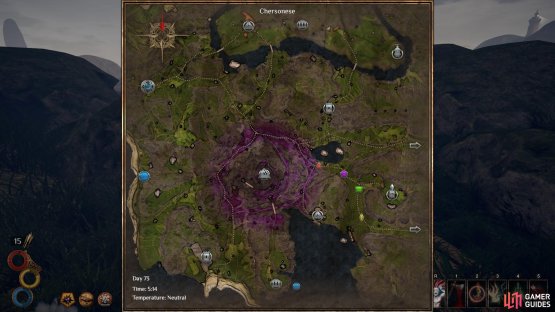
If you haven’t done so already, take some rest and ensure that you have enough food and water supplies. You should also check that you have at least four travel rations in your inventory to make the journey. When ready, take the southern exit from the city of Berg and follow the road west beyond the docks, then north toward Chersonese, as shown on the map below.
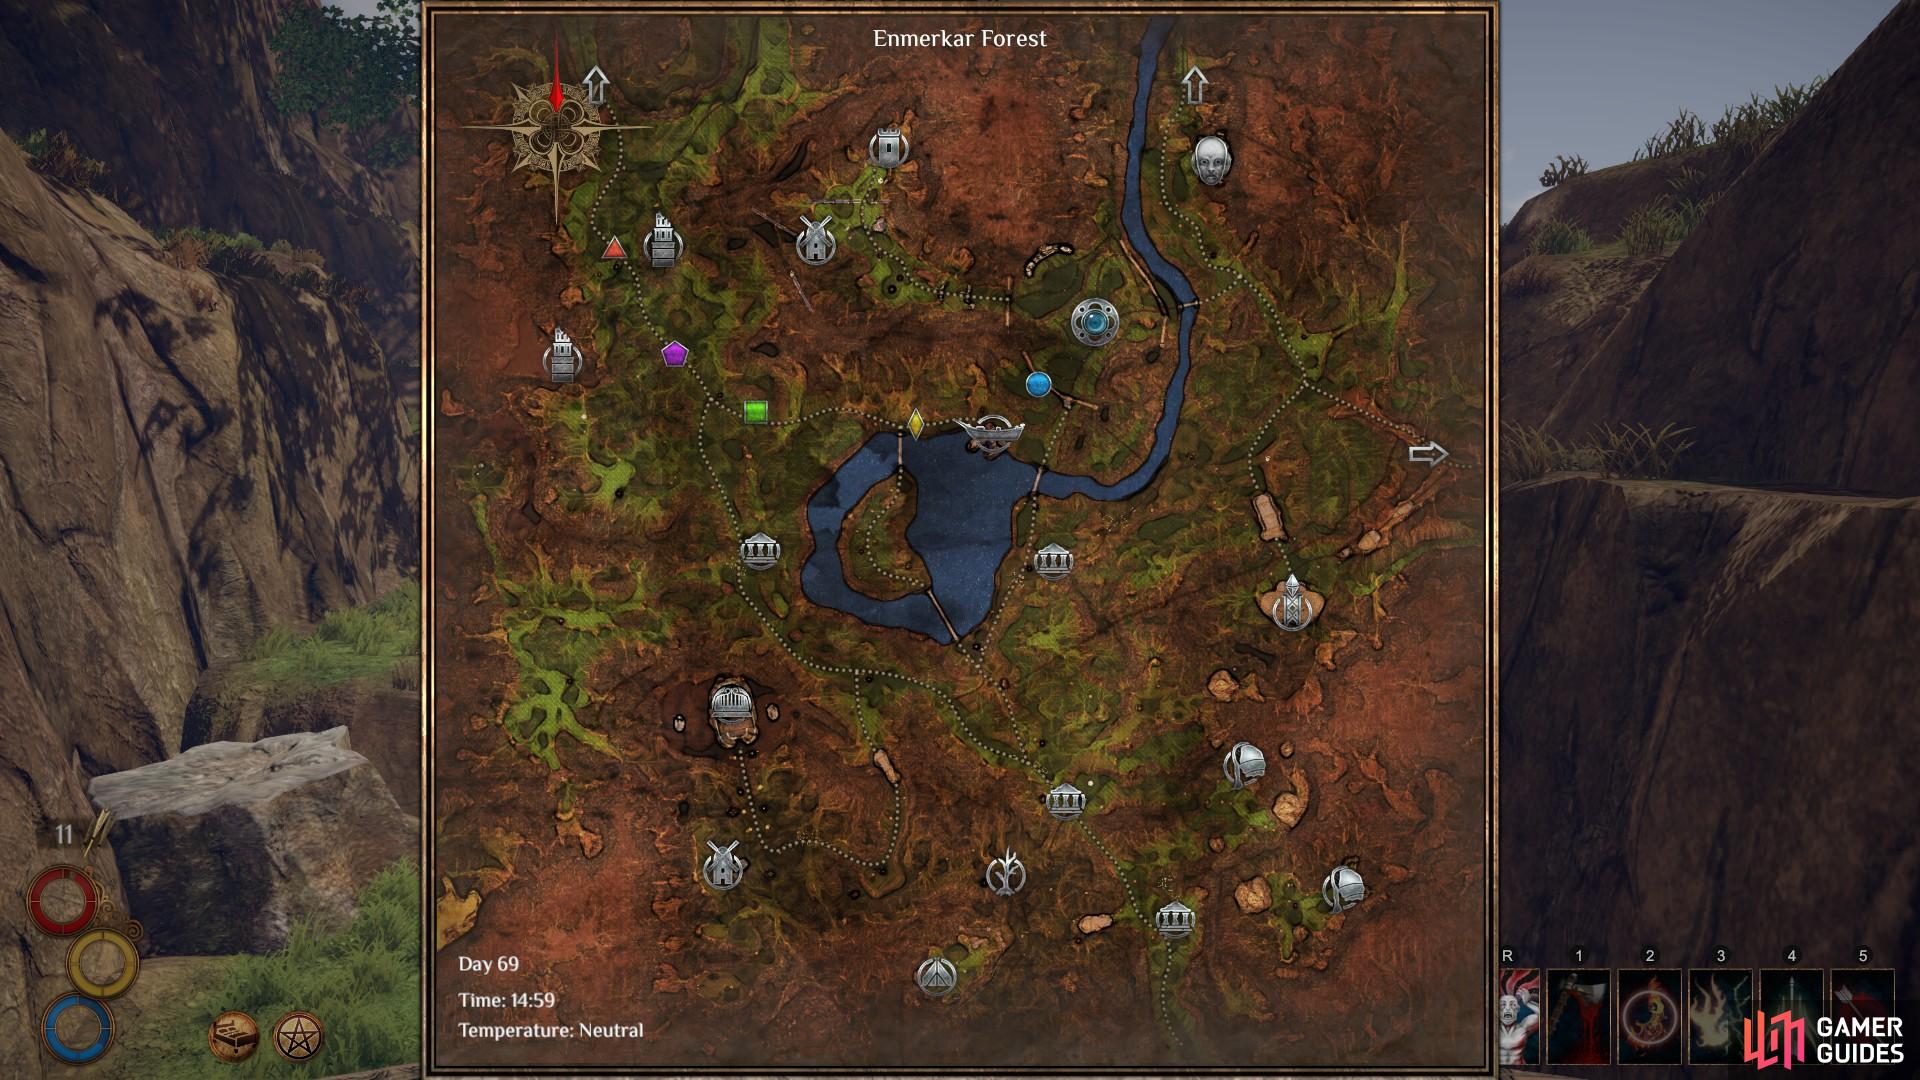
The road from Berg to Chersonese, as marked here by the map icons.
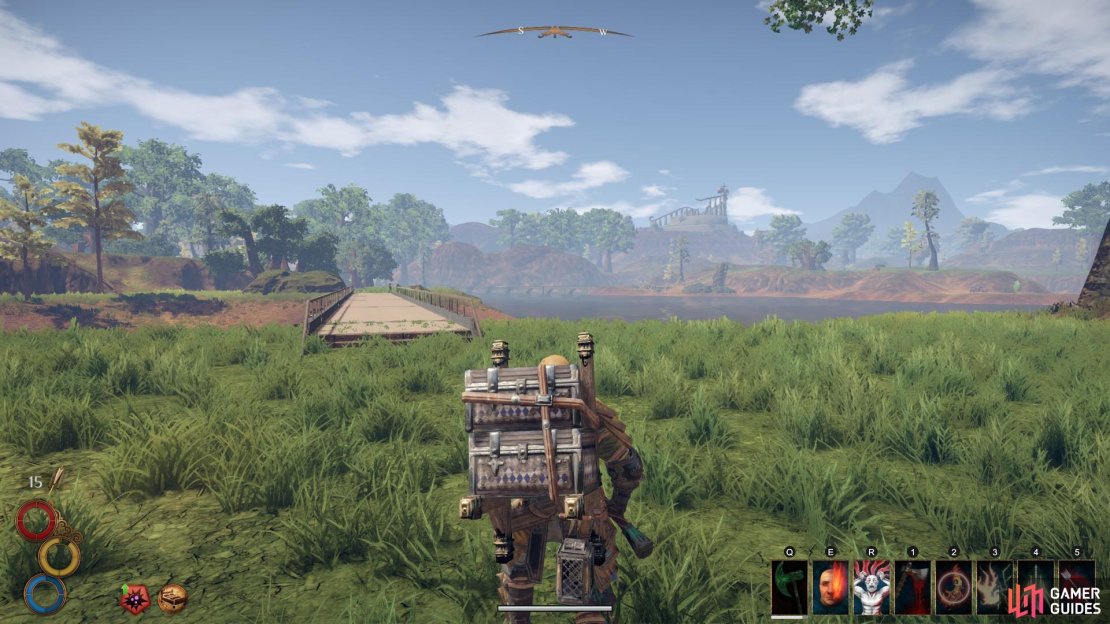
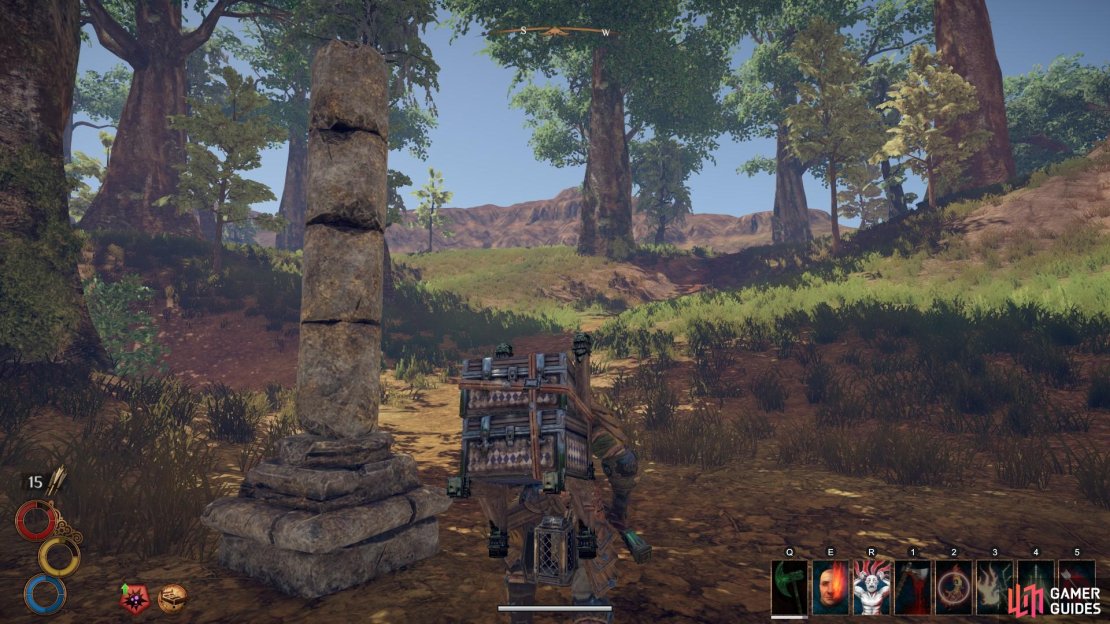
When you enter the region of Chersonese from Enmerkar Forest, you will immediately be able to see Conflux Mountain in the distance. As the central point of the map, it should be visible from most positions within Chersonese. Follow the road west as it bends northward. The road will then turn west again. At the crossroads, head north west until you come to a split in the road. From here, turn west until you come to another split in the road. At this point you should be able to turn south and see a path leading up into the mountain, marked by a stone archway as shown below.
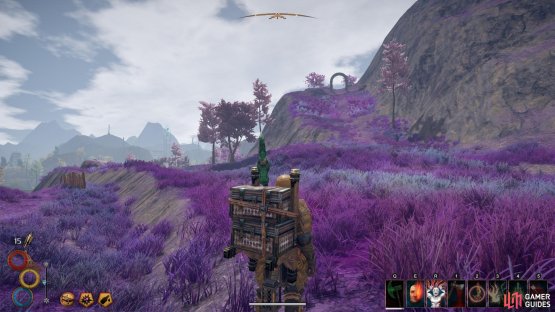
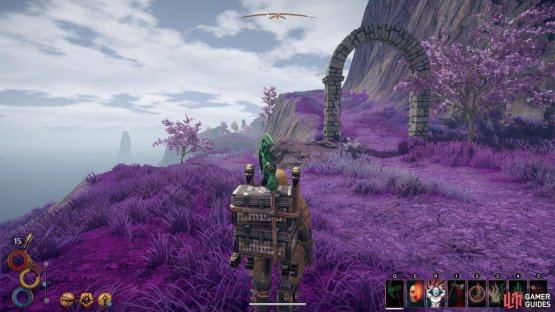
(1 of 2) The first stone archway as seen from the main road.

The first stone archway as seen from the main road. (left), The second stone archway which can be reached after passing through the first and walking up the path. (right)
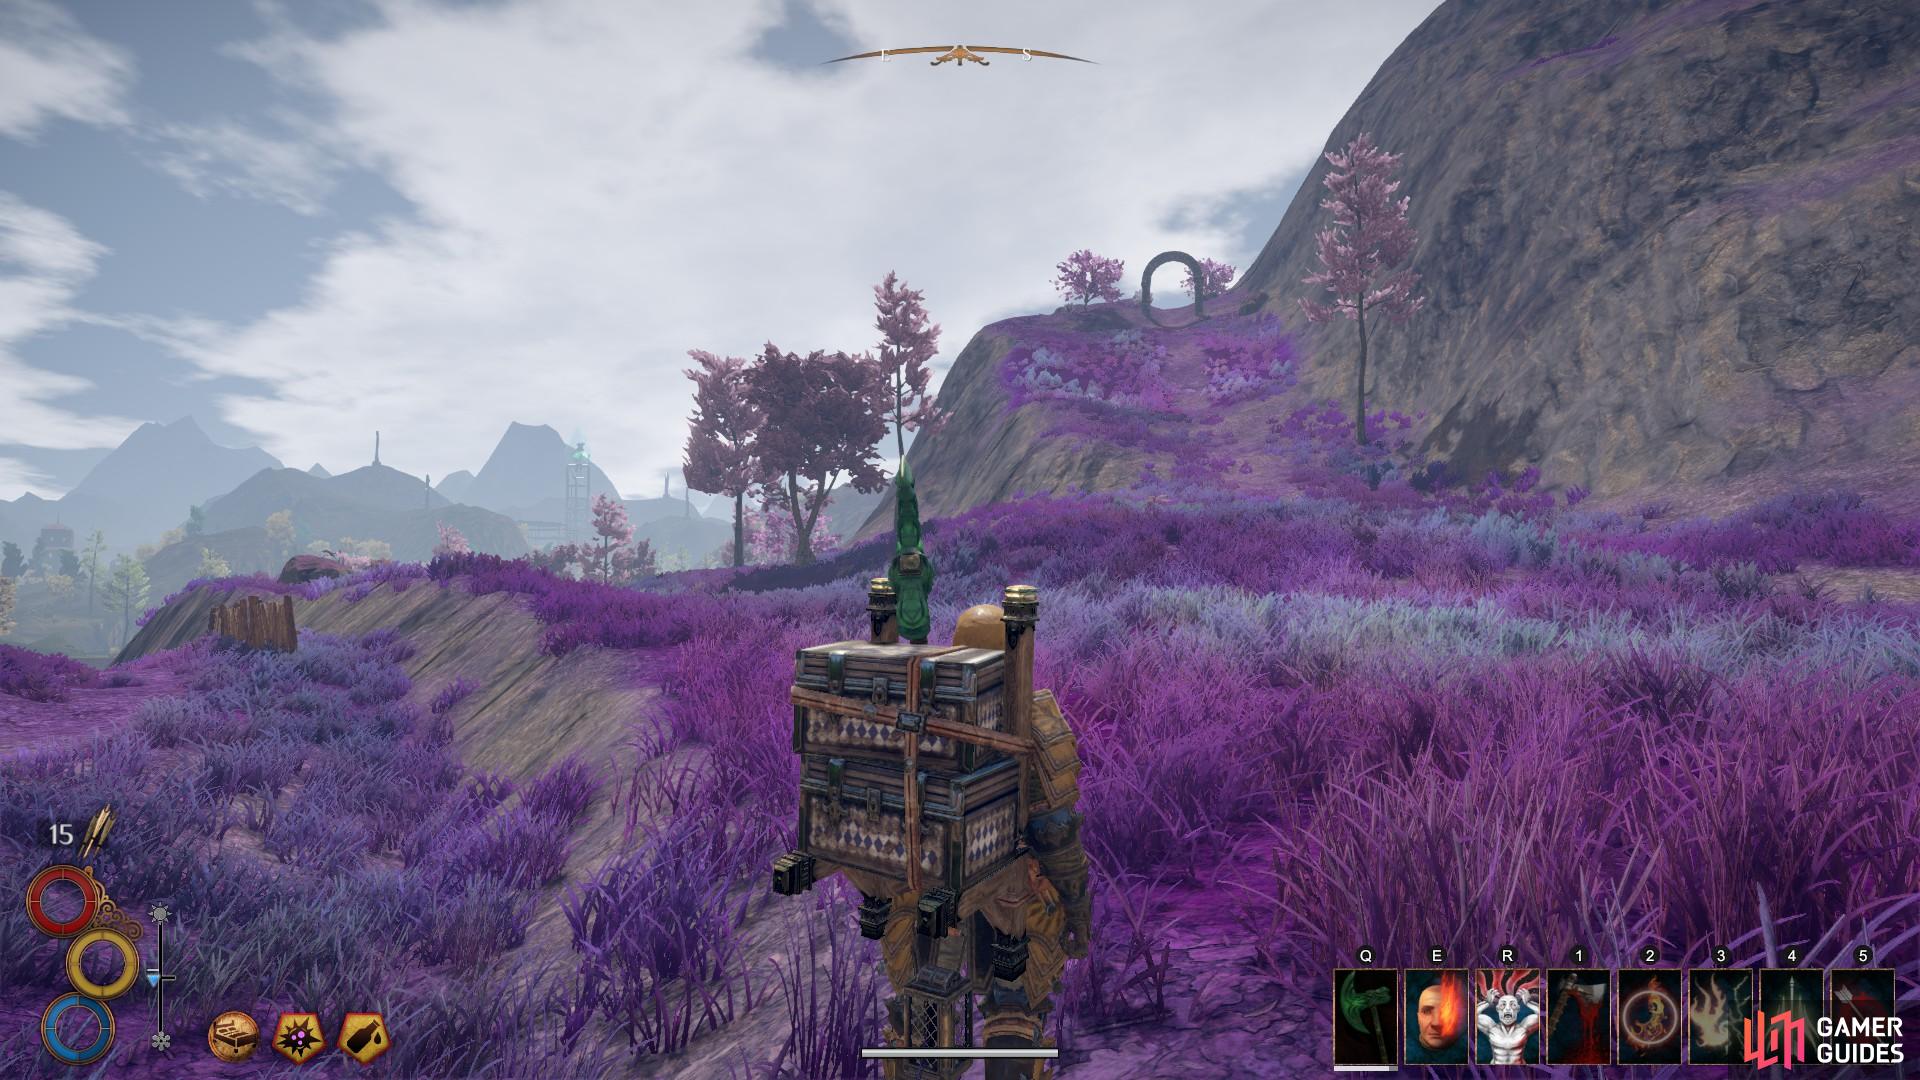
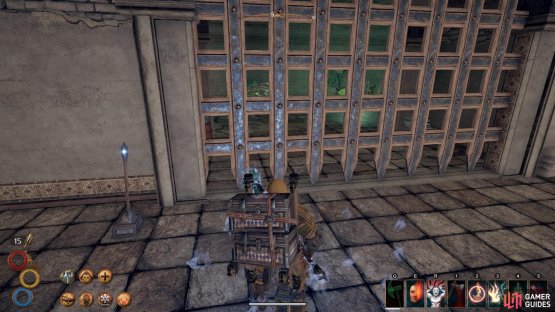
Head south up the path until you come to the second stone archway, as shown above. At this point, do not follow the path through the stone archway. Instead, walk down the path to the left of it. You will eventually come across the entrance to the Blue Chamber’s Conflux Path, marked by two blue banners, as shown below.
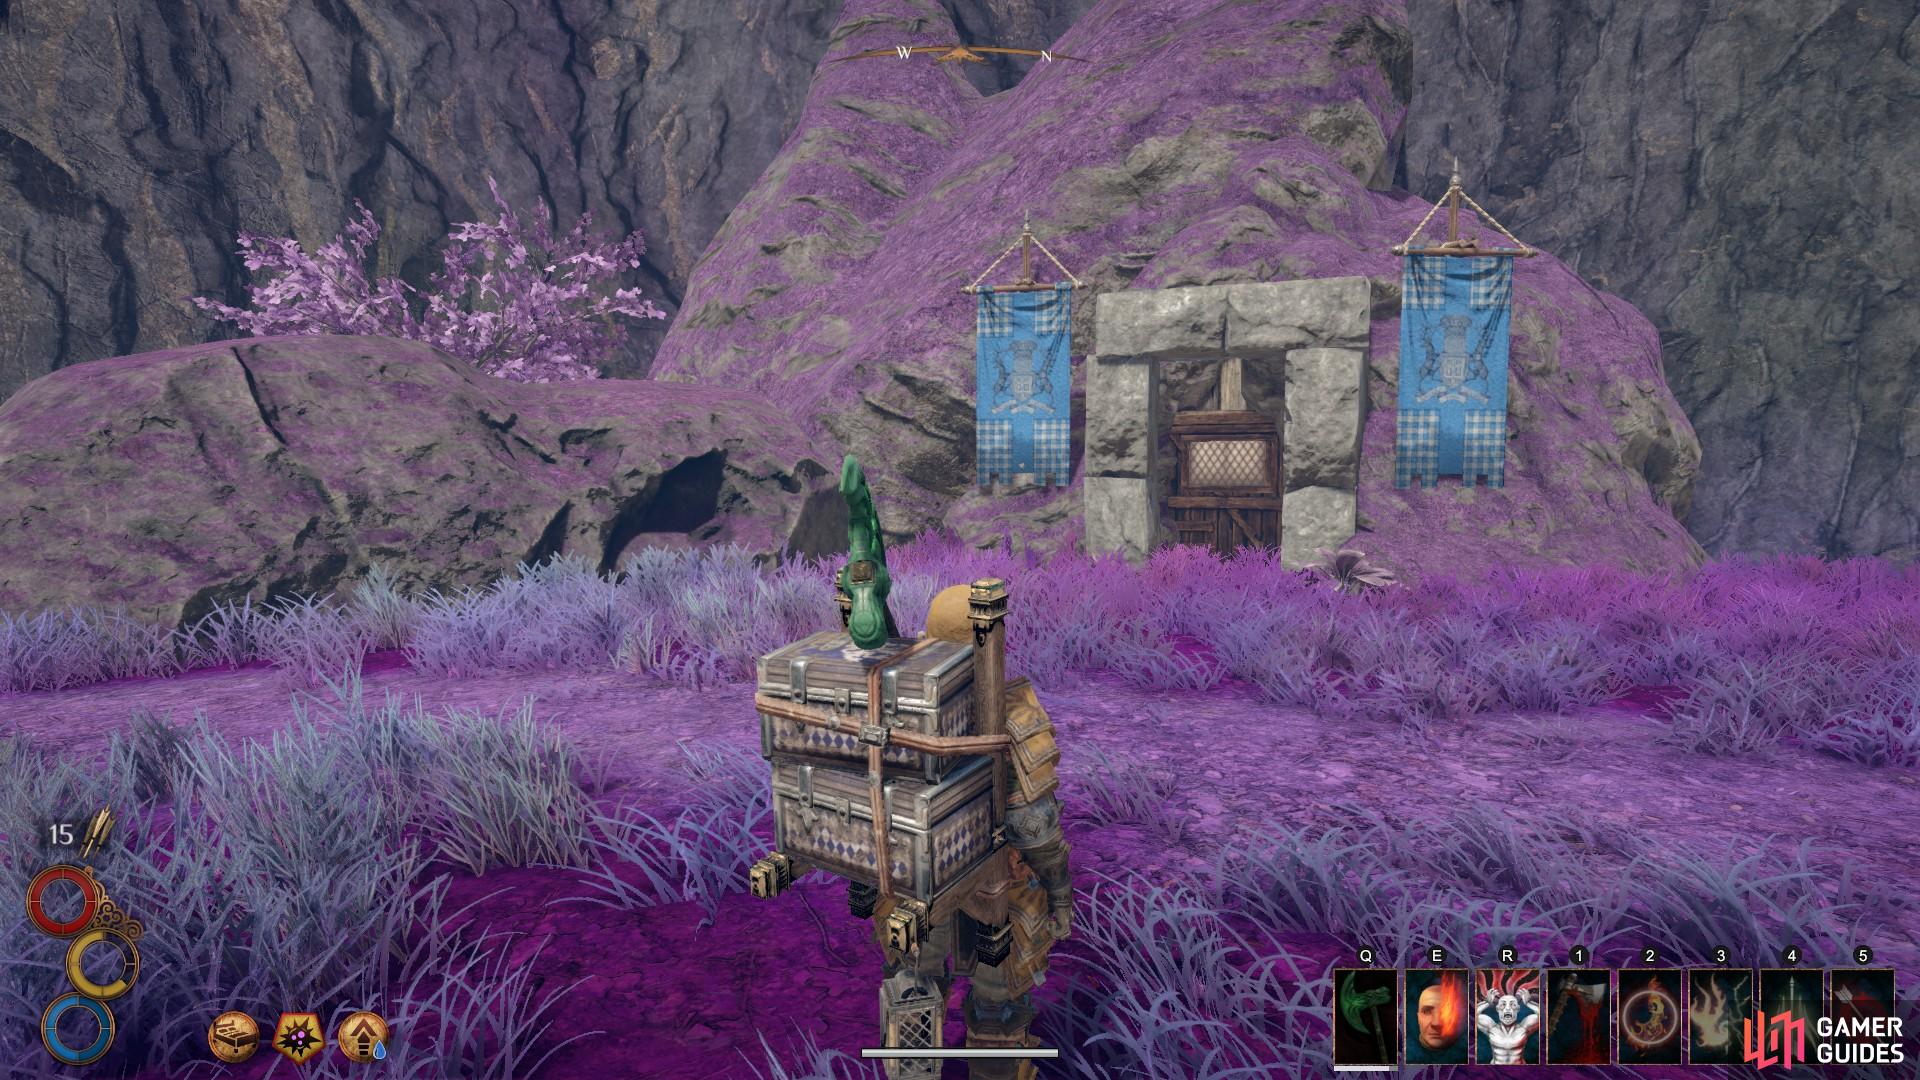
The entrance to the Blue Chamber’s Conflux Path, marked by two blue banners.
When you enter the mountain through the Blue Chamber’s Conflux Path entrance, walk directly ahead until you fall down a ledge. From here, turn right and head north. When you reach the next split in the path, turn right again and head east. Continue east as you navigate a bend in the path until you reach a junction with three downward slopes. From here, turn right and take the path south. This path is quite linear, so continue south until you reach the Conflux Chambers doorway.
When you enter the chambers, turn south and then west, over the bridge. You will see a figure in the distance; the Fifth Watcher. Walk toward him until you reach the centre of the mountain. From here, climb the slope to your right and meet Roland at the top, who should be standing between the First and the Fourth Watcher.
When you’ve spoken to Roland you will have the option to aid him in recovering an item which belonged to his father. The item is located in Starfish Cave, located on a beach near Cierzo. Be sure to accept this request to achieve the best possible quest outcome. To accept, choose dialogue option two which reads: “Sure, why not. It’s not that far out of the way.” When you’re ready, use the boat behind you to travel back to Chersonese.
When you emerge from Conflux Mountain you will find yourself on a beach in the south of Chersonese, near to the fortress of Vendavel, as shown above. This is not the beach where Starfish Cave can be found. You will need to take the main road north toward Cierzo, travel around the fortress of Vendavel and make your way west to the beach directly south of Cierzo. Once on the beach, you will find the cave more or less at the centre of the beach, as shown below.

(1 of 2) The location of Starfish Cave on the map, as marked here by the blue circle at the westernmost beach.

The location of Starfish Cave on the map, as marked here by the blue circle at the westernmost beach. (left), The entrance to the Starfish Cave, as approached from the western shores of the beach. (right)
Once you enter Starfish Cave at the correct time, you will be able to go to its lower depths and find Roland. There will be a Mantis in this region which you will need to defeat. When you’ve killed the Mantis, speak with Roland. To ensure the best quest outcome, choose the most encouraging dialogue options in response to what Roland says, namely; “Roland, get your chin up. There’s always hope if you keep at it.” and “I can see why you’d come back for this.” When you’re done speaking with Roland, you will be prompted to return to Berg.
When you’re back in Berg, you will need to speak with Gabriella Sullivan. She can be found in the north east of the city, directly north of Rissa. Gabriella will task you with defeating a Shell Horror at the Cabal of Wind Temple. You should also speak to Roland to ensure that he goes with you. Specifically, choose the dialogue option “What’s wrong with your Mana? You’re able to summon that sword just fine.”
You can then agree to help Roland to control his mana by speaking with Taleron, the smith in Berg. You will need to provide either a Large Emerald or Medium Ruby, along with a Mana Stone and some Blue Sand. By this point in the story you should have acquired plenty of each of these ingredients, but if you don’t have access to them you can purchase them form the merchants in the city.
when you have provided the ingredients to Taleron he will state that the trinket will be delivered to Roland within an hour. You can rest one hour to be sure, but note that this objective will not update in the quest log. When ready, speak with Roland again and choose the dialogue option “It’s time to kill that green horror! Meet me at the Cabal of Winds Temple.”
You can now take the southern exit from the city of Berg and follow the main road south, along the eastern shore of the lake. You can actually see the Cabal of Winds Temple from the bridge south of Berg, as shown in the image below. When the road south splits, just head toward the temple structure. At the split in the road, you will see a path to the south west which leads up a hill. Once you’ve ascended the path, a main road will turn west. Follow this road to reach the temple.
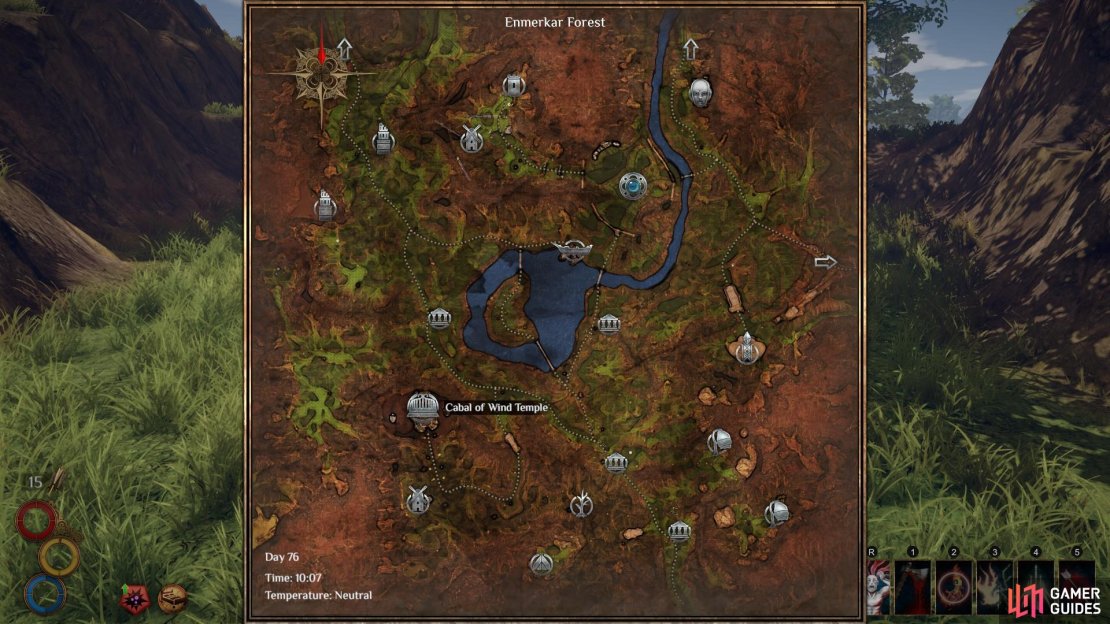
(1 of 3) The location of the Cabal of Wind Temple on the Enmerkar Forest map.
To save time, you can climb the side of the hill on which the temple is built by following pathways of lighter soil. Otherwise, approach the temple from the west for an easy ascent. Approaching the temple from the west will also lead you to a supply cache on a small hill and a ruined tower which contains a chest of loot. You can enter the temple structure from its southern side, and then climb down into the temple from the large hole in the ground. There will be an Immaculate guarding this hole; you can choose to kill it or just enter without bothering.
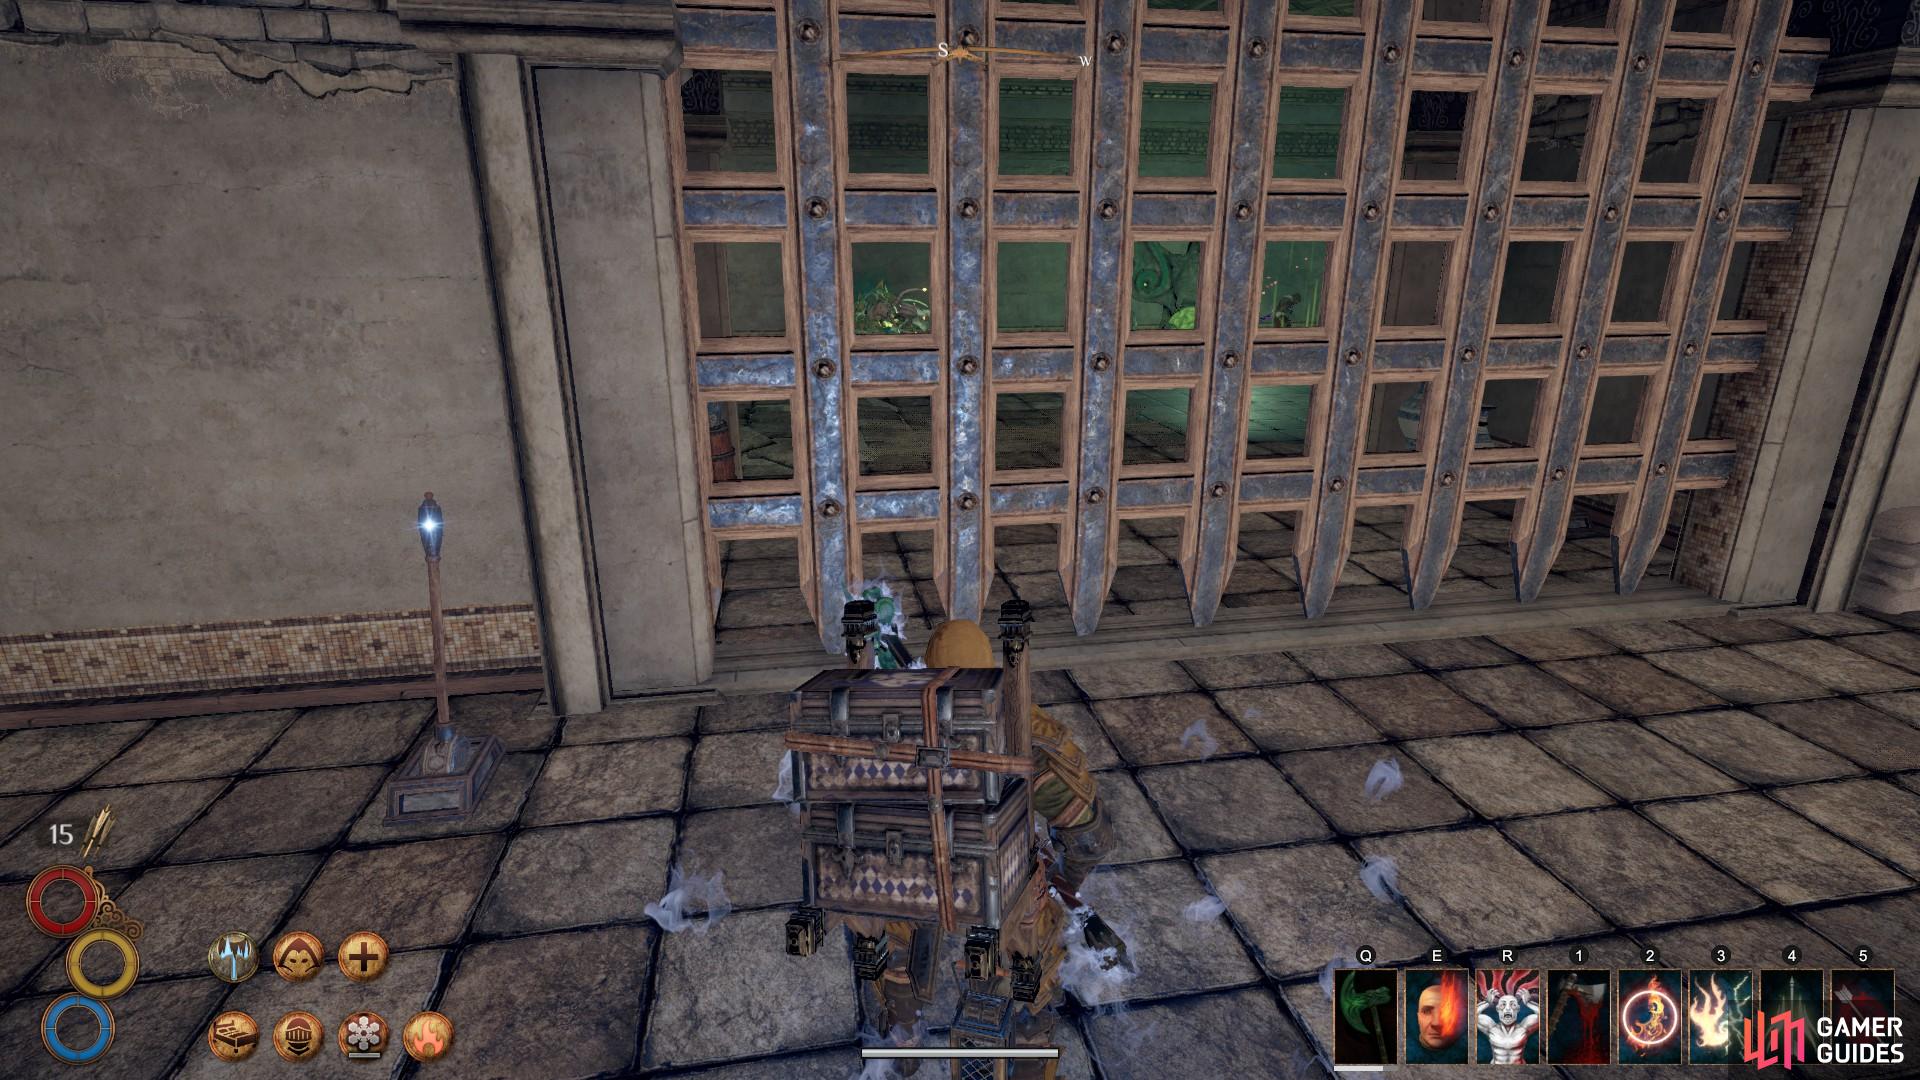
When you enter the temple, you will be able to see the Shell Horror and Roland behind a gate immediately in front of you. Use the lever next to the gate to open it, and then use the lever to your right, beside the gate, to lock yourself in the room with the Shell Horror (this prevents any other patrolling creatures joining the fight). The Shell Horror is relatively easy to take out; it is usually slow to attack and has a short range of attack. Use a reach advantage and kite, or if you have a high impact weapon you can combine attacks to bring it down swiftly with minimal incoming damage sustained.
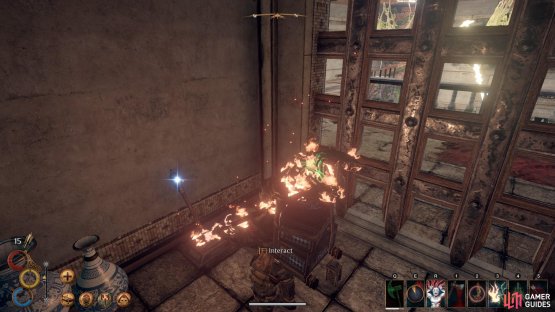
(1 of 2) Use the lever to the left of the gate to open it.

Use the lever to the left of the gate to open it. (left), Once you’ve opened the gate, use the lever immediately to your right inside to close it again. (right)
Once the Shell Horror is dead, Roland will speak with you. Be sure to choose the dialogue option “You carried your weight there. Good work.” to encourage him. When Roland is gone, loot the Shell Horror and the nearby chest. You can take this opportunity to explore the rest of the temple or return to Berg immediately. When in Berg, speak with Gabriella to report that you’ve killed the Shell Horror. You will need to present the Green Horror Chitin, so be sure not to sell it.
After speaking with Gabriella she will ask you to visit the inn to seek out Julius. Upon entering the inn you will note that he has been murdered, by Sagard Battleborn. Speak with Sagard to learn more about the situation. Once you have exhausted all dialogue options, go to the Blue Chamber Necropolis to seek out the woman that Sagard mentioned. Upon entering the Blue Chamber, head north to the stone circle. Here you can speak with Cyril Turnbull to learn the Mist Boon if you don’t already know it. Now head into the Necropolis at the bottom of the stairs in front of you.
Regardless of how long you took to get to this point in the quest, there should be at least two ghosts that you will need to kill down here. When they’re dead, turn east and go down the stairs beyond the metal gate. Here you will find Gabriella. Speak with her to learn of what has happened to Roland. She will ask you to burn some Greasy Fern at the altars of both the Sutherland and the Aberdeen families.

(1 of 3) Speak with Gabriella by the mana barrier before you proceed throughout the Necropolis.
If you have no Greasy Ferns in your inventory, turn right from Gabriella and loot the junk pile in the corner of the hallway, which should contain two of them. If it has none, turn south and enter the first room on your left. This room contains a number of Greasy Ferns on the wall edge.
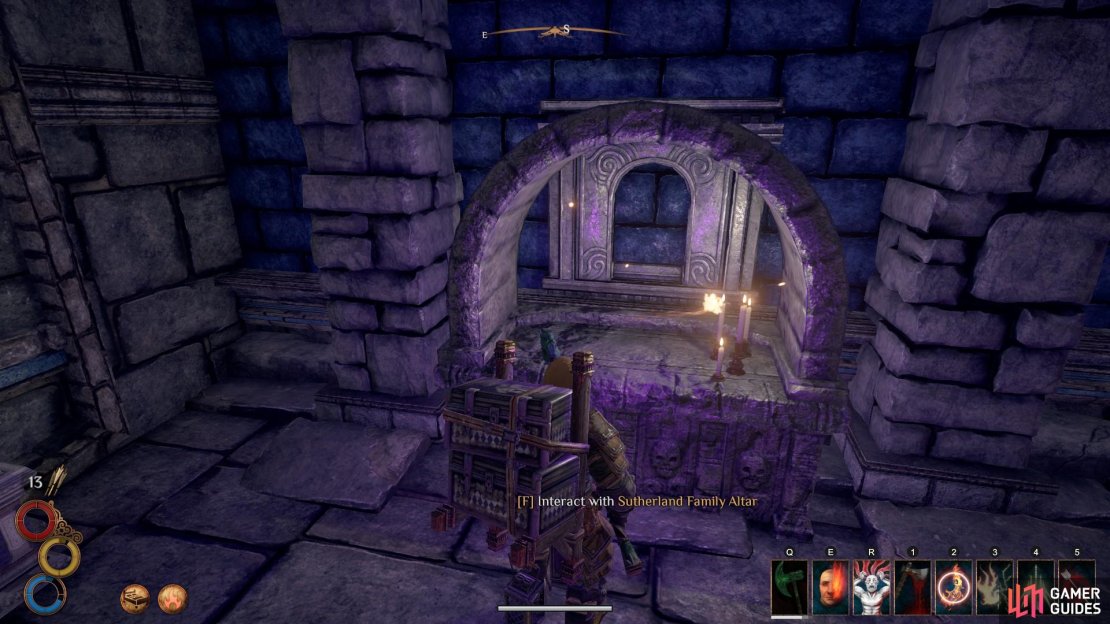
You can now head west and then south, leading you to the Aberdeen family altar. Interact with it to burn the Greasy Ferns. Now head back to Gabriella and head through the halls east from her position. Continue on directly south until you reach the end of the hallway, where you will find the Sutherland Family Altar. Interact with it to calm the spirits and then head back to Gabriella’s position.
The mana barrier at Gabriella’s position will now be gone. Speak with her and then proceed downward. At the bottom of the Necropolis, east of the blue tree, you will find Roland standing beside the Ancestral Altar. Speak with him and choose option 1 in the dialogue. What happens next will depend on your previous interactions with Roland.
Outcome 1: If you encouraged Roland from the day you met him and aided him in controlling his mana, you will achieve a perfect outcome, resulting in the following rewards:
-
3x Luxe Lichette
-
Choose between Ancestors’ Memories passive skill (provides +25 Mana permanently) or Lantern of Souls (provides +10 to all resistances except Ethereal, to which it provides +20)
-
Unlock a unique defeat scenario in which you are saved by ghosts.
Outcome 2: If you encouraged Roland throughout the quest but failed to do so at the beginning of the game in Cierzo, you will receive the following rewards:
-
3x Luxe Lichette
-
Occult Remains
-
Lantern of Souls
Outcome 3: If you failed to encourage Roland and did not aid him in controlling his mana, you will receive nothing and must fight Roland while he is possessed. This will be true even if you encouraged Roland throughout, but failed in helping him to control his mana.
Regardless of the outcome with Roland, head back up the stairs the way you came. You can turn south and explore the halls for some minor loot. Otherwise, head north back up the stairs and speak with Rissa, who can be found waiting at the top where Gabriella was. Speak with her to complete the quest and receive your rewards. It does not matter which dialogue option you choose when prompted.
No Comments