
This quest is acquired from Rissa Aberdeen in Berg, immediately after completing ‘Whispering Bones’. You will need to wait three days before you can pursue the quest. You should speak with Rissa as soon as possible when the option becomes available in the quest log. As this quest is extremely time sensitive (you will have 7 days to complete it with perfect success), it is recommended that you remain in Berg while the time elapses, ready to begin the quest as soon as possible. You can use your bed or a tent to rest throughout the time period, but remember to replenish your food and water needs when necessary.
When you’re ready, after 3 days have elapsed since you last spoke with Rissa, go to see her again. She will task you with convincing three allies to agree to a peace with Levant. These are:
-
Sagard Battleborn, who can be found in the Old Coin’s Inn in Berg.
-
The Montcalm tribe, located in the northern reaches of the region of Chersonese.
-
The Ash Giants, located in their village in the north east of Hallowed Marsh.
To ensure that you complete this task on time, you should approach each ally in a specific order. First, speak with Sagard Battleborn in the nearby inn. Second, travel to Chersonese and convince the Montcalm tribe. And finally, go to the Hallowed Marsh to convince the Ash Giants.
Convincing Sagard Battleborn
As mentioned above, you will find Sagard in the nearby Old Coin’s Inn, in the city of Berg. When you speak with him you will have three options to convince him, as detailed below.
– If you happen to have a Tsar Stone in your inventory, this can be offered to Sagard and he will accept your proposal without a fight.
– If you provided evidence to Sagard during the ‘Purifier’ quest, this will be sufficient to convince him in the form of a favour.
– If you don’t have a Tsar Stone and didn’t provide evidence to Sagard, the only option you will have is to fight him.
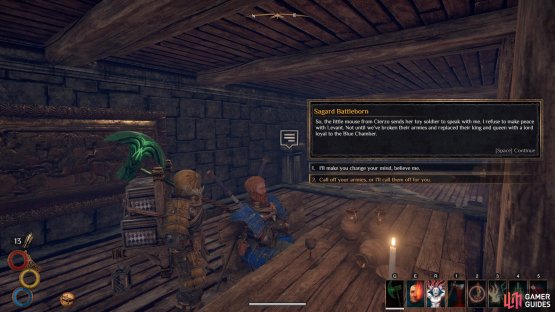
(1 of 2) In your first exchange with Sagard, select option two to ensure that you can fight him.
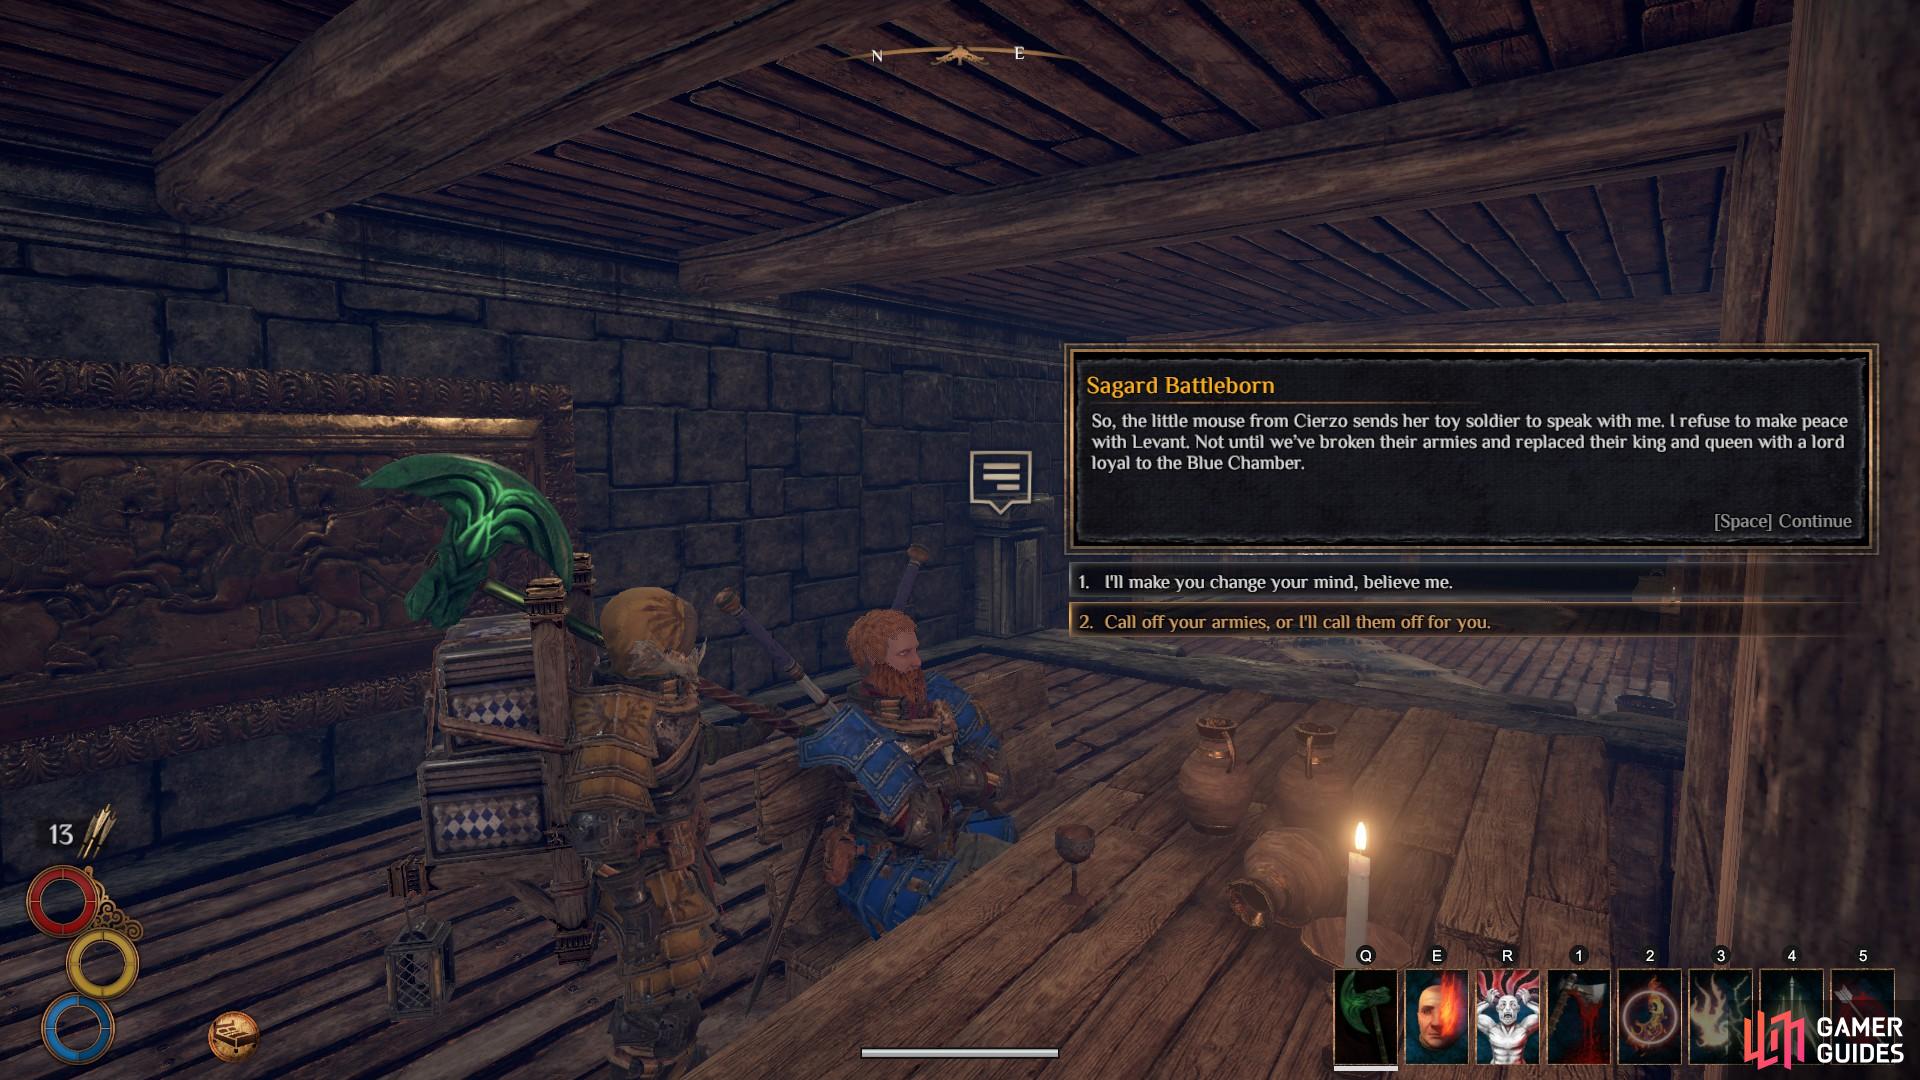
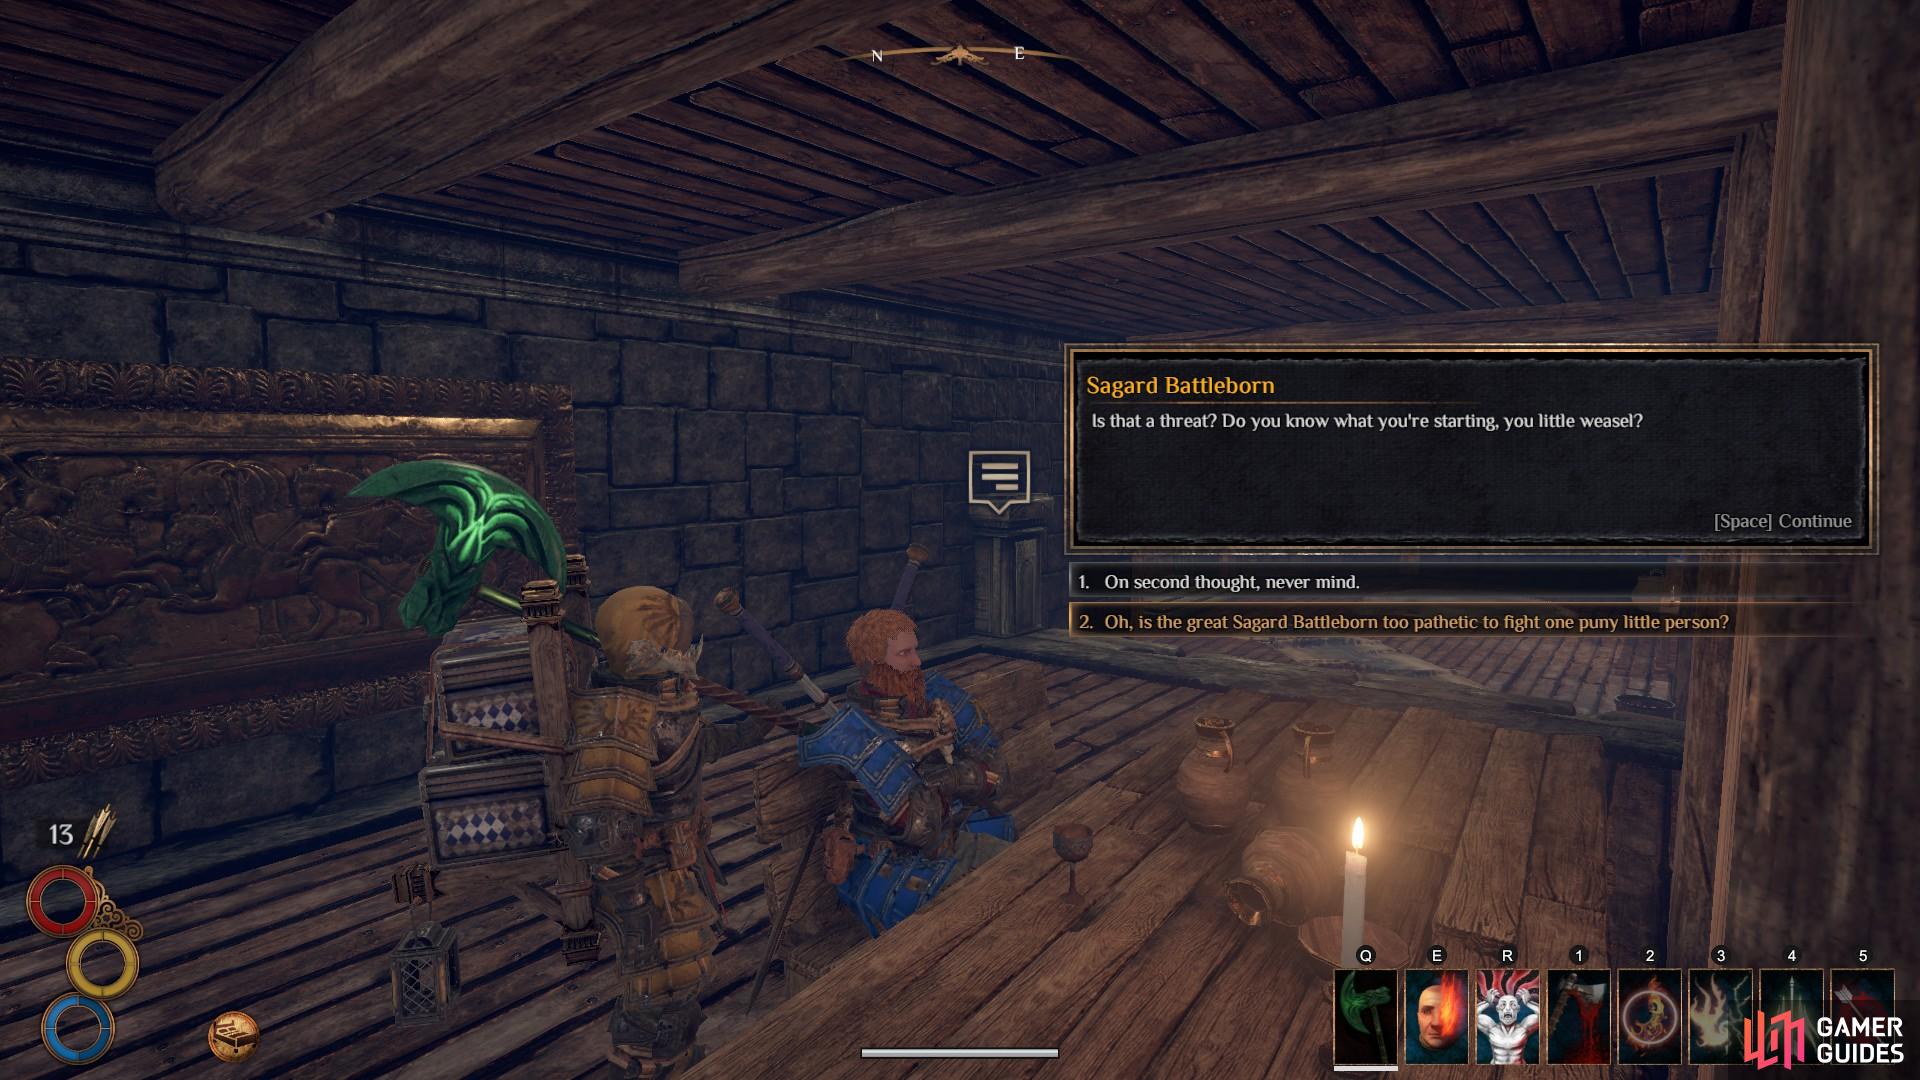
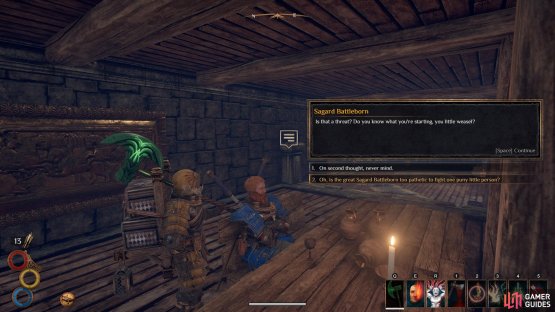
In your first exchange with Sagard, select option two to ensure that you can fight him. (left), In your second exchange, select option two again. (right)
The fight with Sagard can be difficult, but if you know his skillset beforehand you will have a much better chance at defeating him on the first try. He is generally aggressive and has a high amount of health, so smart use of evasion techniques such as dodge and sidestep are key. As soon as the fight begins Sagard will charge you with a leaping attack which deals high damage, so be ready to evade this. If you need to take some time to adjust to Sagard’s movement, use the table where he usually sits to create a barrier between the two of you. This ensures that you don’t use too much stamina by spamming evade manoeuvres.
Sagard has extremely high impact resistance, so if you want to take advantage of impact interruptions, you will need to equip a weapon with at least 40 impact, preferably one with 45 or higher. Otherwise, you can use the table to get in some cheap shots with your bow or with the use of magic. Using the table also allows for enough time to place traps which you can goad Sagard into. His main attacks are the powerful leap attack and a swift, two-slash AoE attack. Keep this in mind as you approach him, be ready to evade and quickly retaliate, and you should be fine.
Convincing the Montcalm Tribe
Once you’ve deal with Sagard Battleborn, you will need to make your way to the region of Chersonese to convince the Montcalm tribe. It is advised that you don’t waste any time resting unless you absolutely need to. Any loss of health or stamina cores due to the fight with Sagard can be replenished with potions, saving you time. Once you’re ready with enough travel rations, leave Berg from its southern gate. Head north west and take the main road leading into Chersonese, as shown below.
Take the road north west from Berg into the region of Chersonese, as marked by red triangles on the map here.
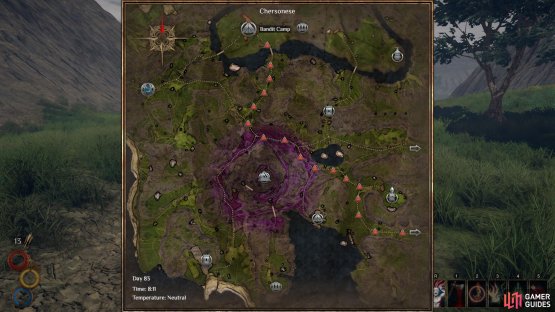
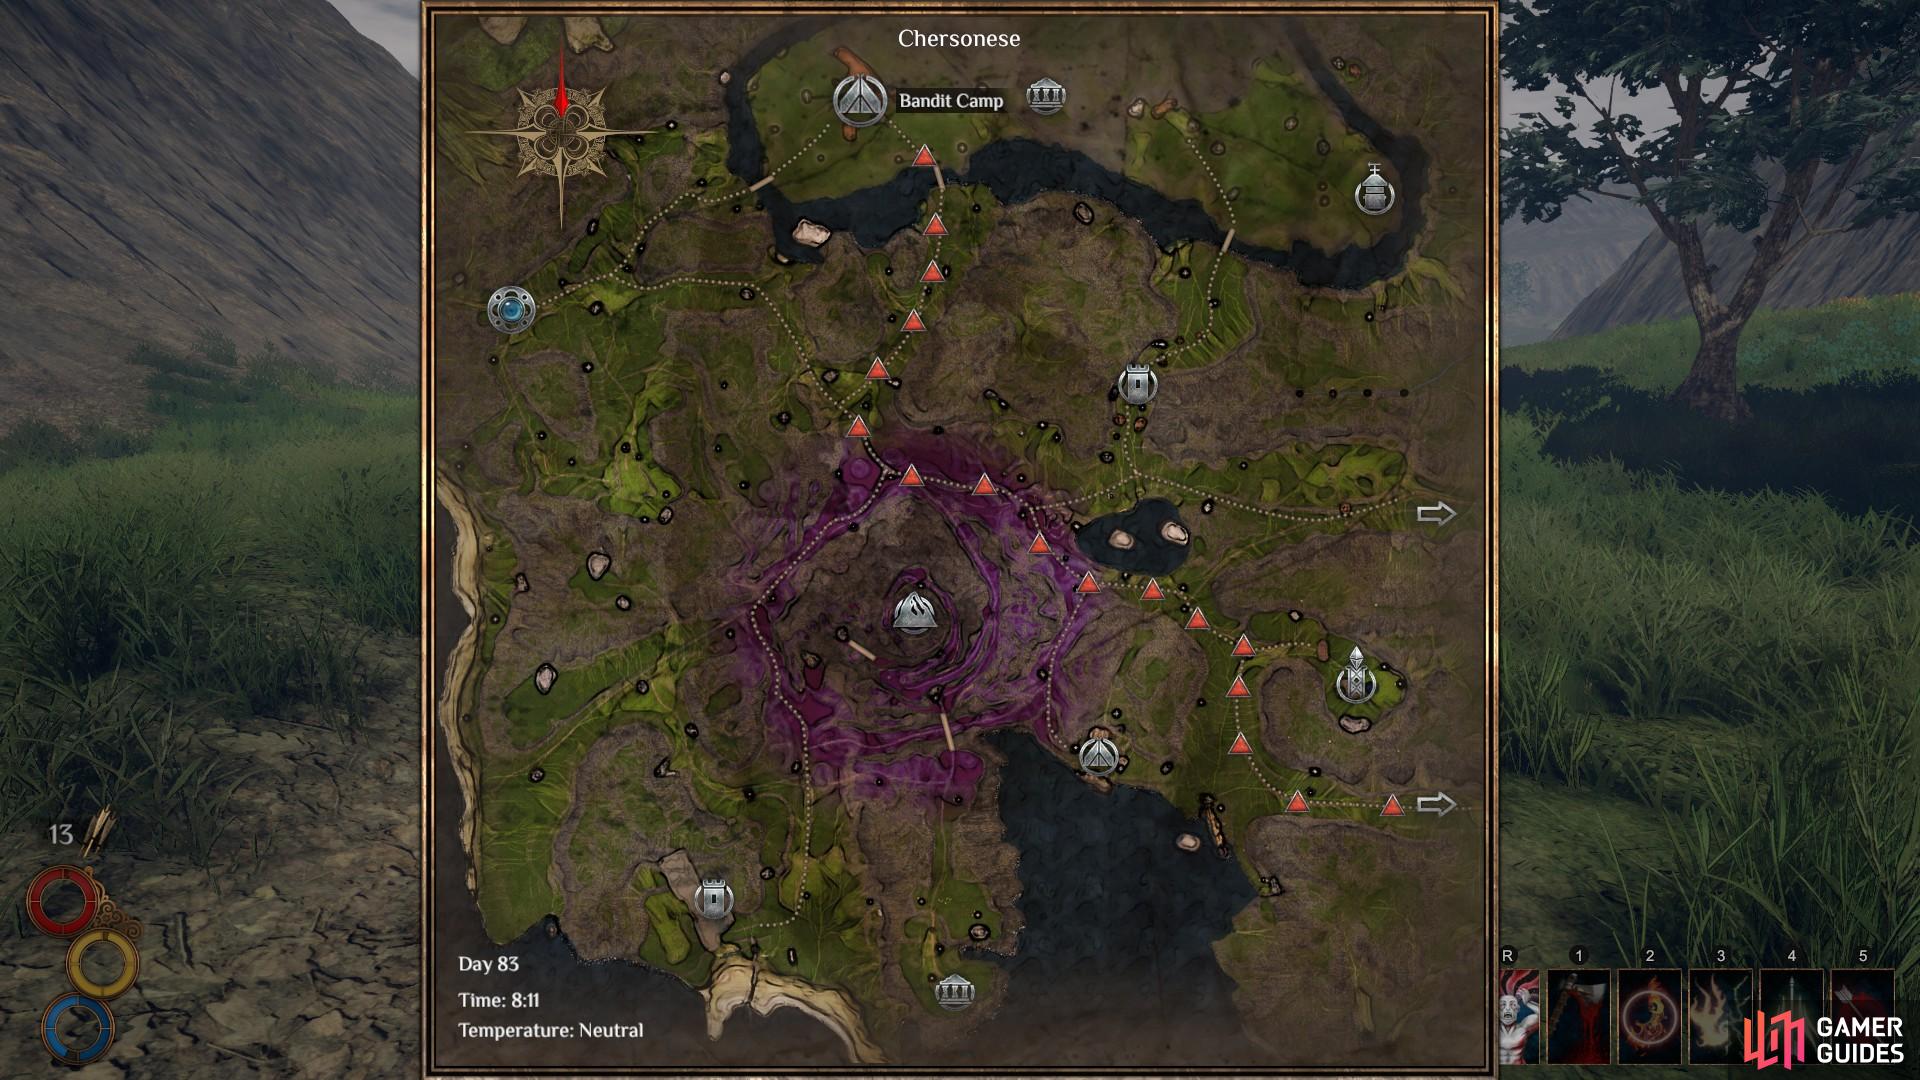
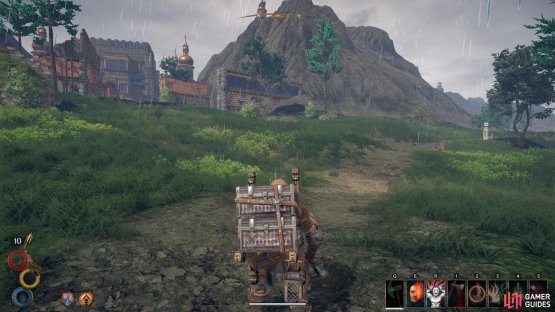
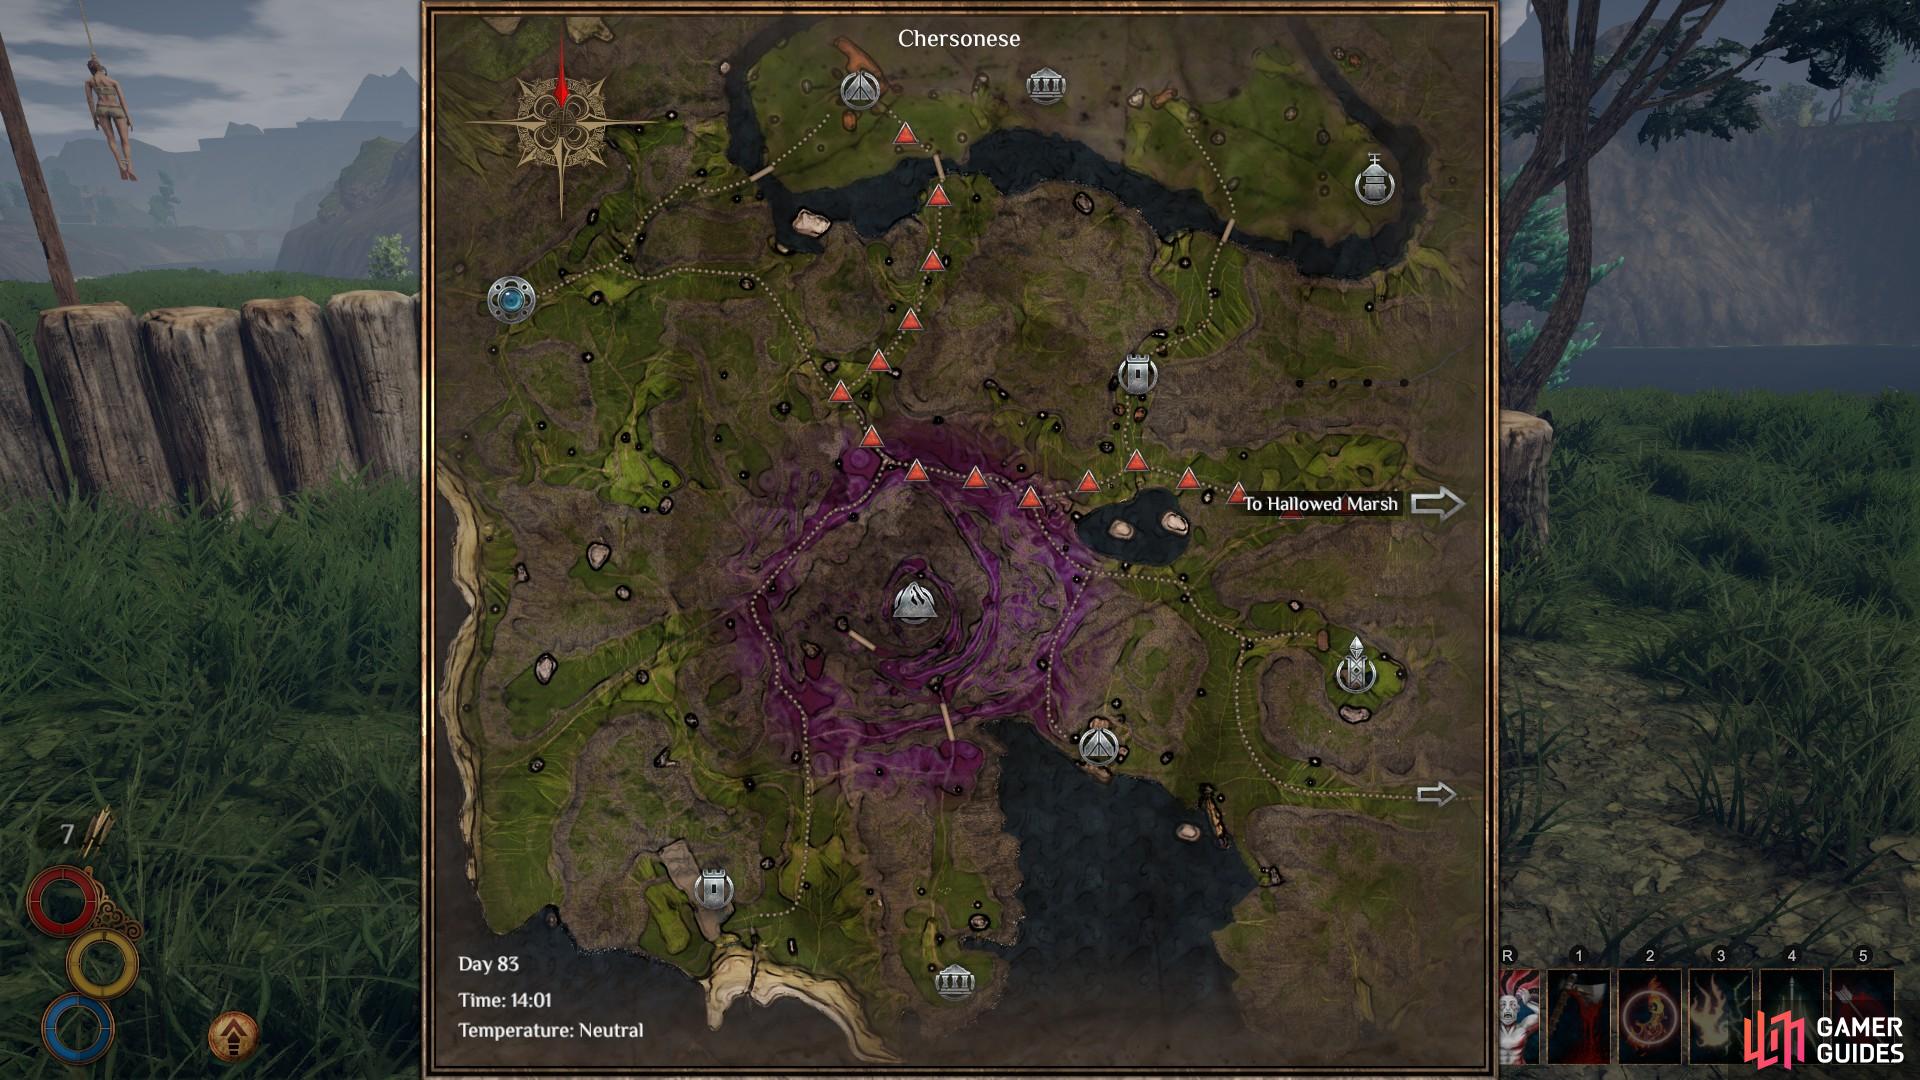
When you enter the region of Chersonese, you will not see Montcalm Fort marked on the map. Instead, it is marked simply as ‘Bandit Camp’ in the north of the region. However, getting to it is relatively easy, with the swiftest path detailed on the map below. First, head west along the main road as it bends north and approaches Conflux Mountain. From here, follow the mountain north west until you reach its northernmost edge. Here you will find a split in the road, at which you should turn north west again until you reach another split. Take the north east road from here, which leads directly to Montcalm Fort.
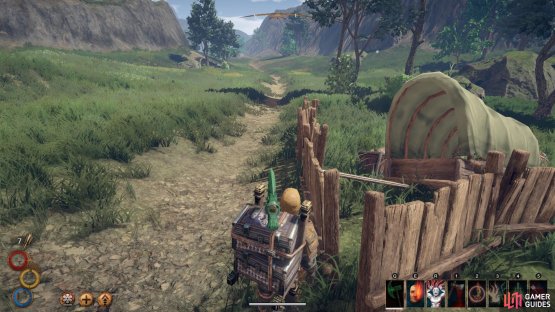
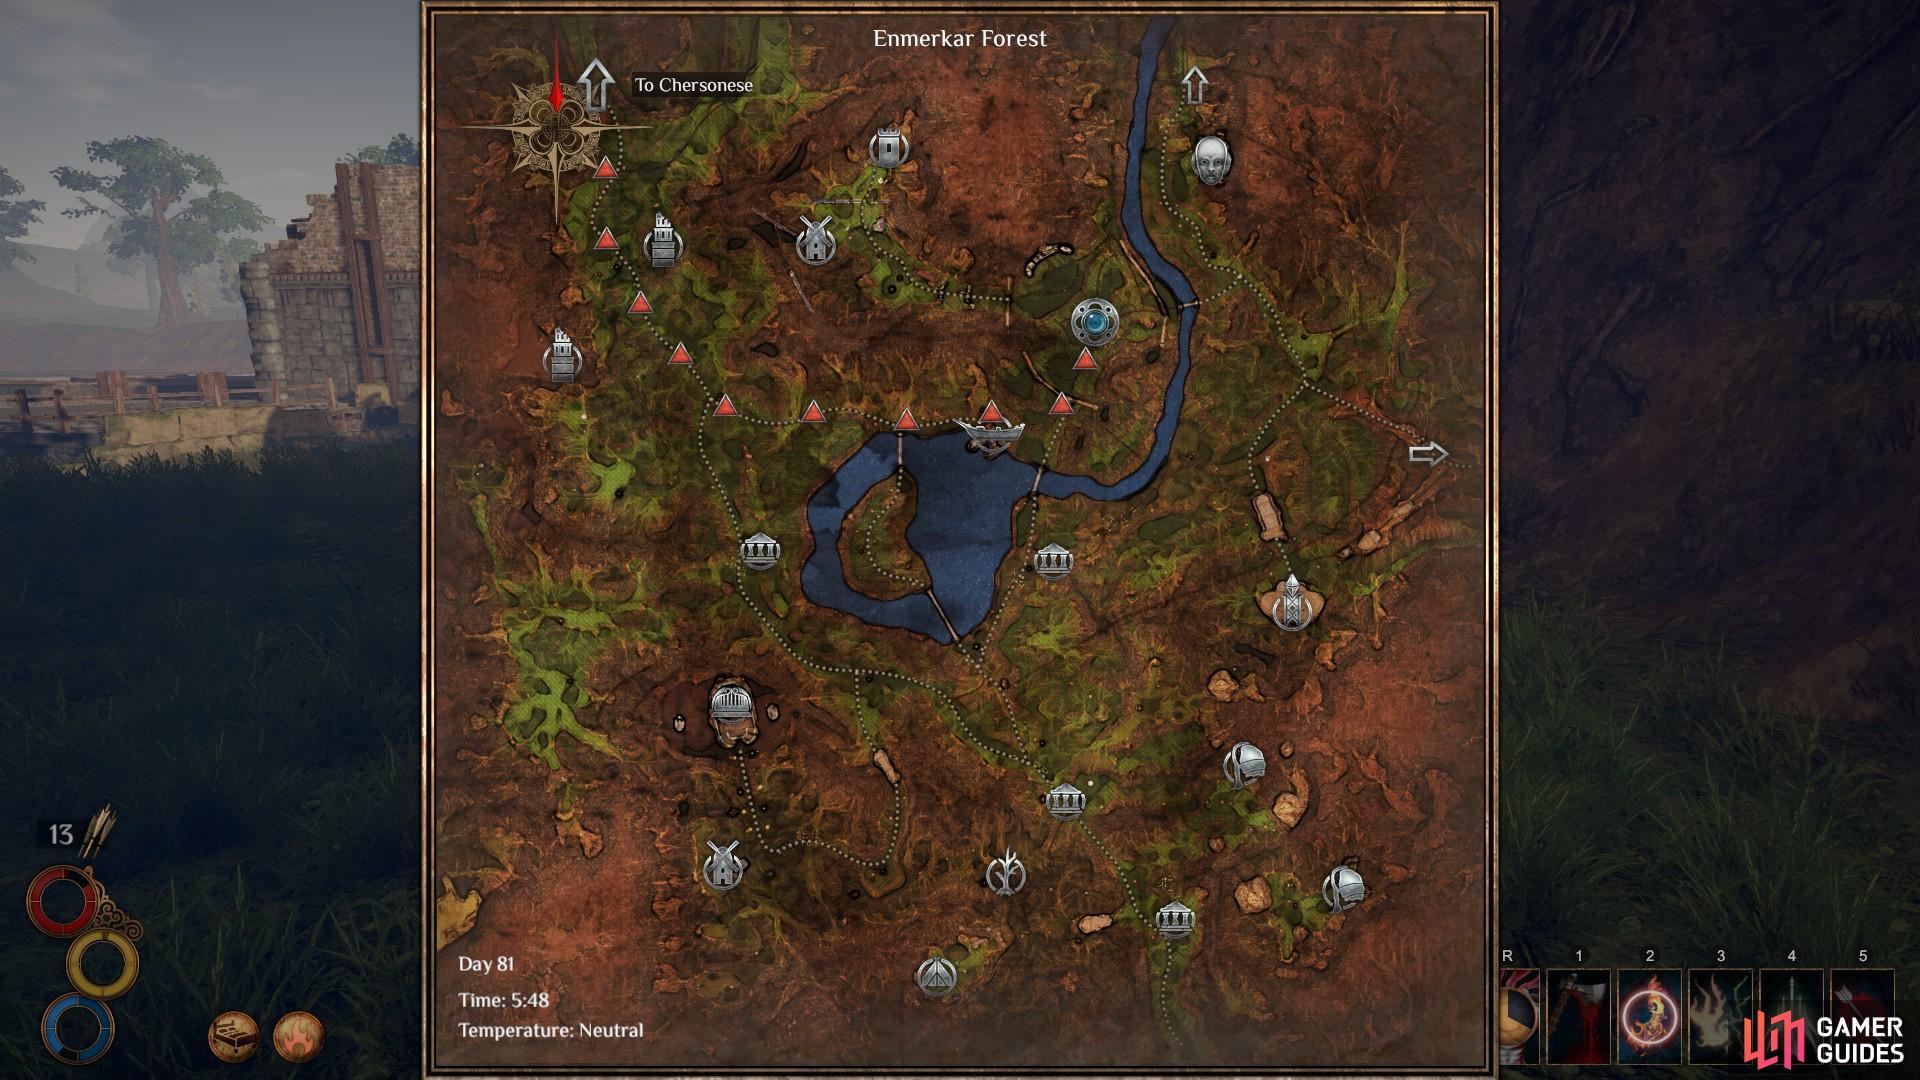
(1 of 2) The route to Montcalm Fort from the region of Enmerkar Forest, as marked here by red triangles.

The route to Montcalm Fort from the region of Enmerkar Forest, as marked here by red triangles. (left), The road north east, which leads directly to Montcalm Fort, will be marked by a ruined caravan. (right)
When you enter Montcalm Fort, head up the stairs on your right, facing northward, which lead to the throne room. Speak with Rastarte and choose the following dialogue options to ensure success:
-
1. “I need you to agree to the peace talks with Levant.”
-
2. “You do know that if Levant’s army reaches your tribe, they’ll burn you to the ground, right? A few ghosts won’t protect you from an army bristling with firearms.”
-
2. “Even if they pass you over, they’ll lay waste to all the surrounding tribes. Where are you going to get your tribute for the ghosts then? Your own people?”
-
1. “Think about what you said. To protect your people from needlessly dying, you’re going to sacrifice your people yourself! Do you see the problem with that logic?”
If you chose the above dialogue options, Rastarte will immediately agree to the peace talks and you can be on your way.
Convincing the Ash Giants
The final task in convincing your allies involves visiting the Ash Giants in the Hallowed Marsh region. Rather than taking the road back through Enmerkar Forest, you can head directly to the Hallowed Marsh from Chersonese by following the road as detailed in the map below. Take the southern exit out of Montcalm Fort and walk along the road to the south east as it bends south west over the bridge. At the split in the road, take the path directly east and follow this main road until you reach the entrance to Hallowed Marsh.

(1 of 2) The route to the Hallowed Marsh region from Montcalm Fort, as marked here by red triangles.

The route to the Hallowed Marsh region from Montcalm Fort, as marked here by red triangles. (left), You will know you’re on the correct path when you pass this fort to your left, with the Pilgrim pillar visible to your right. (right)
When you enter Hallowed Marsh, take the north east road until you reach the Cabal of Wind Tower. At this point, take the road south east which bends eastward over the stone bridges, leading toward the Tower of Light. From here, the road will slowly bend north, leading you directly to Giant’s Village in the north east of the map.
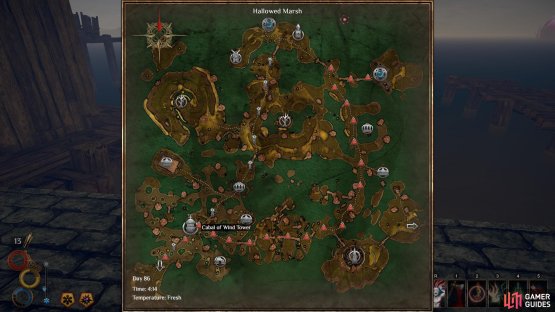
(1 of 2) The road from Chersonese in the south west to Giant’s Village in the north east, as marked here by red triangles.
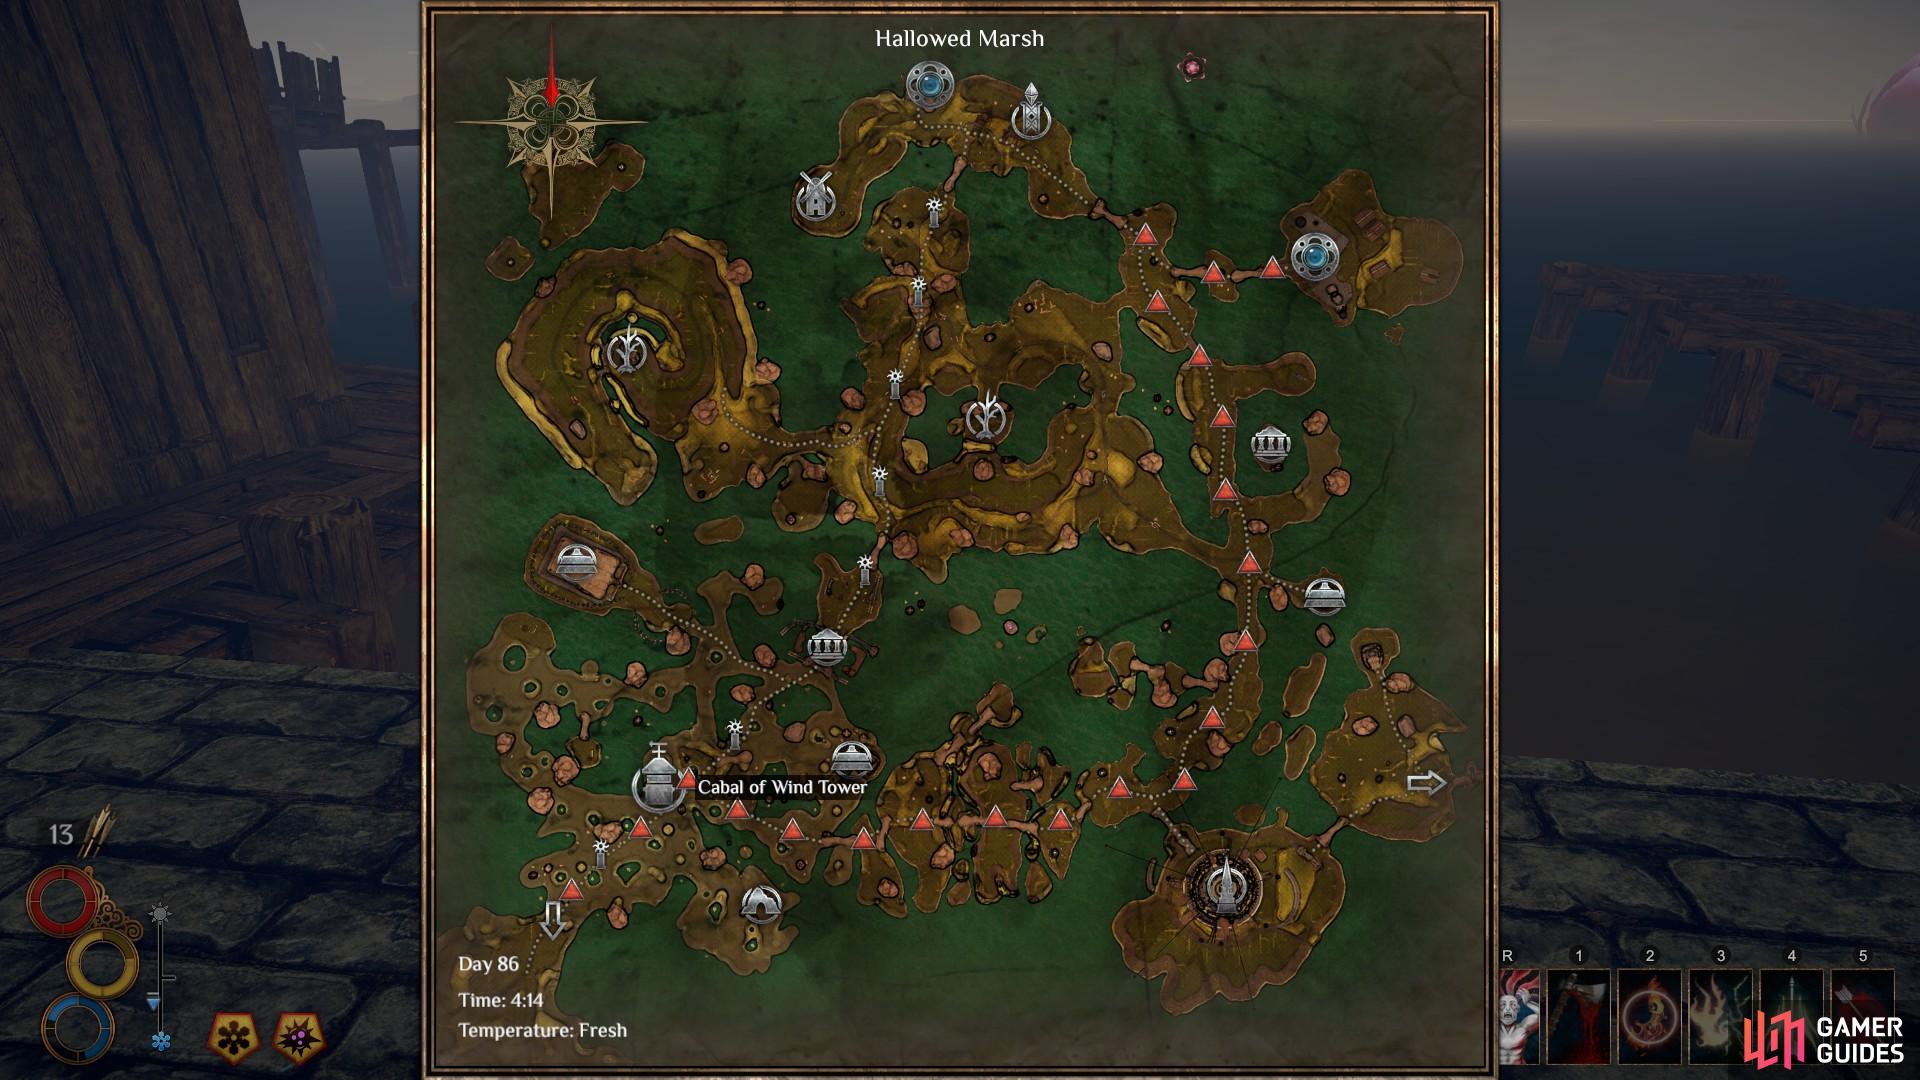
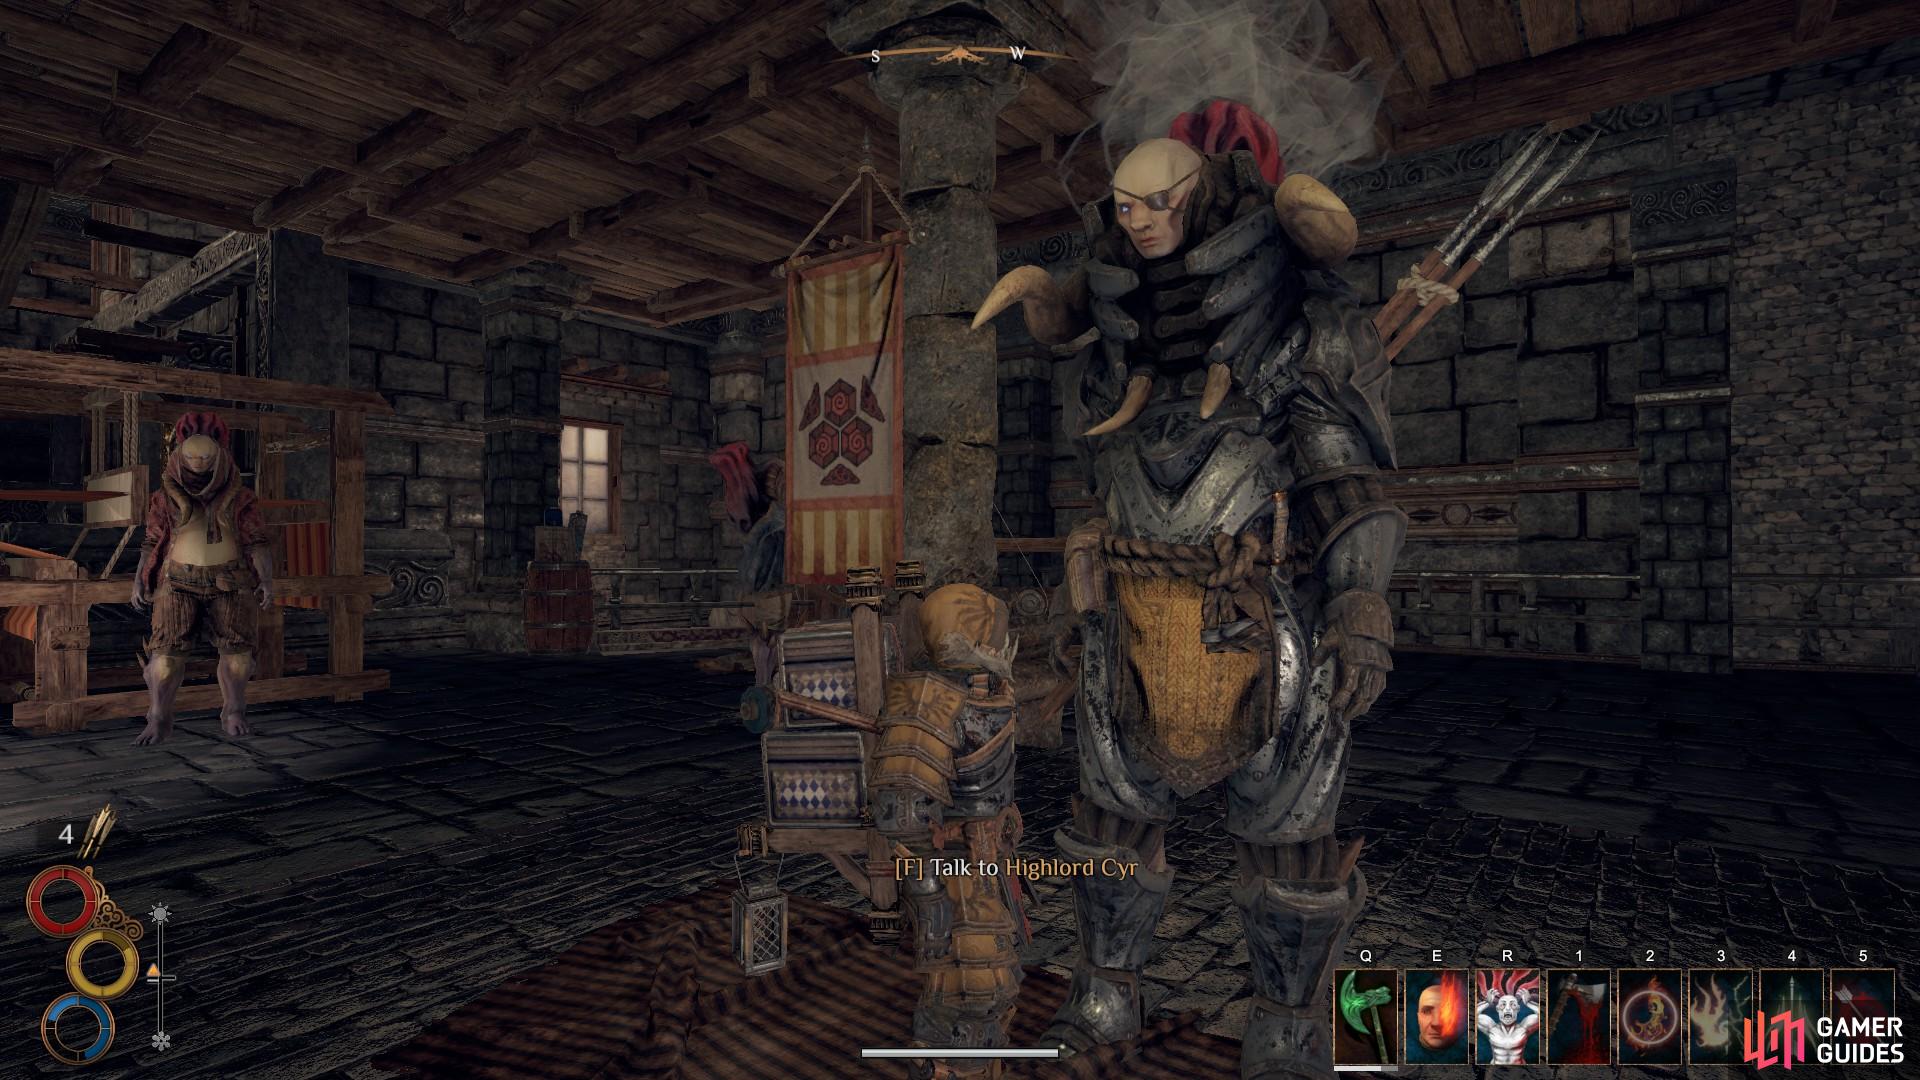
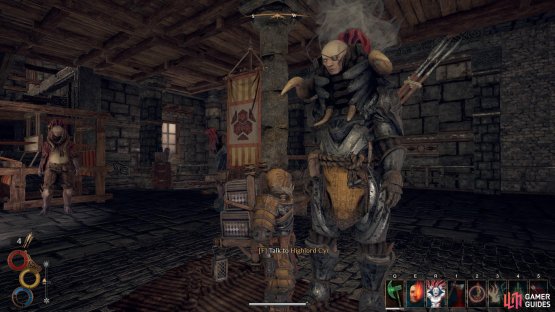
The road from Chersonese in the south west to Giant’s Village in the north east, as marked here by red triangles. (left), Speak with Highlord Cyr once you’re inside Giant’s Village. There is no negotiation necessary. (right)
Once you’re in Giant’s Village, so long as you haven’t been permanently exiled due to your actions in the past (in which case you will not be able to achieve perfect success in this quest), all you need to do is speak with Highlord Cyr and ask for peace. He will immediately accept and ask you to go to Monsoon to speak for the Ash Giants. Head west from Giant’s Village until you reach the main road, then follow the road North to the boats which will take you to Monsoon.
When you’re in the city of Monsoon, head directly north toward the temple. Once there, walk to the group of notable people up the stairs and join the conversation. You will have no influence over it, but you will be given some rewards at the end. When everyone is done talking, you will need to head back outside to the streets of Monsoon and defeat the onslaught of Scourge beasts. You don’t need to do this in any particular order, just roam the streets and aid your allies where you find them.
In the south west of the city you will encounter a particularly powerful Immaculate known as the Butcher of Men. If you want to, you can simply make your way there and defeat him with the aid of Sagard Battleborn and a few others. By the time you get there the fight will be well under way, but one of the significant characters may die if you don’t intervene. Use any weapons or skills which inflict lightning damage, since Immaculate mobs are vulnerable to this damage type. If you keep your distance you will barely be harmed, and the mass of allies can take down the Immaculate with relative ease in most cases. However, there is always a chance that the Butcher will score a critical strike, resulting in the death of one of your allies, so it is worth joining the fight.
When you have defeated the Butcher of Men you will be transported to a location near the Temple of Elatt. Here, speak with Rissa to complete the quest. Don’t forget to go back to the south west of the city and loot the Butcher of Men before you move on.
No Comments