
This quest can be acquired from Rissa in Berg. After completing ‘Mixed Legacies’, you will need to wait three days before you can accept ‘Ash Giants’. Explore the region, take the opportunity to travel to other regions for a while, or just sleep three days straight. Rissa will be waiting for you in the market area of Berg. You are tasked with forming an alliance with the Ash Giants, and must travel to their village in the north east of Hallowed Marsh.
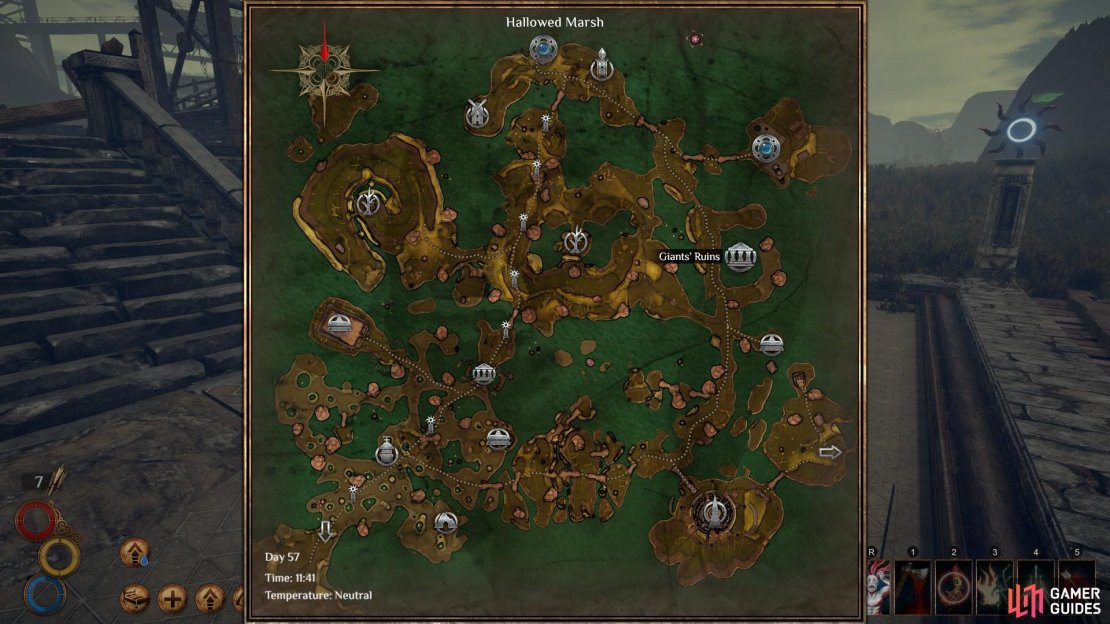
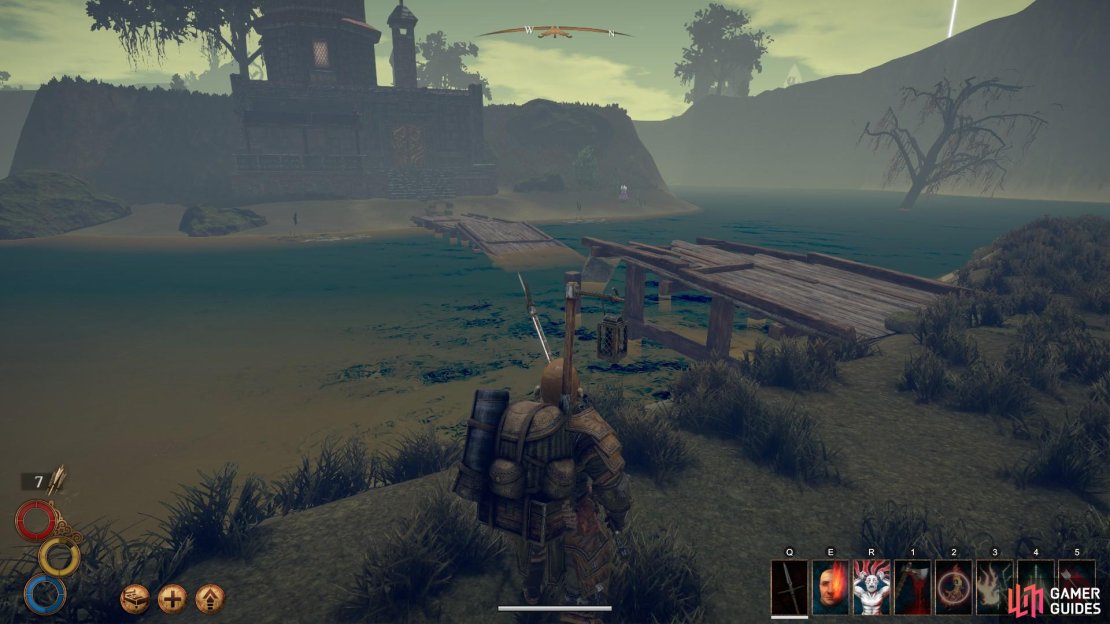
After leaving Berg from the southern gate, cross the bridge and follow the path as it bends north east. At the split in the road, turn north west and follow the main road north until you reach the Hallowed Marsh. As you enter the region from the south east, head north along the road up toward the island that leads to Ziggurat Passage. You will see an entrance to a dungeon which is sinking into the water, as shown below.

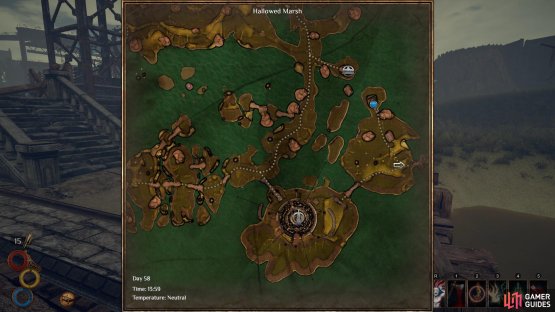
(1 of 2) The entrance to Ziggurat dungeon, as seen from the south.


The entrance to Ziggurat dungeon, as seen from the south. (left), The location of Ziggurat dungeon on the south east corner of the map, marked here by a blue circle. (right)
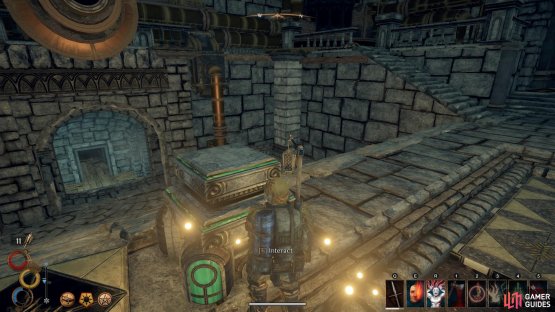
When you enter the dungeon, turn north and use the lift mechanism to ascend. You will encounter a skeleton mob at the top, so be ready to fight it. It is incredibly weak and shouldn’t cause much of a threat, but be cautious of the wide sweeps it can perform with its greatsword. When you’ve killed the skeleton, turn left and then left again from the first tunnel. You will see a lever in a small opening. Use it to open two nearby gates. Now head down the passage west to loot a junk pile and the corpse of a knight. Once done, turn east and loot the chest behind the gate which was previously locked.

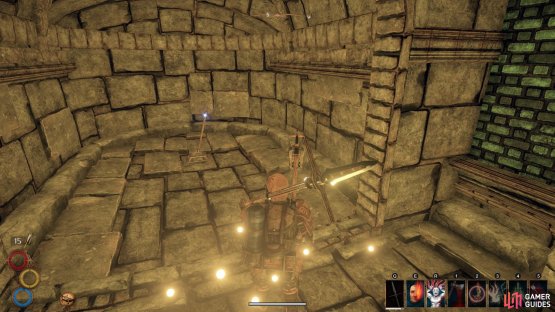
(1 of 2) Use the lever on the lift platform to raise it while you’re on it. The one beside can be used to move the lift without being on it.


Use the lever on the lift platform to raise it while you’re on it. The one beside can be used to move the lift without being on it. (left), The first lever, which opens two gates; one upstairs containing a chest, and one downstairs from the main hall, leading to the next room. (right)
Now that you’ve looted everything up here, go back to the lift mechanism and use it to take you back down to the main hall. Head south and go through the gate which was previously locked. Here you should be extremely careful; a Blade-Dancer awaits beyond this gate. If you’re a light armoured class, be sure to set any traps in the main hall as necessary. You can goad the Blade-Dancer into the main hall and use what space you have to kite it. If you find yourself in a sticky situation, use the lift mechanism for some respite from the fight. You can always try to shoot the Blade-Dancer from the upper floors.
When you’ve dealt with the Blade-Dancer, go back to the room where you found it in the south. Here you will find another lever which opens a gate in the same room, beyond which you will find a chest full of loot. Loot the chest and then head back up the stairs to where you found the lever. Go through the gate to the west which leads to a cavern. From here, you can choose to jump down the ledge to continue north and end up at the other side of the Ziggurat Passage.
If you would rather open the bridge outside first, go back to the main hall. Now head down the stairs to the west, where a gate which was previously locked is now open. Rather than charge into the darkness, creep your way in until you encounter a creature named a Phytosaur. If you have a bow and have brightness turned up, you will probably be able to see it already.
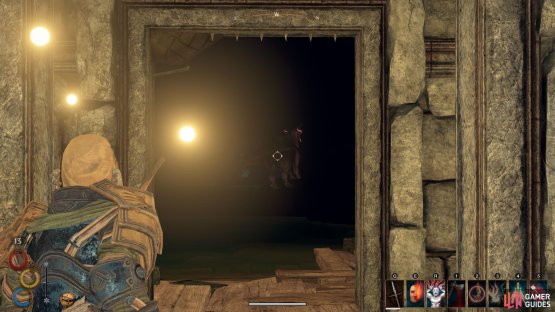
(1 of 2) Approach the entrance cautiously until you see the Phytosaur and take the initiative with a ranged attack.


Approach the entrance cautiously until you see the Phytosaur and take the initiative with a ranged attack. (left), When the Phytosaur is dead, enter the cavern and take the idol from the stone plinth. (right)
Use any ranged attacks that you have to goad it into the main hall, where you can deal with it as you see fit with plenty of space to manoeuvre. The Phytosaur is fairly slow and has a weak basic attack. However, it can emit poisonous fumes every now and then. Be sure to avoid these or have an antidote ready if you are caught in them.
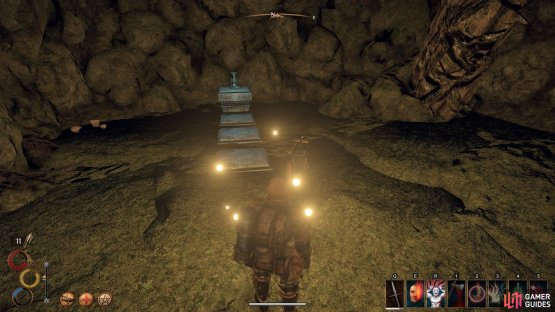
Once you’ve killed the Phytosaur you can go through the gate safely. Be sure to avoid standing in the rancid water; if you stay in it too long, you will be poisoned and this can kill you quickly. Turn north and get on the rocky surface as soon as possible. Here you will find a stone structure with a Jade Lich’s Idol on it, as shown above. This is the key to open the bridge.
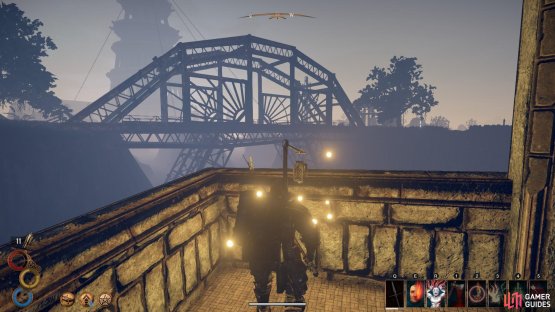
(1 of 2) When you place the idol on the stone plinth in the main hall, the bridge outside will now be in working order.


When you place the idol on the stone plinth in the main hall, the bridge outside will now be in working order. (left), As you leave the dungeon, you will see the bridge to the south west. (right)
Go back to the main hall and place the idol on the stone plinth. At this point you can choose to go back through the gate and head west through the water, which has now turned to fresh drinking water. However, if you go this way you will encounter a number of mobs and it will take more time to pass. The mobs are mostly Tuanosaurs and they have a deadly reach, so unless you feel confident it is recommended that you head back outside and take the newly formed bridge route.
When you leave the dungeon you should be able to see the bridge immediately to the west, as shown above. Use it to travel westward between the islands until you come to the main road, at which point you should turn north and descend down a sleep slope. You can now follow the path directly north. After some time you will be able to see the Giant’s Village looming over the water to the east. Keep going north until you come across a stone bridge, at which point you should turn east and cross it.
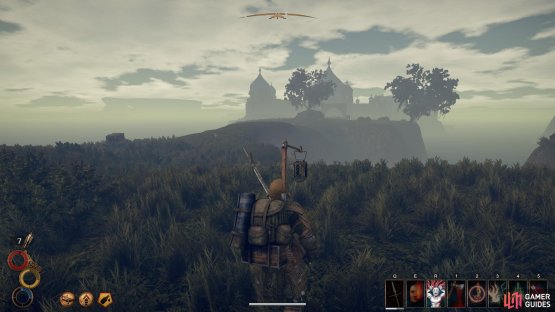
(1 of 2) You will be able to see the Giant’s Village in the distance from the main road. Cross the stone bridge to reach it.


You will be able to see the Giant’s Village in the distance from the main road. Cross the stone bridge to reach it. (left), If you happened to pick up these annoying little critters along your way, find a plant like the one above and walk near it to get rid of them. (right)
Now that you’re in Giant’s Village, head west and up the steps to speak with Highlord Cyr. He will ask you to prove yourself worthy of an alliance by finding a rare root that grows in the Reptilian Lair. In addition, two optional objectives are now visible in the quest log; prepare for negotiations by talks to other giants or scholars. In truth, you only need to speak with two people.
(1 of 2) Speak with Cyr as soon as you enter the city. Any conversations with giants after this will further your quest.


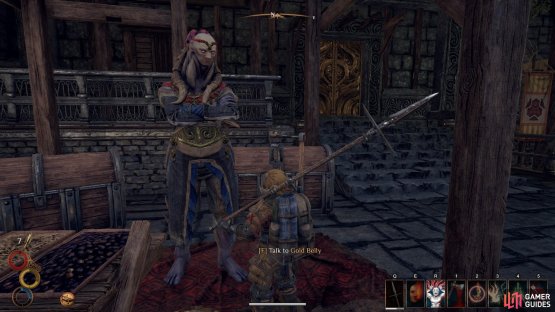
Speak with Cyr as soon as you enter the city. Any conversations with giants after this will further your quest. (left), After speaking with Cyr, go to Gold Belly and exhaust all dialogue options for the purposes of the quest. (right)
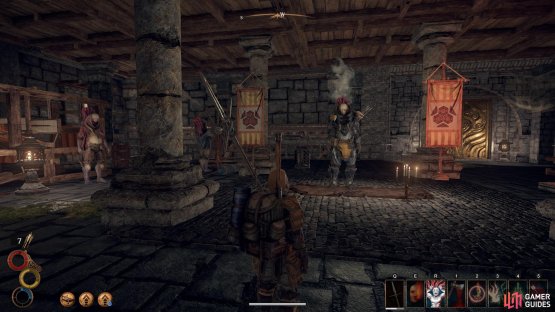
First, speak with the giant Gold Belly, who can be found to the left at the bottom of the steps where you spoke with Cyr. Exhaust all of the dialogue options to learn as much as you can about Ash Giant culture. The second person can be found in the city of Monsoon to the north west. Here you should speak with Cardinal Bourlamaque.
To reach Monsoon, you must follow the road north west from the Giant’s Village. Pass through the Vigil Pylon until you see the structure of some docks within the city Monsoon in the distance. Go to the docks and take one of the boats across the water.
(1 of 2) The city of Monsoon as seen from the shore near the docks.


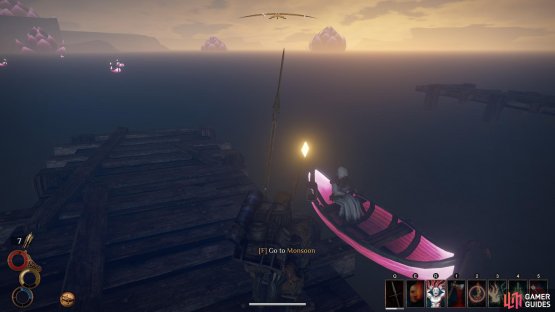
The city of Monsoon as seen from the shore near the docks. (left), Use one of the boats at the docks to cross the water into Monsoon. (right)
When the loading screen ends you will find yourself in the south of the city of Monsoon. Cardinal Bourlamaque is located in the north of the city, within Elatt’s Temple. Make your way there and speak with him. You will find Cardinal Bourlamaque easily within Elatt’s Temple; he is the first person that you will see after ascending the steps. Exhaust all dialogue options with him to learn all that you can about the Ash Giants.
Now that you’ve completed the optional objectives, go back to the mainland and take the road south to the Giant’s Ruins. Before you leave the city, ensure that you have at least two poison antidotes in your inventory for the quest ahead. You can purchase them from merchants in the city if you don’t already have any.

(1 of 3) The Giant’s Ruins as seen on the map, south of Giant’s Village.
When you see the building to the east as shown in the above image, make your way off the road and down a slope eastward bending north. As you walk along the beach northward, you will see a broken bridge as shown above. Walk along it as far as you can until you drop in the water. Keep going until you get to the other side. If you have become poisoned by the water at this point, quickly use a poison potion. The poison will eat away at your health very quickly, so it is important to have an antidote ready.
After you’ve cured yourself of the poison, enter the building. Immediately as you enter you will notice a book on the ground in front of you. Be sure to read it thoroughly before you move on. When ready you can go back outside and cross the bridge again, curing yourself from poison with an antidote as necessary. The final task is to gather the rare roots, which can be found at the Huge Tree in the centre of the Hallowed Marsh, as shown below.
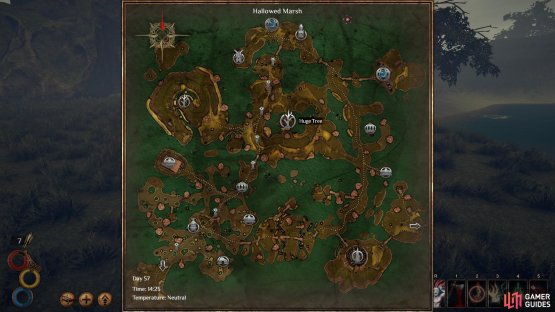
(1 of 2) The location of the Huge Tree on the Hallowed Marsh map.


The location of the Huge Tree on the Hallowed Marsh map. (left), The landbridge leading to the Huge Tree. (right)
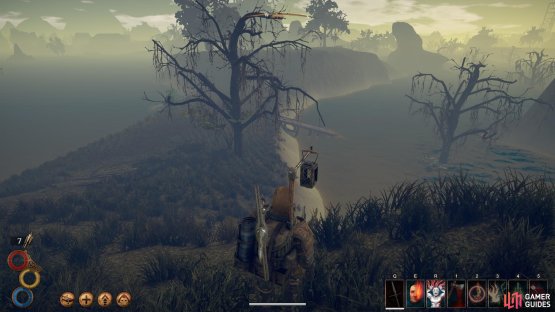
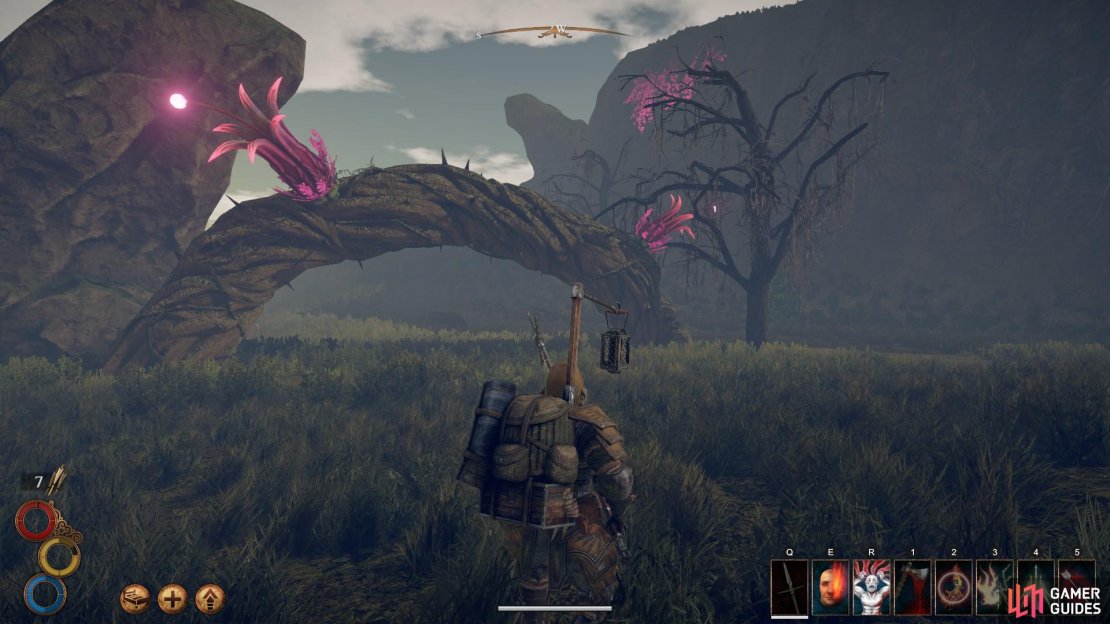
From the beach, head south west up the hill toward the main road. Take this road south until you come across a landbridge heading west, as shown above. The bridge is accessed from a sudden slope downward, so be sure to keep an eye out for it; it is easily missed. As you keep going west along the road after the bridge, you should be able to see the Huge Tree in the distance. Keep following the path toward it until you reach open grassland. At this point you should see some trunk structures marked by bright pink flowers. Follow the path where they lead around the hill to the heart of the tree.
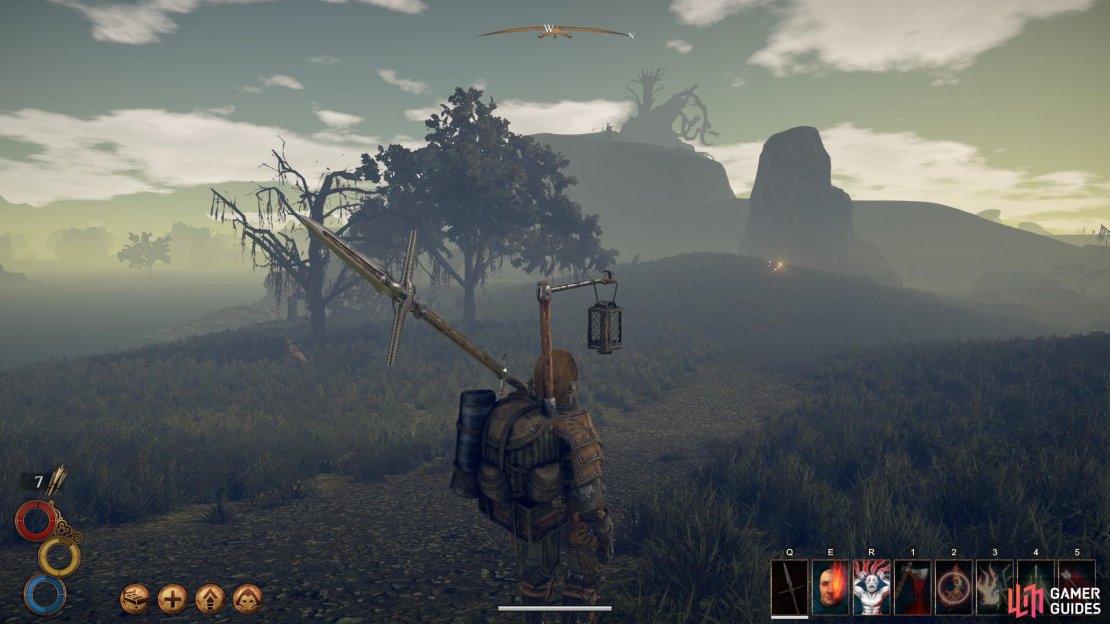
(1 of 4) The Huge Tree in the distance, as seen from the landbridge.
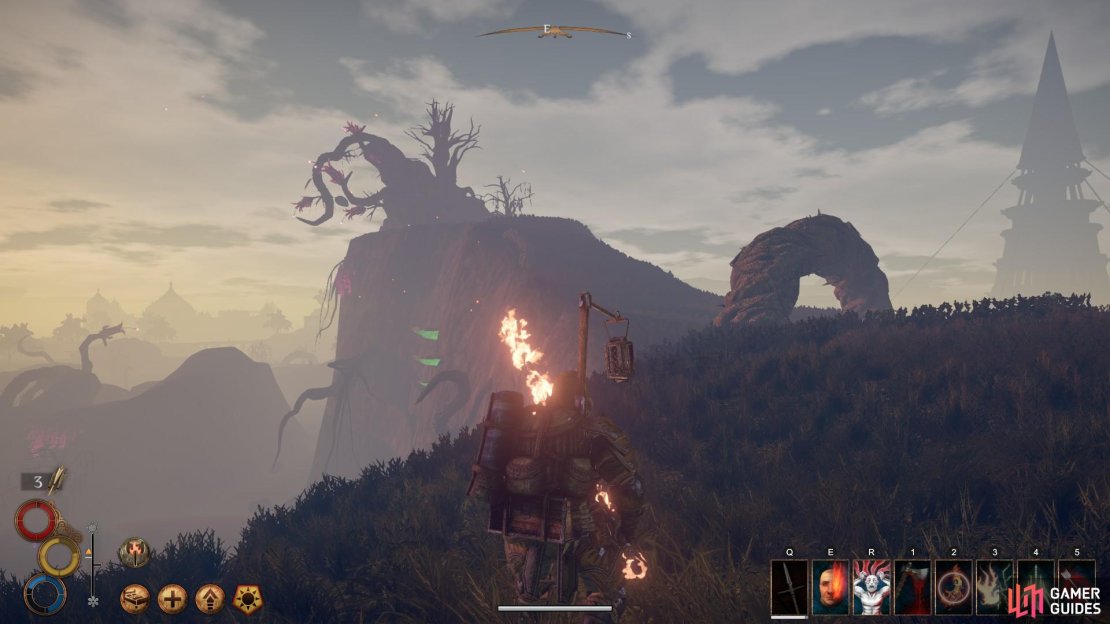
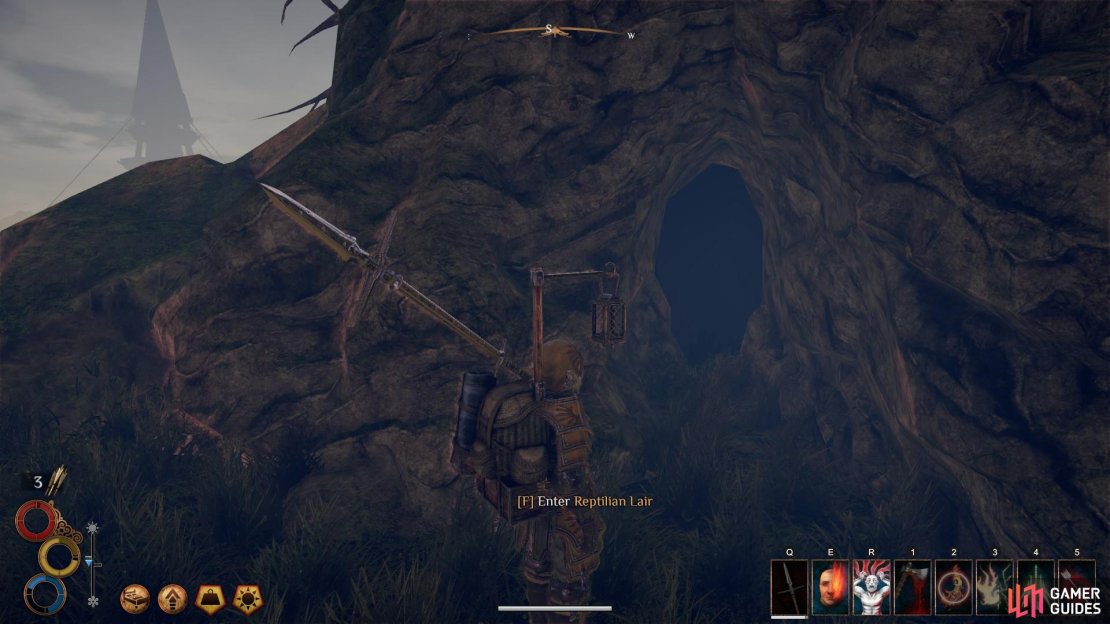
When you reach the base of the tree you will see an opening into the Reptilian Lair. Be ready to fight at least two Tuanosaur’s before you can access the roots safely. Alternatively, you can run through the first tunnel from the entrance, turn right and keep going right until you come to the first giant root system. Beneath it you will find the rare root, as shown below. You only need one, so once you have it you can run out and make your way back to Giant’s Village. Just head east from the tree and you will be able to see the village in the distance. Now turn south east and take the landbridge back to the main road.

Take a root from the base of the tree. You will only need one. They can be picked up instantly, so it is possible to run in, take it, and run out without having to fight the lizards.
When you’re back in the village, speak with Highlord Cyr and begin the negotiations. If you followed all the steps detailed above, you should have the following dialogue options available to you:
– Use the gossip you heard from Gold Belly to tempt Cyr’s ambition
– Use the information you picked up from the historian’s book to smooth things over
– Use the knowledge you got from the Holy Mission to defuse the situation
– Use knowledge you got from the Holy Mission to reassure him
If you follow the above dialogue options you will gain a positive outcome from the negotiations. At the end Cyr will reward you with a few gifts and you can make your way back to Rissa to inform her of the outcome.
No Comments