You’ll land in a hot zone, so immediately apply any armour-stripping ammo-enhancers to your guns. You’ll be up against an Atlas, Centurions and Assault Troopers in the hanger bay. Make the Atlas your first priority, using your cover and hitting the cockpit with everything you’ve got (including powers like Overload or Sabotage to turn it on the other troopers).
Pick off each of the remaining Cerberus troops before climbing the ladder on the left as quick as you can (as you’re up against an invisible timer of about 2 minutes). Access the terminal then take immediate cover by the door from the reinforcements that arrive.
Pick them all off one by one, then head around the corner. Set your sights on the Nemesis first, then worry about the rest afterwards. In the room around the corner, hit the switch to turn the shuttle around. Now before sliding down the ladder back into the hanger, go into the room across from you to refill ammo and scan a PDA worth 5,000 Credits .
Head down the ladder and look for the control panel near the fighter jet - be ready for a massive welcoming committee when the ship bursts through, including two Atlas mechs and several troopers.
There’s a third Atlas Mech in an alcove just up and to the right of the control panel; if you can kill the driver before he gets in it, you can use this to make easier work of the remaining mechs.
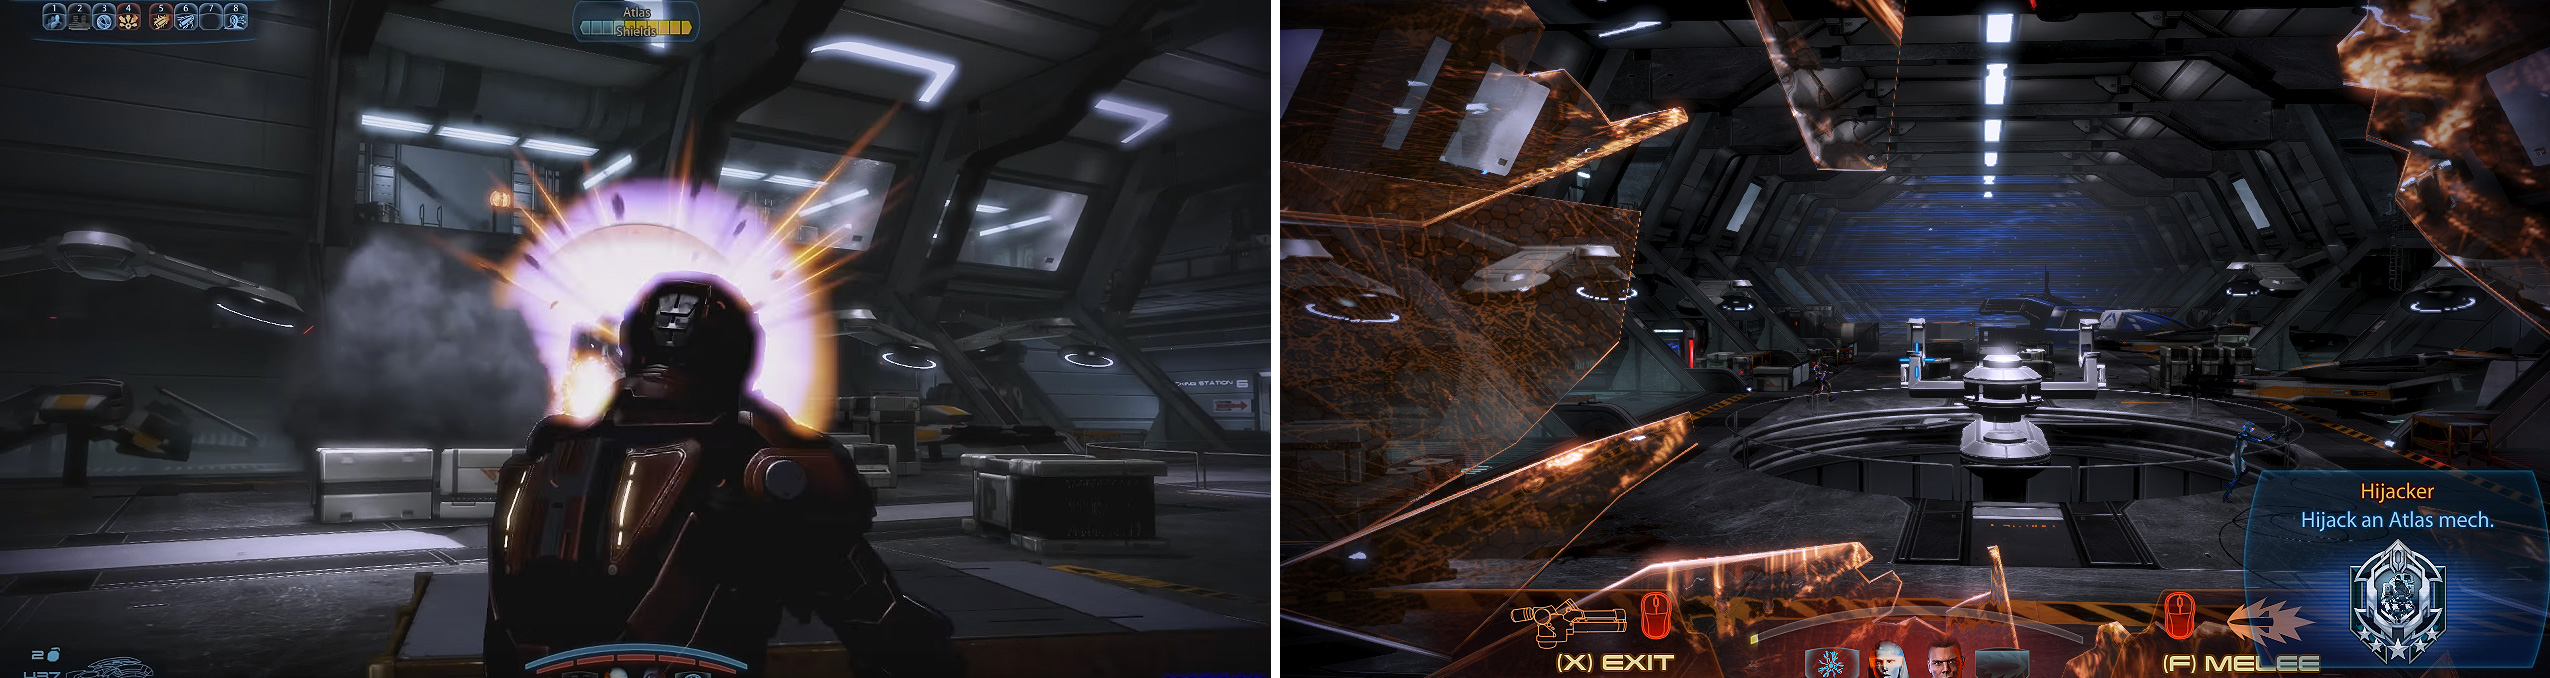
Beware the Atlas here (left). Unleash Grenades to whittle down their armor. Look for the third Atlas and try to kill the pilot before he gets inside. Hijack it for mass destruction (right).
Jump over the wall ahead and in the burning rubble (before entering the door), pick up the M-37 Falcon . It packs quite a punch as it’s a semi-ballistic weapon (it’s more of a mini-grenade launcher than an Assault Rifle). Regardless, let EDI open the door, slide down the ladder and get ready for multiple Phantoms, Nemesis and Assault Troopers (covered by shield generators).
There’s an army of Engineer, Centurion and Assault troopers down in the depths of the headquarters, but the pipes make for excellent cover. There’s a Nemesis down here too, so pop her head clean off at the earliest opportunity. Before you climb up the ladder, head to the back of the room and scan the Medical Station and the salvage for 5,000 Credits .
Revelations
Shepard will continually enter a number of rooms, some of which contain terminals that will contain some shocking story revelations, blowing away some of the stuff you thought you knew. The first of which you’ll auto-log in to. You don’t have to watch the logs, that choice is up to you.
Follow EDI and you’ll re-enter the lower levels of the headquarters again, only this time, it’s crawling with Engineers, Turrets, Centurion and Assault troopers - all protected by shield generators. As always, make the generators your priority, then the turrets, then the Engineers and so on until they’re all meeting their maker.
There’s an area to the right where all the lower shields are; if you can get around here, you can flank the enemy, making this fight just that little bit easier. When you climb up the ladder, there’s another terminal up here with additional video logs if you want to watch them.
The next room contains a PDA on a crate worth 5,000 Credits , and there’s a Medical Station for XP and gel if you need it. Once the door is open, head further down the corridor and hang a right - in here you can pick up a Medi-Kit and on the crates nearby, a Delumcore Overlay . The adjoining room has additional video logs if you wish to watch them. Otherwise, head back out and drop down the shaft to your right.
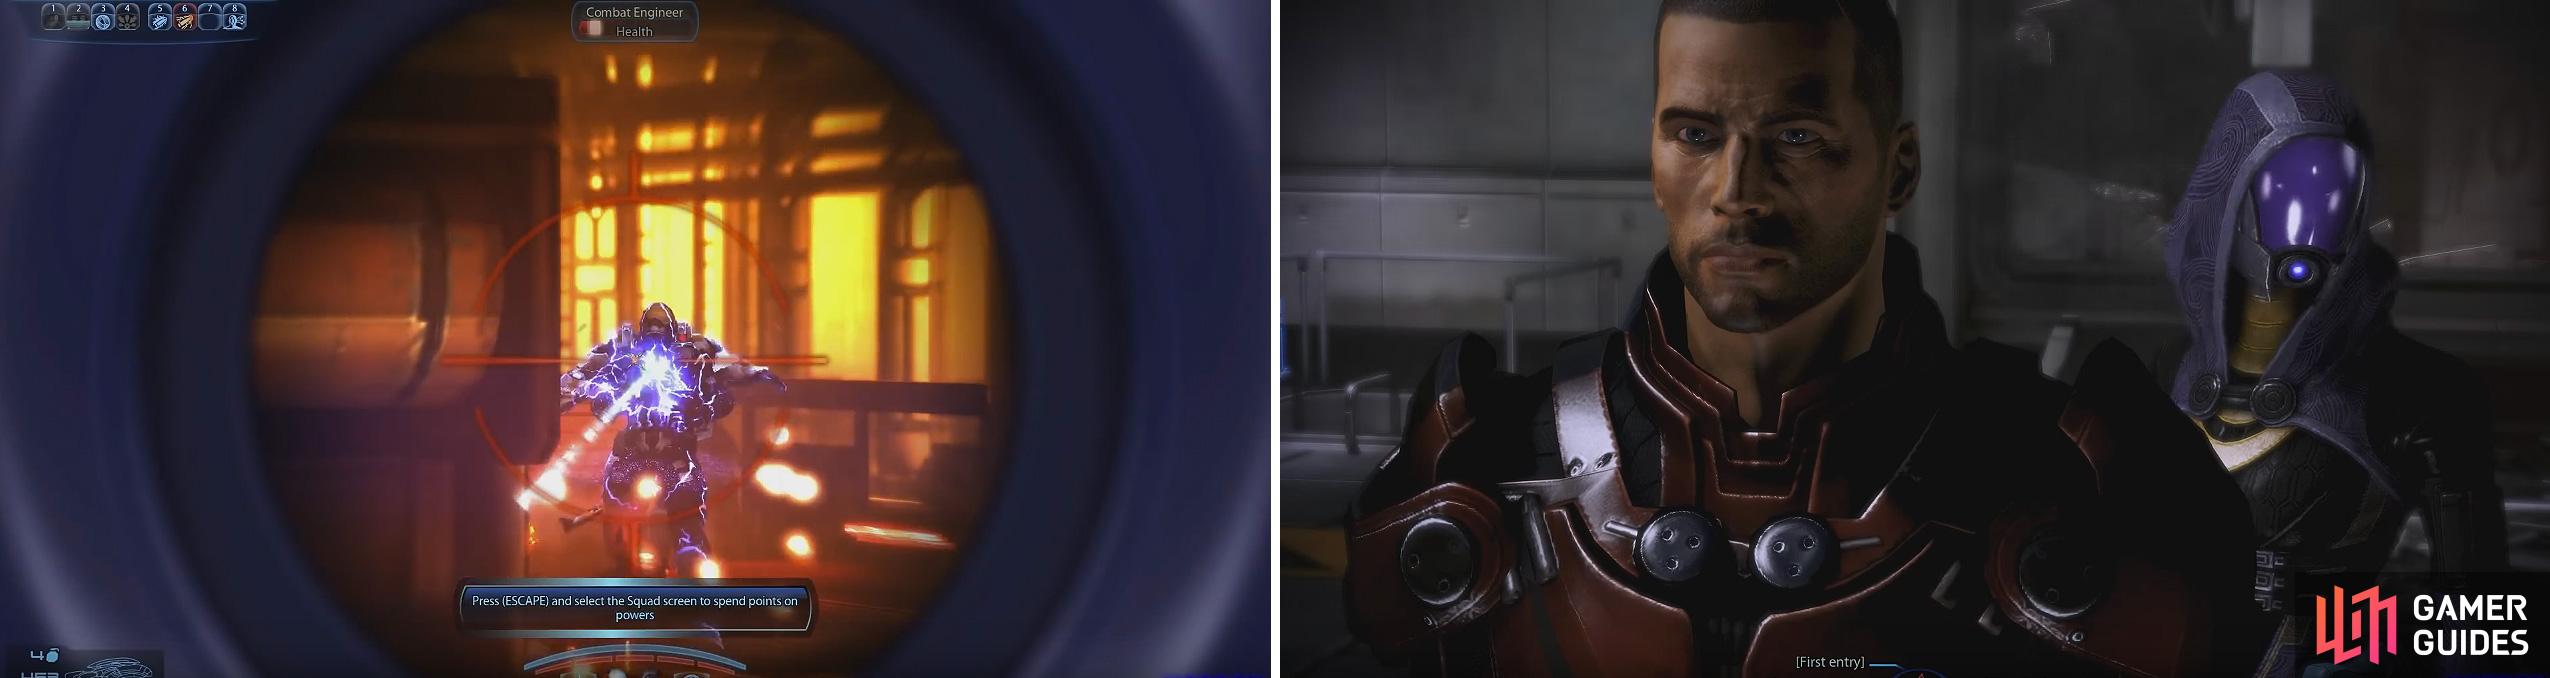
There are a ton of Engineers here so focus them down whenever you see them or you will get swarmed by turrets (left). You can view logs relating to Project Lazarus further in (right).
Walkway Battle
Your main course of action is to hit the Phantoms hard and fast and where possible focus on taking down the shields first as they’ll regenerate the health of your enemies over time if you don’t. There’s reasonable cover around, but snipers and other long-range attack methods will excel here over others.
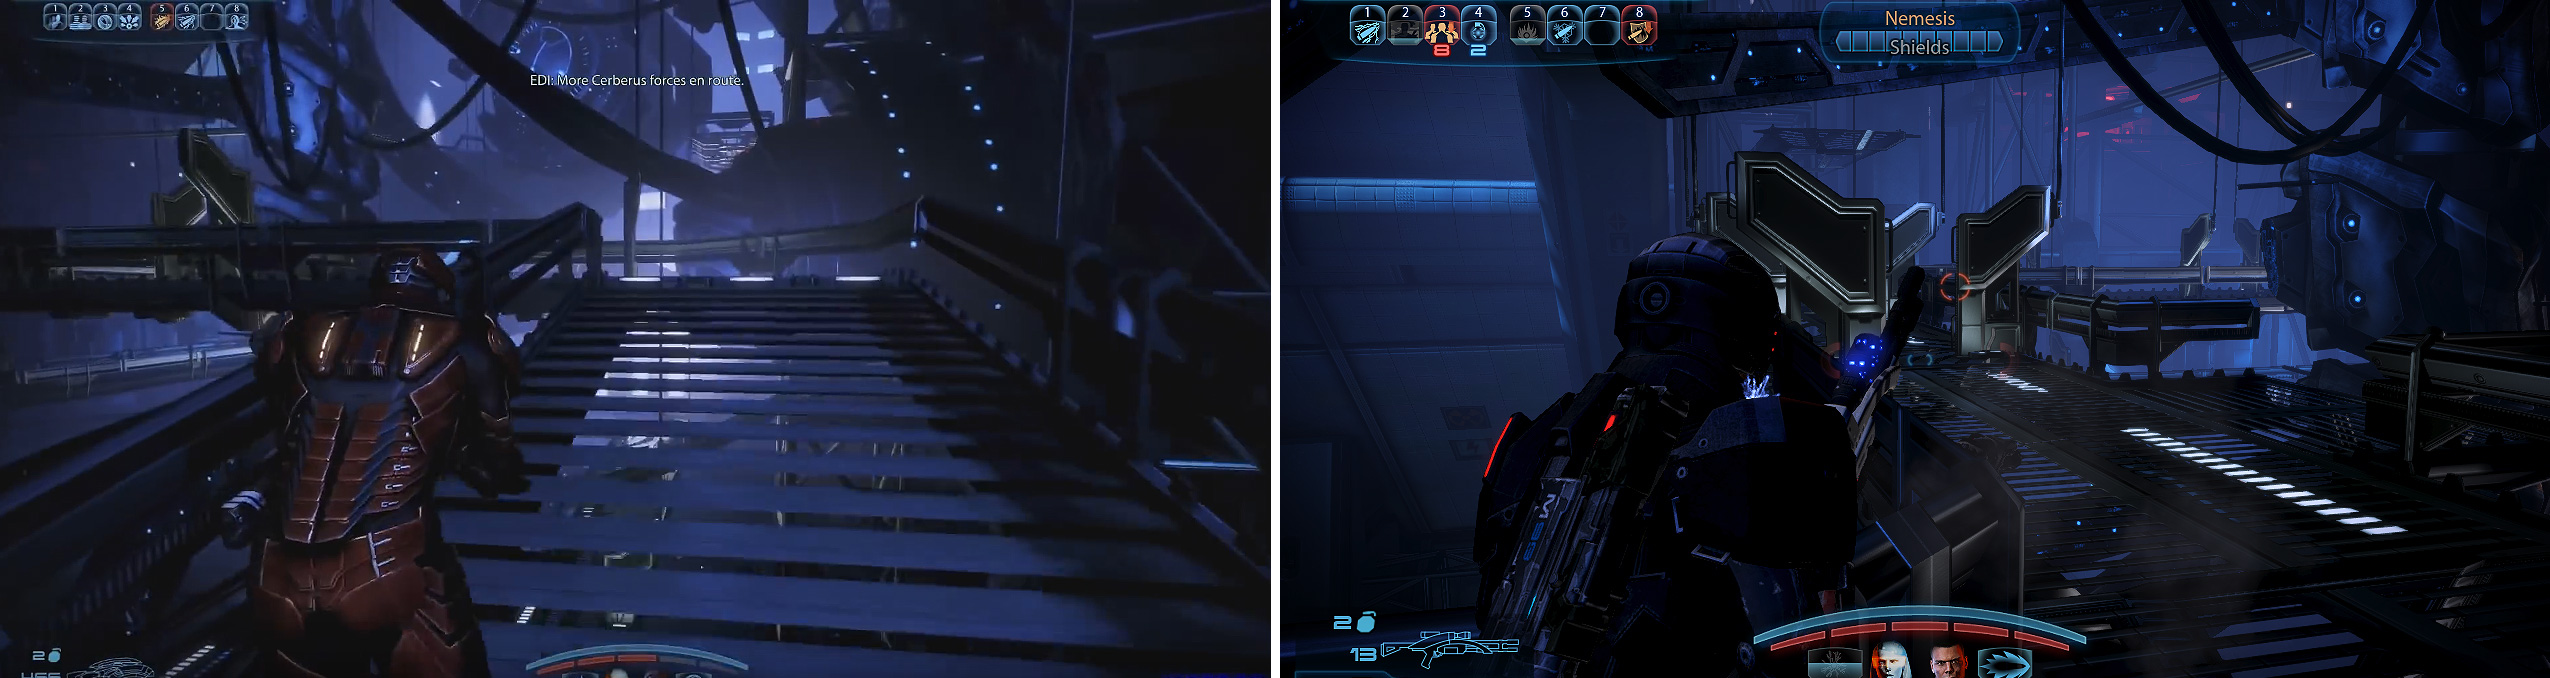
Go in hard and fast against the Phantoms you encounter on the walkways using everything you have. There’s plenty of cover around so use it if you need to.
When you climb the second ladder to the upper walkway, be ready for another Phantom, Nemesis and Assault Trooper to appear. There’s also two shield generators up here (both on the left side), so try and get rid of those with grenades if you can.
After climbing the next ladder, turn right around, run to the far end of the walkway, fill up your ammo, pick up the Medi-Kit and scan the PDA for 5,000 Credits . Enter the next door ahead of you and in this room, near the middle is the final terminal where you can access a new video log and a Medi-Kit for XP and gel. Open the next door and when you reach the top of this walkway make sure to save! You’re about to enter a boss battle, so this save may be useful.
Activate Prothean VI
First up though is a conversation with your old ‘friend’. If you picked a persuasion topic in the Asari Temple earlier then you should continue this trend by asking the left question at the start to be presented with the additional options here.
The strategy for this depends on the class you’re playing as, for Kai Leng is pretty lethal close-up, so if you plan on going toe-to-toe with him, make sure you have a Vanguard or a similar class. Otherwise, use a sniper rifle - preferable to keep the distance - or a mid-long range assault rifle.
First things first though, he’ll come charging straight at you, so when he gets up close, keep hammering the melee button to break free and push him far enough back so you can - quickly - get a shot in on him.
The main key to this battle is that every time you hit Kai enough, he’ll blow up a new part of the room and drop some troops down whilst he recharges his shields. You need to pick off as many of the troops as possible to get Kai back into action, as firing at him like this is just a waste of bullets and time.
Each time he recharges, more powerful Cerberus troops will drop down until you’re facing Phantoms, Nemesis and Kai himself. Headshots naturally do the most damage, and try - where possible - to take cover, but sometimes (depending on your playing style), moving around the arena keeping tabs on it all can mean you don’t get flanked unexpectedly.
No Comments