You’ll begin with a hot landing zone, so immediately step out, take up cover and apply any armour-stripping ammo-enhancers you have. There’s three avenues of attack here: the left flank, the central walkway or the right flank. The left flank is perfect for snipers (plenty of cover and distance between you and the enemy), Infiltrators can even cloak-run up to the front door and launch a surprise pincer attack from here.
Otherwise a solid strategy is to get someone behind cover to take control of the central walkway as you and your other colleague take the right flank and pick the enemies off here with a combo of biotic powers and a rain of - highly accurate - bullet fire. Watch out for the Engineer (and any turrets he may have placed) and several more troops will descend from the front door, so be ready for them too. There’s no collectibles in here, so head to Commander Bailey to trigger the next cutscene.
To Collect and Serve
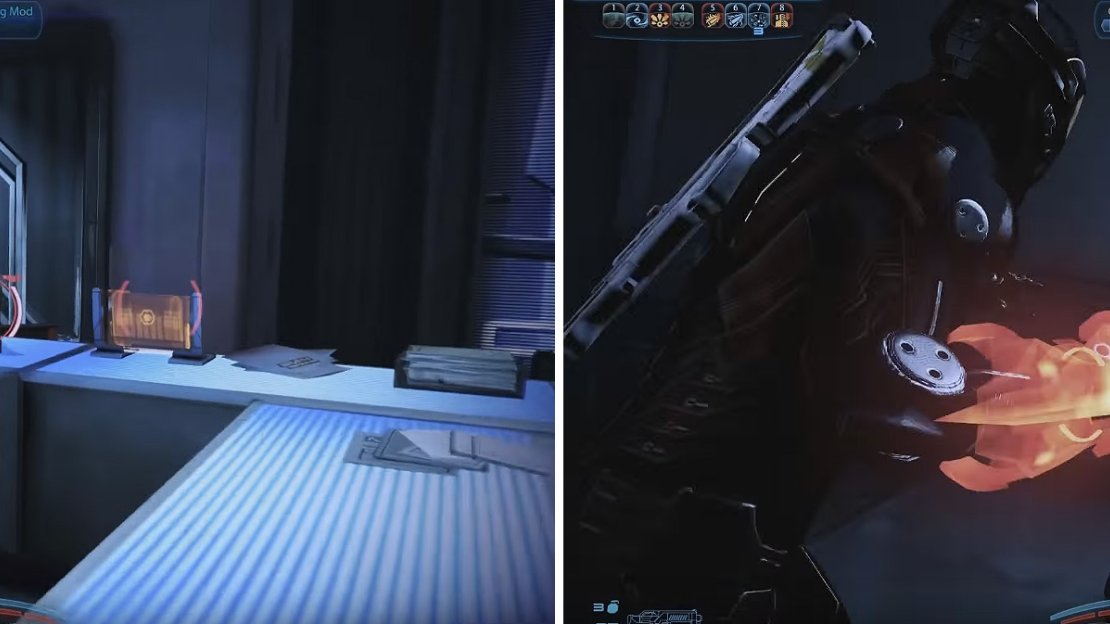
If you look among the rubble, there’s a ton of items to collect (left). Engineers can be punched in the face readily with your Omni-Blade (right).
There’s a few enemies across the next few rooms and plenty of pickups for you to add to your ever-growing collection of armour and weapons. Open both doors and after opening the second one, assign your team to cover the base of the stairs on the left whilst you pick off the troops directly opposite. A couple of Guardians will show up, so pick them off as your team divert their attention away from you. Run upstairs and kill the Engineer too (before he can deploy any turrets).
On the reception desk there’s a Medi-Kit and an Assault Rifle Piercing Mod , but watch out for the Assault Troopers trying to land in the far left-hand corner (pick them off as they descend for easy kills).
Bypass the door lock and ready your weapons before entering the next room because there’s a Centurion with his back turned to you, but there’s a more dangerous Engineer (also with his back turned to you) in the right-hand room. Dash through to the Engineer and shoot him in the back to take care of him quickly. Now get to cover and pick off the Centurions. Run into the corridor up ahead and, by a panel in the left, there’s another Engineer, so drop him as quickly as possible. Time to pick up a few freebies in peace and quiet…
To the left of the door you entered, there’s a toilet; in here you’ll find the M-76 Revenant resting against the wall by the sinks. The middle locker contains 6,250 Credits. Now exit and on a table to your left you’ll find a Recon Hood armour cache. There’s also a Medical Station on the wall leading into the adjoining corridor and finally, there’s a Sniper Rifle Extended Barrel sitting on the shelf in the room with the locked door panel.
Shoot the lock off of the panel, activate it, then step inside the lift and press the button to ascend to the next area in the Citadel. When the doors re-open, you’re free to wander the next room in peace, so grab the Pistol High Calibre Barrel from the shelf in the upper left-hand room, and beside that you’ll find a Securitel Helmet .
In the room across the hall (to your right), you’ll find a Pistol Piercing Mod. Head into the room to your left and access the first terminal to open up a door behind you. Double back into the corridor again, grab the M-25 Hornet pistol from the corpse on the floor and finally go left (then right) and look for the door lock that’s now green. Inside here you can pick up the highly effective M-358 Talon pistol.
Continue back into the room where the door unlock terminal was; open the green lock and in the next room dispose of the two Assault Troopers with their backs to you. The next room will trigger a fresh Cerberus encounter when you get halfway across, so get the advantage by taking cover in the room to your right and use the walls here for cover.
Look carefully when approaching new rooms because Cerberus troops like to jet in from above. You can pick a few off before they land.
There’s only a couple of Centurions and a few Assault guards, nothing you can’t handle this far into the game. When the coast is clear, grab the XP from the Medical Station in the room you’re in, and on the desk is a datapad that you can scan for an easy 6,250 Credits . Head to where the guards were landing, and on a table top to your right, you can pick up the Sniper Rifle Piercing Mod and get further easy XP by scanning the Medical Station nearby. Open up the door at the top of the stairs for a cutscene.
This will be your first run in with a new Cerberus enemy, the Phantom. They carry a sword, have shields, can turn invisible and they zip around the place. Oh, and there’s three of them to take care of (along with several Nemesis snipers and Assault troops). You can try and hang back (and be cautious), but the Phantoms will reach you regardless, so we’ve found, it’s better to go all out and rush them with rapid firepower.
Immediately upon landing, switch to your fastest firing weapon (SMG or Assault Rifle) and run forwards where the first Phantom will drop out of the ship onto a flower bed on your right - use this ‘down’ time to pump her full of high-velocity rounds. An SMG (with armour-piercing or warp rounds) will drop her in seconds. .
Now dive left towards the stairs, take up cover by the shop and pick off the Nemesis down the street (let your team worry about the Assault Troopers). Before jumping the gap ahead, refill up on ammo and be ready for two Phantoms at once and Three Nemesis troopers (along with multiple Assault troops). You can use a power like Singularity to block off the left path (near the crashed shuttle), forcing your enemies around the right-hand side of the shuttle. This option is best for players who don’t use guns very often (and instead prefer to use their biotic powers).
Our most reliable tactic was - as the Infiltrator class - all out gunfire, mixed in with some cloaking to get the close-range drop on the Phantoms and Nemesis. With an SMG, you can fire at their feet first, and actually use the guns upward lifting recoil to your advantage. It’ll only take a couple of seconds of sustained firepower to drop each enemy (and if your AI team can keep them occupied, all the better). Only when your biggest threats are down, should you worry about the Assault guards.
Shalmar Plaza
You’ve got a little bit of downtime here, so restock up on ammo, and at the end of the walkway, drop down onto the flower bed towards Shalmar Plaza. Climb over the barrier, run forwards, drop down to your right and then jump over the gap. Climb up to your left and then look left at some crates; on top is salvage you can scan for 6,250 Credits .
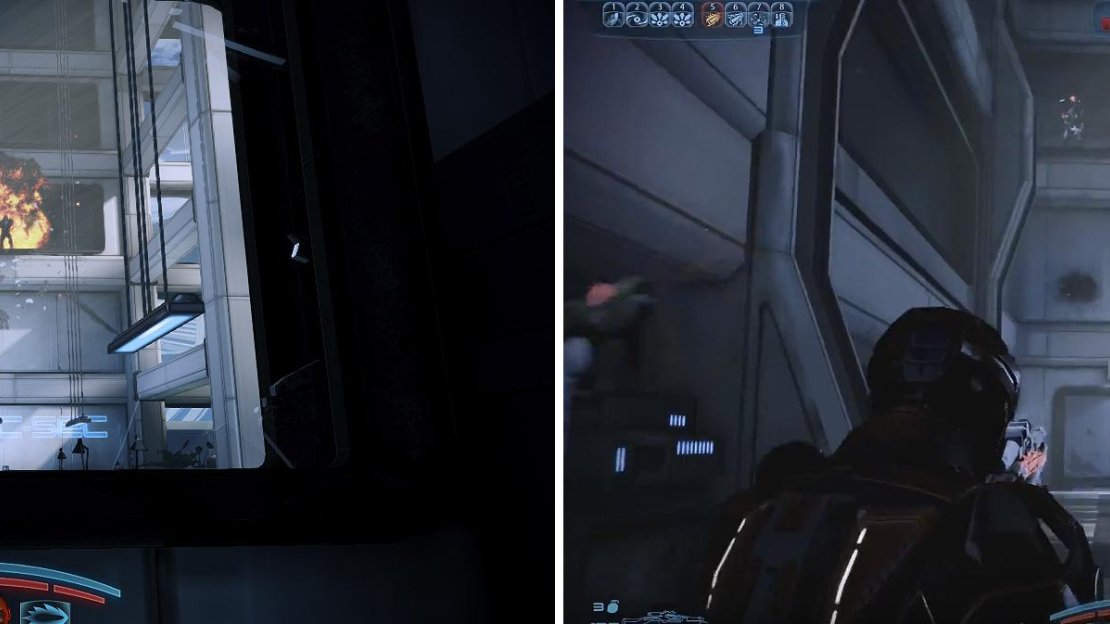
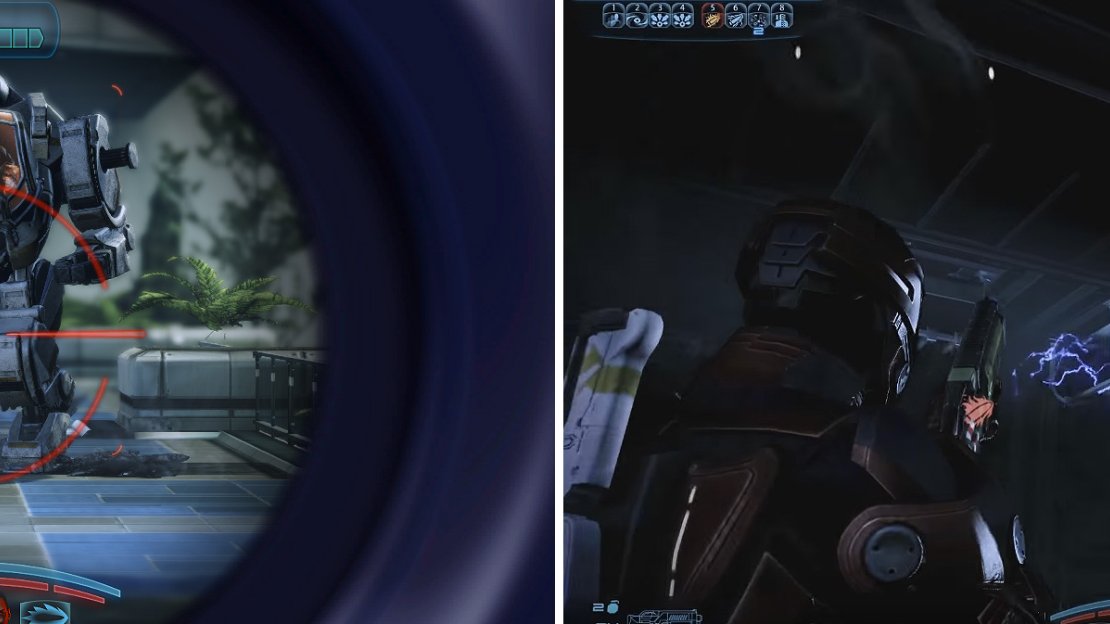
Take cover in the shop doorway and use your sniper rifle (left) to hit the Atlas. Later, shoot the power cells (right) underneath the elevator.
You can shoot just the pilot (and thus hijack the Mech), but it’s easy enough to destroy it from your current location and the remaining troops aren’t that much hassle. When the dust has settled, run up the stairwell to your left, enter the door and you’ll trigger a cutscene.
You’ll reappear on top of an upward moving elevator, but your main task should be looking underneath (and on top of) the coming lifts for power cells that you can destroy. The first elevator’s cells are underneath it, the second one is also underneath it, but when the Phantoms drop in, - very quickly - shoot the two panels on the top to make them plummet like stones to the bottom. Now shoot the bottom of the next elevator to send the troops to their doom. Jump across to the next elevator when prompted to trigger a decisive moment.
Decision Time (Spoilers)
How you have (or even haven’t) interacted with the teammate that was injured and sent to hospital will dictate how this next section will pan out. Only if you’ve visited them enough between missions will you retain the option of them trusting you…


No Comments