The final invasion of Earth has begun. It’s time to finally take the fight to the Reapers head on!
Being the final mission, it’s also fair to say that it’ll be the toughest one you’ve encountered to date. It’s longer than any other mission, throws loads more high-level Reapers at you than any other but it’s for that ultimate payoff.
Be very quick to get to cover as the shuttle begins to land in London, because you’ll be taking enemy fire even before you can get off the ship! The Reapers have a distinct height advantage here and their fire can - and will - reach you over your small wall.
Using your teams combined biotic powers is a solid option here, allowing you to weaken the numbers enough to allow you to push up the hill a bit for more vertical cover.
There’s numerous Marauders and Cannibals to contend with and if you have the Cryo ammo-enhancer, this is the perfect mission for it (especially if it’s been fully upgraded).
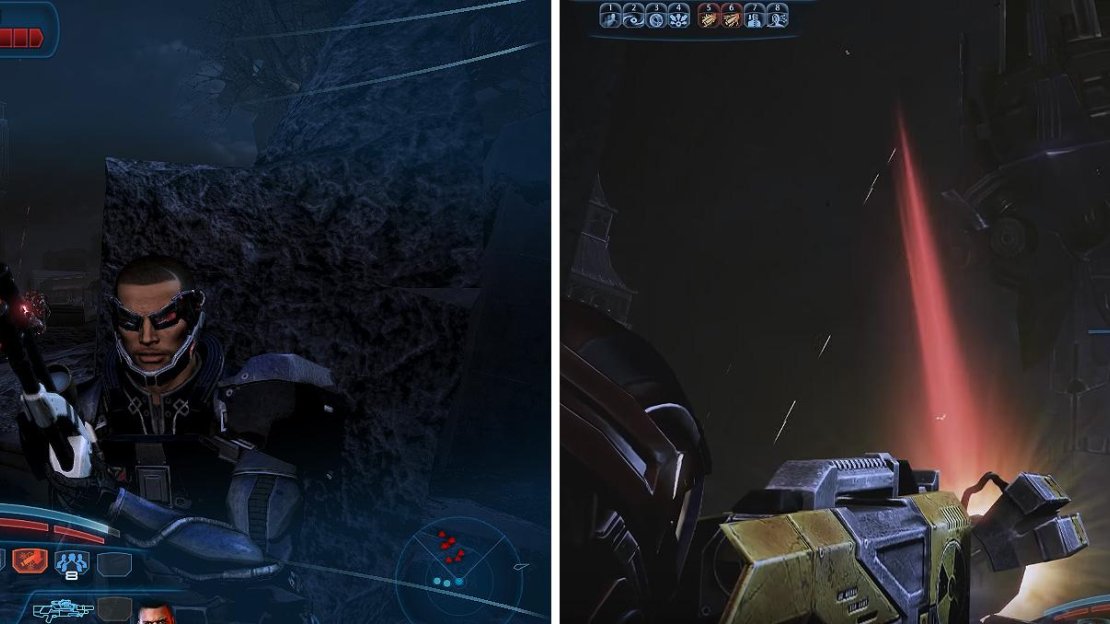
Marauders and Cannibals will be swarming your position so make use of that Cryo ammo-enhancement (left). Later, pick up the Cain (right) and launch it at the Reaper.
Stick to the left and use the ammo and cover here to keep the pressure up on the Marauders and the Cannibals. A couple of Brutes will also show up near the shops, so staying over on the left buys you additional time to deal them damage before they get too close for comfort. Head up to the building with the rubble leading to the roof, and get ready for another Reaper-packed encounter.
To the Crashed Shuttle
Use the fallen pillars for cover and your main enemies will come from the right side near the shuttle. There’s a Ravager, multiple Marauders and Cannibals, so work your way from the strongest down to the weakest. Ideally keep your squad a little spread out so you can get some crossfire on any distracted enemies. When the coast is clear, restock up on ammo and then pick up the M-920 Cain rocket launcher, aim it at the Reaper and BAM! Fireworks!
One Final Pep Talk
You’ll regain control of Shepard when he’s inside the Alliance FOB, so take this time to speak to each of the characters that are still alive in your team - each of them will earn you reputation points and there’s an additional bonus scene for when you speak to your ‘love interest’ during this section. You can also head to the communications tech guy in the building just before the rubble you walk up and you can speak to several other characters here too.
Once you’re finished with this half, walking onto the barricade with the turret will trigger a small attack from Reaper forces, so use the turret to mow them all down. Continue to the medical area and then you can speak to Liara in here if you wish. There’s also two Medi-Kits here for XP boosts. The next room holds Javik if you have the ‘From Ashes’ DLC downloaded already. The remaining characters (and another Medi-Kit ) are en-route to the command room where Anderson will talk you through the plan.
Speak to as many of your crew as you can during this brief respite. Courage and hope are needed now.
No Mans Land
You’ll have one more chance to adjust your teammates for the final stretch (or ‘suicide mission’ as some may call it), so pick them wisely. When you regain control, you’ll be behind a wall with multiple Cannibals facing away from you - stay in this area as you pick them off as there’s plenty of all-round cover for you to take advantage of. Also, don’t forget to reapply your ammo-enhancer ** (it’ll have been deactivated by the game for some reason).
Restock up on ammo and when the tank ahead gets further up (and is destroyed), take cover behind the horizontal pillar where the ammo is sitting. Cannibals will appear up ahead and a couple of Marauders will soon join the battle from behind the tank.
Around the corner is another tank, but as you approach it a Harvester (and its friends) will join the party. Get behind cover and get your squad’s powers and your weapons trained on that Harvester (if you save the tank from being destroyed, you’ll gain an XP boost and help in an upcoming battle). A Banshee will also show up, so use the open back area to provide moving room (you can dodge their beams if your roll out of the way at the last minute) and hit them with your strongest weapon.
When you get into the garage and deal with the Husks, be ready for two Brutes to come down the walkway up ahead of you. Use the time this distance buys you to let rip with your strongest guns and powers; if your weapons have been upgraded fully, then they shouldn’t get too close if your aim is on the money. There’s ammo refills in a corner to your left, then climb the ladder to exit the garage.
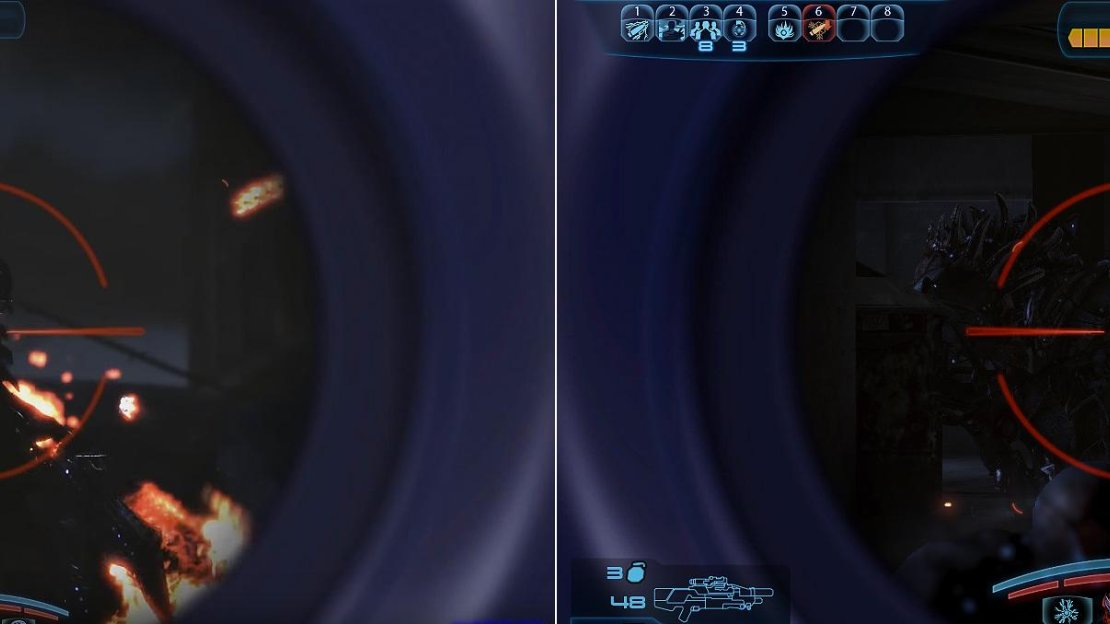
Harvesters make a return (left). Unload everything you have on the Brutes (right) while they’re at a distance.
Reaper Stronghold
Ready your best mid-range weapons before climbing the ladder as there’s a couple of turret-touting Marauders, Cannibals and a Ravager waiting for you in the next room up above. You’ll have the element of surprise, so make it count by hitting the Marauders first, then focusing on the rest afterwards. There’s also a couple of Medi-Kits nearby if you need/want the XP and gel. When you open the door, mow down the Husk (and its mates) before dropping down into the streets below.
Several Marauders will turn up ahead of you, so take cover behind the horizontal pillar on the road (with the two ammo refills on it); this provides cover and ammo if needed. Take your time, pick each Marauder off and when you get closer, take cover behind the left tank and use this to take care of the Ravager up on the ledge and the other Marauders that make an appearance.
A Brute will also decide to pay you all a visit, so double back and use this additional distance to get extra hits on it before it gets too close.
Proceed to the shop front up ahead, but don’t go inside until you’ve eliminated the Marauder and Cannibals hiding behind the shelving. There’s more Cannibals waiting for you around the left corner (and behind the tills), so stick to cover and hit them with whatever powers you’ve got.
When you get outside, look across the road where the red telephone box is and in that corner building there’s a number of Marauders and Cannibals waiting. When you run into the crater, you’ll alert them to your presence, so pick off the Cannibals and run up to the wall in between the windows. Get a grenade (or two) in there first to soften them up, then get close-mid range weapons or powers in action and wipe them all out.
Be very careful when opening the door, as there’s a welcoming committee waiting for you behind it and they know you’re there. Get to cover straight after opening the door and pick off your foes one-by-one.
Scan the nearby Medical Station if you want XP and/or gel, kill the enemies outside but don’t go out the front way; instead, go via the left flank and take cover behind the orange containers.
A Brute will make its presence known, but if you stay by the orange containers, you can stop it from getting too close, allowing you to wear it down with an SMG or even a pistol.
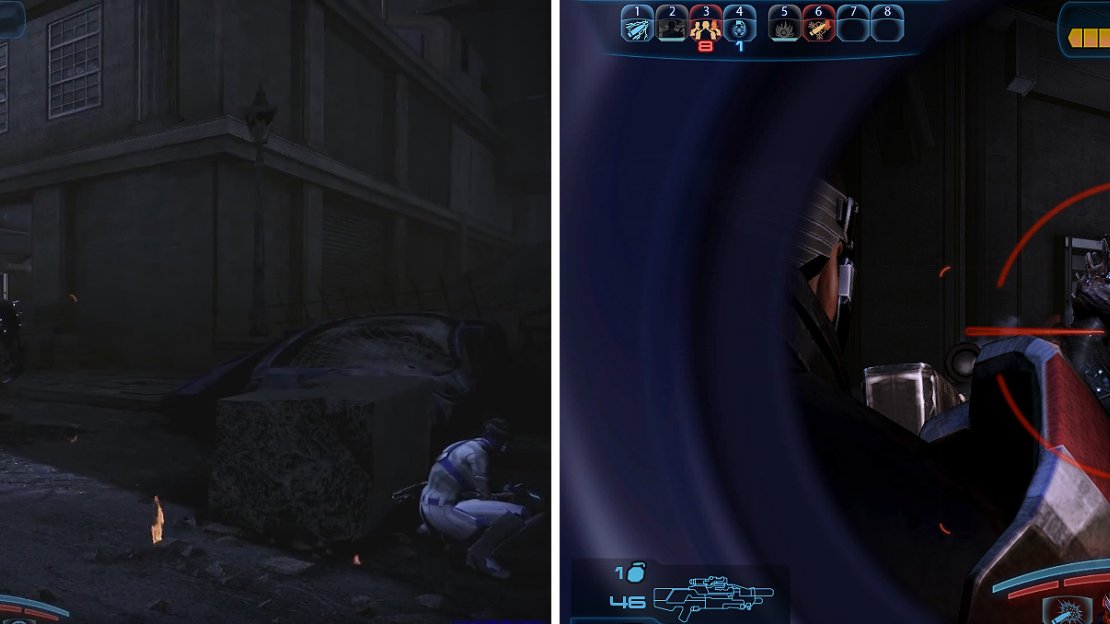
Stay behind the orange containers and unload on the Brute from a safe place.
Get behind the pillar opposite the store and send a teammate down into the alleyway; this’ll lure out the two Brutes waiting in ambush for you. Now use your best mid-long range weapons on both of them (grenades will also work well due to the tight space of the alleyway).
Missile Battery
There’s a shop to your left, there’s ammo and health in here, so put yourself here, whilst you assign your team to cover the Missile Battery itself. If you look far down the street, you’ll see the Reapers coming at you, giving those with scopes on their guns a head start.
You’ll soon be told to expect a wave of enemies coming from your left flank - this time you’ll be up against two Banshees along with Marauders and Cannibals. Try and stay in the middle area to give you a bit of distance from the Banshees, but pick off as many other Reapers as you can until they arrive. If you need ammo or health, don’t forget to raid either of the shops to your left or right.
Over five Brutes, multiple Banshees and numerous Marauders will congregate on you whilst you wait for EDI to ready the other Missile Battery. Pick up the Hydra Missile Launcher from behind the counter of the first shop and only use it on the Harvester that appears.
Do not attempt to fight any other Reapers! Instead, keep you and your team on the move, relocating from corner-shop to corner-shop and do not stop moving!
You don’t need to kill all the Reapers here (and to be honest it’s near impossible to without going insane), so don’t waste your health trying, just keeping running around the battlefield until EDI tells you the Missile Battery is ready. Even if your team are down, ignore them as they’ll magically come back to life once you hit that button!
The Final Stretch
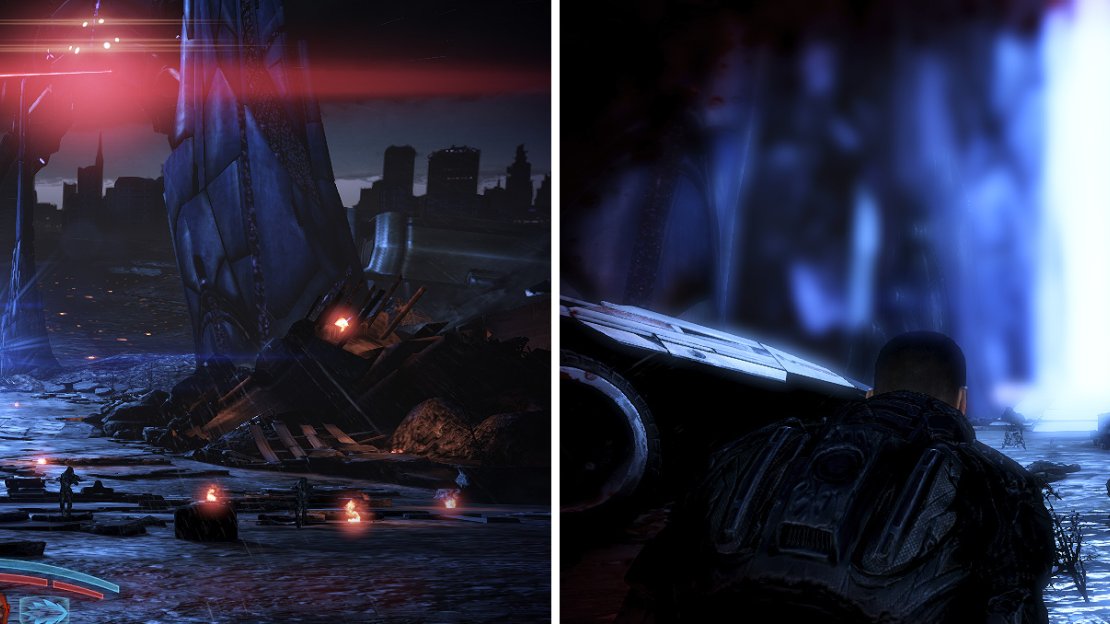
Run straight for the beam and don’t stop. There will be a cutscene if you have the Extended Cut as you head over there but otherwise, keep going.
When you regain control of Shepard, you simply need to hold up and run, that’s it. The beam can’t hit you and when you regain consciousness, you’ll be carrying your pistol as you stagger forwards. Be ready for the three Husks that show up and as you get very close to the beam, a Marauder will attempt to stop you. Thankfully, the game is playing in slow-mo, so use this to line up a headshot or two. However on Insanity difficulty, it may take a couple of tries to kill the Marauder which has quite a large amount of health.

No Comments