

Take a tech squad on this mission.
Make sure you pick Tali and ideally either EDI or Liara for this mission as their powers will prove extra useful against the synthetic Geth troops (so even giving yourself the basic Sabotage skill will work wonders on these missions as both you and Tali can use this in tandem to get the Geth to fight for you).
Finally, asking why the Admiral is worth saving will make it easier to persuade him to join you at the end. It can have a fairly substantial impact on the ending of the game, so it’s worth saving him instead of his team if you can persuade him.
Head to the AA Towers
Run around the cliff edge, climb up the ledge and then take cover to the right side of the pathway. Just up ahead are several Geth, one of which is a Geth Pyro. Now, an easy way to kill it is to snipe the tank on its back (left of its head) and this’ll explode, taking the Geth out with it. You can then use Sabotage on another Geth or just drill your bullets clean through them.
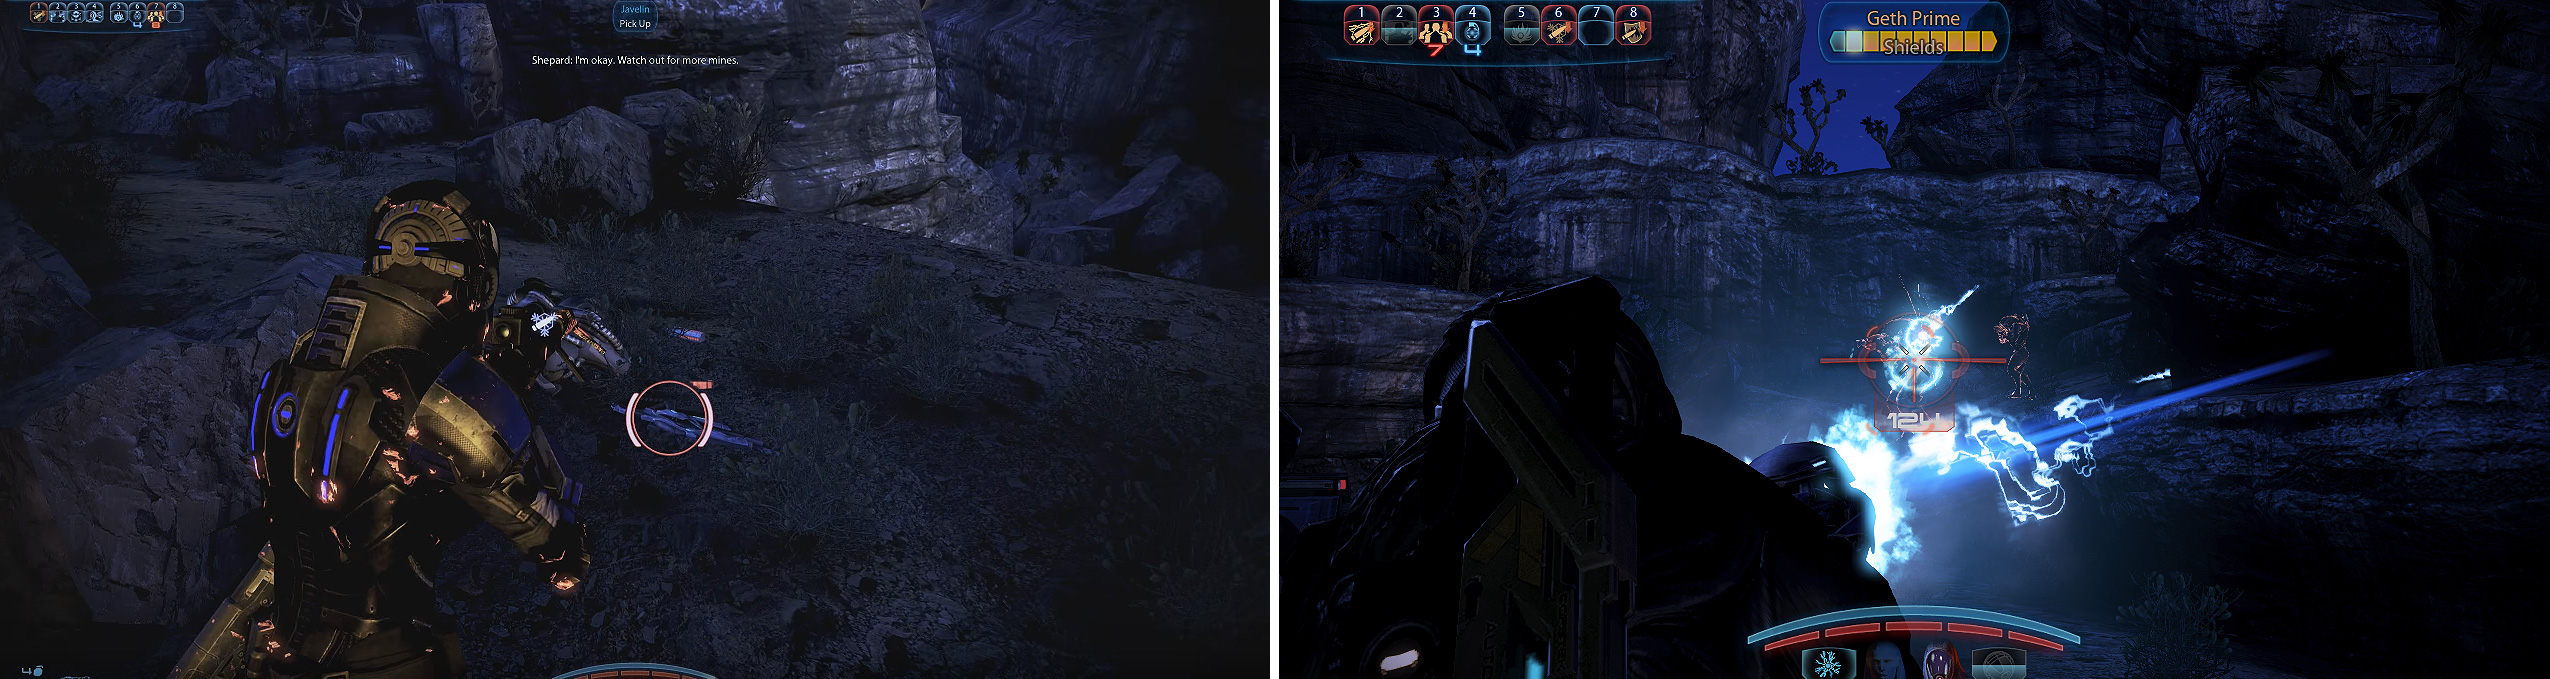
Look for some flaming wreckage to your right and scan it for 2,500 Credits . Continue onwards around the corner, but watch out for the proximity mine at the lip of this small hill (shoot it or be quick to roll out of the way if you set it off). Grab the Javelin Sniper Rifle from the ground and then make a beeline for the rocks that are overlooking the open area below.
Double Ambush
You can wait a few seconds for all of the Geth to appear from around the left corner and when they do, hit one with Sabotage yourself, then get Tali to do the same. Use this commotion time to mop up any Geth not currently getting shot by their own side. Once you see the corrupted Geth not firing anymore, kill them before the power wears off.
When you go down, get ready for several Geth to attempt to ambush you by coming from the ground - be ready to take cover, use sabotage like before and mow them down with close-mid range weapons. Remember to walk through here carefully as there’s a couple of proximity mines laying around that can easily catch you out.
Disable the AA Gun
Just around the corner are multiple Geth guarding the first of the three AA guns in this mission. Locate a Rocket Geth and hit it with Sabotage; this will alert the rest of the Geth to your location, so quickly hit another Rocket Geth with Sabotage to turn their firepower against them. Send out any offensive or defensive drones if Tali has any and pick off the remaining Geth from a medium range. Now scan the Geth Technology (on the left side of the central area) for 3,750 Credits .
Before telling one of your team to disarm the AA gun ( not **** Tali as you can use her Sabotage for this battle), you should pick up the special Geth Spitfire located to the right of the terminal on a crate.
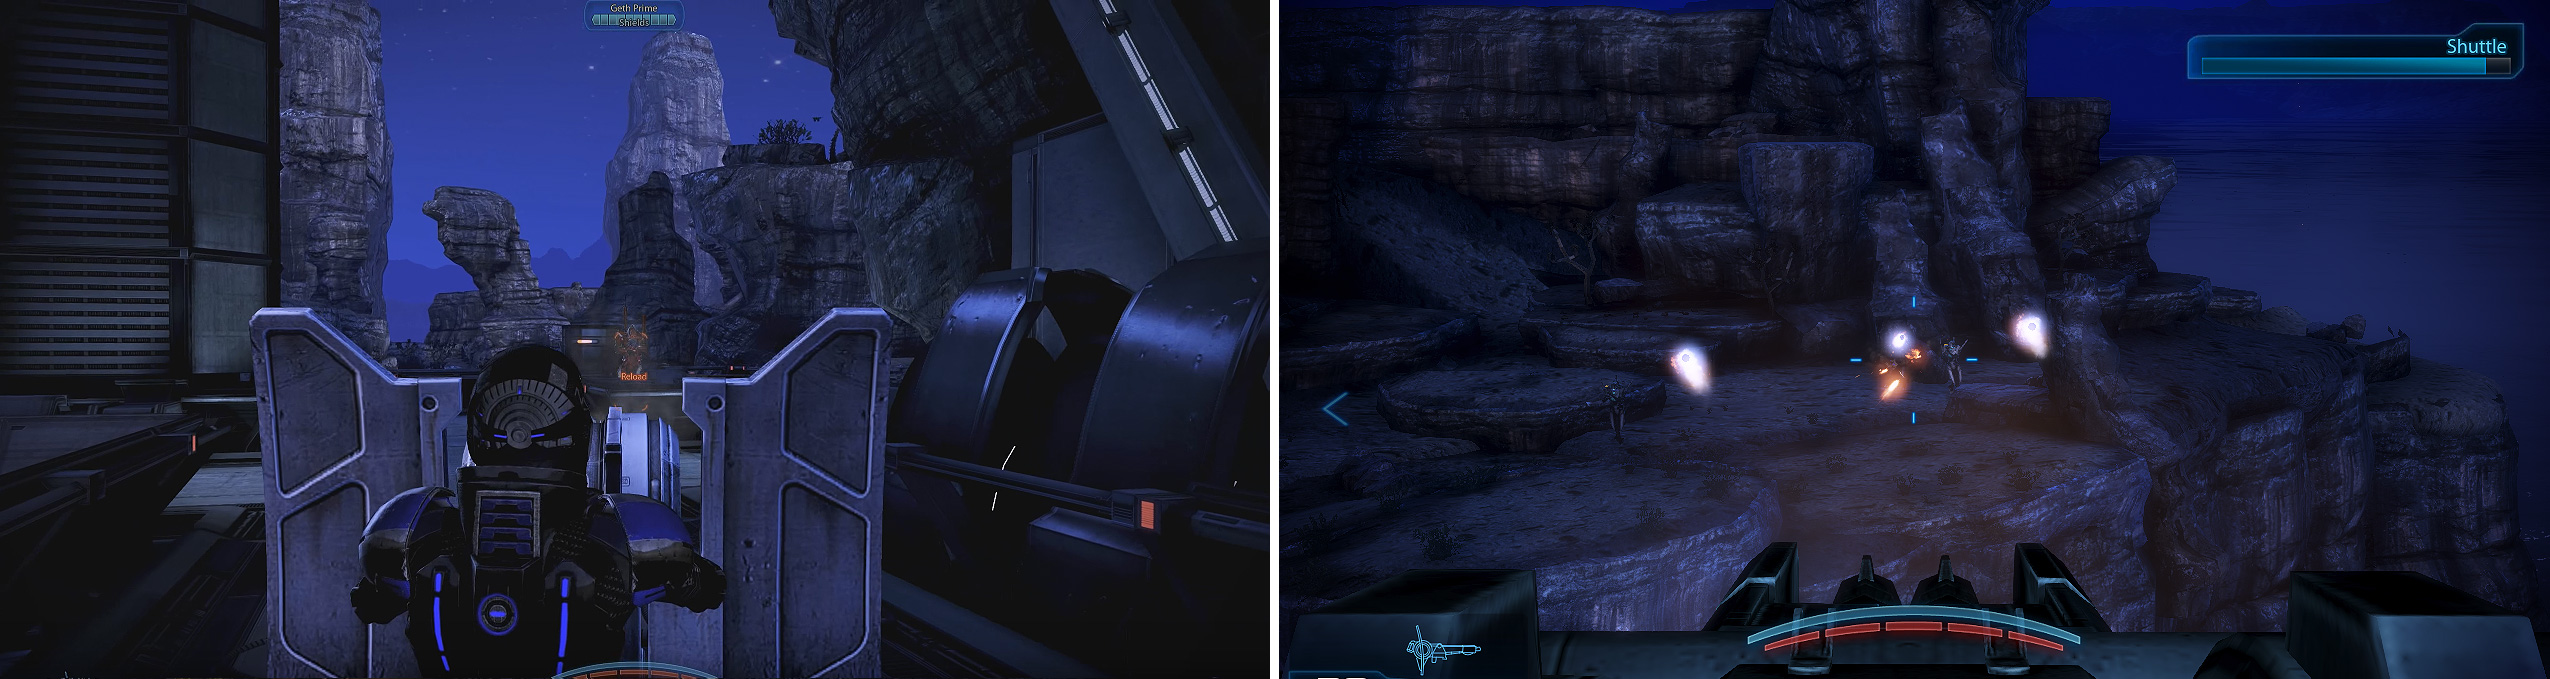
You can find the Javelin sniper (left) here. Later, collect the Geth Spitfire (right) before you disarm the AA gun. It’s a pretty fun weapon.
Unlike previous special weapons, this isn’t a one-shot weapon and instead comes with 200 rounds of Geth-melting plasma. If you can keep your firing to short, controlled bursts, you can take it with you to the last two AA guns, making life even easier again.
When you assign a teammate to the AA gun, immediately take cover overlooking the far corner where the Geth turn up. Keep a watchful eye out for the large red Geth Prime and make it your priority target when it appears (but be careful as its shields can regenerate, making it annoying to kill if you’re not hitting it quick enough).
Your Geth Spitfire will make light work of the Geth (including the Prime variant); just remember to keep your rate of fire and aim under tight control (unless you’ve got a clean line of sight to the Prime). Even when they all appear to be dead, a couple of Hunter Geth will appear - then disappear again - from the same hill.
Keep an eye out for a small ledge right where the Geth Prime appeared as it’s holding an Assault Rifle Magazine Upgrade and a Medi-Kit . Run right past the proximity mine and on a ledge to your left you can pick up a Shotgun Shredder Mod . There’s also a fallen Geth nearby you can scan for 3,750 Credits .
Disable the Last Two AA Guns
Afterwards speak to Dorn’Hazt and then grab the SMG Magazine Upgrade in front of the bridge leading to the guns. You now have a choice of going for the right AA gun first or the left; we preferred going from left to right so that’s how we’re going to tell you how to do it.
Run straight to the barrier opposite the mounted gun placement and either hit it with Sabotage or an offensive drone. Drop down the left side where the ladder is, run around the right as this will allow you to flank the Geth who’ll be dealing with your comrades.
Get rid of the turret gunner first (if he’s not been sabotaged), then hit the Rocket Geth next, before finishing off the troopers. When they’re all gone, keep Tali with you and make your other teammate disable the AA gun.
Immediately run back to the mounted turret and look to your right (where you came from) as several Geth will appear and a Geth Prime will always appear from the far right (so get it in your sights to rip it to shreds quickly). When you’re told it’s offline, look left and drop any Geth that come through the door.
Before heading through that door, pick up the Jamming Tower Data from a data screen to the right of the doorway (this is required for the side mission Citadel: Target Jamming Technology ). Head through the narrow walkway to the other gun and make a dash around the left side. This allows you to flank the Geth and get the drop on them before they see you and you can then pick up the Armax Arsenal Chestplate from a pillar almost opposite the AA gun controls.
Assign a colleague to disable the AA gun (not Tali), and immediately run back to the mounted gun; now look straight ahead as this is where the next wave of Geth will appear from. A Geth Prime will appear on the far left, otherwise pick each enemy off as you see them with short controlled bursts from the mounted turret.
The Admirals Location
Using the AA Turrets on the Geth (left) makes things easy. Admiral Koris is worth saving (right) should you want more story development in your game.
You’ll contact the Admiral and he’ll tell you to ignore him and save his team - if you asked why he was worth saving earlier, you’ll more likely be given a blue or red persuasion response to get him to give you his coordinates. You don’t have to save him, but doing so can have a surprising effect on the play out of the ending.
If you choose to save him then you’ll appear in your NS-1 shuttle and you now need to clear the area of Geth so the Admiral can join you. Your ship will only have limited energy (represented in the top-right corner of the screen), so focus your fire on destroying any rockets sent your way then kill the Rocket Geth and other Geth as they appear. There will be two waves you need to survive through to get the general to join you. Your reward will be Paragon/Renegade points and 12,500 Credits .
No Comments