
You will be ambushed as soon as you hit the ground so take cover. Have your squad fan out and take cover at opposite sides to draw fire away from each other. Stand between them and start popping heads off Mercenaries. The rest of the crew will be firing down from above.
When there’s a lull in the fight, pick up the Shotgun Ultralight Materials I from the centre of the room. Snipers roam the halls so keep a close eye out for their red lasers. You can actually move round the room, preferably with Wrex, killing each Merc as this is not a hard fight.
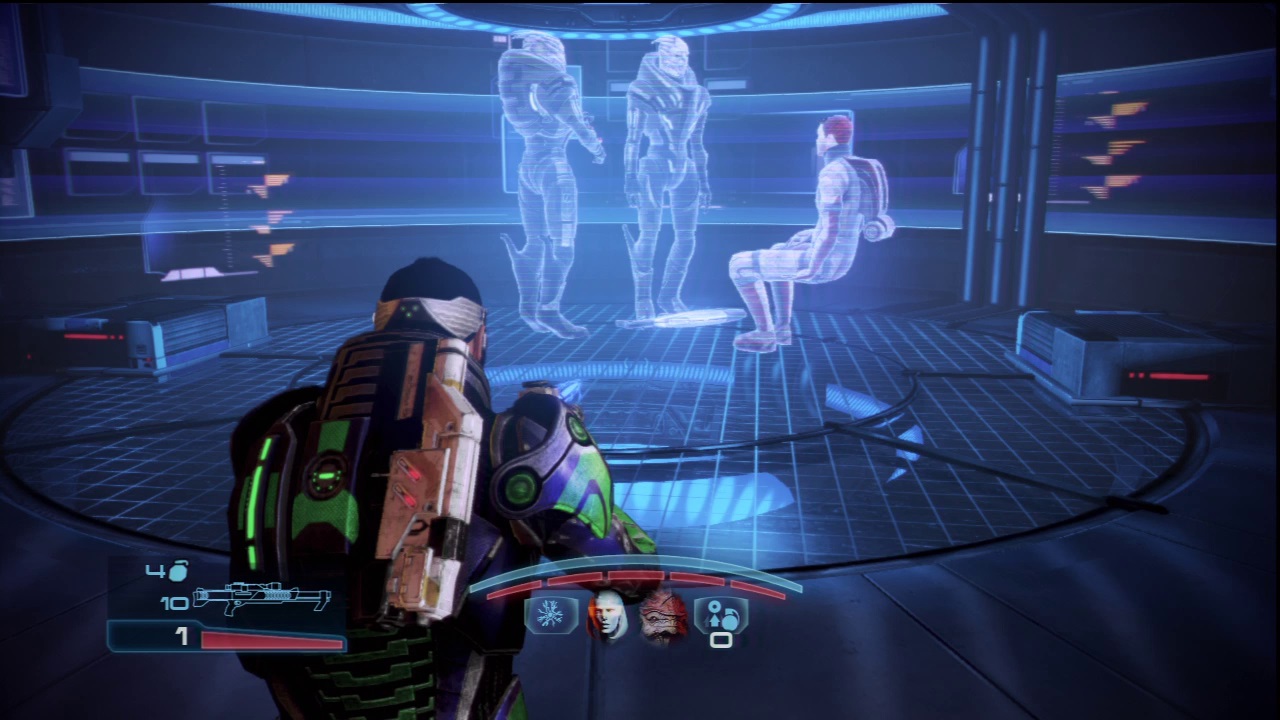
When they’re all down, a cutscene will play with a huge twist. If you use the Renegade interrupt, you can take out the two guards before the next fight even begins.
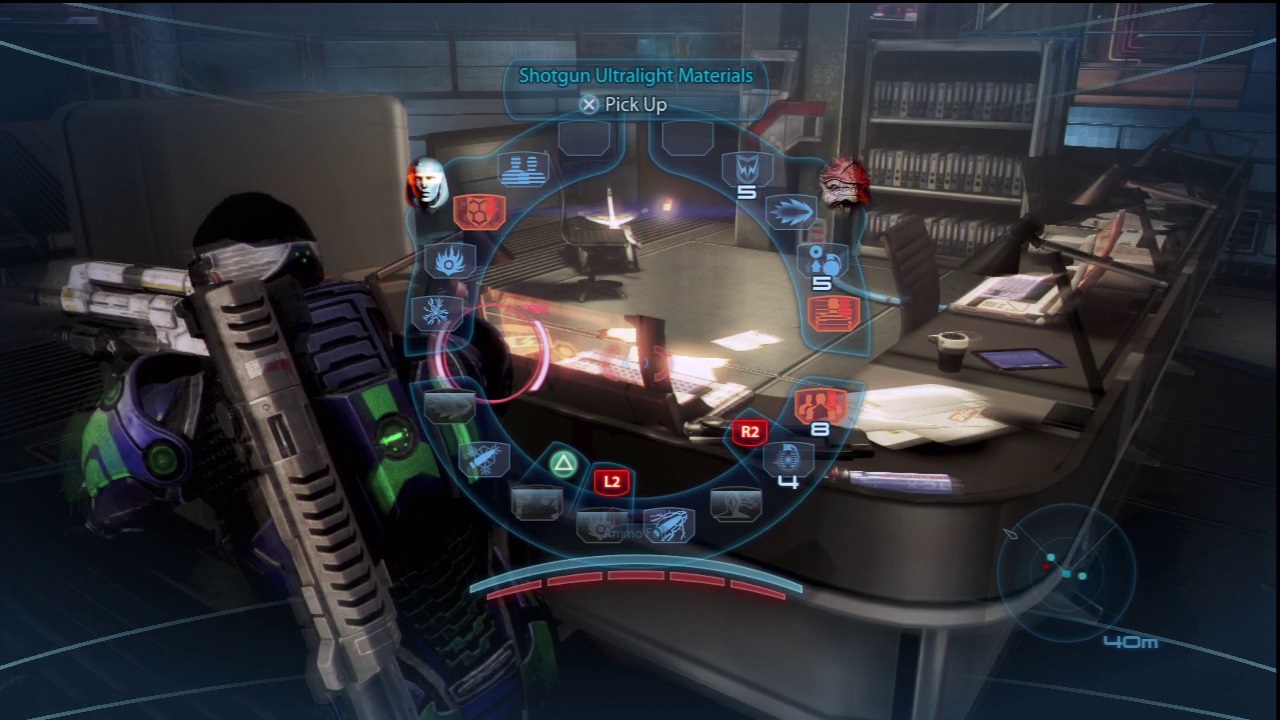
Pick up the Shotgun Ultralight Materials from the desk here.
A new type of mercenary will join this fight; the CAT-6 Heavy. They are like super-charged Guardians in that they have a shield but they also have a lot of armour. Like Guardians they can block powers so have Wrex close them down, and use a weapon with armour-piercing. Watch your flanks for other enemies but make the Heavies a priority as they are by far the most dangerous.
When the battle is over, you are free to explore the room as much as you want. Your aim is to follow the target through the archives.
Cat And Mouse
Exploring the Citadel archives offers up a lot of background information on the various races, wars and other parts of the Mass Effect story. If you wish to know more, make sure to listen to all dialogue.
If you’ve already taken the Shotgun Ultralight Materials, grab the Med-Kit if you need it and go through the door at the back of the room then run up the ramp to a terminal with 3750 Credits . Through the blue scanners in the other room is a Med-Kit and an SMG Power Magnifier I.
This place is huge but luckily Glyph will track the target for you so all you have to do is follow the walkways round. Go to the left-hand side and round until you see some stairs. Approach with caution as CAT-6 will lower a ramp down to meet you when you arrive at the top.
Step on the platform where they were and have your team lower you. Get into the vault so they can move you across but make sure you grab the M-7 Lancer Assault Rifle as you do. This weapon is the best Assault Rifle in the game. It has no use for thermal clips but instead works like the guns in Mass Effect 1 in that it reloads over time.
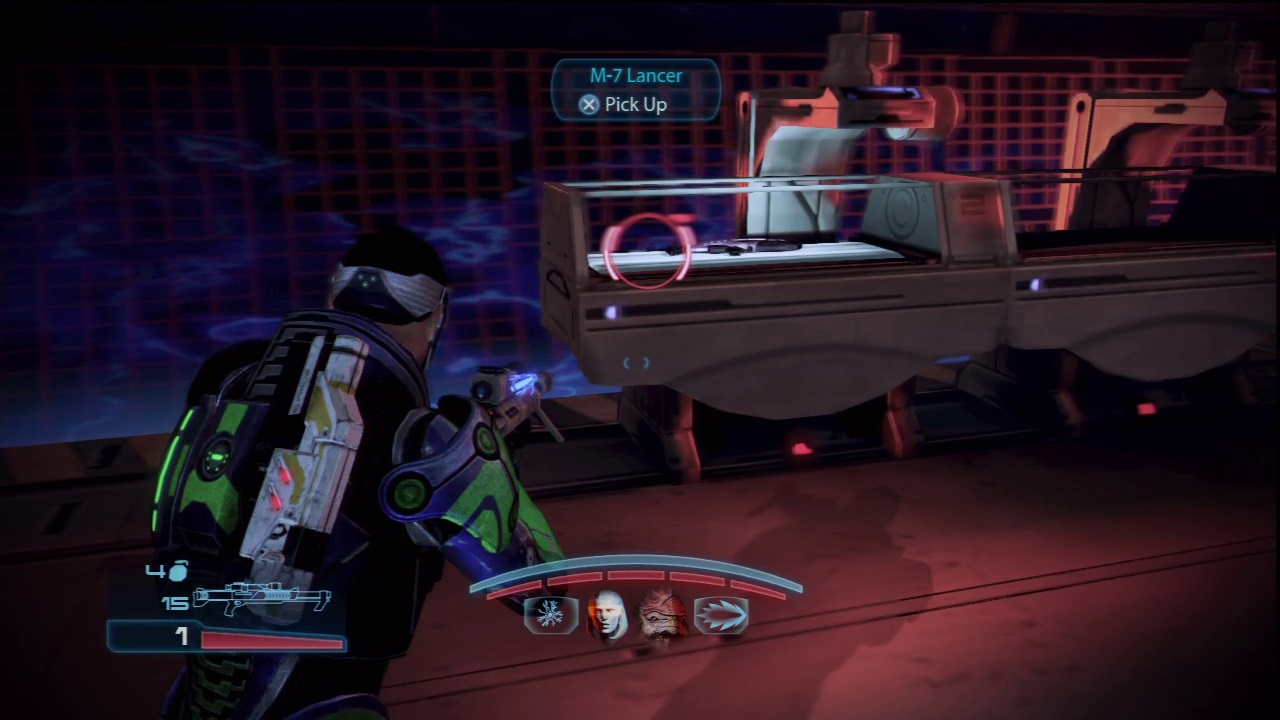
Even if you have the Cerberus Harrier, once the Lancer is upgraded a bit, it far outclasses the Harrier in terms of damage and doesn’t run out of ammo.
Run up the stairs ahead and turn right to jump down onto some storage containers. Use the rim to take cover as more Mercs drop in. Deal with the first group then move up a little way to get a good view of the next.
Kill the couple on the left and head over there until more Mercs come to block your path. Take cover and dispatch them, then move ahead and more Mercs will ambush you. These are nothing more than little skirmishes so are nothing to write home about.
Killing the last few will enable you to move on. Team Mako will radio you asking for help so head that way. Take cover behind the railings and let fly with any powers. You have a perfect vantage point for sniping if that is your thing. Jump down to initiate a cutscene.
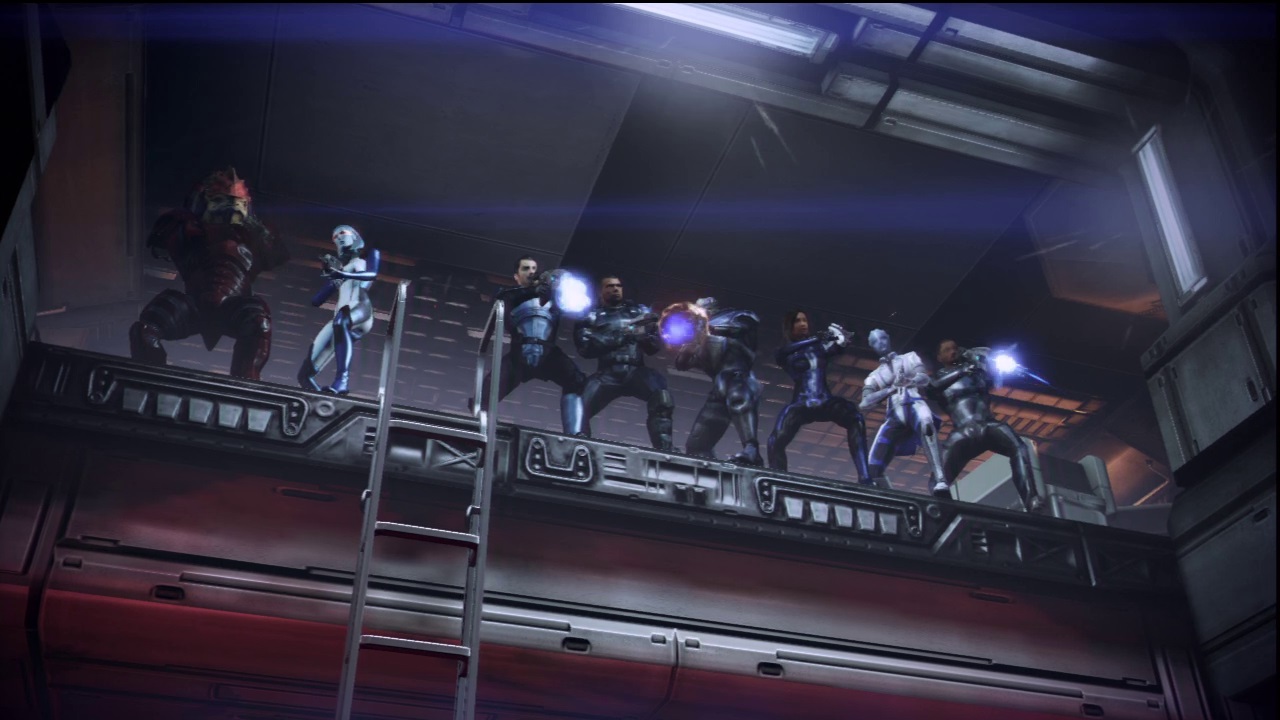
There is no such thing as too much firepower.
Locate The Target
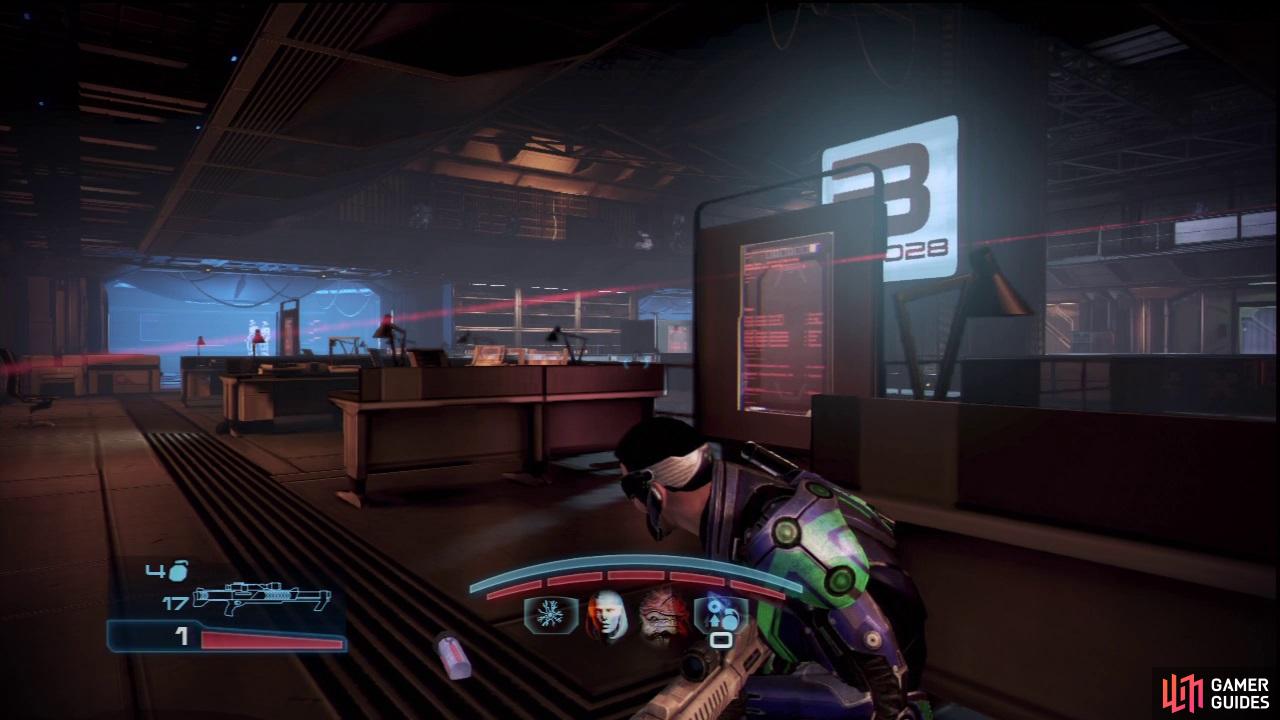
Open the door on the right and head into the archives proper. At the bottom on the left is another videolog but you need to go right to continue. Heading right will alert more Mercs downstairs so face them and get into cover.
Around almost every corner you will be beset by CAT-6 so keep your guard up at all times. However, Wrex will alert you by charging towards them, so keep an eye out for that. Heading down the ramp and into another large room triggers another fight.
Take cover in the right corner so you can survey the battlefield. Unleash hell on them, watching for Snipers on the upper balcony. If you can, take them out first to stop them taking potshots at you. Kill the first group and move a bit further into the room where more Mercs will arrive.
Staying here allows you to see almost everything in the room.
The door will open once they’re dead, allowing you to escape. There are no collectibles in here so continue on through the far door. In the next area you will be attacked instantly so run left and take cover behind the boxes.
If Wrex is in face-bashing mode, follow him round the corner at a distance and help him with any other Mercs that show up. Be very aware of the enemies here as you follow Wrex because soon, Heavies will appear. As always, watch your flanks for sneaky drones and enemies.
There’s a Sniper Rifle High-Velocity Barrel I on the far side of the large room, right at the back facing the door Glyph is at. A Terminal worth 3750 Credits is also nearby. There is nothing else in this room so follow Glyph through the door.
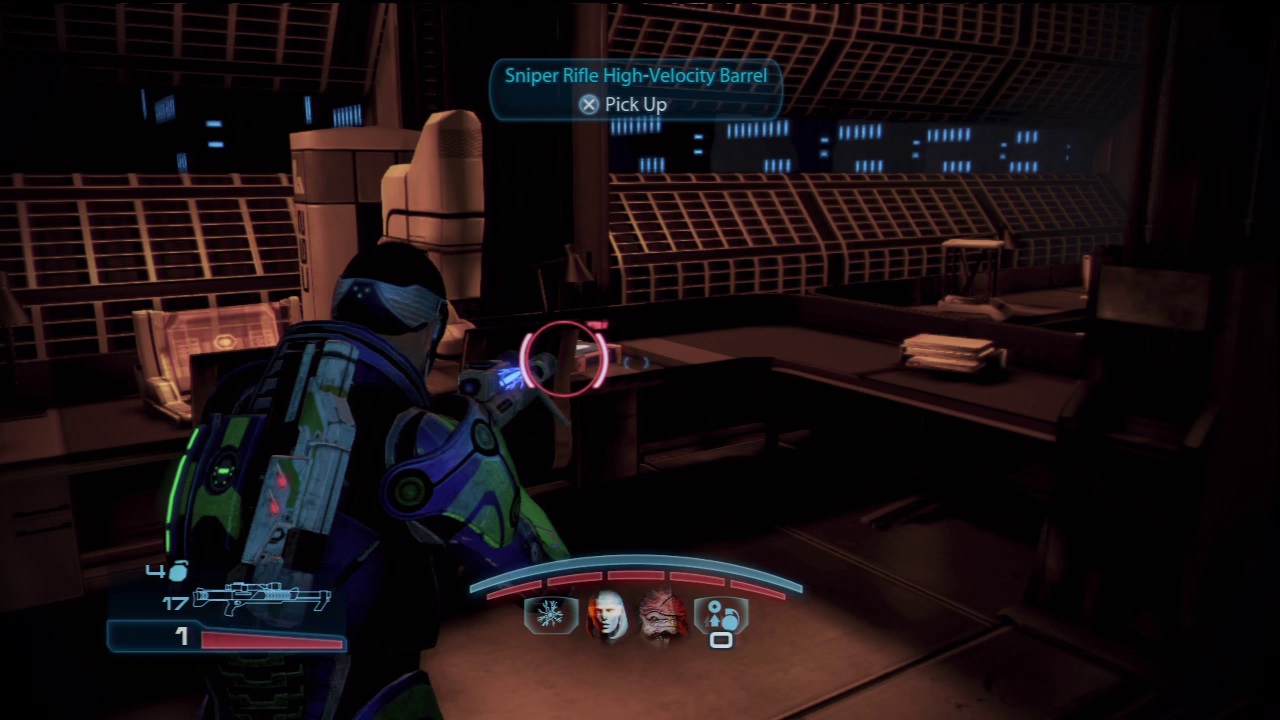
Right at the back of the room you can find the Sniper Rifle High-Velocity Barrel.
Keep following Glyph until you find a hall with an Atlas on the upper walkway. If you shoot it, it will jump down and turn its attention on you while the others run ahead. Go on and follow the walkway round until Glyph informs you that Razor Squad is ahead.
You can actually use the stairwell in front of you for soft cover. If you strafe in and out, you can take the enemies down in relative safety. Do NOT go up the ladder to try and gain the high ground as there is no cover up there at all.
After killing the grunts, a few Heavies will arrive. Put a few dents in their heads with armour-piercing weaponry or rounds as usual. Move ahead when you’re done.
Move behind the stairwell when you need to avoid fire or reload.
Eliminate The Target
After Glyph delivers its message, take out the couple of Mercs and pick up the 3750 Credits from a Terminal on the right. If you head left past the Krogan Genophage videolog, you will find an Assault Rifle Ultralight Materials near the videolog with the Salarian.
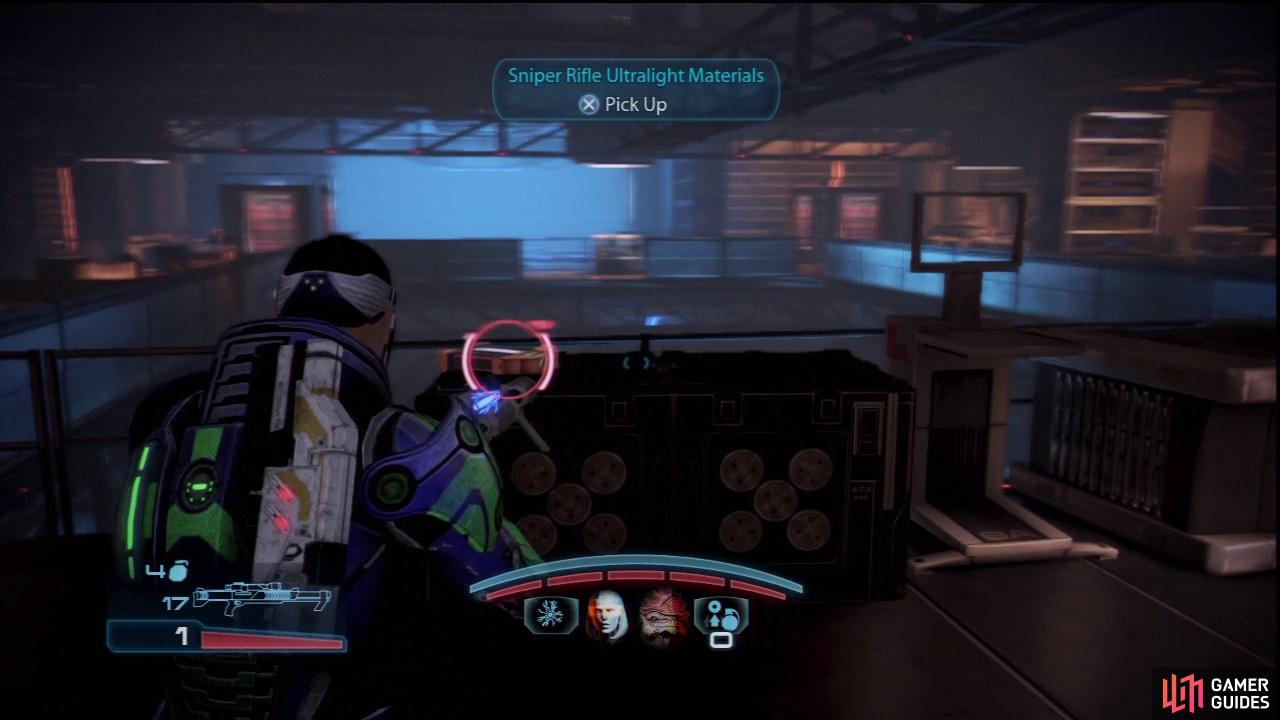
In the central area, there is a Sniper Rifle Ultralight Materials.
At the back facing the door, Glyph will be floating near a Terminal worth 3750 Credits . Go through the door now and into the next area where you will see Team Mako moving along. Take cover behind the pillars on the left as you will be assaulted by Heavies when you try to follow them.
There are more enemies on the right, namely two Snipers. Get up close and take ’em out. Head through the green door and through another. Brooks will radio you to ask for aid so hurry over there because there is nothing of interest in this room.
During the next cutscene, there are interrupts you can keep making. This creates a hilarious scene, particularly if you are a Renegade.
I should go…


No Comments