Are you prepared to cure the Genophage?
When the mission begins, you’ll be under immediate contact with Reaper Husks, so taking them down shouldn’t be too difficult this far into the game (especially if you’ve followed our advice and upgraded your key weapons). When the last Husk drops, another cutscene will kick in.
Item Central
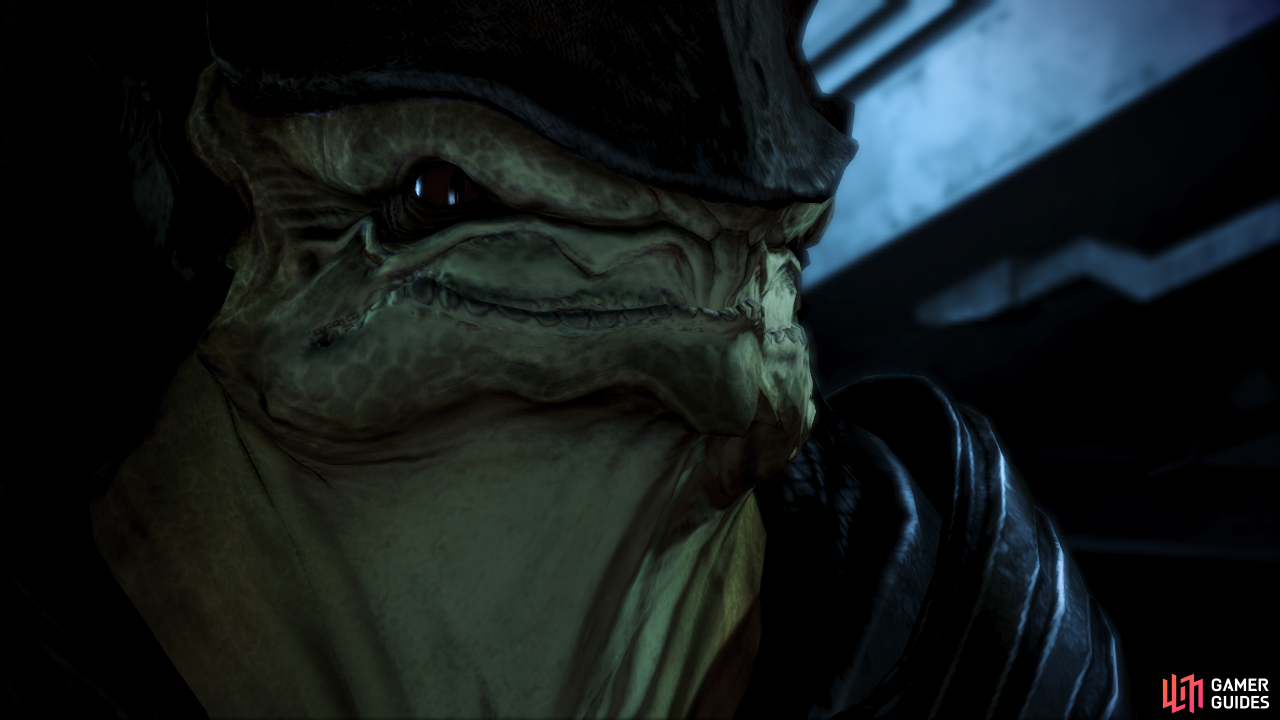
Before speaking to the Krogan that’s overlooking the blockade, be sure to pick up all the items laying around here. Beside the red Krogan fixing the wheel there’s a Shotgun Smart Choke Mod, a Death Mask Armour, a Pistol Magazine Upgrade and a Pistol Melee Stunner . Beside the Krogan looking over the barrier behind you, there’s a new weapon, the Graal Spike Thrower Shotgun and nearby there’s a couple of Medi-Kits for easy XP. Speak to the Krogan scout to trigger the next part of this mission.
Jump across the gap and enter into the catacombs that run underneath Tuchanka. Thankfully, there’s no enemies down here to worry about, but about halfway through, look for a Krogan wall painting and examine it for an easy 8,250 Credits . Examine the dead Ravager and switch you (and your team) to long-range weapons before you head up the stairs (also activate any Cryo/Warp/Incinerate ammo-enhancers now if you have any).
Bridge Battle
Assign your best long-mid range colleague to cover the fallen pillar in front of you, take your other teammate around the left side and you’ll trigger off a battle with Cannibals and two Ravagers. Stay behind cover and pick the Ravagers off first before focusing on the Cannibals; your ammo-enhancers will make these upcoming fights a lot easier.
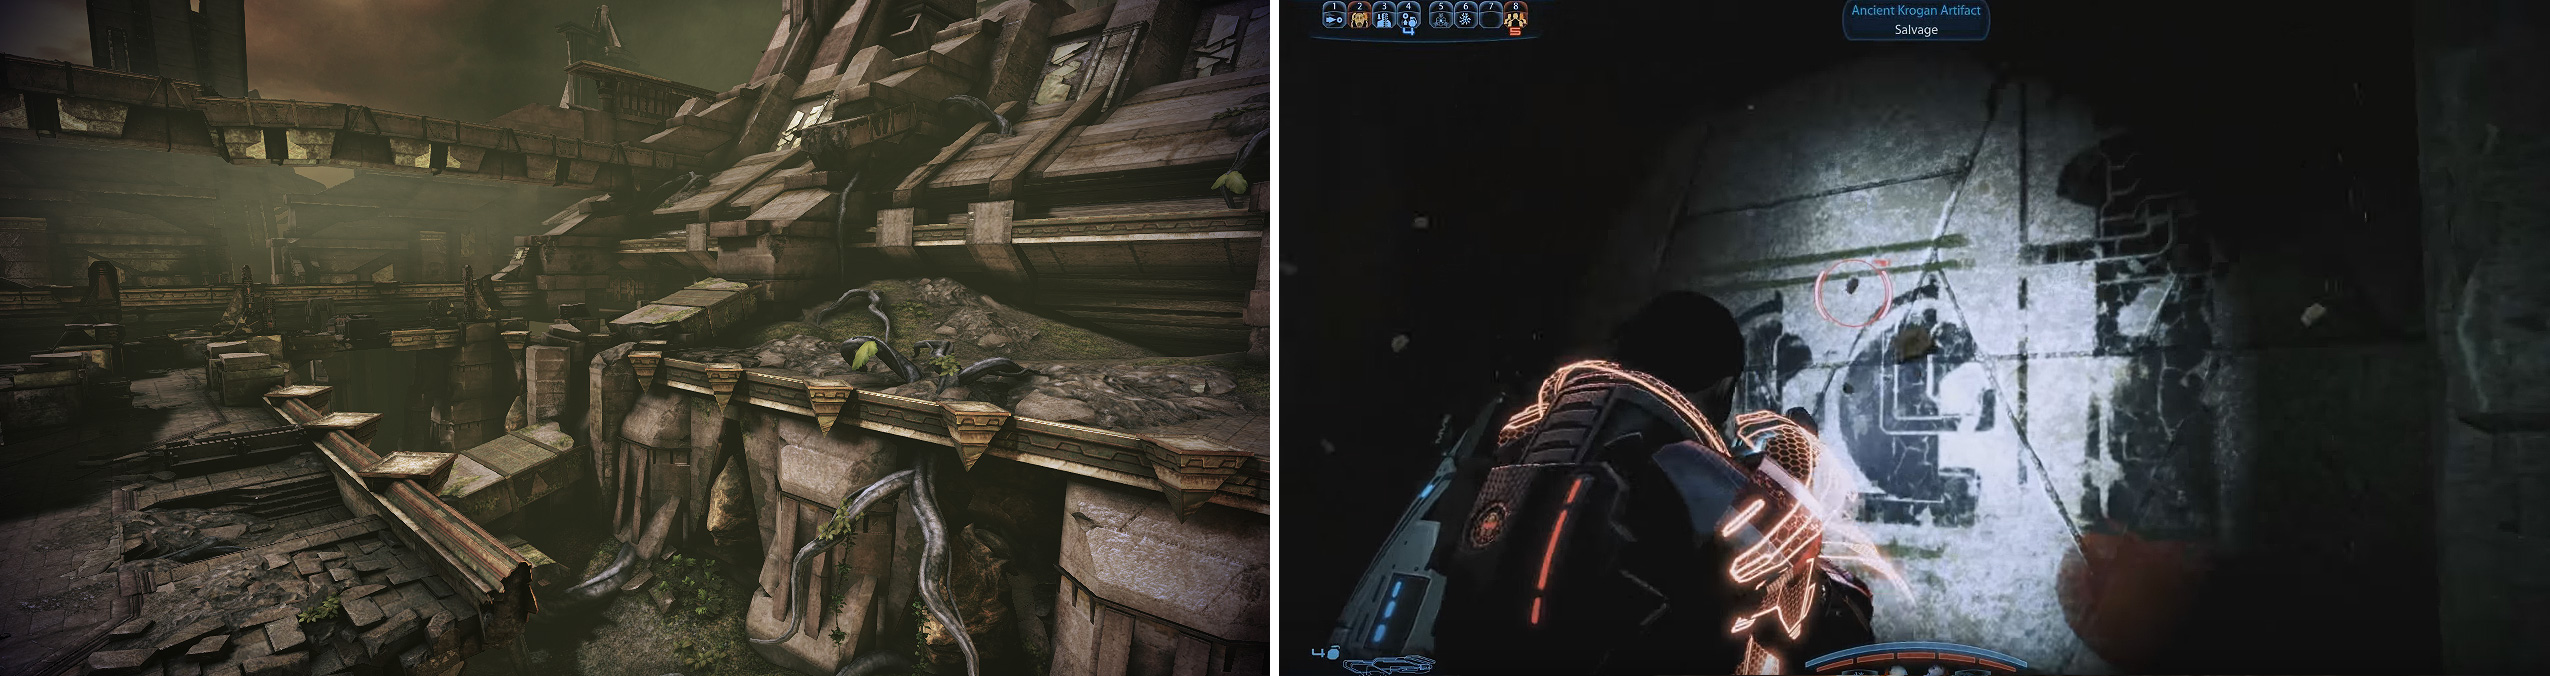
Tuchanka is a dying world filled with hostility. The perfect place for the Krogan (left). Beneath Tuchanka are catacombs filled with ancient Krogan murals (right).
Restock up on ammo (there’s refills laying around the ground), now head across the bridge and a few more Cannibals - and a Brute no less - will turn up! Get your team behind cover (one can go behind the fallen pillar, just up and to your right). Focus your fire on the Cannibals first, then the Brute (aiming for its head when it’s exposed, as this will deal a lot more damage to it than usual). Only when that’s no longer a threat should you worry about the Husks that have also turned up.
Just around the corner, the path will get a bit ‘wonky’, so run around the left and see those stairs just up ahead of you? Run up here as there’s more Reapers to your right. This vantage point will give you a distinct advantage (especially if you set your team to cover the top of each stairwell leading up).
Drop the Ravagers first, then kill the Husks and smash the Cannibal in the face. Restock up on any ammo you need and run across the bridge to trigger a cutscene. Once it’s finished, jump across the gap, run around the right side of the temple and you’ll be overlooking a more open area.
Marauder Encounter
When you approach the central area several Marauders, Cannibals and Husks will show up. As always, focus on killing the big fish first, so keep your focus on the Marauders (who can also ‘upgrade’ the Cannibals). Stay behind cover and have your team cover both of your flanks (keeping the Husks at bay whilst you focus your attention elsewhere).
Before you proceed up the short stairwell ahead, look behind a pillar on the left central side of your location for an SMG Scope Mod . After running up the stairs just mentioned, look left and tucked away in the left corner there’s an Assault Rifle Extended Barrel Mod .
To the Shroud
The Reapers aren’t best pleased at your efforts, so they’ll start sending out more enemies more frequently - as soon as the cutscene is over, multiple Cannibals will drop down kicking off a fire fight.
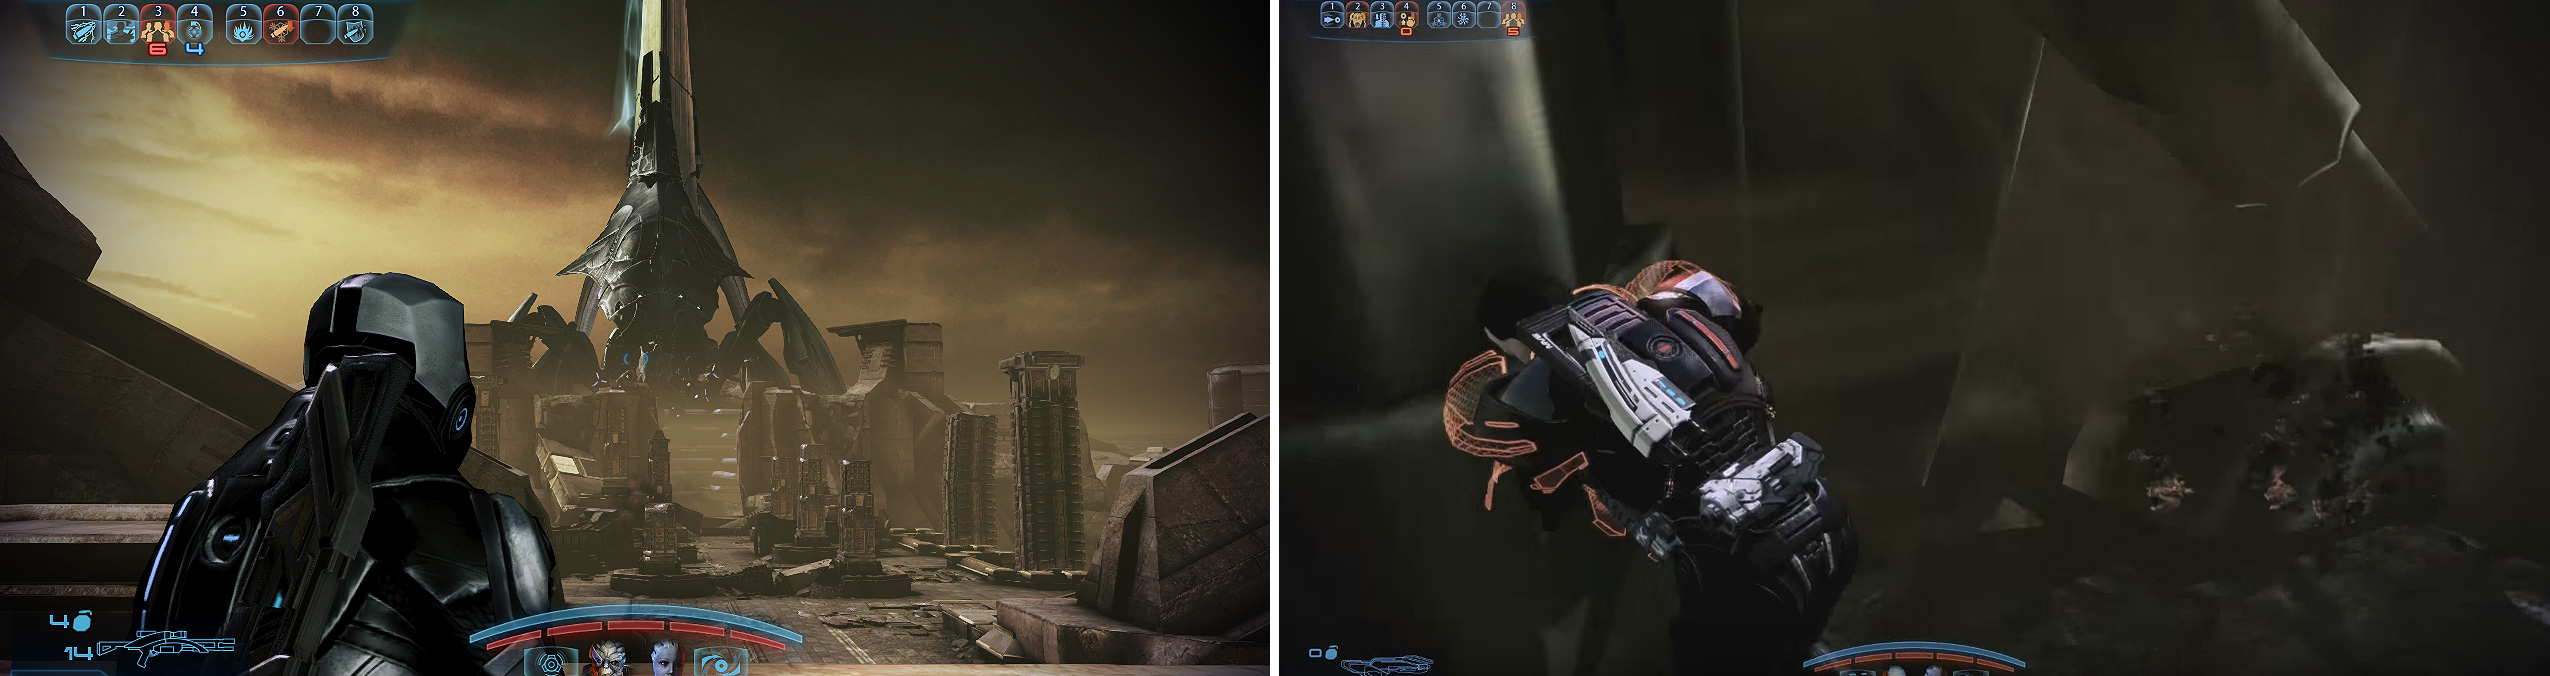
The Reapers stand menacing above the skies of Tuchanka, sending wave upon wave of troops to the Krogan homeworld (left). The Reaper guarding the Hammers can and will step on you (right) for serious damage.
Stay behind cover and then picking off one Cannibal will bring the rest to it, so get a grenade in there sharpish, making them easy to finish off. Move up the stairs on your left, and at the top (on the ground to your left), there’s a new weapon to be found. The M-5 Phalanx; pick it up then cross the bridge for a brief cutscene.
The Reaper ship will blast at you if you stay out in the open for too long, so keep ‘bunny hopping’ from cover-to-cover point until you reach the end of the walkway.
Activating the Hammers
There’s a couple of ways you can go about this, the hard way (killing the multiple Brutes with little room to move, doable, but risky), or just run like a madman straight to each hammer without stopping.
Your main point for concern here are the Reaper ship’s feet which - if they hit you - can strip you of a minimum of 50% of your health in one go! Ignore it if any of your team are ‘downed’ during your dash, because as soon as you activate the second hammer, they’ll immediately be revived.
The Cure - And Your Various Choices (SPOILERS)
There’s multiple variables and outcomes available with this scenario, depending on whether or not Wrex was imported from Mass Effect 2 and whether or not you told Eve of the sabotage on the shuttle at the start:
1) If Wrex is the Krogan leader (and not Wreav), the Salarian cannot be persuaded to sabotage the experiment (losing you the Salarian support as War Assets).
2) You told Eve of the sabotage on the shuttle and the Genophage will be cured and it cannot be stopped (losing you the Salarian support as War Assets).
3) If you told Eve on the second chance, you can only now sabotage the experiment by killing the Salarian doctor. Otherwise, the cure will take place, losing you Salarian war support.
4) If Eve survives (because you imported Maelon’s data from Mass Effect 2), then you must do the same as above if you wish to sabotage the cure.
5) If Wrex is the leader and you sabotage the cure, then later on in the game he’ll find out and he’’ll have to be killed to keep it quiet, losing you Krogan war support.
6) If Wreav is the leader and you can use Paragon to convince the Salarian to deceive the Krogans (you must select the ‘delay’ option when prompted in the Shroud), then not only will you gain both sides as war assets, but you’ll also gain the Salarian Scientist as a war asset on the Crucible.
Dream Sequence 2
Before you can continue on to Act 2, you must, once again, follow the dead boy in your dream.
No Comments