Head to the Nimbus Cluster , and in the Mesana solar system, fly to the planet Lesuss . Dock here to begin your mission. Upon landing, walk towards the door but turn left; on the crates you’ll find an Assault Rifle Stability Damper mod. Open the door, jump across the gap to the platform opposite, slide down the ladder and now jump across into the room opposite.
Starting from the left side of the room, head into the room and on the floor you’ll find a Pistol Melee Stunner and on a terminal right in front of you, you can pick up Gallae’s Electronic Signature (this unlocks either 5% discount off all shop purchases or +5% power damage). Continue walking around the left-side of the room and you can scan a PDA on the table for 20 XP . Before heading through the open door ahead, look to your right and in this room there’s a wall safe you can scan for 7,500 Credits and a Sniper Rifle Spare Ammo mod on the shelf to the safe’s right. Now scan the dead Asari commando on the ground for +2 Paragon/Renegade points and 600 XP .
Towards the Great Hall
Slide over the barrier to your left, open the door on your right, turn right, bypass the door down here and in the next corridor, look to your right for another dead Asari commando. If you pick up the datapad from the ground beside her, you can take this to the widow in the Citadel (allowing you to complete the side-mission Citadel: Asari Widow ).
Welcome to the Banshee
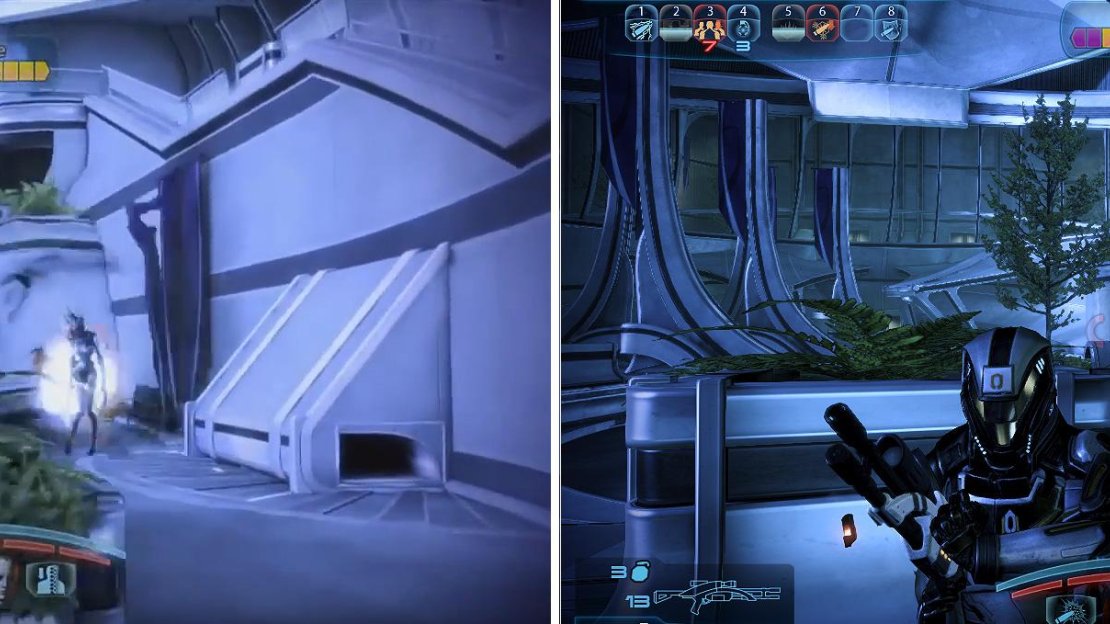
When you open the door into the open courtyard, you just know there’s a fight in the making and this time, the Reapers unleash a new foe into the battlefield, the Banshee. Their ear-piercing screech isn’t the only terrifying thing about them. These corrupted Asari can not only teleport around at high speed (usually in two successive bursts), but if you get grabbed by one it’s an insta-kill.
The two dash ‘rule’ with Banshees is a very useful thing to remember, as they’ll never dash more than twice before settling down. This allows you to plan your shots much more effectively.
Make sure you’ve got your best organic weapon-enhancer ammo ready (armour-piercing, incendiary, cryo or warp) on either a sniper rifle or an assault rifle (so you can keep your distance) and walk towards the top right-hand corner of the open courtyard.
You’ll hear her scream so now’s the time to be ready to get to cover to hide from any biotic blast she throws (which, by the way can home in on you very, very easily). Weapon-heavy classes should focus on staying behind cover and hitting her head with bullets at every opportunity. If she moves, you should be moving (as she’ll likely teleport near you).
Hopefully your AI teammates will be providing sufficient distraction for her, allowing you to drop this Banshee with a bit of ease. Now worry about the Cannibals crawling out from cover in the far distance. Deal with them as you’ve always done so (via bullets or biotic powers). Now bypass the door to trigger a cutscene where you can earn Paragon or Renegade points.
Near the Great Hall
Before opening the door on your right, look for a terminal on a table just past it and scan it for a quick and easy 20 XP . Open the door and immediately assign your team to cover as there’s a small team of Cannibals - and a Marauder - near the end of this corridor.
Clearly, the Marauder is your first priority, so the usual mid-long range tactics will work wonders here - stay behind cover and pick them all off one-by-one (getting headshots on the Marauder with every opportunity).
When the coast is clear, walk forwards and in the room to your right, you can pick up a Disciple shotgun from the floor as well as the Serrice Council Shoulder Guard from the desk to its right. Finally, open up the Medical Station on the wall for XP and any gel you may need.
Before you walk down the stairs you should run across to the open room directly opposite you. In here you’ll find a wall safe hiding 5,000 Credits , a terminal you can scan for 20 XP and a work bench should you want to tweak your weapon mods.
Banshee Battle 2
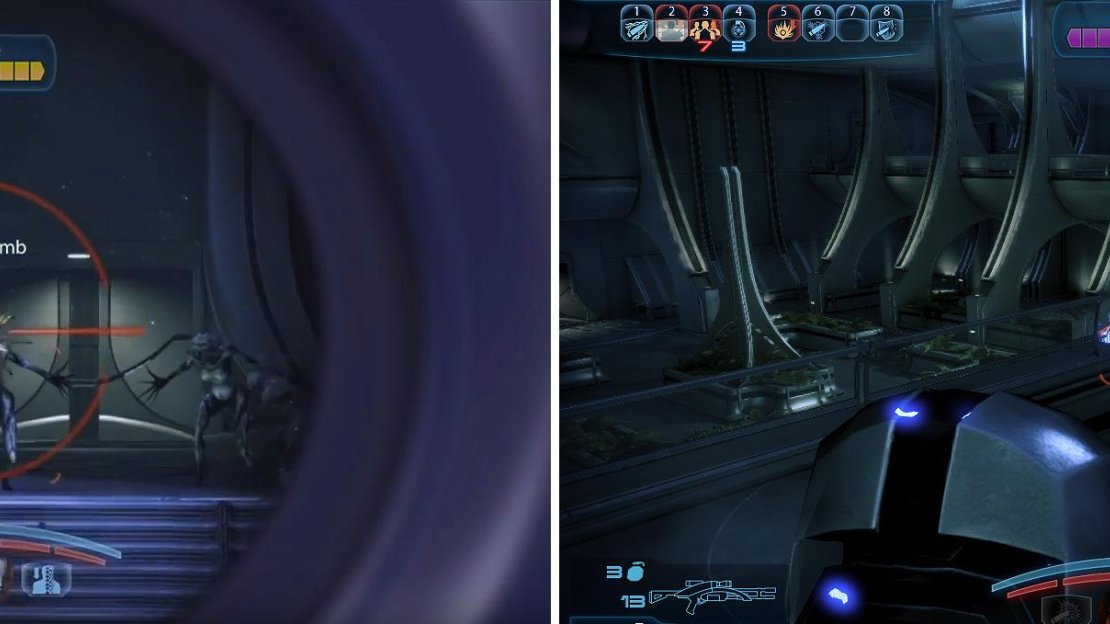
As you defend the Bomb, two Banshees arrive to try to stop you. Focus them down one at a time.
As soon as you start walking down the stairs, another Banshee will appear (along with her compliment of Cannibals). Assign your team to cover each side of the stairs and you should fall back up the stairs and engage the Banshee from mid-long range once again (and only begin firing after she’s completed her second dash).
The same tactics used previously should work again - power-enhanced ammo focused on her cranium will drain her barrier and rip her health bar away. Be careful of any firepower coming from the Cannibals too, but your focus should remain on the Banshee as she’s - by far - your greatest threat right now.
Once all the Cannibals have been disposed of, bypass the door and in the next room, run left up the steps and around the corner there’s an Assault Rifle Precision Scope mod for collecting. Open the next door up ahead and start the elevator to the Great Hall.
Enter the hall and run straight down to the bomb at the other end; before activating the cutscene now would be a really good time to make sure all weapons are reloaded and all ammo-enhancers have been activated, because your hardest battle to date is about to kick off…
This battle can be either absolute hell or not too difficult depending on how the Banshees move around the room. As soon as you regain control of Shepard, dash behind cover and wait for the Banshees to stop dashing.
Now hit one of them with your strongest firepower. Both of them will either stay close together, or, one of them will break off and come towards you down one of the side walkways. This is an ideal scenario, as the cover will prevent most of their homing balls of death from hitting you, but you can pop in and out hitting them with bullets or biotic powers.
Be wary of the Husks that also join the Banshees; Infiltrators can ignore them by cloaking at every recharge, allowing you to focus solely on the Banshees. Be especially wary when one - or both - of the Banshees get close; the only real course of action here is to run to the other end of the room and take cover (allowing you to turn and hit them again with a few shots).
Ignore your teammates if either/both of them are downed - the Banshees will be all over you as you try and revive them. They can’t actually die mid-mission anyway, so just focus on the Banshees. If you’re getting hit hard and often, there’s a Medical Station on either pillar near the Great Hall’s entrance. Keep moving from one end of the room to the next until both Banshees are toast. Also, if you haven’t used any of the Medical Stations, open both of them for easy XP before you trigger the bomb. Your reward is 12,500 Credits .


No Comments