
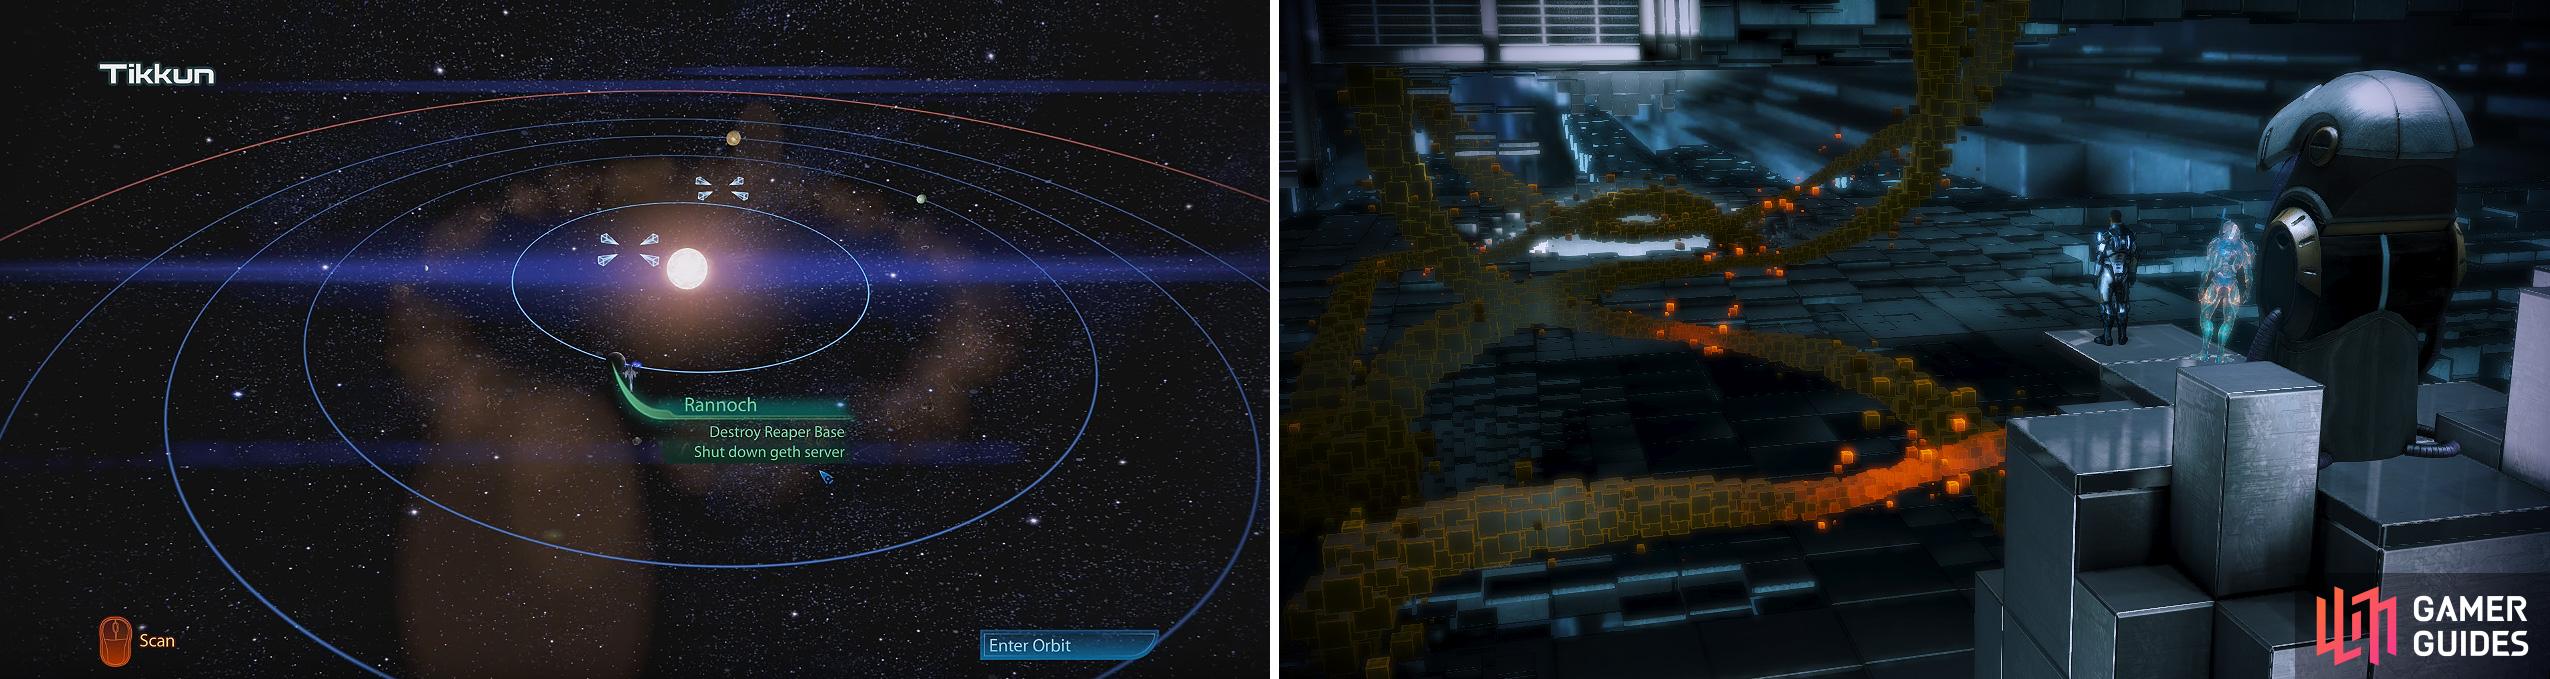
This section is more story progression than actual fighting so focus in on solving the puzzles.
Towards the First Access Point
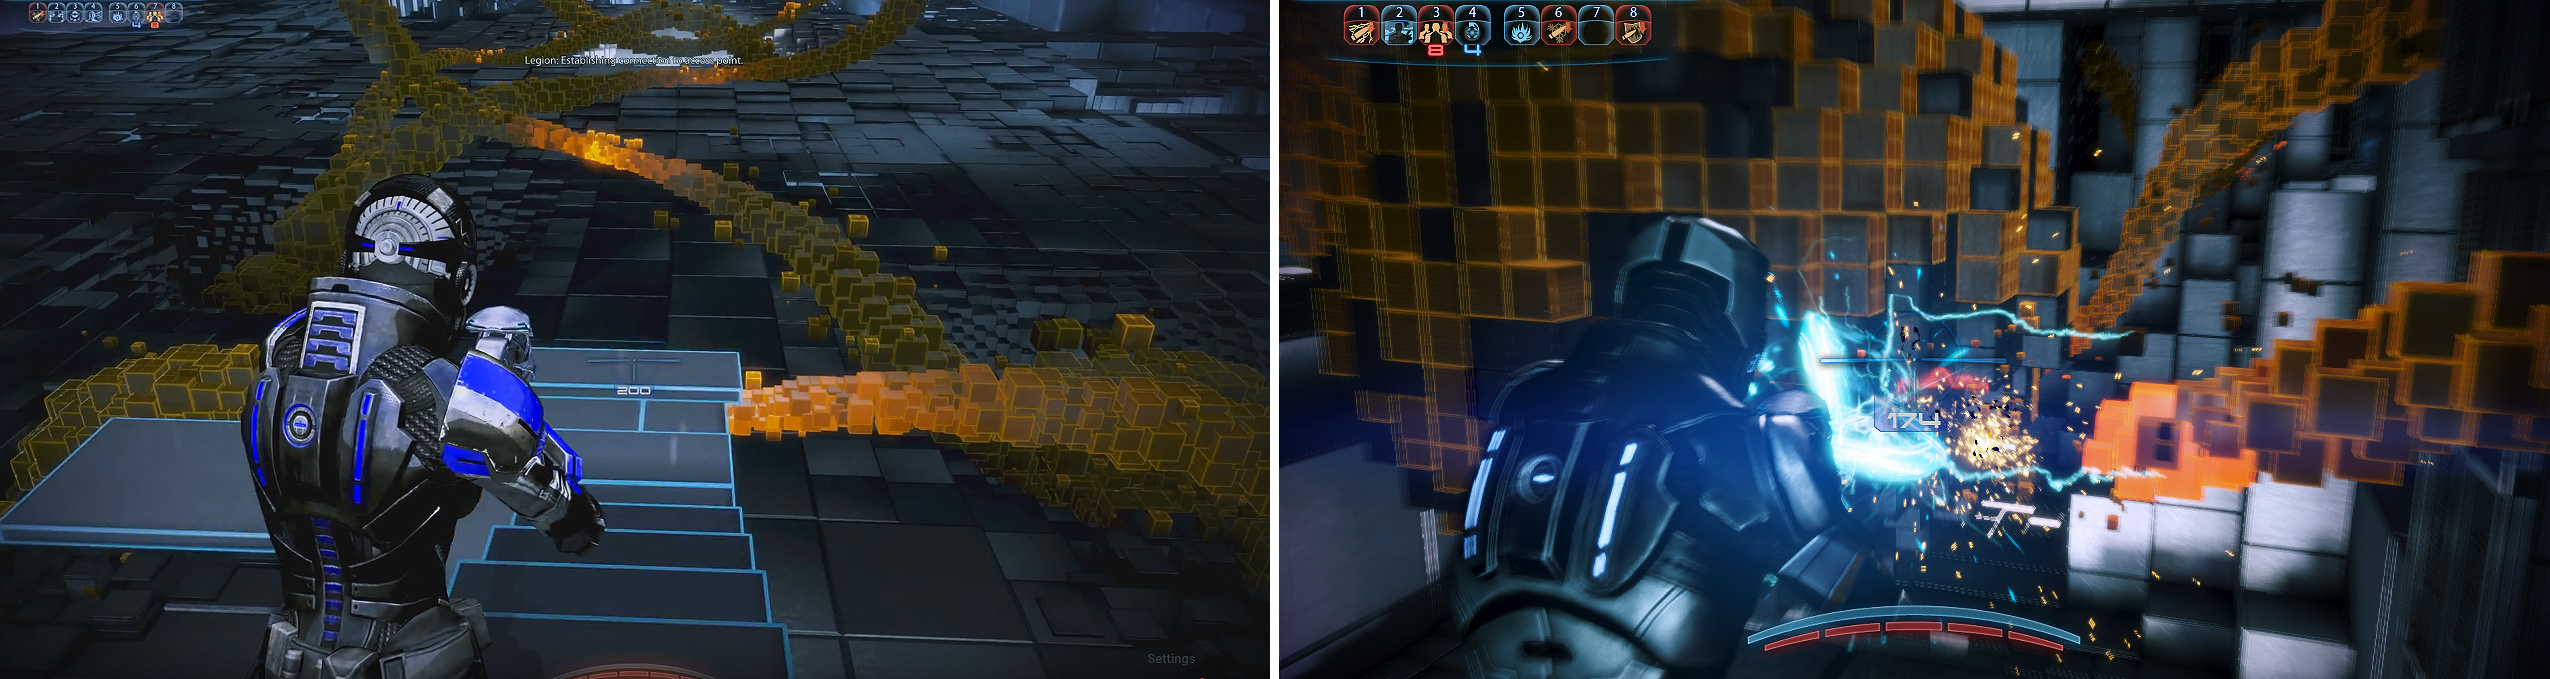
Your gun should be used to clear the path of orange blocks in front of you; once you clear enough of them, the path will auto-build in front of you, allowing to make progress. The fire button can be held down to keep a constant stream of fire on the cubes, but don’t worry as the ammo will auto-replenish after a few seconds of not using the gun.
The path is very linear in the first section. Head down, around and each time you’re blocked, clear a good amount of cubes away to ensure the next part is constructed for you. You’ll reach a part near the access point that has three separate strands of blocks in the way. You need to clear all three strands (left, right and above) to open the pathway forwards.
Towards the Second Access Point
Clear the orange ‘infected’ blocks this time as well as focusing on the path.
The main difference in this area is that there are essentially cubes that have ‘infected’ corners. You need to eradicate the orange blocks from the corners, whilst still clearing any blocking the path in front of you.
When you’ve removed the last piece of infected ‘code’ from the cube, it’ll disappear revealing a historic flashback. Press the button promp t to watch it and you’ll be rewarded with Improved Geth Resistors (if you just stop and stare, you won’t get the reward).
After the second flashback appears, you need to look directly behind you for the path leading to the next part (the blocks should be flashing blue, signifying that they’re ready to expand). This will show another flashback and will then offer access to the third data cluster.
Towards the Third Access Point
You must look for other sections of ‘infected’ code as well as trying to destroy the code in front of you.
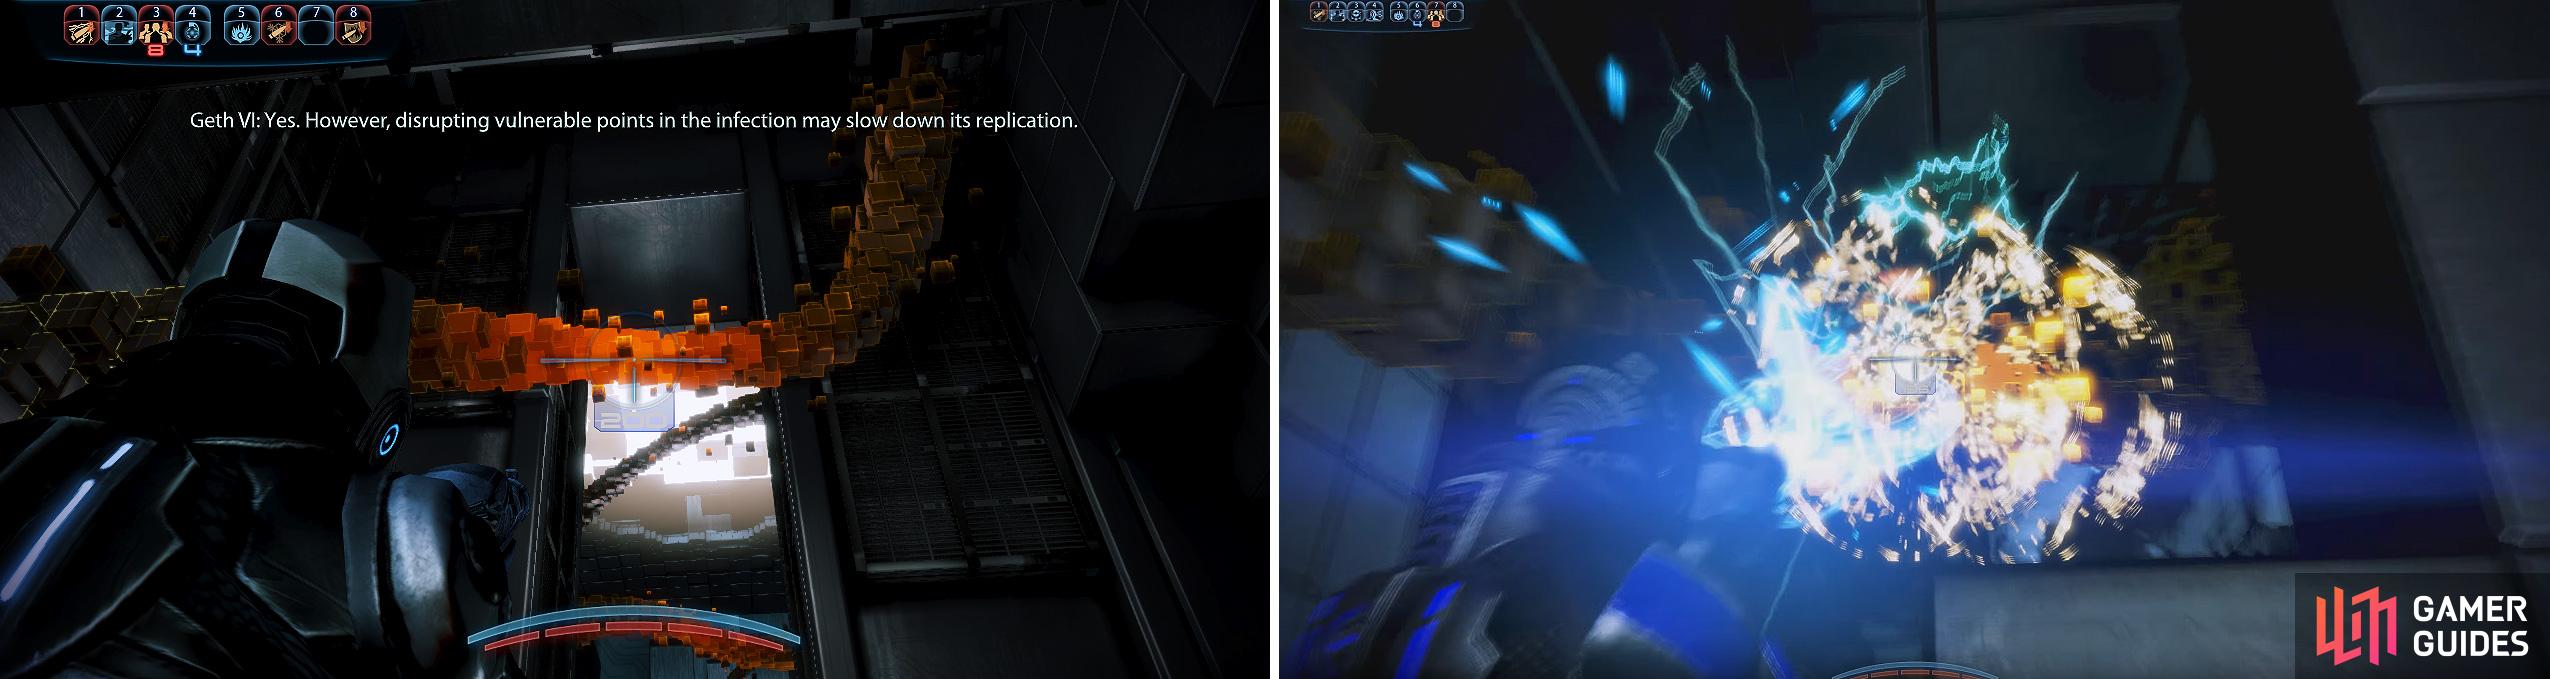
The biggest difference in this section is that you can’t just attack the infected code in front of you, as it’ll merely regenerate rapidly. Instead, you need to look for other infected pieces of code nearby (could be above or to the side of the main piece of code blocking your way. Following the code and seeing what else is attached will make this easier for you.
There’s a total of three spheres that need to have all infected code removed from it, and a lot of the strands will run in different directions to the main ones attached to the spheres. Some sections will have two separate infected strands that need to be destroyed before tackling the main one. Viewing the flashback revealed via the first sphere (using the onscreen button prompt) will reward you with Miniaturised Armour Capacitors.
When you’re finished watching the clip, head back to the previous sphere and hang a left (you came in from the right previously). Destroy the single strands of Reaper infected code and you’ll eventually reach the last sphere.
The final sphere requires you to destroy a total of eight strands of infected code. There’s a single strand on the right-hand side of the screen (hidden from your current view), so run underneath the infected strand attached to the sphere and look right and behind it. Destroy this and then all of the code attached to the sphere.
Run forwards and look right for the next strand you need to destroy. Turn your view left and look up near the roof for the next strand; this will now allow you to break off the infected code attached to the sphere on your left, but be sure to clear the code from the path in front of you to allow the path to continue on around.
The third and final sphere strand has an infected piece up near the roof on the right and then behind it in the distance on the left, only when these two are destroyed can you break off the infection on the sphere. Push forwards, clear the path in front of you and follow it round until the Geth VI appears. Watch the following flashbacks, enter the final access point and then run back to your pod to complete the mission.
There’s a chance for additional Paragon or Renegade points in the upcoming cutscene and your overall rewards for this mission are Paragon/Reputation points and 12,500 Credits .
No Comments