The mission begins with you mowing down Reaper Husks from the ground below. Once you’ve landed, continue to pulverise them until they’re all dead. Climb up the rock and then look for the light on the right; there’s 1,250 Credits you can salvage. Run up around the path, and before you go looking for the commanding officer, there’s a bunch of weapons, attachments and XP for the taking.

Clear out the Husks swarming the Landing Zone (left) and then be sure to collect the Viper Sniper Rifle (right).
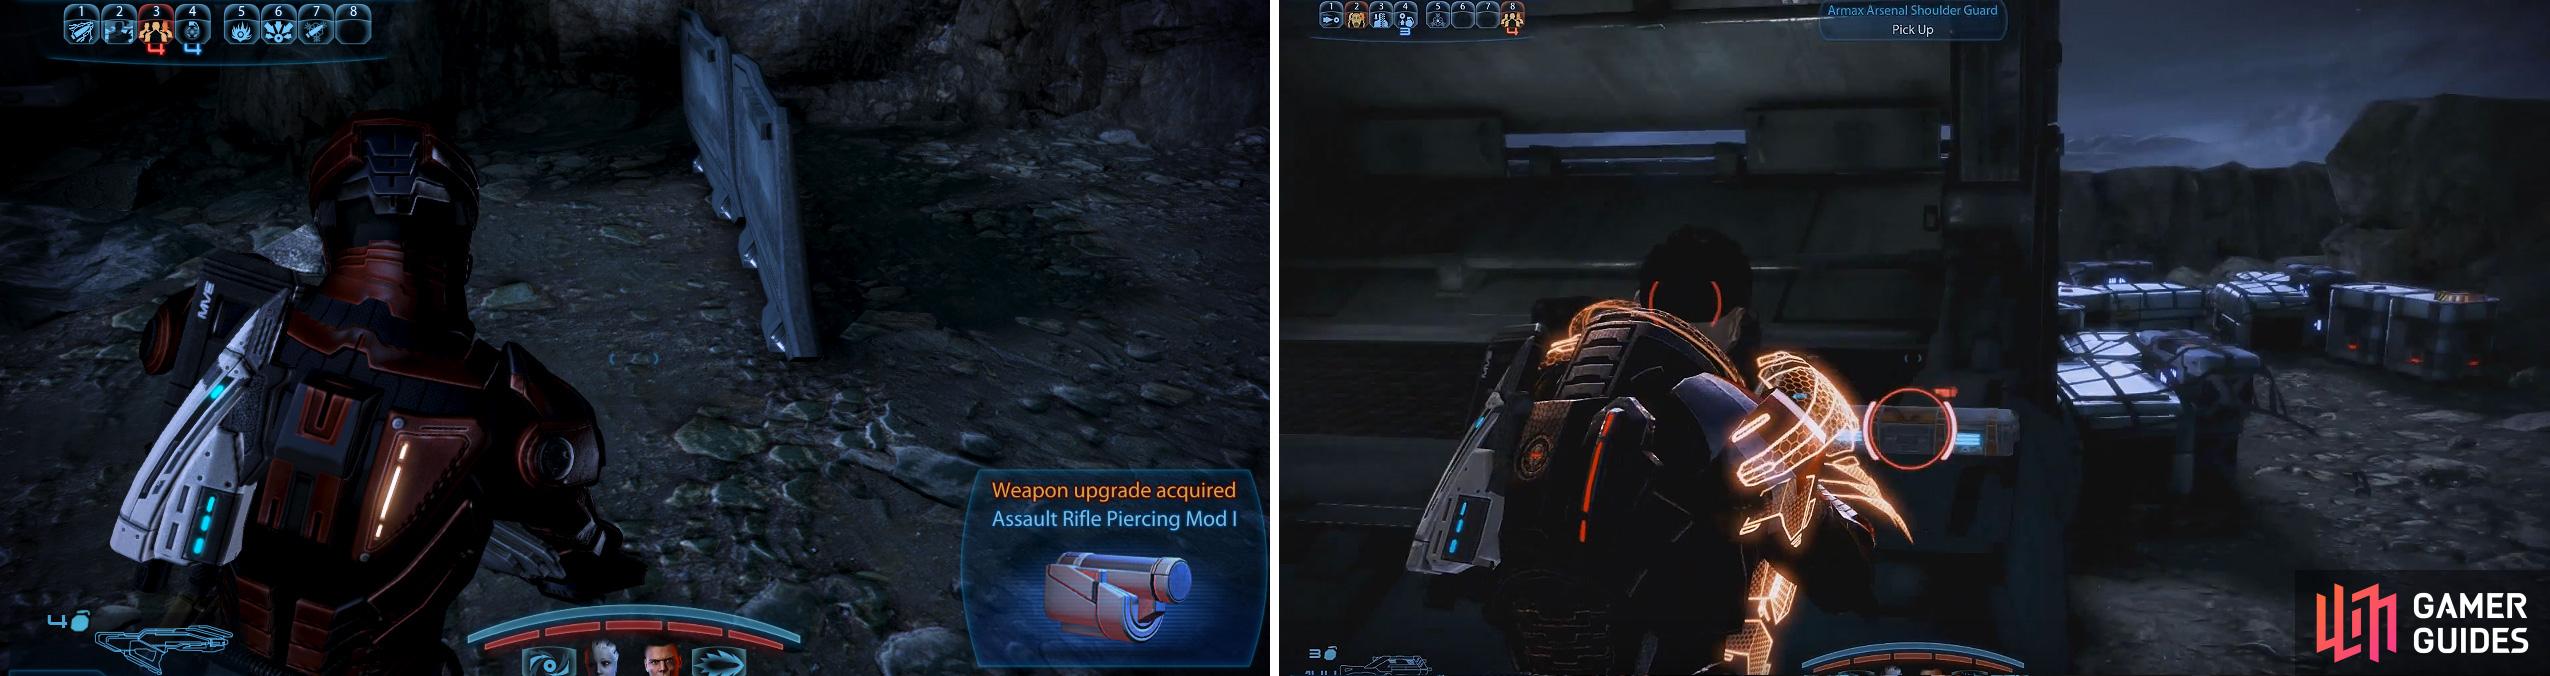
On the cabin to your immediate left there’s a Medi-Kit worth 100 XP; the area directly opposite houses a datapad worth 75 XP; just outside in front - on some crates - there’s an M-97 Viper Sniper Rifle along with a datapad worth 1,850 Credits for scanning. Around the left-hand corner of the command post there’s a Pistol Magazine Upgrade and a datapad worth 2,500 Credits . In the cabin to your direct left, there’s an Armax Arsenal Shoulder Guard along with a Pistol Piercing Mod .
Just around the corner (to the left), there’s a cabin housing a Medi-Kit (worth 100 XP ) a datapad worth 75 XP and some Hahne-Kedar Greaves Armour on the floor. Look to your left and laying up against a barricade there’s an M-27 Scimitar Shotgun and an Assault Rifle Piercing Mod right beside it on the ground.
Run back to where you found the armour pickup as there’s a workbench here where you can add all these cool new mods to your existing weapons (as the new ones found are likely to be less powerful than your existing arsenal, especially if you’re using any DLC or Collector Edition weapons).
Also, don’t forget you can modify all **** of your teammates applicable weapons with just the one attachment found! Now make your way to the command post and you’ll be asked to provide some help with securing the communication tower.
Collecting weapon mods is a must to make your weapons much more powerful.
Secure the Communications Tower
Run up the hill and you’ll initiate a fight with loads of Reaper Husks, so you can either mow them down from a distance with an assault rifle, or - if you’re feeling dangerous - you can let your teammates weaken them as you go in for the melee kill (if you’re after the melee achievement/trophy). When you reach the tower, send Liara up so James can focus his superior firepower on the Husks. You need to takedown a few waves before you’re called back to see the commander, so head back to where you met him previously.
After the cutscene, Garrus will replace Liara and he has 8 levelling up points you can immediately apply to him (so make sure this is the first thing you do before going into battle)! We distributed our points so he had three in the ‘Turian Rebel’ slot and an additional slot in the ‘Concussive Shot’ power.
Letting the Husks get close isn’t a bad idea if you’re packing an SMG or similary fast gun/power as you can deliver rapid damage, very quickly (with less chance of missing). If you play the mid-long range game, then keep your Assault Rifle bursts short and under control for maximum accuracy.
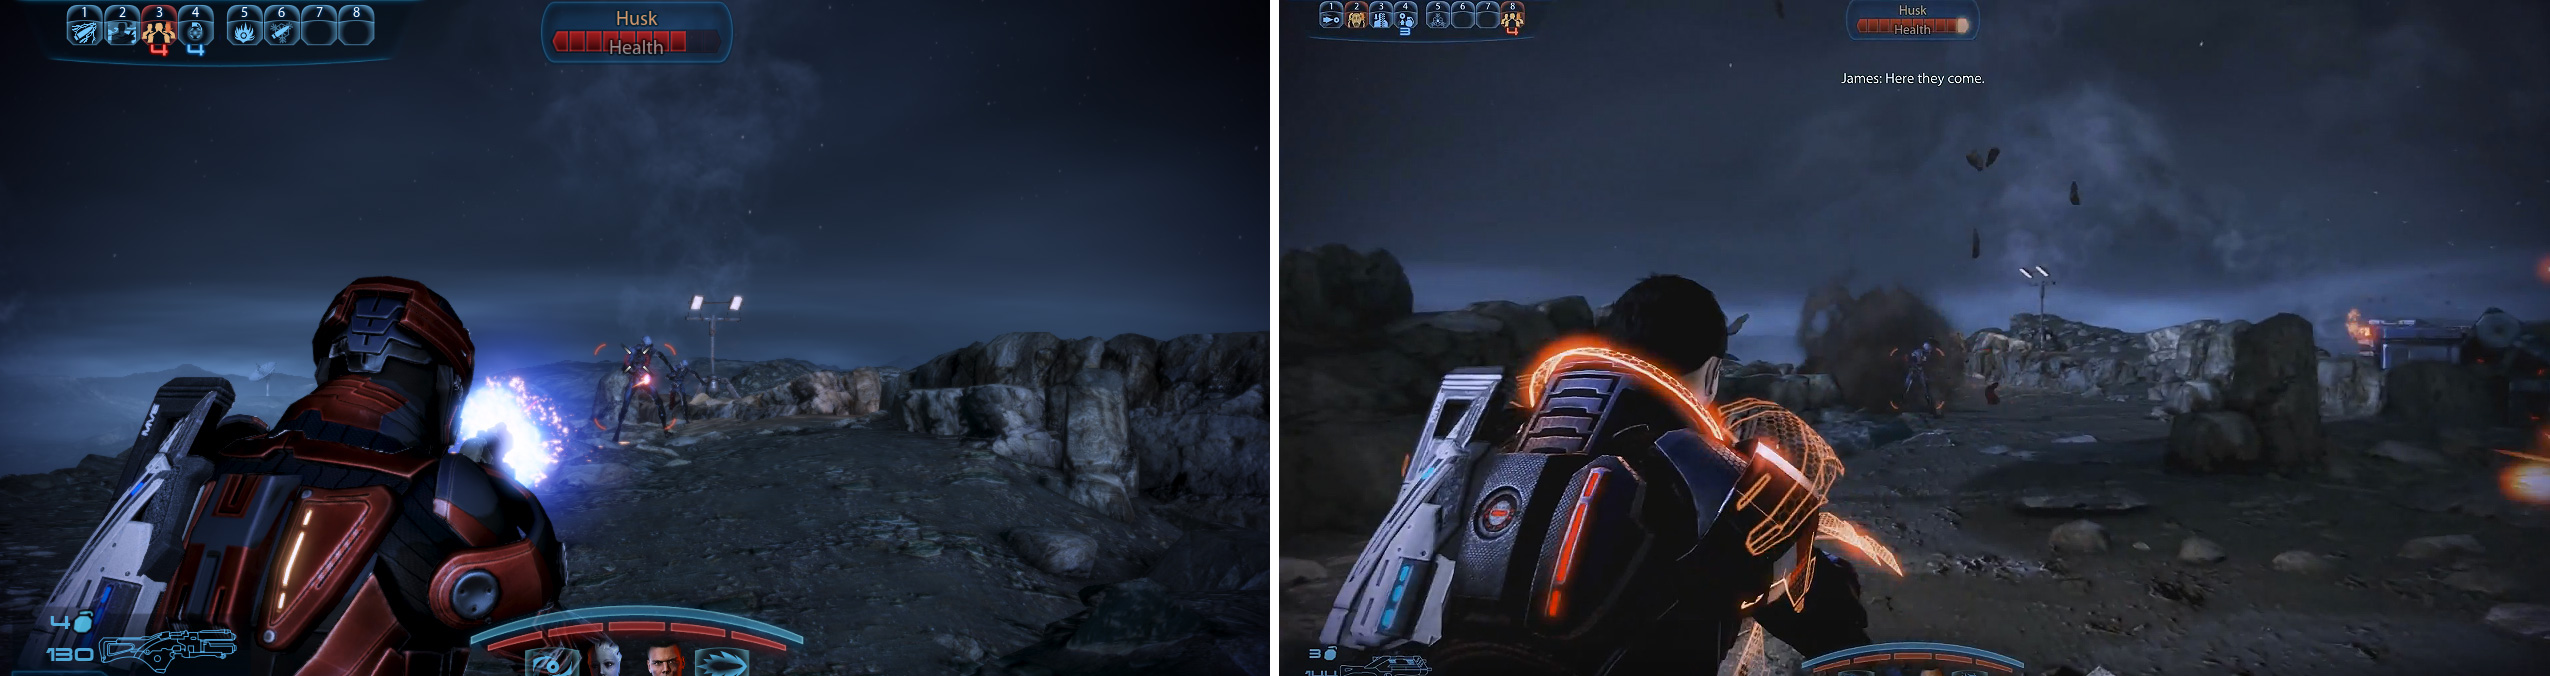
If using an Assault Rifle, keep the bursts short for maximum accuracy (left). At the tower, make sure to send Liara up and keep James back for max firepower (right).
Run towards the waist-height barricades in front of you (picking up the Assault Rifle Magazine Upgrade 1 on the ground nearby) and you’ll notice the appearance of a new enemy form; the Marauder. These guys are pretty tough if you just use ammo, so mix in your biotic powers (between all three of you) and you can mow them down much more quickly.
Shoot down any Husks that run near you, but run around to the right-hand side of the airfield and on top of the crates here there’s salvage you can scan for an easy 2,500 Credits , as well as ammo if you need it. Stay around here and when you’ve killed enough Husks, three more Marauders will show up in the middle of the airfield. Concentrate your best powers on these (including any grenades you’ve got going) and stick behind the nearby crates if you’re needing to recharge your energy. The fight’s not too difficult, so once it’s over, pick up any ammo needed and head back the way you came.
Defend the Front Gates
Climb up the ladder to the turret at the top, now man it and use it to destroy the waves of Husks that appear. You can zoom in, but as the gun needs reloading quite frequently, try and time them so they match any brief lulls in the action.
When enough Husks are destroyed, a new giant Reaper known as a Brute will turn up to the party, and he’s pretty pissed off to see you. So, from your current location behind the rock, hit it with as many explosives (grenades, powers etc) and focus your shotgun - preferably modified with Cryo or Armor-Piercing - on it, or an Assault Rifle (again modified if possible) if you’re not carrying a shotgun.
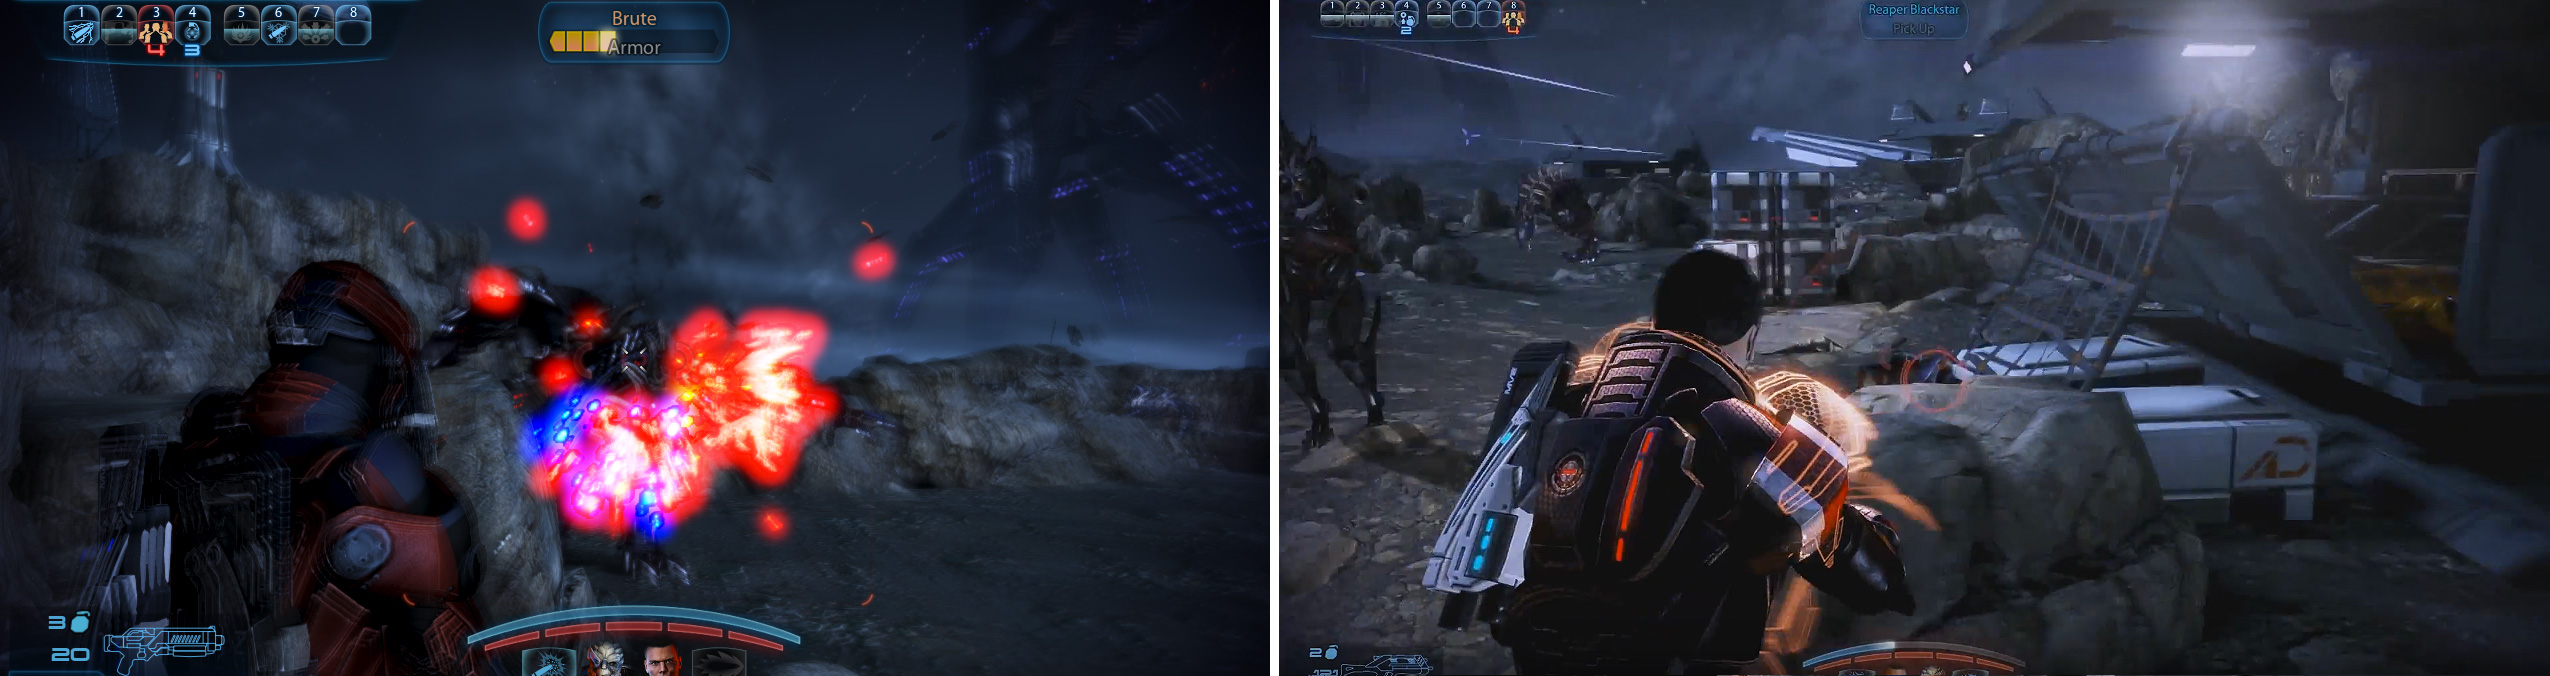
Brutes are quite tanky but can be dropped by armor-piercing abilities (left). You can also collect a Reaper Blackstar and finish them off in one shot (right).
Be ready to dodge out of its way, and always keep your colleagues powers and abilities concentrated on it at all times. If you hang around the impervious rock, it’ll soon fall down with enough persistence.
Your objective now is to run around the path in front of you (it’s very linear), so keep running and picking up any ammo as you need it along the way and blowing away the Husks that appear on a corner. When you reach the fallen troops, be sure to pick up the Medi-Kit , the Sniper Rifle Spare Ammo Modification and the datapad worth 2,500 Credits laying on the ground nearby.
You’ll eventually enter the command base where the new Primarch is located, but getting to him means killing a bunch of Marauders, Cannibals and multiple Brutes at the same time. Juggling your powers and those of your comrades is of paramount importance in this particular encounter.
First deal with the Marauders and Cannibals ahead of you as you won’t be able to move around the corner until they’re dealt with. A combo of Cryo shots (to freeze them) and Garrus’s Concussive Shot will see them shatter into pieces in no time. However, there’s a one-shot weapon hidden on the ground just to the right of the first cabin around the corner (known as ’ The Reaper Blackstar’ ). If you pick this up, you can use it on one of the two Brutes that show up together (it can kill both Brutes outright with a single hit if they’re close together, but miss and you’ll have to fight them the regular way).
Lure any remaining foes near the rocks, allowing you to run around in circles, hitting them with a combination of you and your teammates powers simultaneously. There’s a Sniper Rifle Enhanced Scope II laying on the ground to the left (beside a Medi-Kit box) so be sure to pick that up before talking to the new Primarch.
No Comments