

On this page you’ll find a walkthrough for the mission Priority: Eden Prime. In the original game, this mission was part of the From Ashes DLC, and is included as part of the Legendary Edition. You can start this mission by reading the message “Priority Mission: Eden Prime” on the private terminal in either the CIC or Captain’s Quarters on the Normandy, or you can bypass that step and simply travel to Eden Prime, which is located in the Utopia system in the Exodus Cluster.
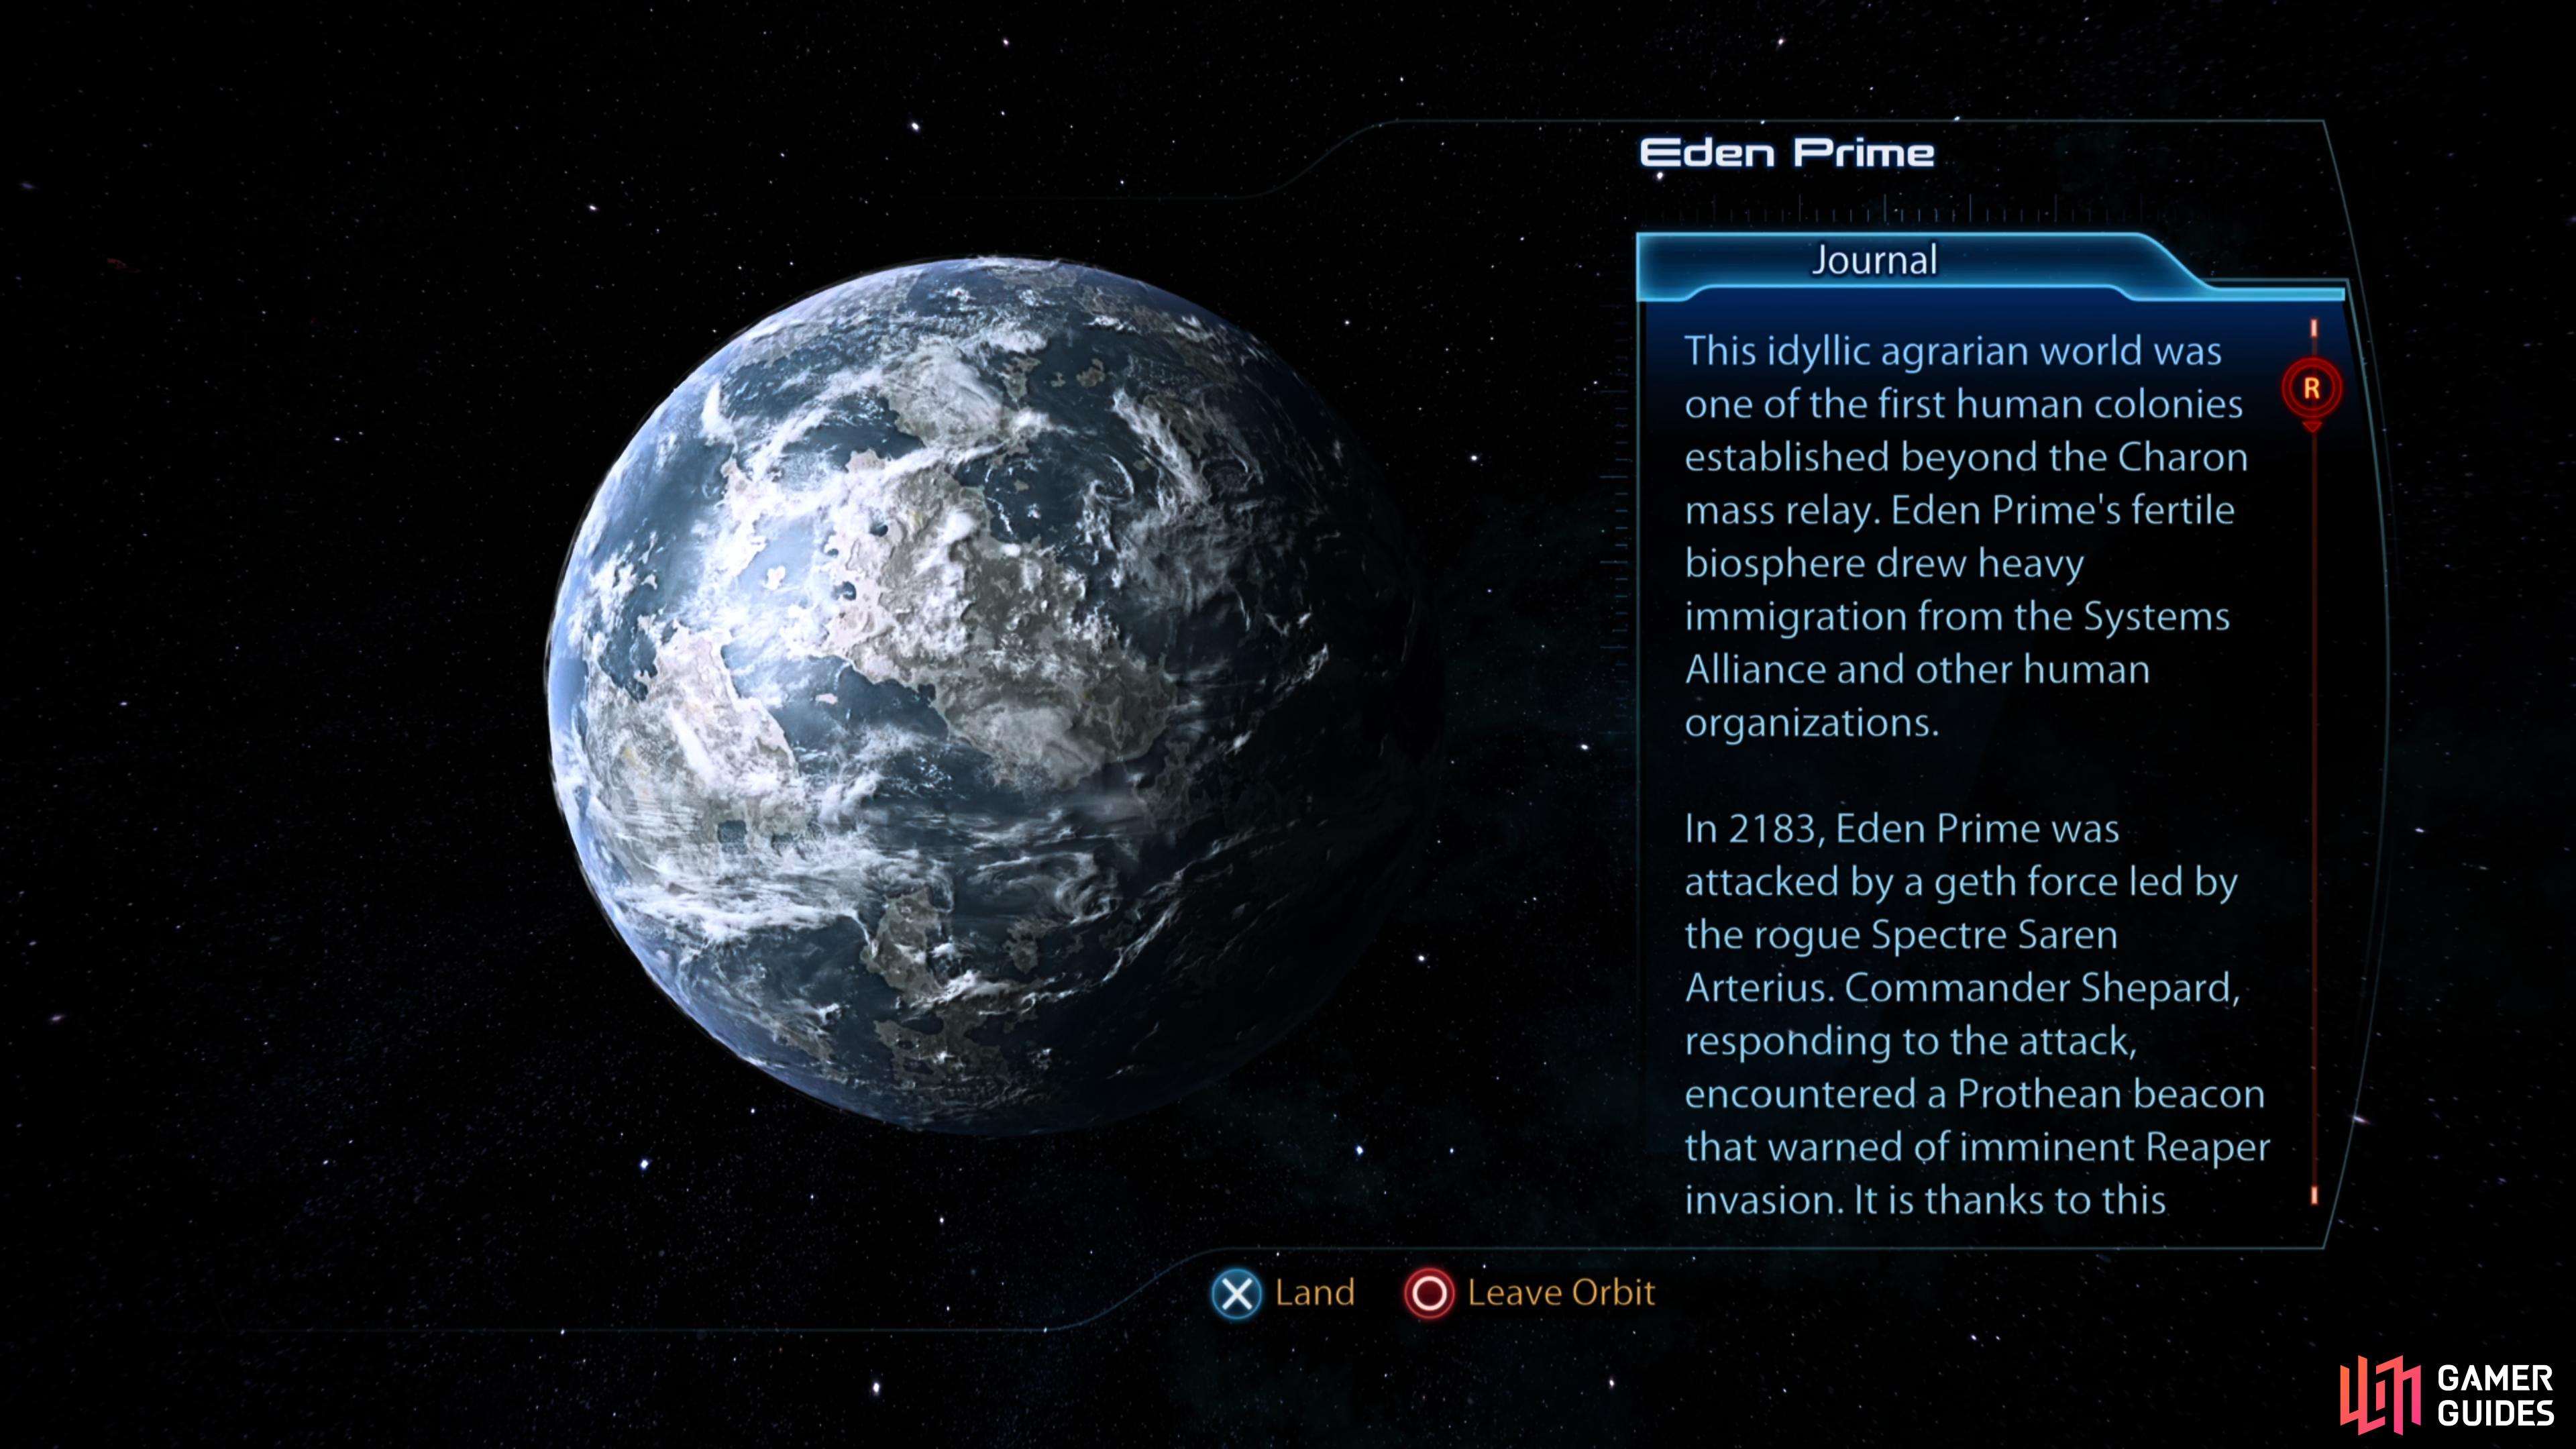
Priority: Eden Prime takes place on… Eden Prime. Where else?
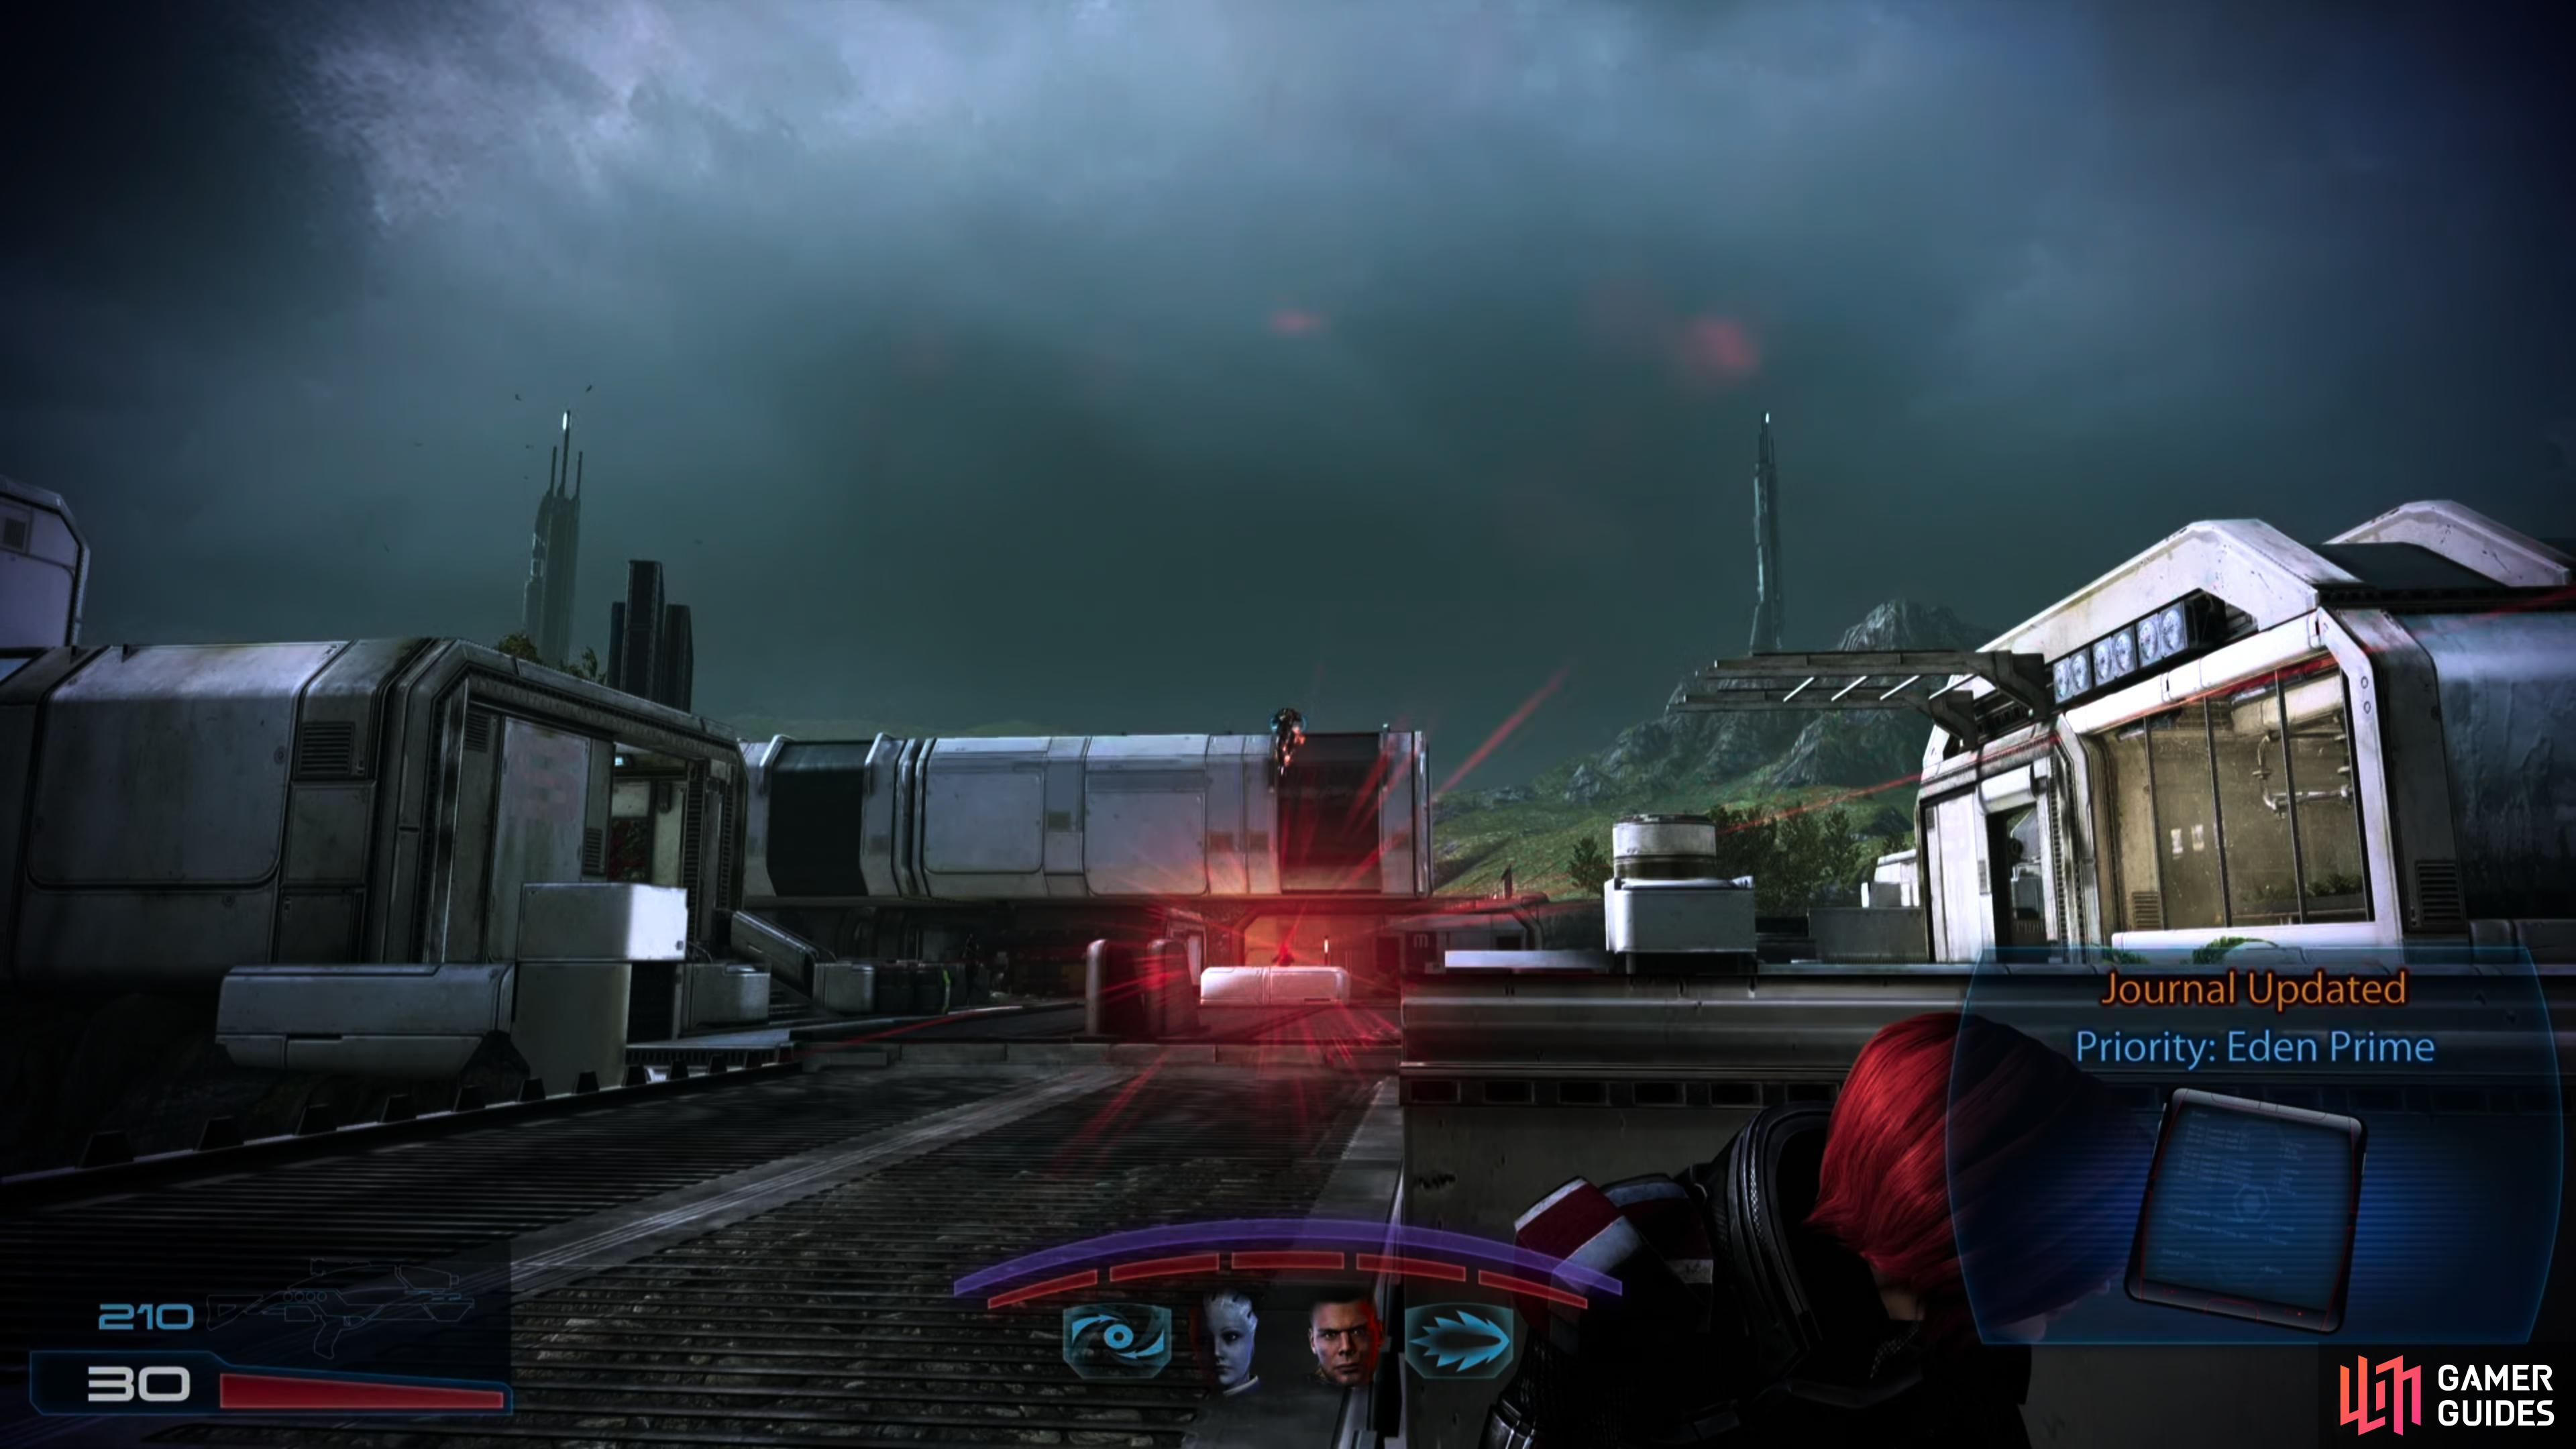
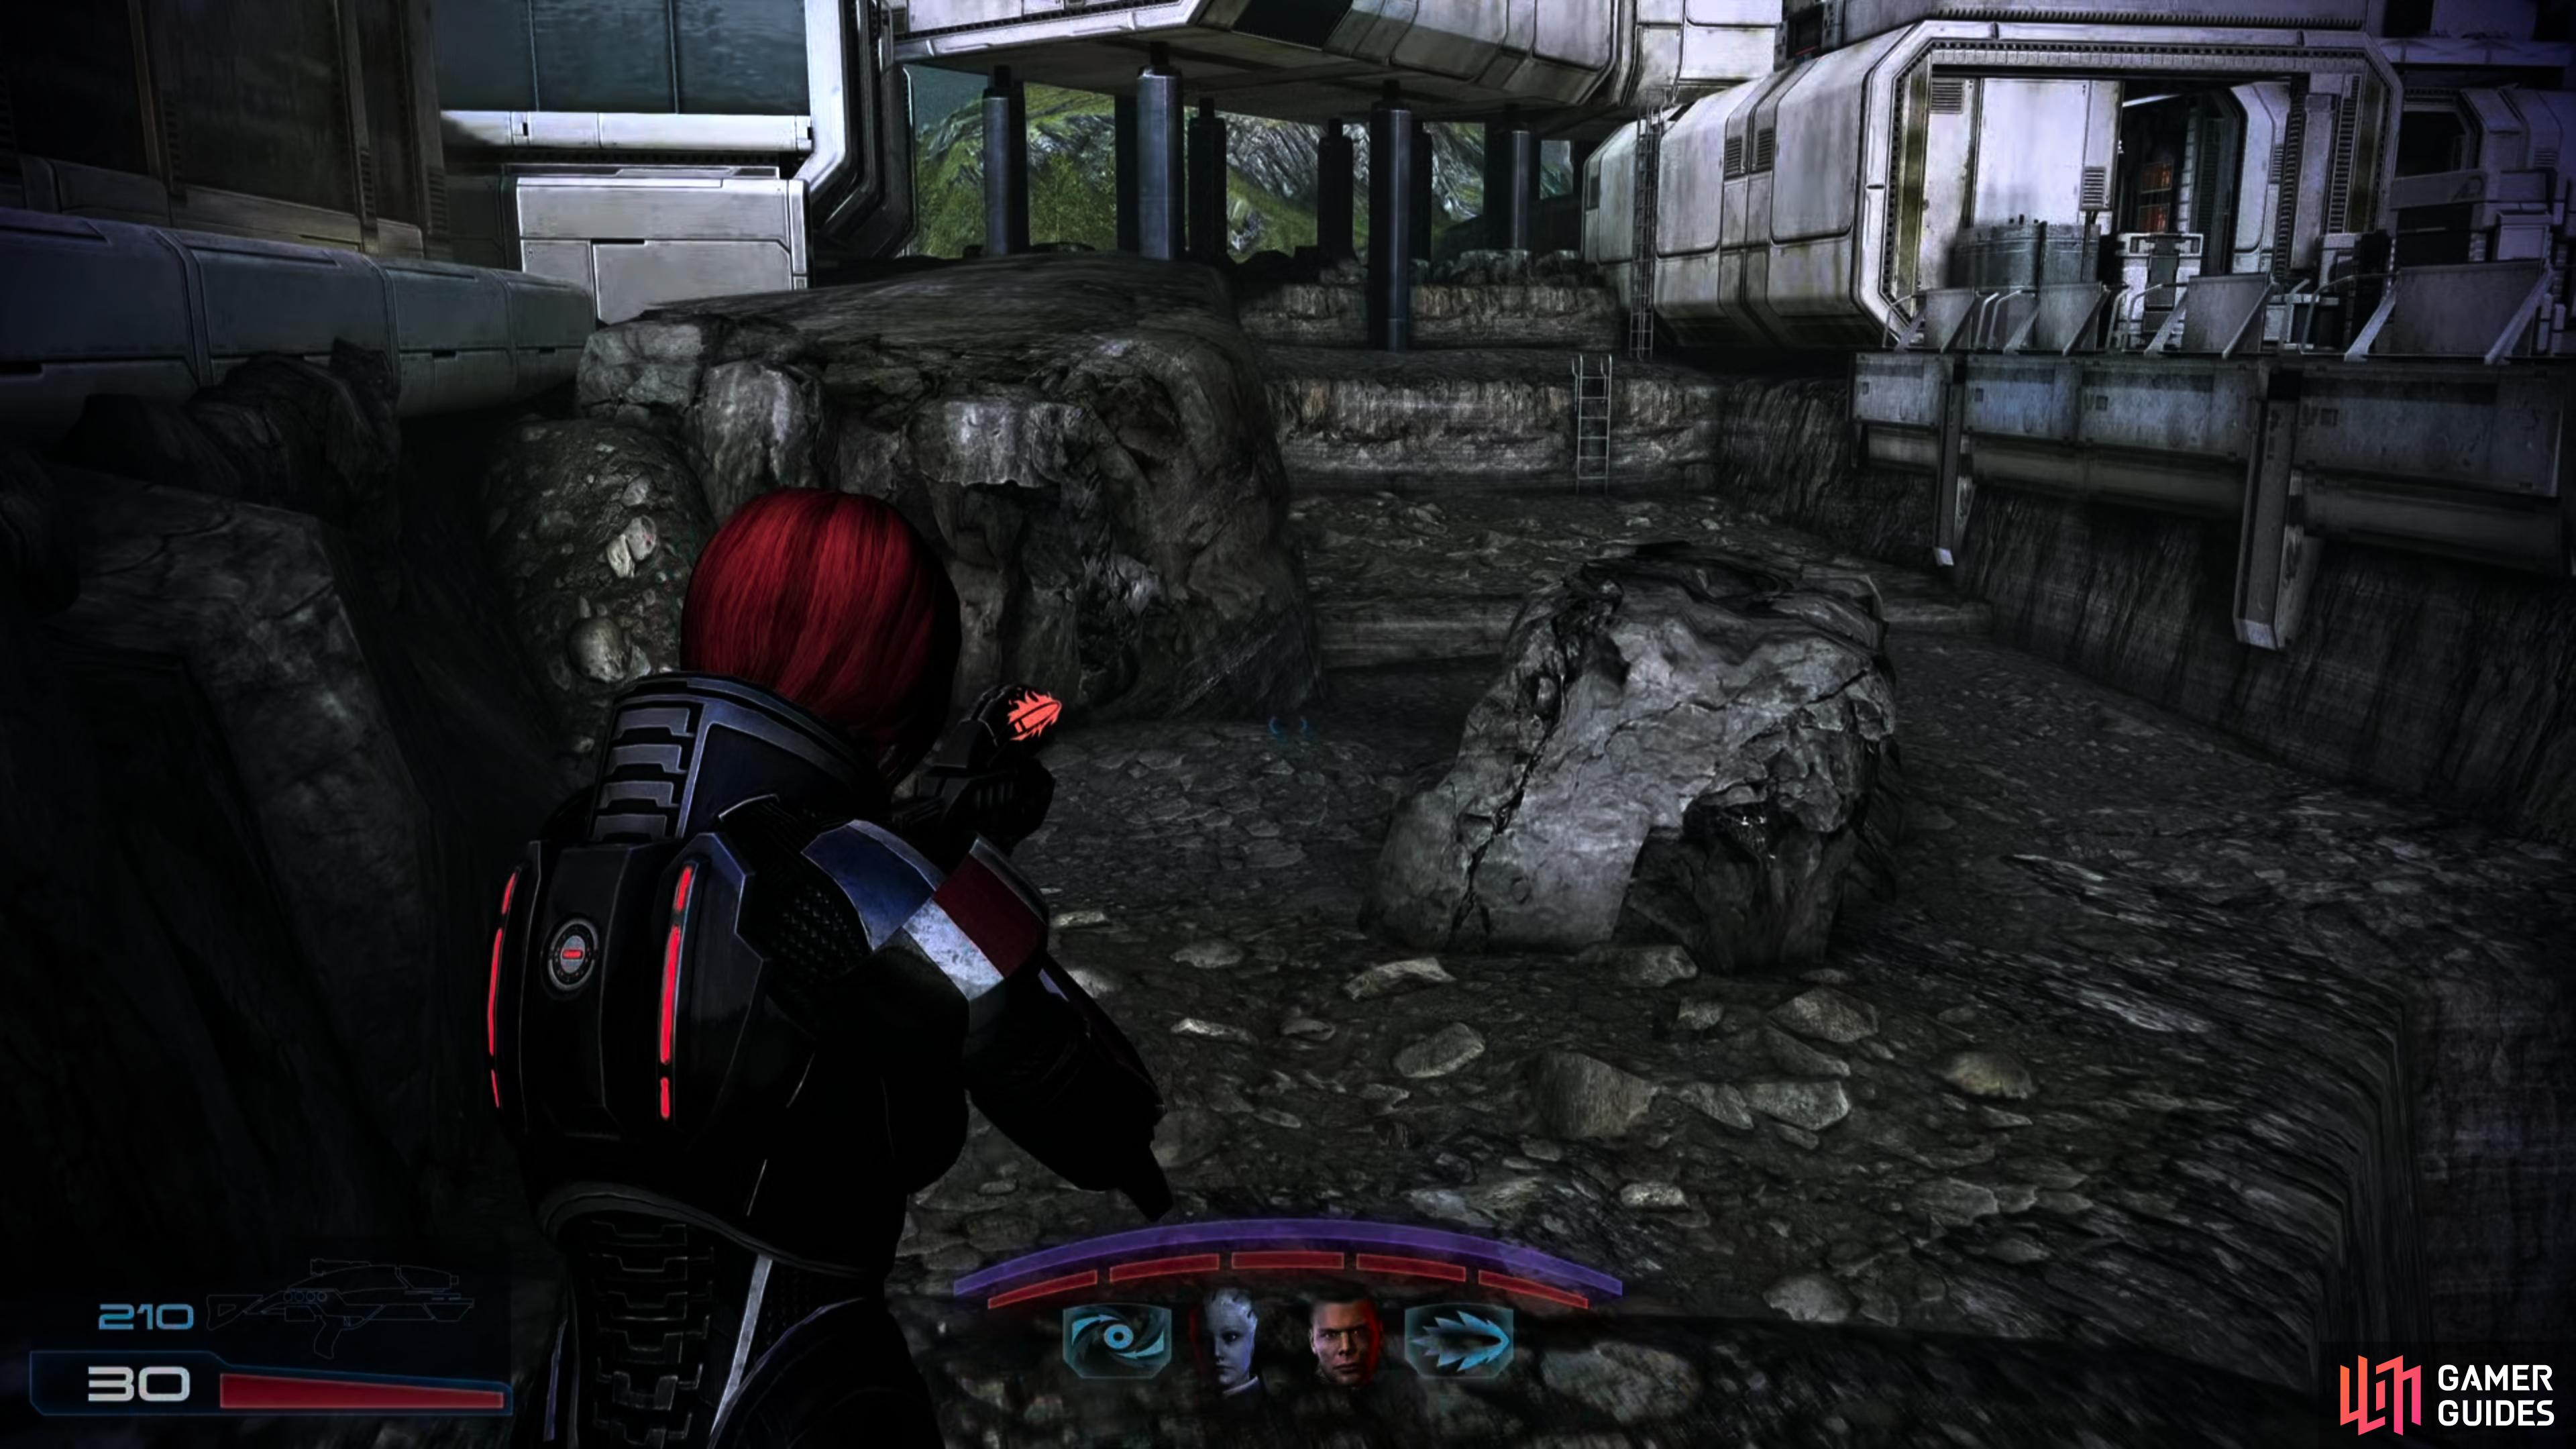
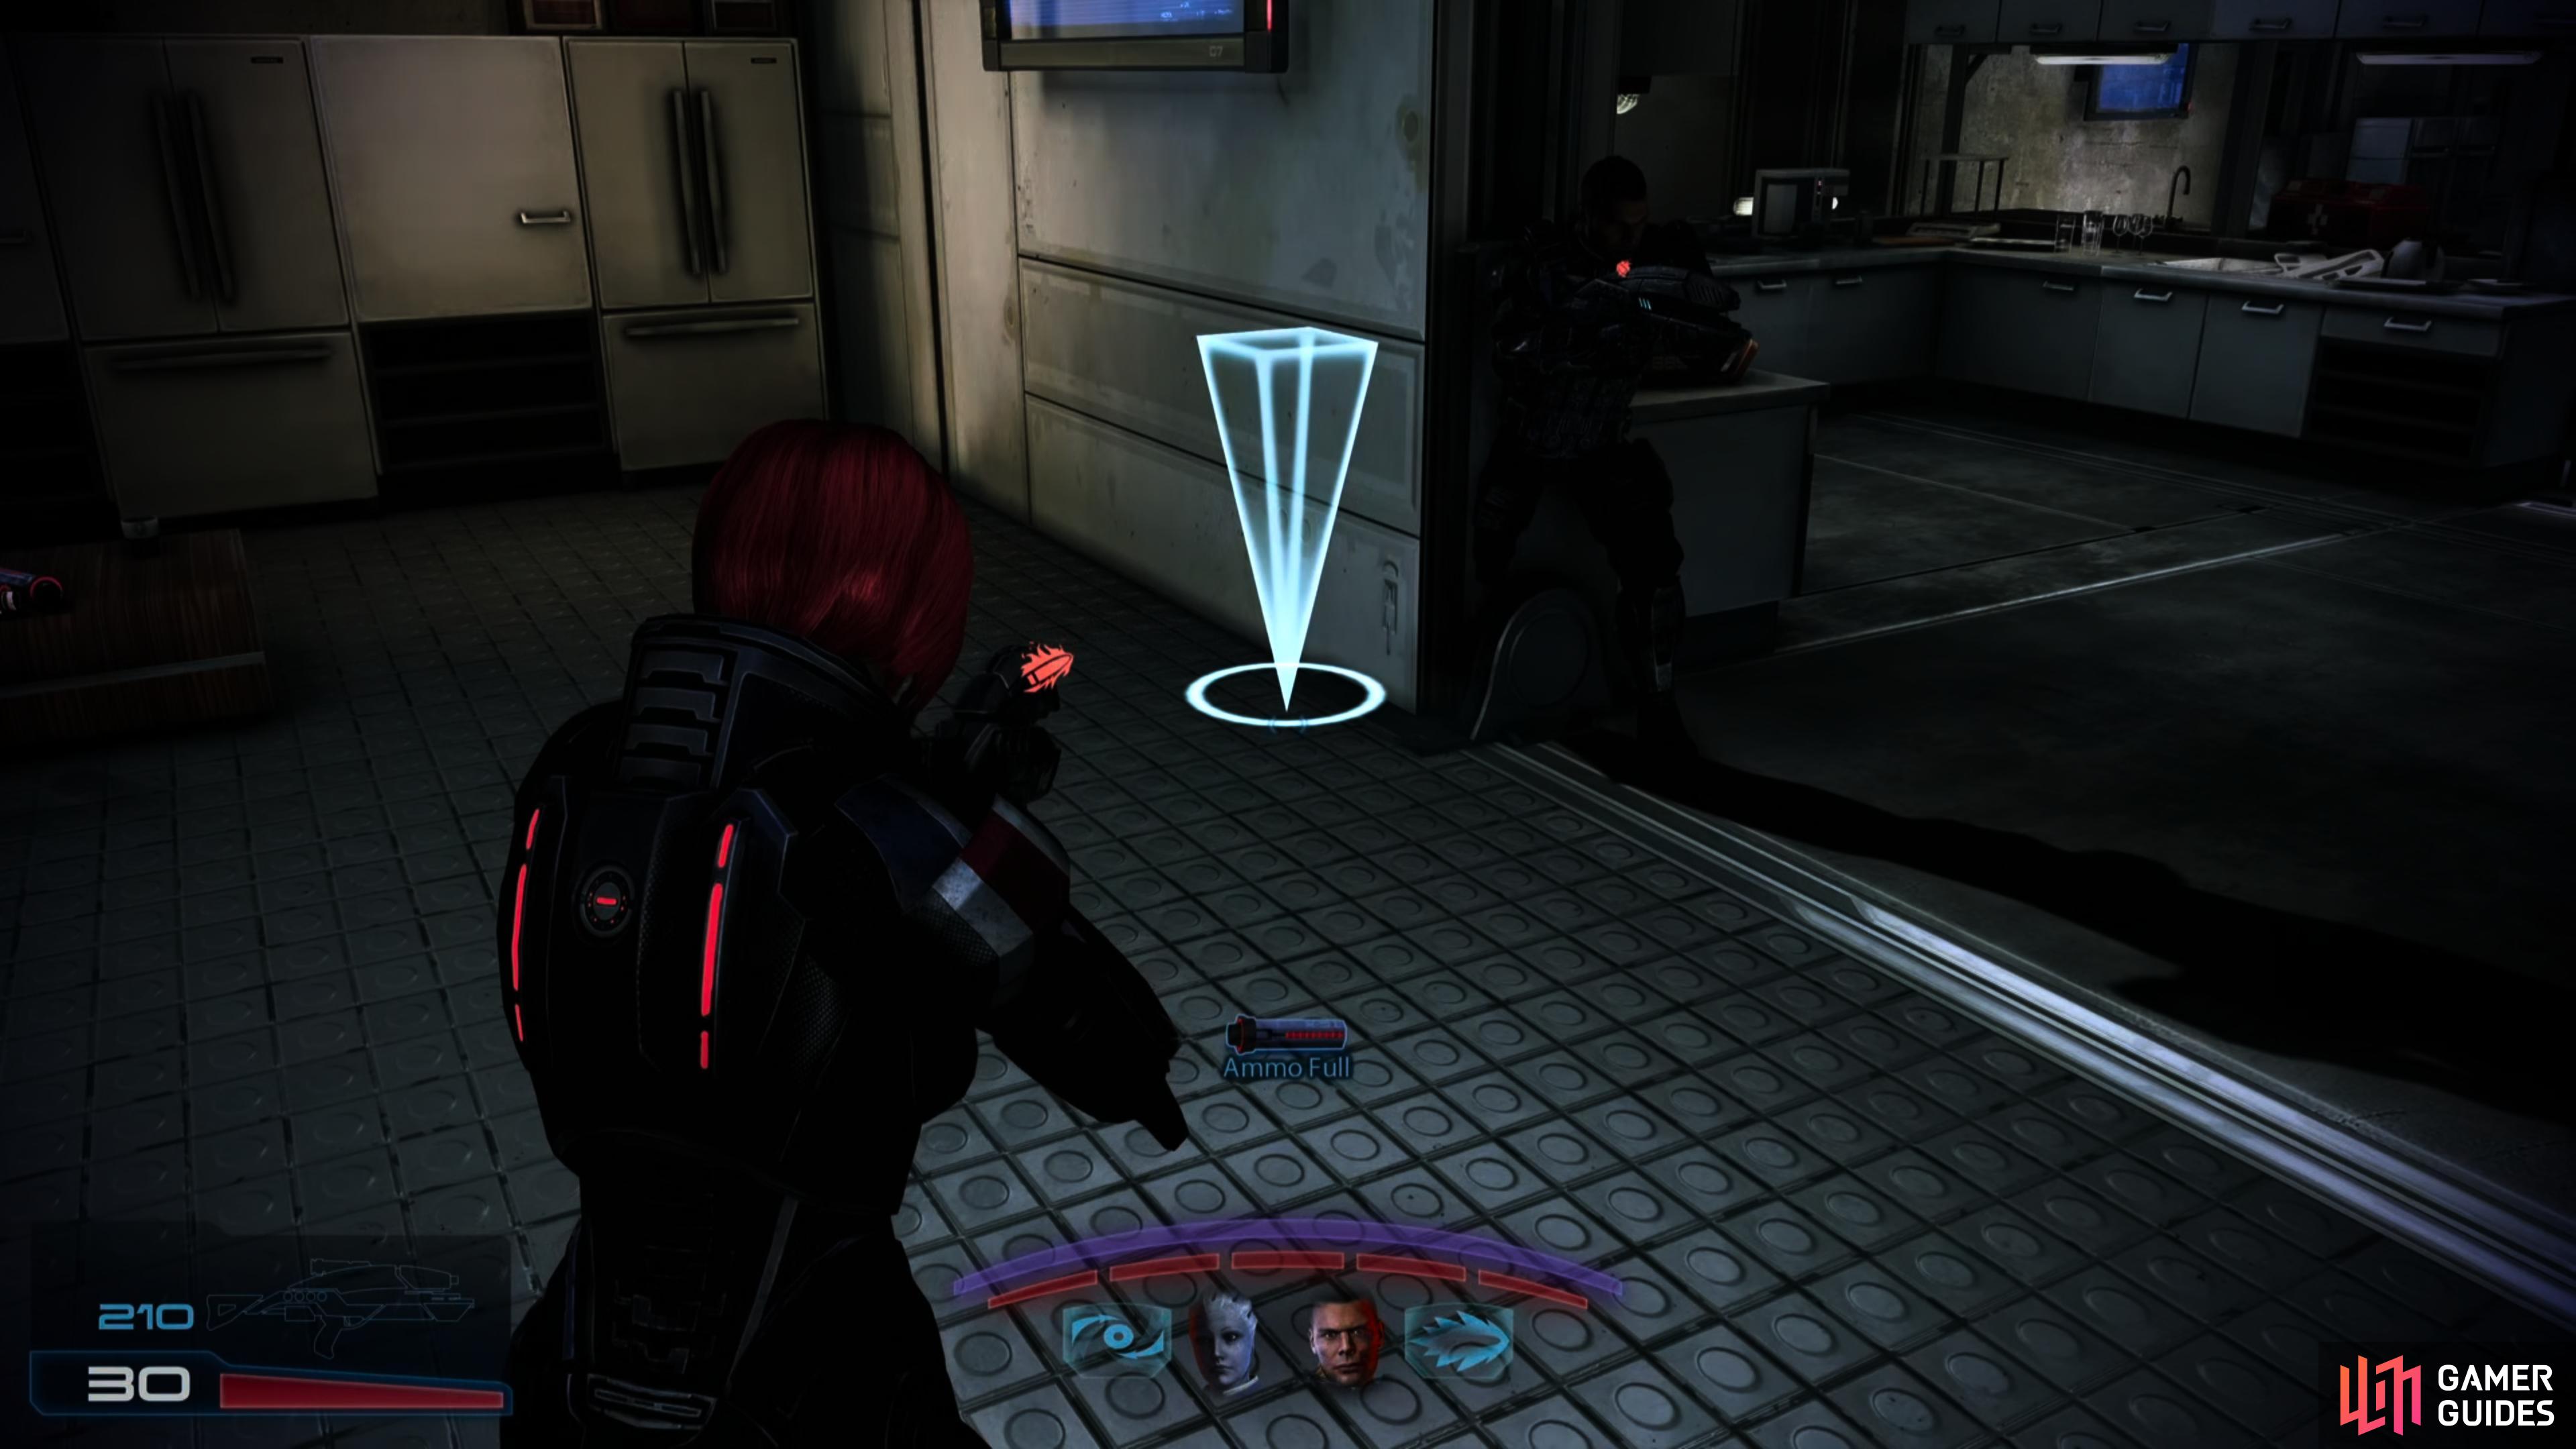
Once you’ve landed on Eden Prime itself, make your way downhill and enter the first cabin on your right. Inside you’ll find a computer you can salvage for 3,000 Credits, a Med Kit and and a terminal which will yield intel that’ll prove helpful in the fight against Cerberus in the form of the Eden Prime: Resistance Movement war asset. You’ll be collecting several more of these as you explore, but for now, make sure you’ve got a viable long-ranged weapon handy, then exit the cabin and activate an elevator. This will reveal what Cerberus has excavated, as well as extending a bridge, giving you access to the rest of the colony.
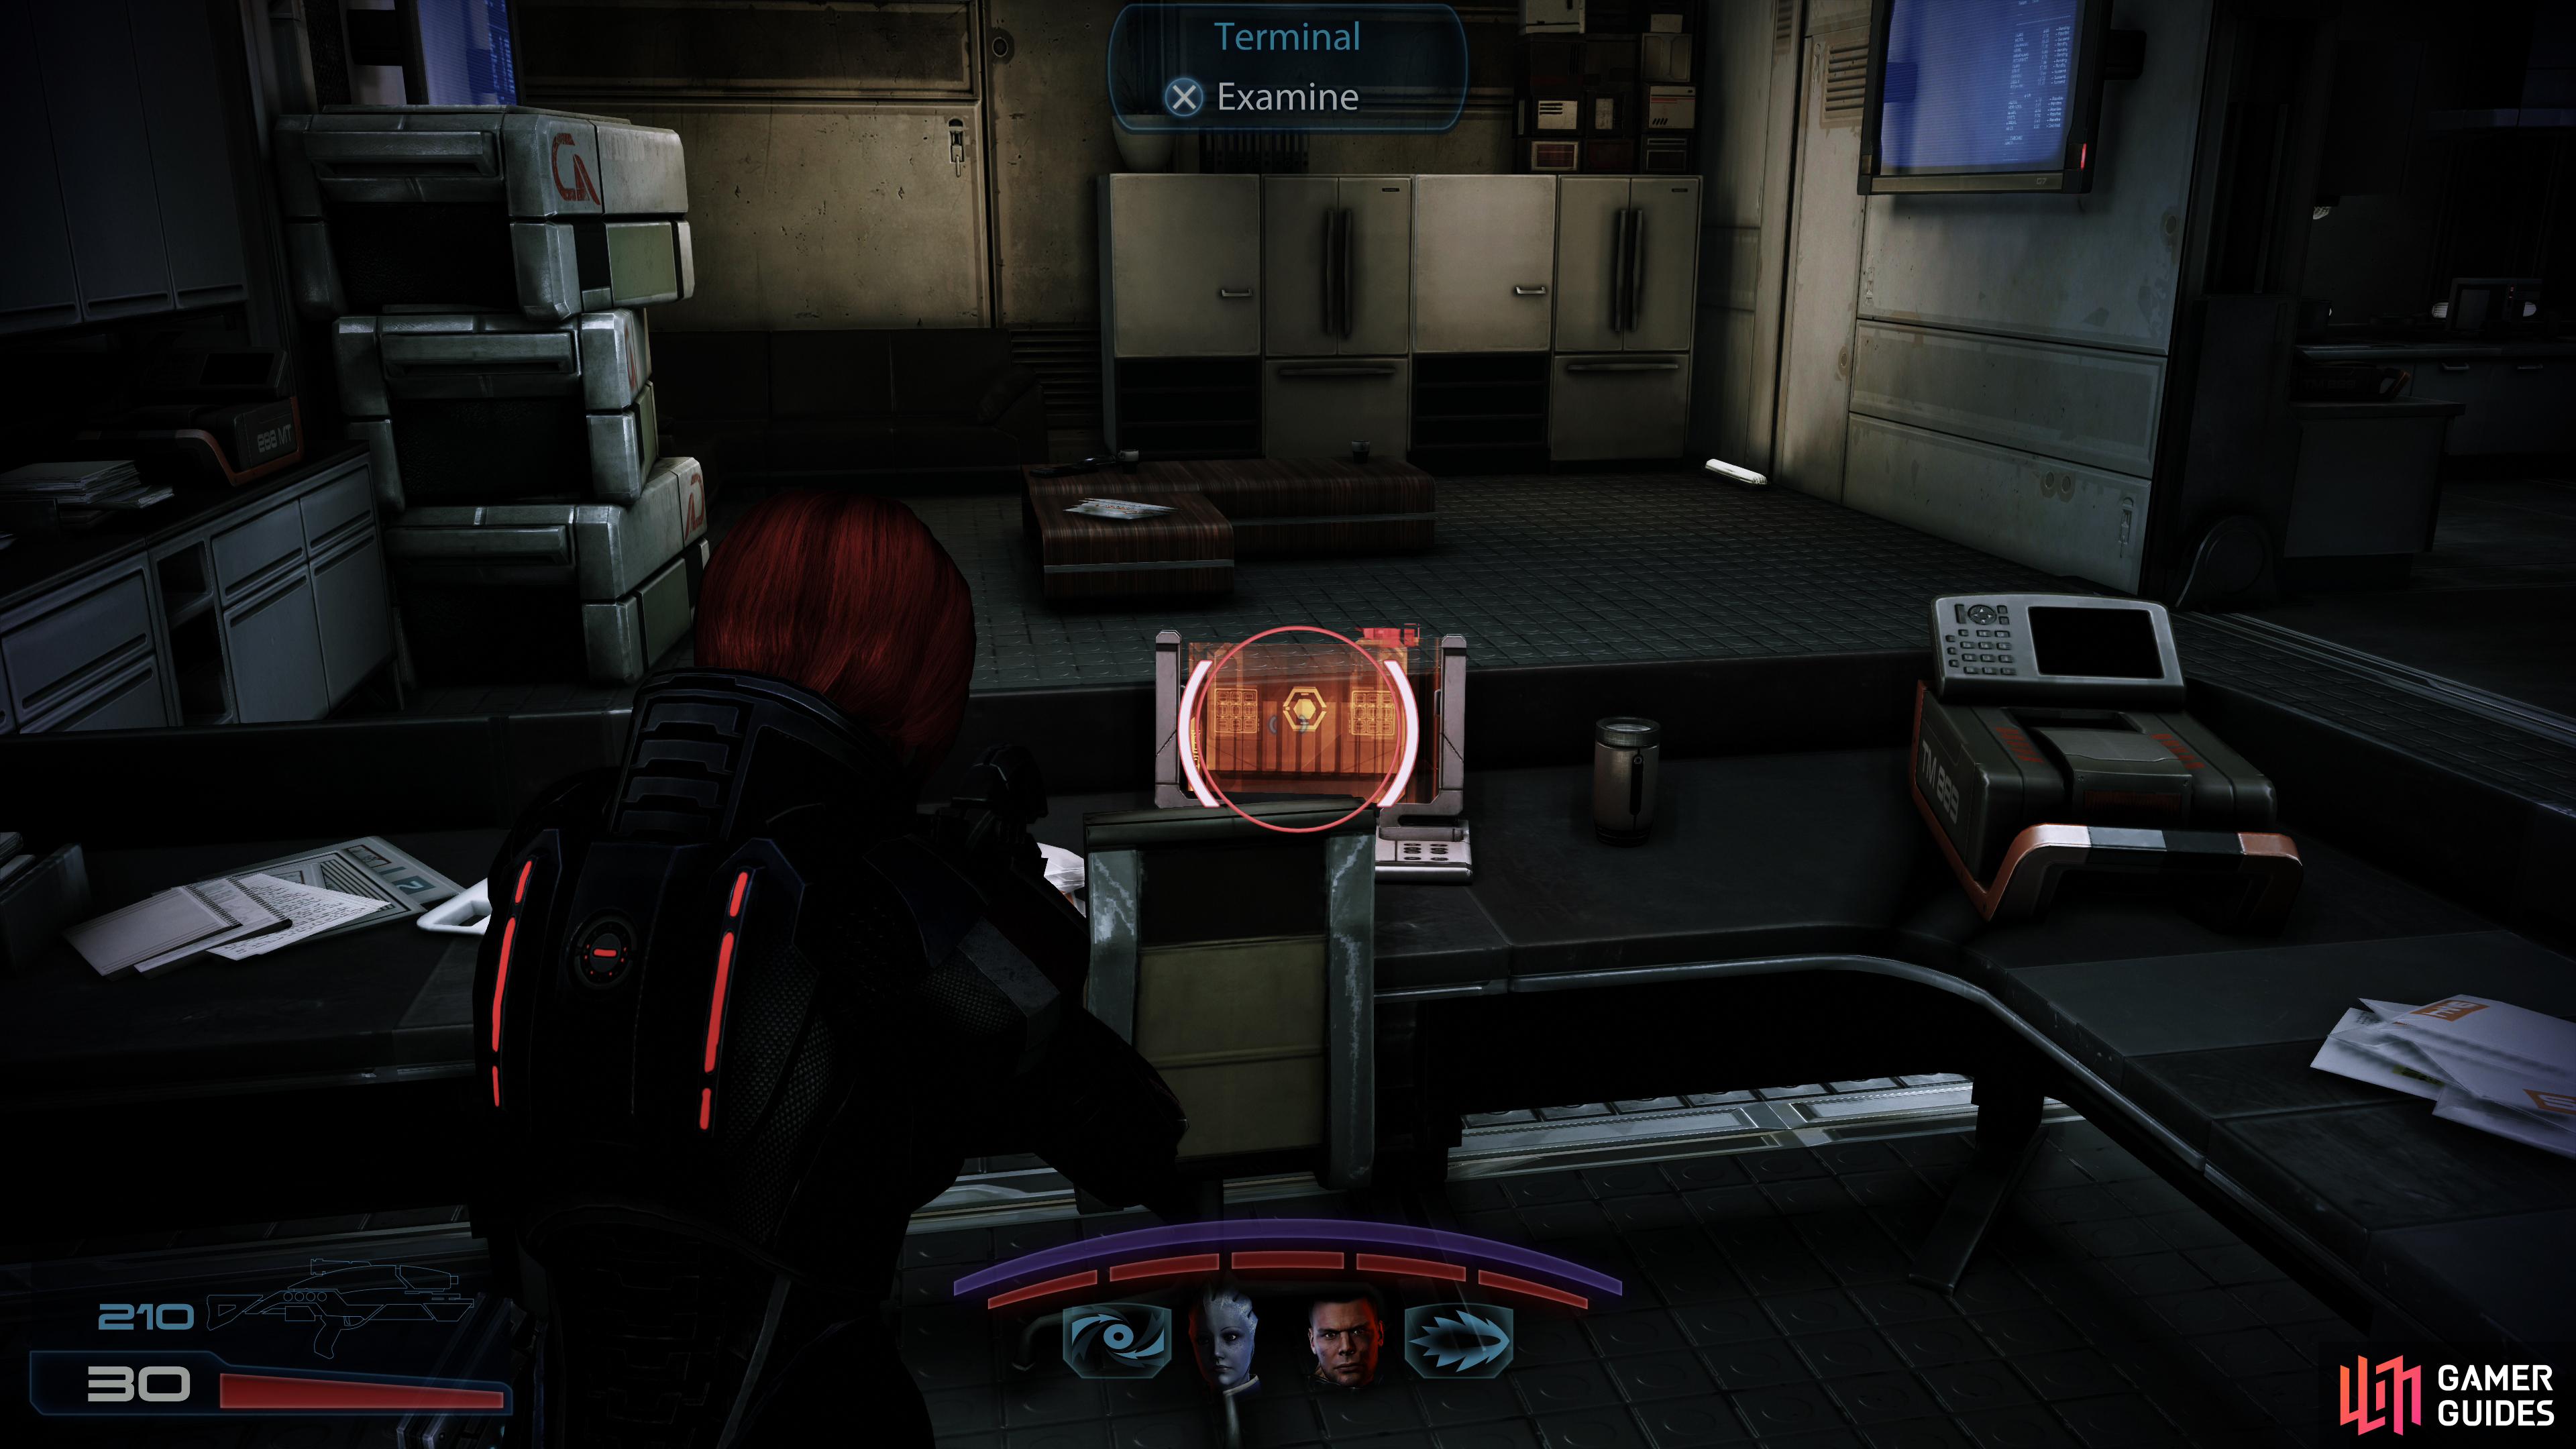

(1 of 2) Search a house for a terminal that’ll yield info valuable to the Eden Prime resistance movement.
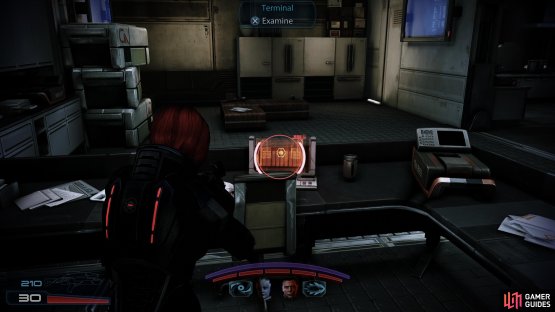
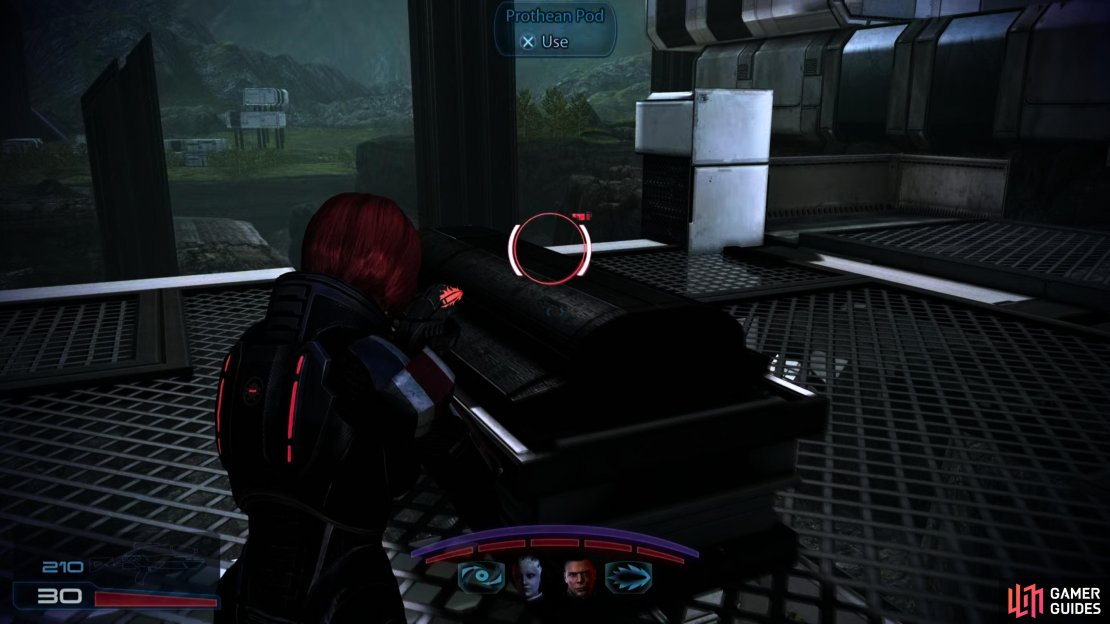
Search a house for a terminal that’ll yield info valuable to the Eden Prime resistance movement. (left), After inspecting the cryo pod you’ll be introduced to a new foe - the Cerberus Nemesis. Be wary of the laser sight on their sniper rifles. (right)
Prothean Research Data
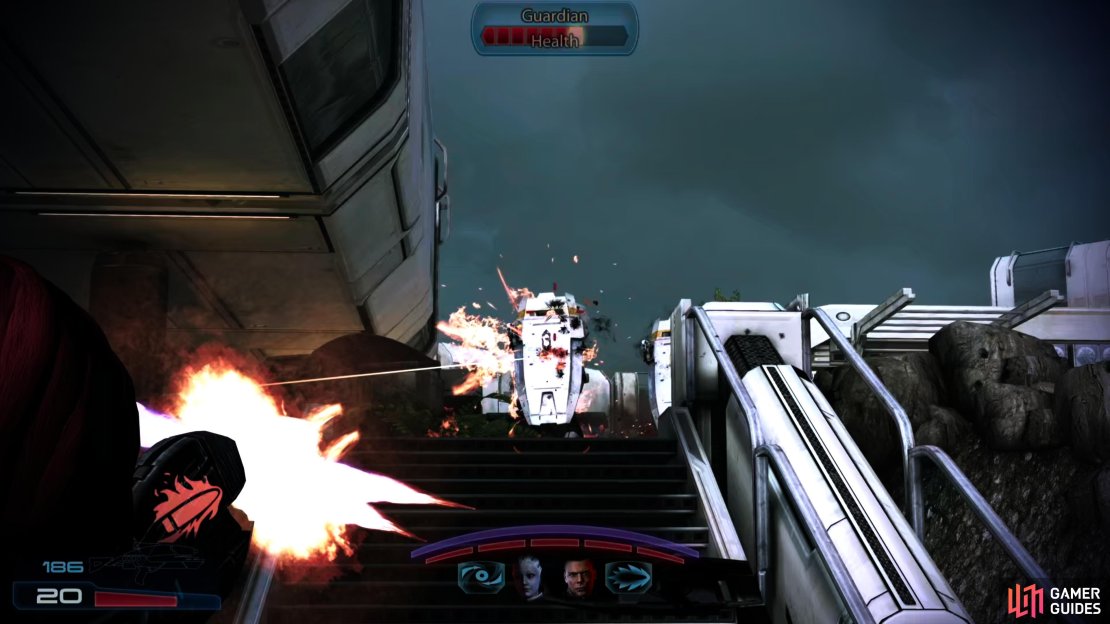
You won’t have time to contemplate your discovery, however, as some Cerberus shuttles will arrive and deploy some enemies, including a Centurion and some new Cerberus foes: the Nemesis. These are effectively snipers, capable of dealing massive damage with their rifles while possessing shields of their own - be wary of their red laser sights, which indicates they’re aiming at you. How you dispose of them will vary depending on your class and equipment - you can counter-snipe them effectively (especially as a Soldier or Infiltrator) while biotics are effective once their shields have been removed. The Vanguard can also choose to fight fire with the… opposite of fire, by getting close enough for a Charge + Nova combo.
Dispatch your foes, after which you can continue searching the second half of the colony. From just beyond the bridge (which you probably crossed during the fight) you should note two buildings you can enter, and beyond the doors into these buildings the path splits right and left. Enter the building to the right first and pass through it, only to find more Cerberus opposition lurking along the stairs of the buildings ahead, including yet another new variant - the Cerberus Engineer.


(1 of 3) Turrets are far more dangerous than the Engineers themselves, laying down withering fire in prolonged bursts.
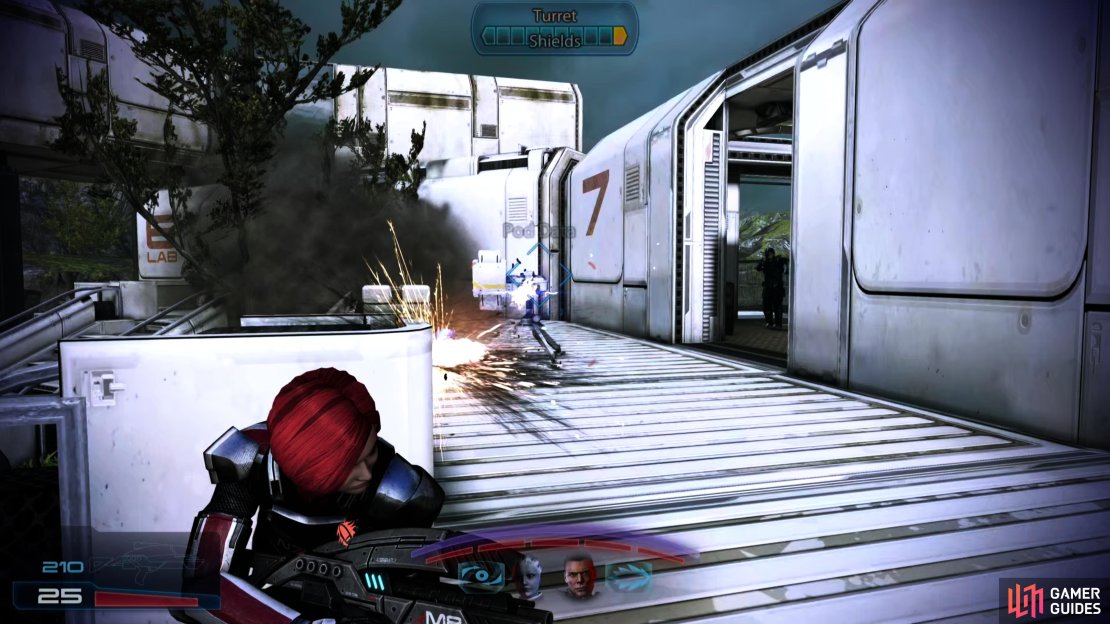
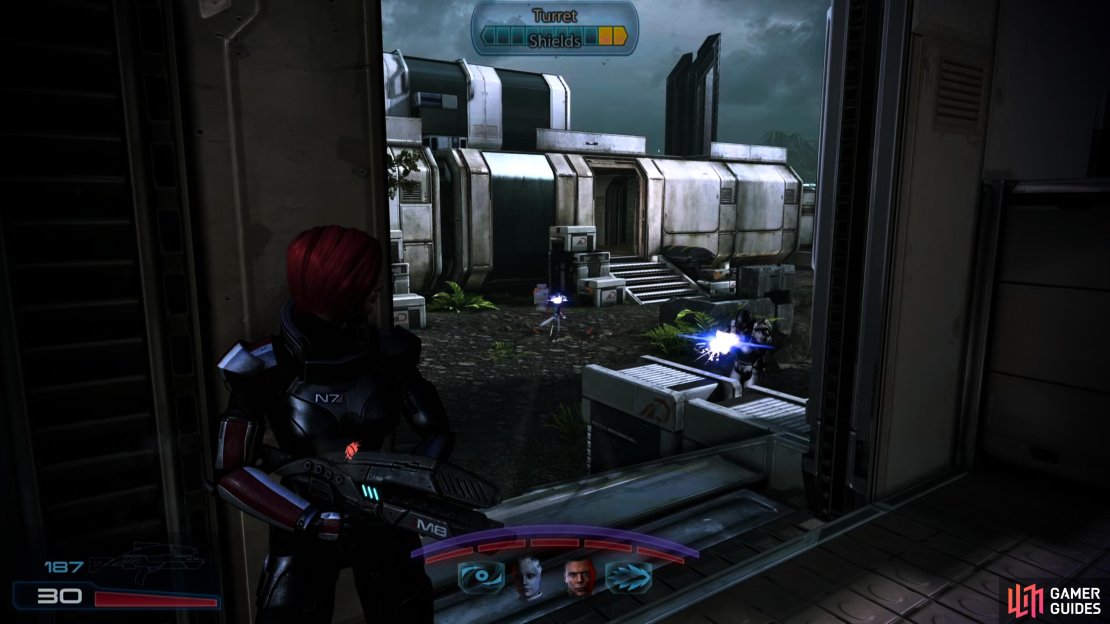
These foes come with shields, which makes them somewhat sturdier than your average Assault Trooper, but worse than that, they’re fond of deploying and repairing turrets, which can deal obscene amounts of damage over short bursts of fire. Turrets do not move, being more of a tool of area denial, and at this they excel, practically obligating you to remain in cover or otherwise out of their line of sight. Turrets have shields and armor, but no health. Try to take out Engineers as fast as possible to avoid having to deal with turrets, or at the very least, to ensure you don’t have to keep dealing with them after they’ve been destroyed. Shield-damaging abilities like Overload come in very handy against turrets, while characters with long ranged weapons can take advantage of the relatively low accuracy of turrets to pick them off. Particularly foolhardy Vanguards with incredibly fast power recharge times might even Charge + Nova them, which should all but guarantee their demise. Just be wary, they explode when destroyed, and if you don’t have a followup target available, things could end badly.
Along with Engineers (and likely a turret deployed up the stairs near the buildings to the right) you’ll encounter Cerberus Centurions, which you’ve encountered before. While their annoying enough on their own, allowing Centurions to use smoke grenades to provide cover for turrets just makes matters worse, so be wary.
After this second batch of enemies are defeated, head up the stairs to the right and salvage a terminal to score 3,000 Credits. In the same room you’ll find a door that’ll lead you to a “Computer Console”, one of your current objectives. Interact with it and Shepard will be able to make sense of some ancient Prothean data thanks to their numerous flirtations with the extinct race’s technology back in the first game - a burden only Shepard can bear. After some chatter you’ll be free to leave, and 500 XP richer for the ordeal.


(1 of 3) Defeat the enemies in the courtyard, then bypass the door they were guarding,
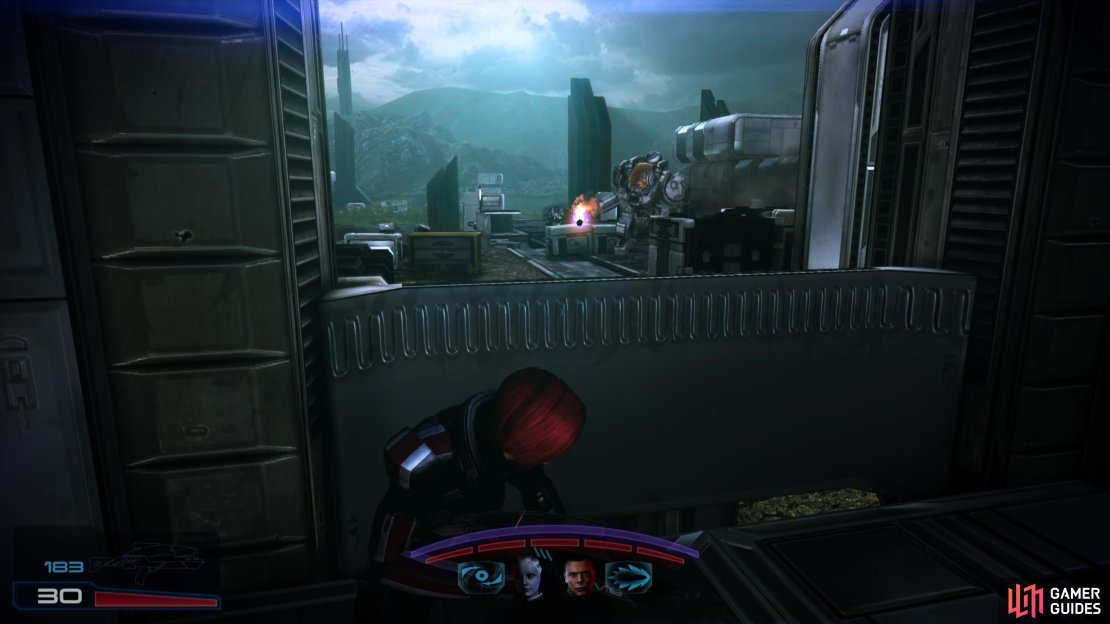
Exit the building and cross the road, entering a building to the right where you can examine a Cerberus atrocity. Make your way through the building and exit a door on the far side and you’ll trigger another fight with a Cerberus squad, who can be located down two flights of stairs in the distance. These consist of Centurions, Assault Troopers, Engineers and their pet turrets, and while there’s plenty of cover between you and your foes, the best vantage from which to fight is atop a building across from the one you just exited, past some trees. Make the run and climb a ladder to find yourself on a roof with a generous railing that provides sufficient cover for all your killing needs, while simultaneously depriving the enemy of any realistic hope of hiding from you. The only thing you really need to be wary of up here are enemy grenades.
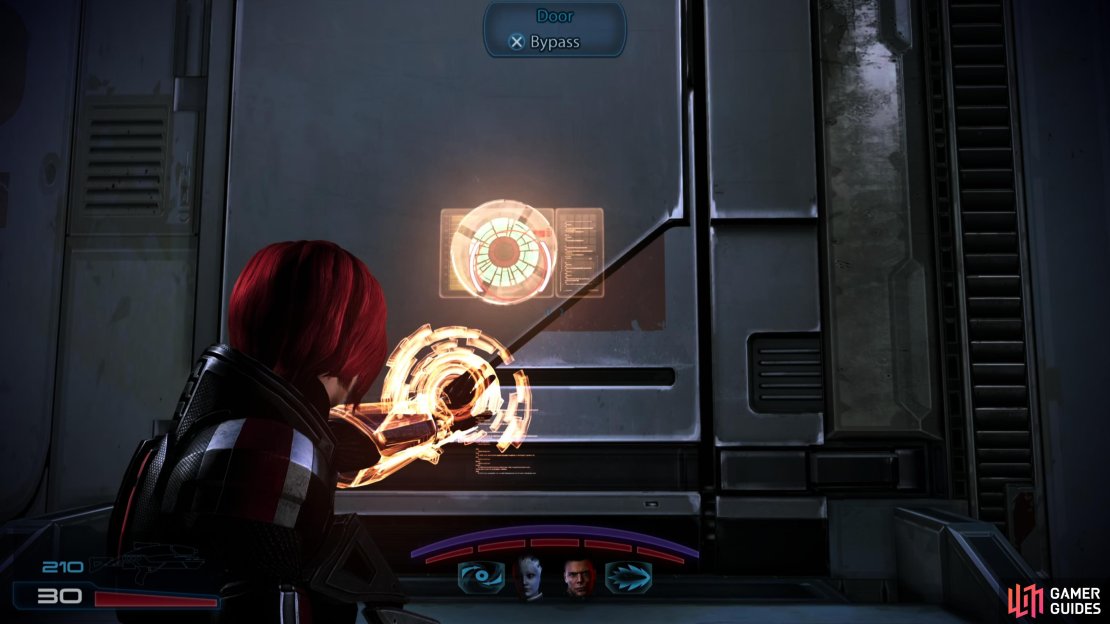
Shoot down the third Cerberus squad, descend the ladder, then go down some stairs to reach the courtyard they were defending to find two buildings you can enter, one to the right and one to the left. Enter the building to the right, first, as it’s the next mission objective; bypass the door, pass through the building, then turn right when you reach the rear balcony (stopping perhaps to loot a Med Kit) and go through another door. In here you’ll find another “Computer Console”, which will trigger more visions of the Prothean’s extermination at the hands of the Reapers. After the scene you’ll score another 500 XP.


(1 of 4) On your way back to the bridge, search another building to find more intel for the Eden Prime Support war asset,
Back to the Cryogenic Pod
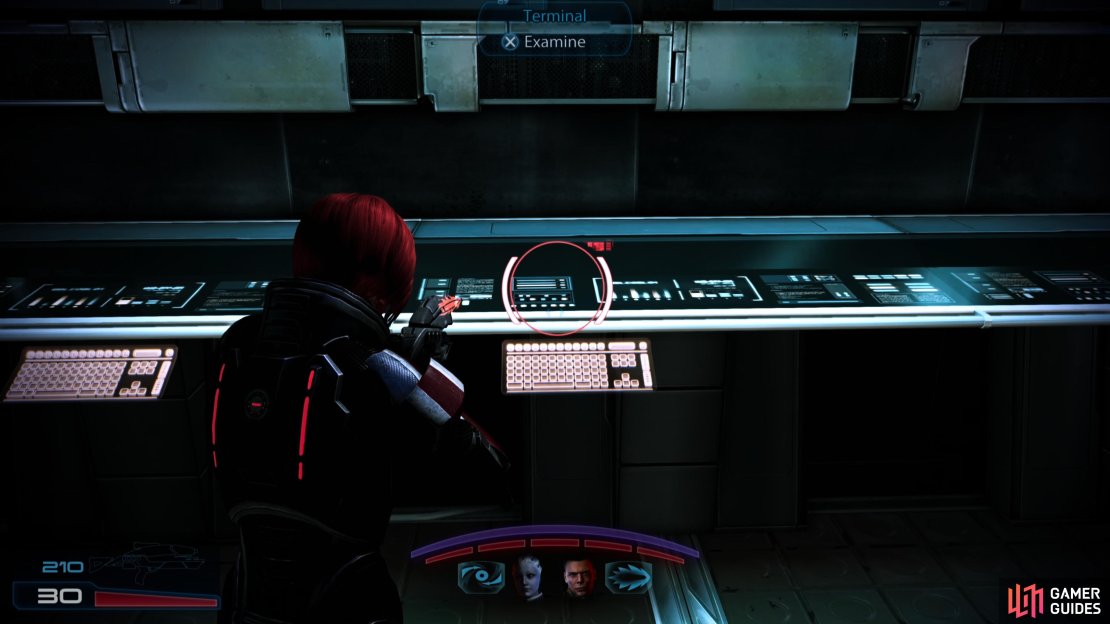
Return to the front of the building and you’ll encounter another Cerberus squad, courtesy of a shuttle. These consist of some Assault Troopers and Engineers, the latter of which, will of course, waste little time deploying turrets. Try to pick off the Engineers to limit the mischief they’ll cause, then exit the building, cross the courtyard, and enter the doorway to the left. In this Make your way through this series of buildings, looting a Med Kit in the first room before turning right and examining a “Terminal” to update your Eden Prime Support war asset. Finally, near the far end of the building you’ll find another terminal you can salvage for 6,000 Credits.
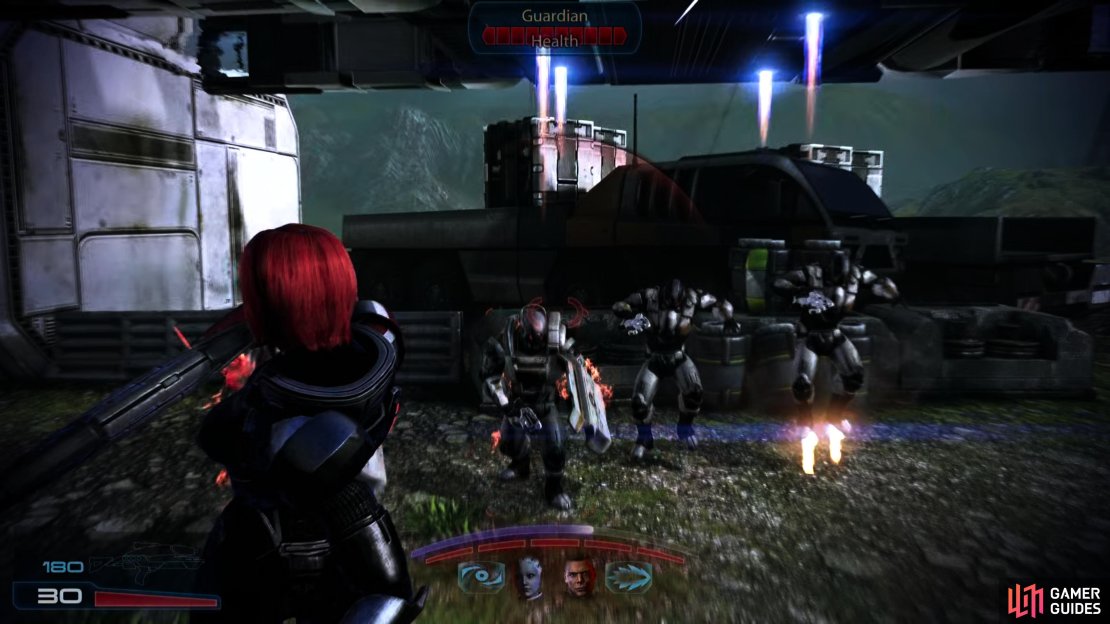
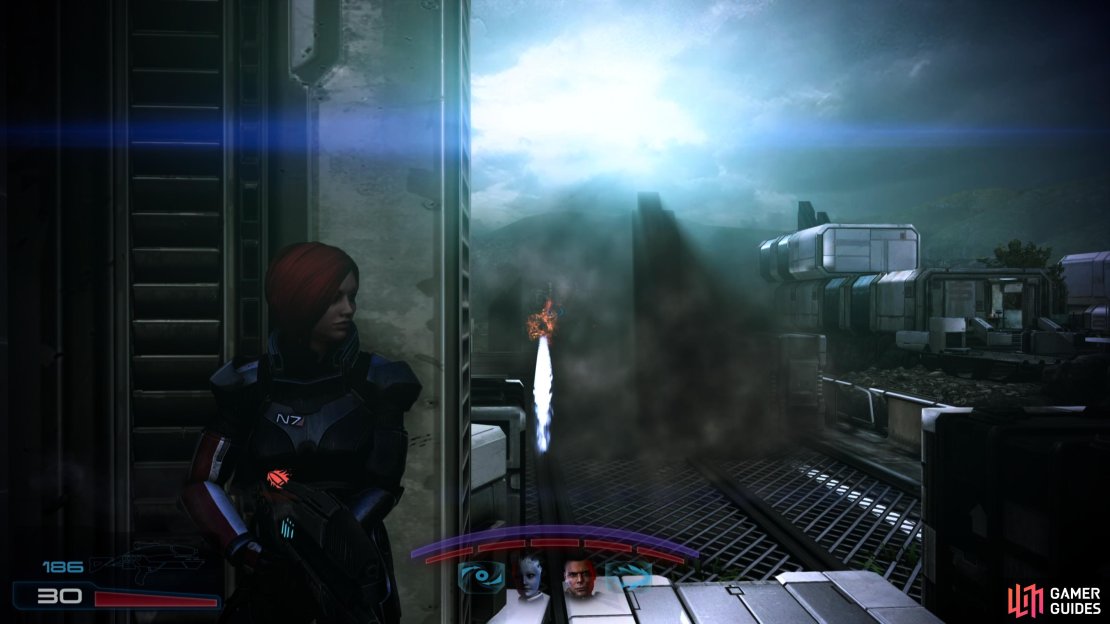
Exit the building via a doorway to the left and you may find a fifth Cerberus squad waiting for you. This wave is the largest yet, with an Assault Trooper, Engineer and pet turret just outside the door, while a larger host awaits upstairs to the left. Be wary as you ascend the stairs, as more Engineers (and likely two turrets), a trio of Guardians and the odd Assault Trooper. Trying to fight a cover-based battle by heading up the stairs is probably not the best idea, so stay out of cover, head up the stairs to take potshots at foes as your shields allow, then retreat to recover. Be wary, though, as enemy troopers aren’t above cutting through a nearby building and dropping down behind you, and the Guardians will, of course, press on inexorably. This isn’t a bad thing - once the Guardians reach the stairs you can take cover a ways off and pick them off by whatever means are at your disposal. There’s also a ladder you can ascend to reach the roof, but a building will block your line of sight to the bridge, which is where most of the enemies are, limiting this vantage’s utility.
Crush your enemies and return to where the bridge was (where the turrets in the last fight were deployed) only to find that Cerberus has retracted the bridge. We’ll deal with this inconvenience later, but first, turn right and enter the building there, which you neglected shortly after crossing the bridge the first time. Inside, examine another terminal for the third and final Eden Prime Support update, then salvage a different terminal for 3,000 Credits.
Exit the building and return to the bridge - to where the bridge was - and simply… walk off. Turn left, drop down another ledge, then continue forward and climb two ladders. Note the roof you’re on - it could come in handy later - then vault over some ventilation ducts and climb down a ladder on the far side of the building.

(1 of 3) Drop off near the bridge and cross back over to the other side.
Fight for the Cryogenic Pod
Your return to the cryogenic pod is now unopposed, but when you interact with it, Cerberus will attack, and you’ll have to survive several waves of enemies while the cryogenic pod does its thing. Honestly, after the Reapers the second biggest factor in the extinction of the Protheans seems to be overly-fuss cryo pods.
If you’re quick you can run to the ladder on the building across from the cryo pod and take up position on the roof, but for this first wave of enemies, it’s probably unnecessary, and perhaps disadvantageous. Instead, take cover near the cryo pod and watch for shuttles arriving to the right, which will deploy mainly Assault Troopers and Guardians.

(1 of 5) Assign your squadmates to take cover in the building across from the cryo pod,
Gun them down and when they’re dead you’ll be informed by your squad that you’ve got time to scavenge for ammo. Do so, save your game, then either climb up to the roof (if you just want to get through this section as easily as possible) or hide in the building across from the cryo pod (if you want to go after some achievements). Either way, be sure to assign your squad to take up positions from which they’ll be able to shoot out at enemies from the safety of cover.
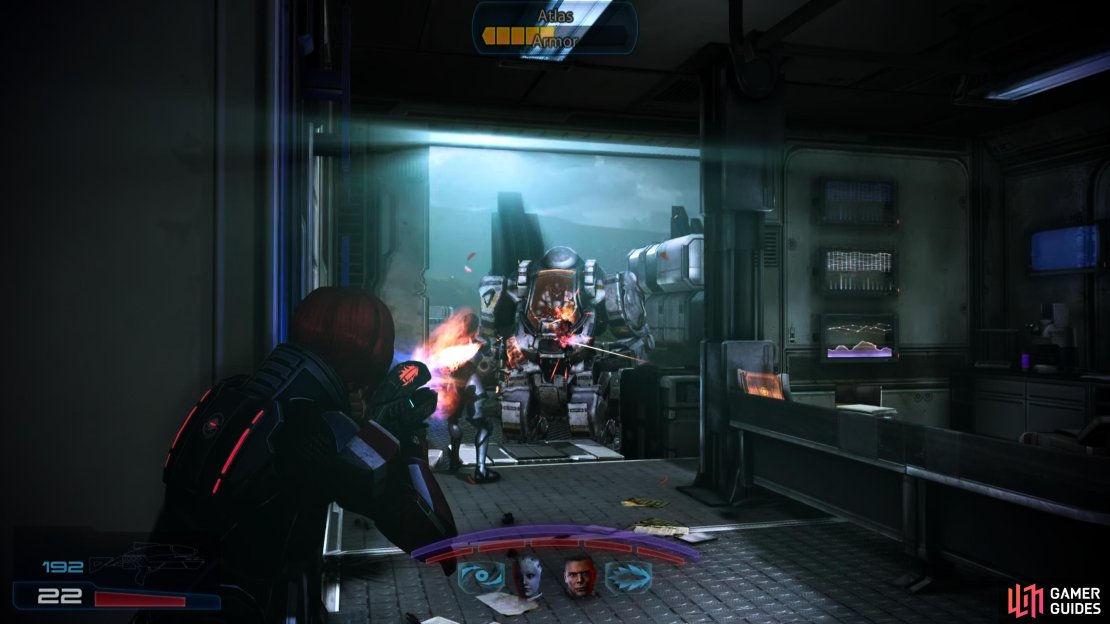
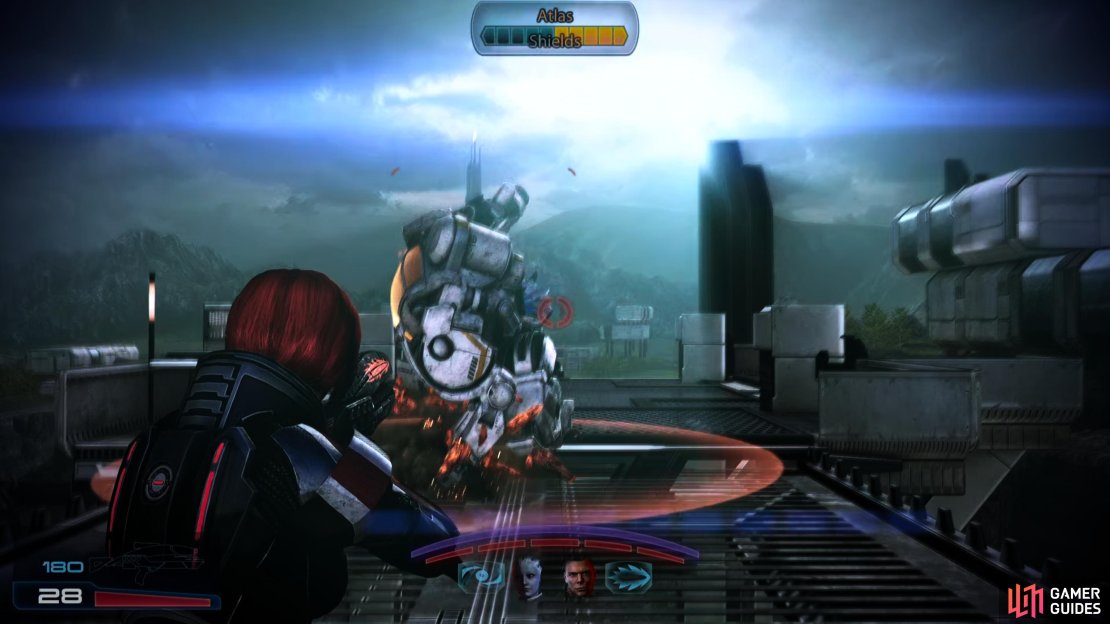
After a few moments, the second wave of enemies will arrive. This wave mostly consists of Assault Troopers, reinforced by an Atlas Mech. The Assault Troopers are annoying enough (although the first several can largely be picked off as they attempt to deploy via a shuttle), but the Atlas Mech is a far meatier, more dangerous opponent. It possesses both a machine gun arm and a rocket launcher arm, both of which will take down your shields awfully quickly, and if you tarry too long in melee it’ll put its bulk to good use and finish you off with an overwhelming strike. Its most dangerous aspect is its sheer durability, which it’ll use to inexorably advance, although it can’t enter the building across from the cryo pod nor can it reach the roof.

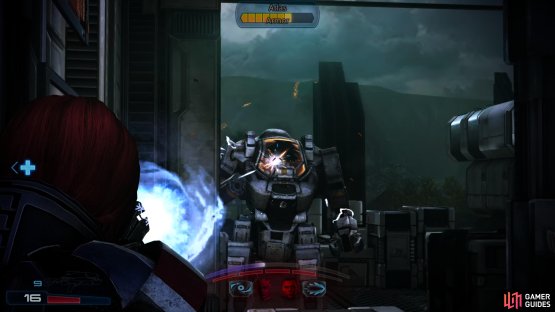
(1 of 2) Deplete the Atlas’s shields and shoot its dome until it breaks,
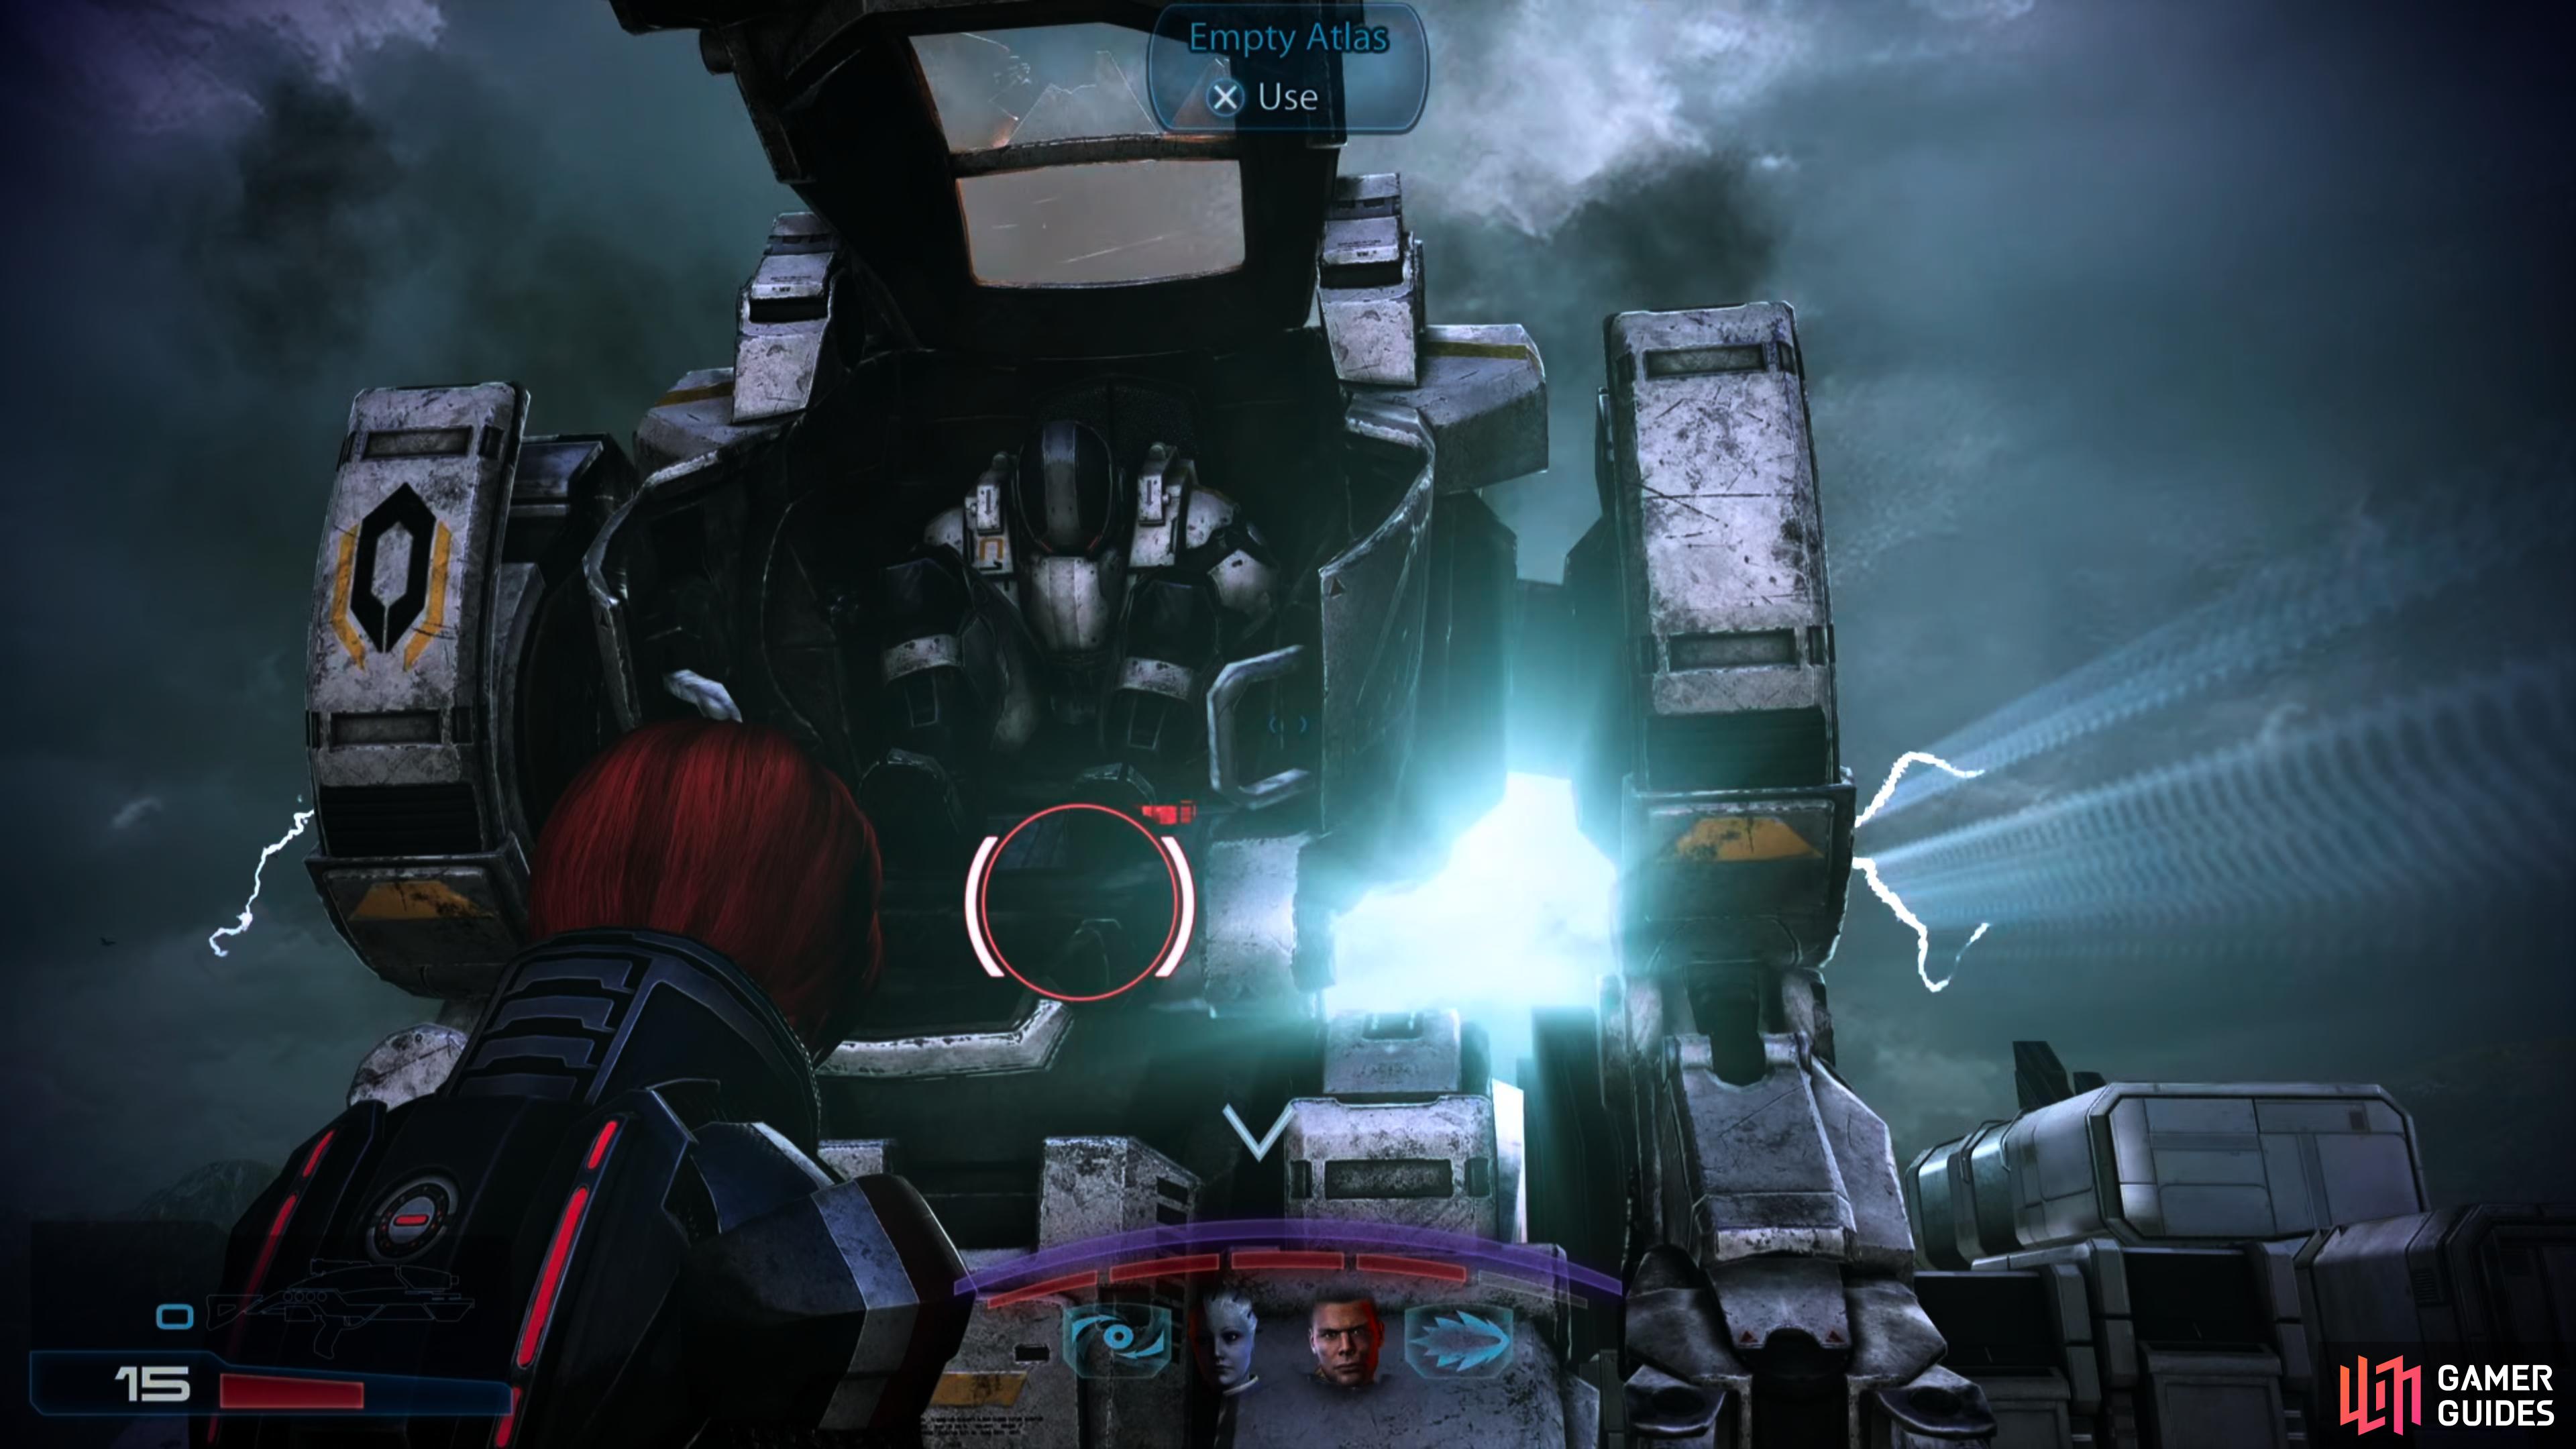
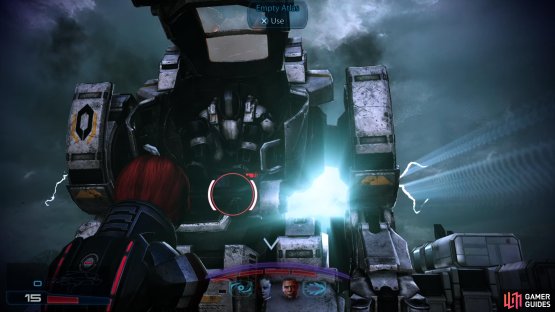
Deplete the Atlas’s shields and shoot its dome until it breaks, (left), then pick off the pilot, leaving the Atlas empty and ripe for hijacking. (right)
Use abilities to take down the mech’s shields while picking off encroaching troopers, whose primary threat is their potential to flush you out of cover. Once the mech’s shields are depleted, switch to attacks effective against armor and put the mech down. Note that if you take care to exclusively shoot the pilot’s canopy, you can destroy it, exposing the pilot, who can then be quickly killed if you shoot him. This probably won’t speed up the process of defeating your opponent, but it will allow you to hijack the mech (if you’re fast enough to get in before another Cerberus lackey can, anyways), earning you the Hijacker achievement the moment you manage to commandeer the mech. Just keep in mind that if you’re using Incendiary Ammo, you’ll probably end up destroying the mech before breaking the canopy, so you’ll need to switch to something less effective against armor. Also, your squadmates aren’t as concerned about accuracy as you are, so you’ll probably need to get rid of them by commanding them to go stand out in the open. It’s a chore, but if you saved during the lull before the mech deployed, this is a good spot to try to earn this achievement.


Once the Atlas mech and all the troopers are defeated, return to the pod and watch some scenes. After quite a bit of chatter you’ll have gained a new squadmate - Javik - as well as the Particle Rifle weapon. When you’re back in control of Shepard on the Normandy, talk to Javik again and you should unlock his bonus power, Slam.

Javik will join your squad after recovering him from Eden Prime.
No Comments