At the end of Chapter 7 - Into the Void in the Dead Space Remake, you’ll need to launch the asteroid into space with the SOS Beacon attached to it. To do this, you need to destroy the gravity tethers holding it in place. We’ll guide you through exactly how to do it on this page.
How to Launch the Asteroid in Chapter 7 - Into the Void - Dead Space Remake
How to Destroy the Gravity Tethers
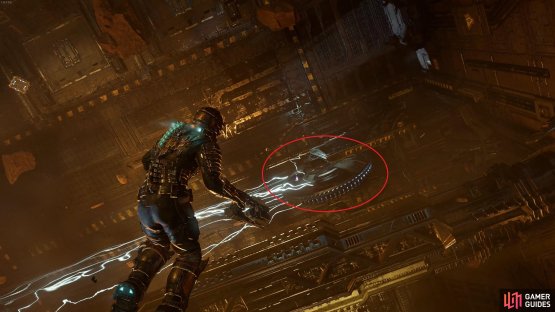
To launch the asteroid into space, you first need to destroy the gravity tethers holding it in place. There are two gravity tethers located inside the USG Ishimura, and two located outside. It’s important that you avoid being hit by the energy coming from these tethers as you make your way around the chamber, and as you go outside. You should also take care to avoid the processing beam at the center of the chamber, which is constantly stripping material from the asteroid. If you get hit by either of these, it’s instant death for you.
To destroy the gravity tethers you need to shoot part of its internal electricity system, but you can only do this reliably by using the Stasis Module to slow down its spinning first. You’ll see the points that you need to shoot lighting up between the tether mechanism, as shown in the screenshot below, and you should have plenty of time to shoot at least one of them so long as you slow it down with the Stasis Module first.
Once you’ve destroyed the gravity tether you’ll get a message to confirm that it has been disengaged. You need to do these for all four gravity tethers: two inside, and two outside. Only then can you return to the control room to interact with the computer and release the asteroid.
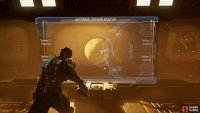
(1 of 2) There are two of these gravity tethers inside, and two outside.
There are two of these gravity tethers inside, and two outside. (left), You need to hit this point on the gravity tether to disengage it. (right)
How to Plant the SOS Beacon on the Asteroid
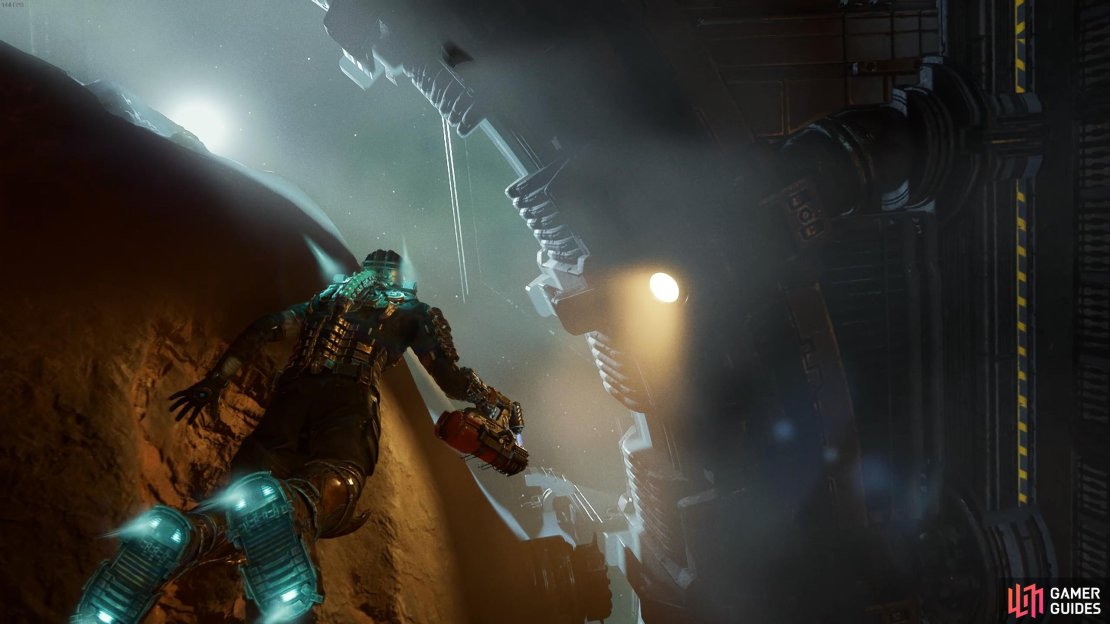
The point where you need to plant the SOS Beacon is located on the other side of the asteroid, on the surface which is still outside of the USG Ishimura. You can fly outside through the gaps above the asteroid, but only when the mechanism which rotates around it isn’t blocking the way. You need to get the timing right here to avoid being hit by the mechanism, which again will result in instant death. Once you’re outside, you’ll see the point where you need to plant the SOS Beacon highlighted on the asteroid, as shown in the screenshot below.
(1 of 4) Fly outside to the other side of the asteroid from this point.
After you’ve planted the SOS Beacon, make sure that you disengage the two gravity tethers outside, then return to the control room where you can interact with the computer and release the asteroid into space. If you prefer a more visual guide to any of the above, see the video below.



No Comments