When you finish Dead Space Remake for the first time, you’ll unlock New Game Plus. This will add a new challenge for you where you’ll need to hunt down 12 Marker Fragments to gain access to an alternate ending. This page will guide you on how to find every Marker Fragment in New Game Plus.
Marker Fragment 1
| Chapter | Location |
|---|---|
| 1 | Maintenance Bay Office |
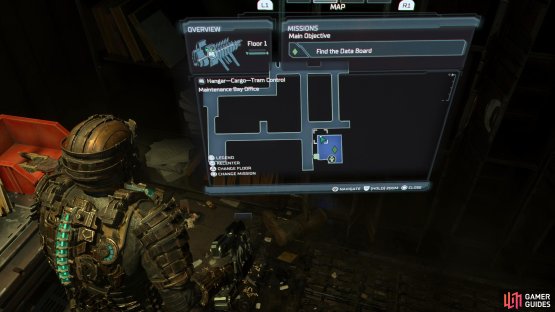
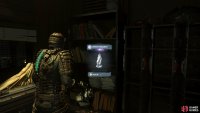
The first fragment can be found in the Maintenance Bay Office. Progress the story to find the Data Board, but you won’t be able to enter the room due to its lack of power. Head up the elevator where you’ll need to replace a circuit on the circuit breaker to divert power to the Maintenance Bay Office. Go back down the elevator and head to the now-open Maintenance Bay Office, and you’ll find the fragment in the bookcase to your right, just before you pick up the Data Board. Either shoot the books out of the way or use kinesis to grab the marker fragment.
(1 of 2) Marker Fragment 1 can be found in the Maintenance Bay Office.
Marker Fragment 1 can be found in the Maintenance Bay Office. (left), You will find it in the bookcase to the right of the Data Board. (right)
Marker Fragment 2
| Chapter | Location |
|---|---|
| 2 | Dr. Kyne’s Office |
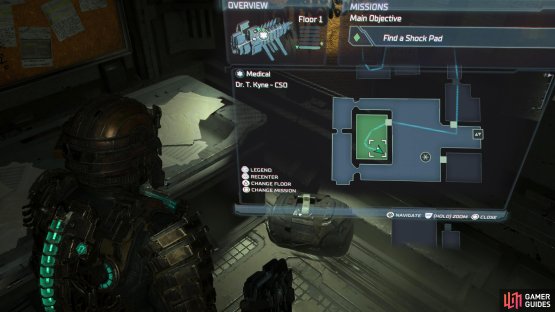
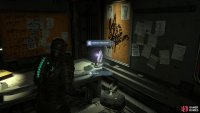
The second fragment can be found in Dr. Kyne’s Office on the Medical Deck. Track the “Find a Shock Pad” part of the objective and follow it until you reach the main lab. Here a Quarantine will lock everything down until you defeat every Necromorph on both floors. Once they’re defeated, head over to Dr. Kyne’s Office on the lower floor where you can move the Bookcase out of the way with kinesis which will reveal a hidden room. The marker fragment will be on the right side of the desk inside.
(1 of 2) Marker Fragment 2 is in Dr. Kyne’s Office.
Marker Fragment 2 is in Dr. Kyne’s Office. (left), You will find it on the right side of the desk. (right)
Marker Fragment 3
| Chapter | Location |
|---|---|
| 3 | Engine Room |
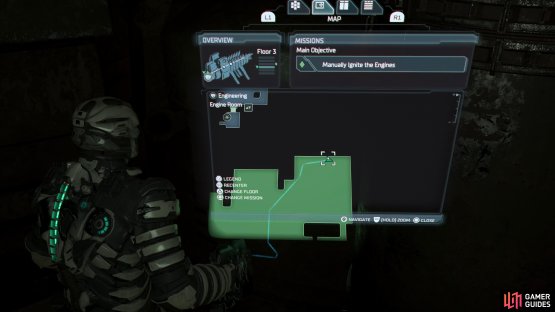
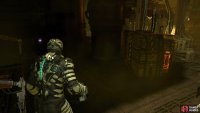
The third Marker Fragment will be at the back of the Engine Room. This objective won’t be available to you until you activate the Centrifuge. Track the “Manually Ignite the Engines” objective until you reach the Engine Room. Defeat all the enemies and place the battery inside the power substation. Behind the substation is a dark alcove where you can find the Marker Fragment sitting at the back.
(1 of 2) Marker 3 will be in the Engine Room.
Marker 3 will be in the Engine Room. (left), You will find the fragment behind the Power Substation. (right)
Marker Fragment 4
| Chapter | Location |
|---|---|
| 4 | Break Room |
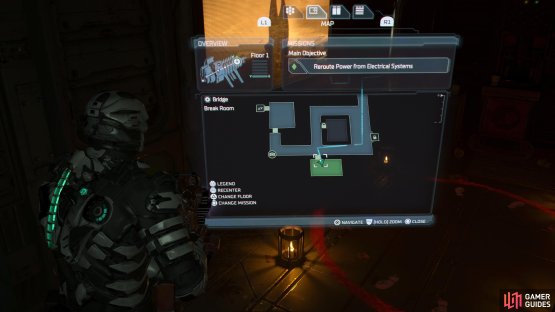
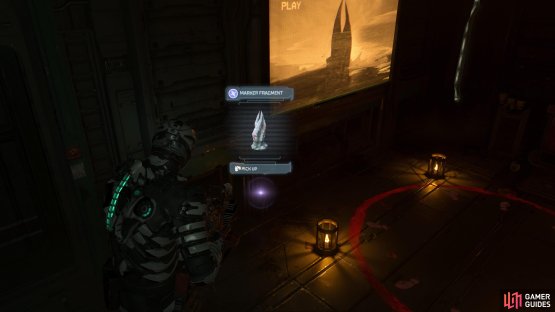
The fourth Marker Fragment can be found inside the Break Room on the Bridge Deck. Progress the Chapter until you can track the “Reroute Power from Electrical Systems” objective. Follow this until you get to the third floor of the bridge where you’ll find the Break Room in the south. Head inside to find the Marker Fragment below the TV, next to the red circle.
(1 of 2) Marker Fragment 4 will be in the Break Room.
Marker Fragment 4 will be in the Break Room. (left), You’ll find it below the TV. (right)
Marker Fragment 5
| Chapter | Location |
|---|---|
| 5 | Dr. Mercer’s Office |
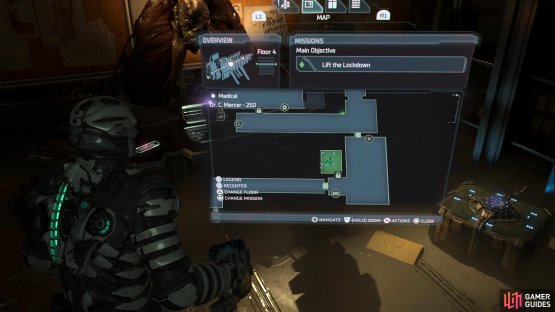
The fifth Marker Fragment can be found in Dr. Mercer’s Office on the Medical Deck. If you progress through the chapter, the objective marker will take you there naturally as it’s part of the main story. Once you enter the room you’ll find the Marker Fragment on the desk underneath a dead Infector Necromorph.
(1 of 2) Marker Fragment 5 can be found in Dr. Mercer’s Office.
Marker Fragment 5 can be found in Dr. Mercer’s Office. (left), It will be on the desk underneath the dead Infector. (right)
Marker Fragment 6
| Chapter | Location |
|---|---|
| 5 | Cryogenics Room |
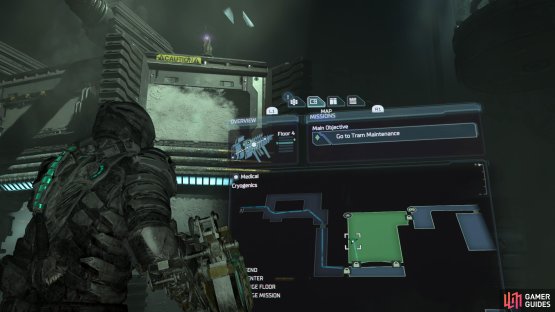
This is the second Marker Fragment in Chapter 5 where it can be found in the Cryogenics Room on the Medical Deck. This is the same room where you trap the Hunter inside the Cryogenic Chamber to defeat it. You can find the room by following the objective marker as it’s part of the story. Once you’ve defeated all the Necromorphs including the Hunter, head to the far end of the Cryogenic Chamber (near to where Dr. Mercer was standing) and look on top of it to find the Marker Fragment. Use your Kinesis to grab it.
(1 of 2) Marker Fragment 6 can be found in the Cryogenics Room.
Marker Fragment 6 can be found in the Cryogenics Room. (left), You can find it on top of the Cryogenic Chamber where you killed the Hunter. (right)
Marker Fragment 7
| Chapter | Location |
|---|---|
| 6 | East Grow Chamber |
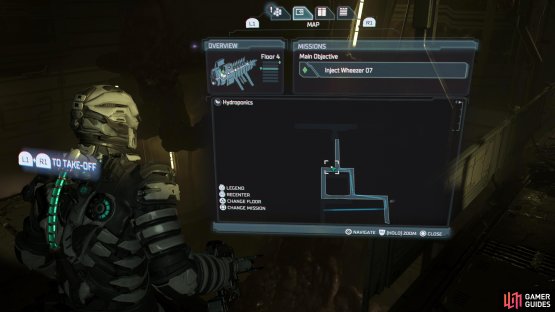
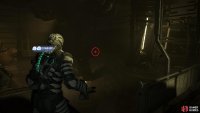
The seventh Marker Fragment will be at the top of the East Grow Chamber on the Hydroponics Deck. Progress the Chapter until you start injecting the Wheezer’s, and eventually you’ll come to the East Grow Chamber (You can do it earlier, but you may as well hit two birds with one stone.). When you reach the East Grow Chamber you’ll need to inject the enzyme in to Wheezer # 7 which’ll place you on the top floor. The Marker Fragment will be on a ledge in the northwest corner behind the tentacles. Either fly over there with your zero-g, or use Kinesis to grab it.
(1 of 2) Marker Fragment 7 can be found in the East Grow Chamber in Hydroponics.
Marker Fragment 7 can be found in the East Grow Chamber in Hydroponics. (left), It can be found in the northwest corner of the top floor behind some tentacles. (right)
Marker Fragment 8
| Chapter | Location |
|---|---|
| 7 | Mineral Samples |
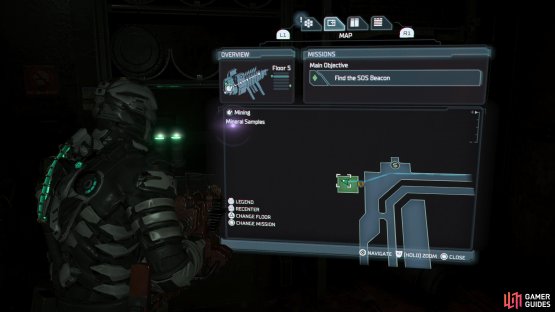
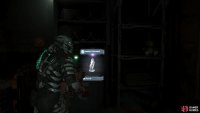
The eighth Marker Fragment can be found in the Mineral Samples room on the Mining Deck. You will need Security Clearance 3 to get to this Marker Fragment. Fortunately, you get it in Chapter 7. Progress the Chapter until you’ve found Dallas’s RIG and have access to the level 3 clearance then make your way to the Mineral Samples room on the west side of Floor 5. Inside the room, you’ll find the Marker Fragment sitting on the first shelf of the cabinet.
(1 of 2) Marker Fragment 8 can be found in the Mineral Samples room.
Marker Fragment 8 can be found in the Mineral Samples room. (left), It will be on the shelf of the cabinet inside there. (right)
Marker Fragment 9
| Chapter | Location |
|---|---|
| 8 | Communications Array |
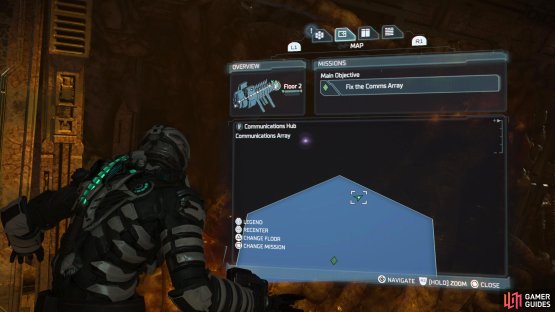
The ninth Marker Fragment can be found in the same room you do the Comms Array Puzzle. Progress the Chapter until you have to Fix the Comm’s Array. When you get there, fly to the north/northeast part of the room where you’ll find an opening obscured by some tentacles. The Marker Fragment will be at the back of the hole, so use Kinesis to grab it.
(1 of 2) Marker Fragment 9 can be found in the Communications Array where the puzzle is.
Marker Fragment 9 can be found in the Communications Array where the puzzle is. (left), You’ll find it in an opening in the northeast near some tendrils. (right)
Marker Fragment 10
| Chapter | Location |
|---|---|
| 10 | Deluxe Shift Bunks |
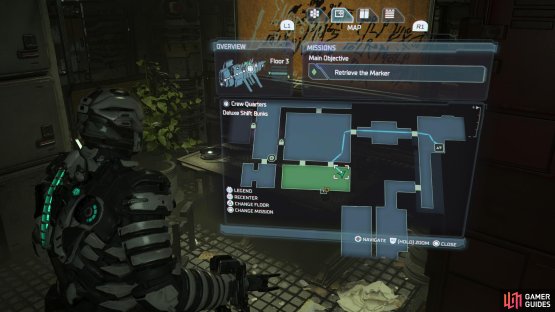
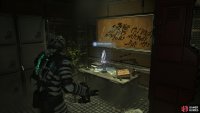
The tenth Marker Fragment can be found in the Deluxe Shift Bunks, but the room will be locked. The main room leading to it will have a quarantine triggered where you’ll need to defeat all the Necromorphs to bring it off lockdown. When you have access to the room again, head to the Deluxe Quiet Bunks from the main room where you’ll find a battery. Take the power source down the hallway and place it in the socket and activate the circuit breaker for the doors. Go back into the main room and head into the southern door where you’ll find the Deluxe Shift Bunks room. The Marker Fragment will be on the desk in the east side of the room.
(1 of 2) Marker Fragment 10 can be found in the Deluxe Shift Bunks room.
Marker Fragment 10 can be found in the Deluxe Shift Bunks room. (left), It will be sitting on the desk. (right)
Marker Fragment 11
| Chapter | Location |
|---|---|
| 10 | Inquiry Desks |
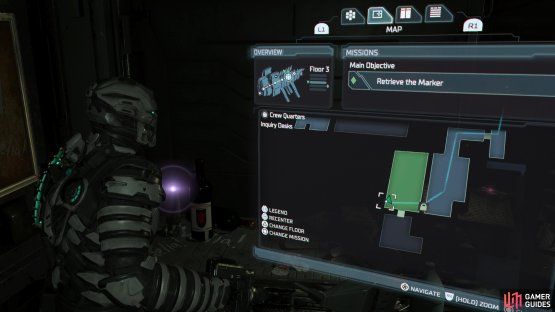
The eleventh Marker Fragment can be found inside the Inquiry Desks on the Crew Deck. Following the objective will take you straight here as that is where the fourth tendril that you need to destroy is. You’ll find the Marker Fragment sitting on the desk. This room will be locked until you watch the scene with Dr. Kyne in the Chief Steward’s Office.
(1 of 2) Marker Fragment 11 can be found in the Inquiry Desks room.
Marker Fragment 11 can be found in the Inquiry Desks room. (left), You’ll find it on the left side of the desk near a wine bottle. (right)
Marker Fragment 12
| Chapter | Location |
|---|---|
| 11 | Cargo Bay |
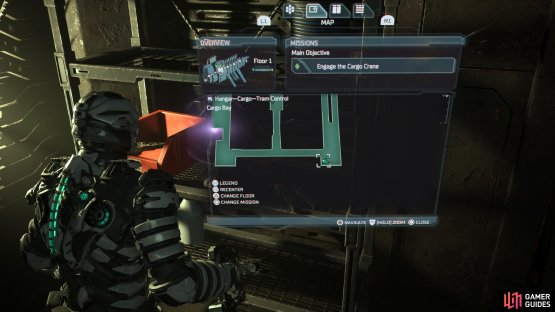
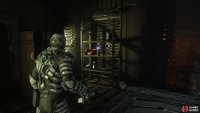
The final Marker Fragment will be in the Cargo Bay. Progress the Chapter until you have to “Engage the Cargo Crane”. This will place you in a large zero-g room, and you’ll want to head to the southeast of it to find the fragment. In the southeast corner, you’ll find some shelves where you’ll also find the Marker Fragment that is sitting on the second shelf.
(1 of 2) Marker Fragment 12 can be found in the southeast of the Cargo Bay.
Marker Fragment 12 can be found in the southeast of the Cargo Bay. (left), It will be sitting on one of the shelves there. (right)
How to Activate the Secret Ending
Now that you have all twelve Marker Fragments, there will be one more task to get the secret ending. You need to place the fragments in Captain Mathius’ room in the Executive Quarters, where you were in Chapter 10. To get there, head to the nearest Tram, and take it to the Crew Deck.
From the tram, head through the door straight ahead of you and go through the Central Nexus door which will be an elevator. Take this to Floor 1 and exit the elevator where you’ll be in the Central Nexus. Go to the Cargo Lift straight ahead and right after you go through the broken window and take it to the upper floor. Now go through the ‘To Executive Quarters’ door in the east, and follow the linear path until you reach the larger room in the area.
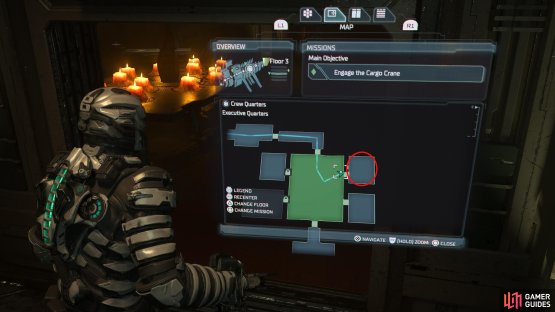
(1 of 2) You need to place the Marker Fragments on the table in Captain Mathius’ room.
You need to place the Marker Fragments on the table in Captain Mathius’ room. (left), Interact with the table to place them, then you’ll get a single line of dialogue from the Marker. (right)
The room you’re looking for is Captain Mathius which will be on your left as you enter the area. Inside the room, you’ll see a table with stumps where the Marker Fragments can be placed. Place them all, and you’ll get a singular line of dialogue from the Marker. This means the ending is activated, and all you need to do now is finish the game where you’ll get a new scene at the end.


























No Comments