
While playing Dead Space (2023) Remake you may stumble across Schematics. These unlock various items for you to purchase in all the shops scattered across the Ishimura. There are 13 Schematics in total to find, but only 12 are needed for the Merchant. This guide will list all Schematics you can find in Chapter 3.


Schematic 1 – Medium Med Pack
You can find this schematic inside an open locker on the Engineering Deck, after the quarantine in the decontamination room. During Chapter 3, you’ll have an objective to reach the Engineering Deck. Progress with the story until you reach it, and the objective will update to activate the control console. After you’ve activated the console, the door that displays “To the Centrifuge” to the left of the Save Point will be open. This is an elevator that will take you where you need to go. When the elevator has reached its destination, exit it, and follow the corridor until you reach the Decontamination Room.
When you’re ready, head into the Decontamination Room, and be ready for a battle. When you enter the room, you’ll see a console to activate. Doing this will close the door behind you, and spawn some enemies while it’s “decontaminating”. At first, you’ll have two Lurkers (three tentacles on its back), then an “Appendage” will drop into the room, and finally, a Leaper.


(1 of 2) You’ll need to go through the Decontamination Room, and survive the quarantine to get to the schematic.
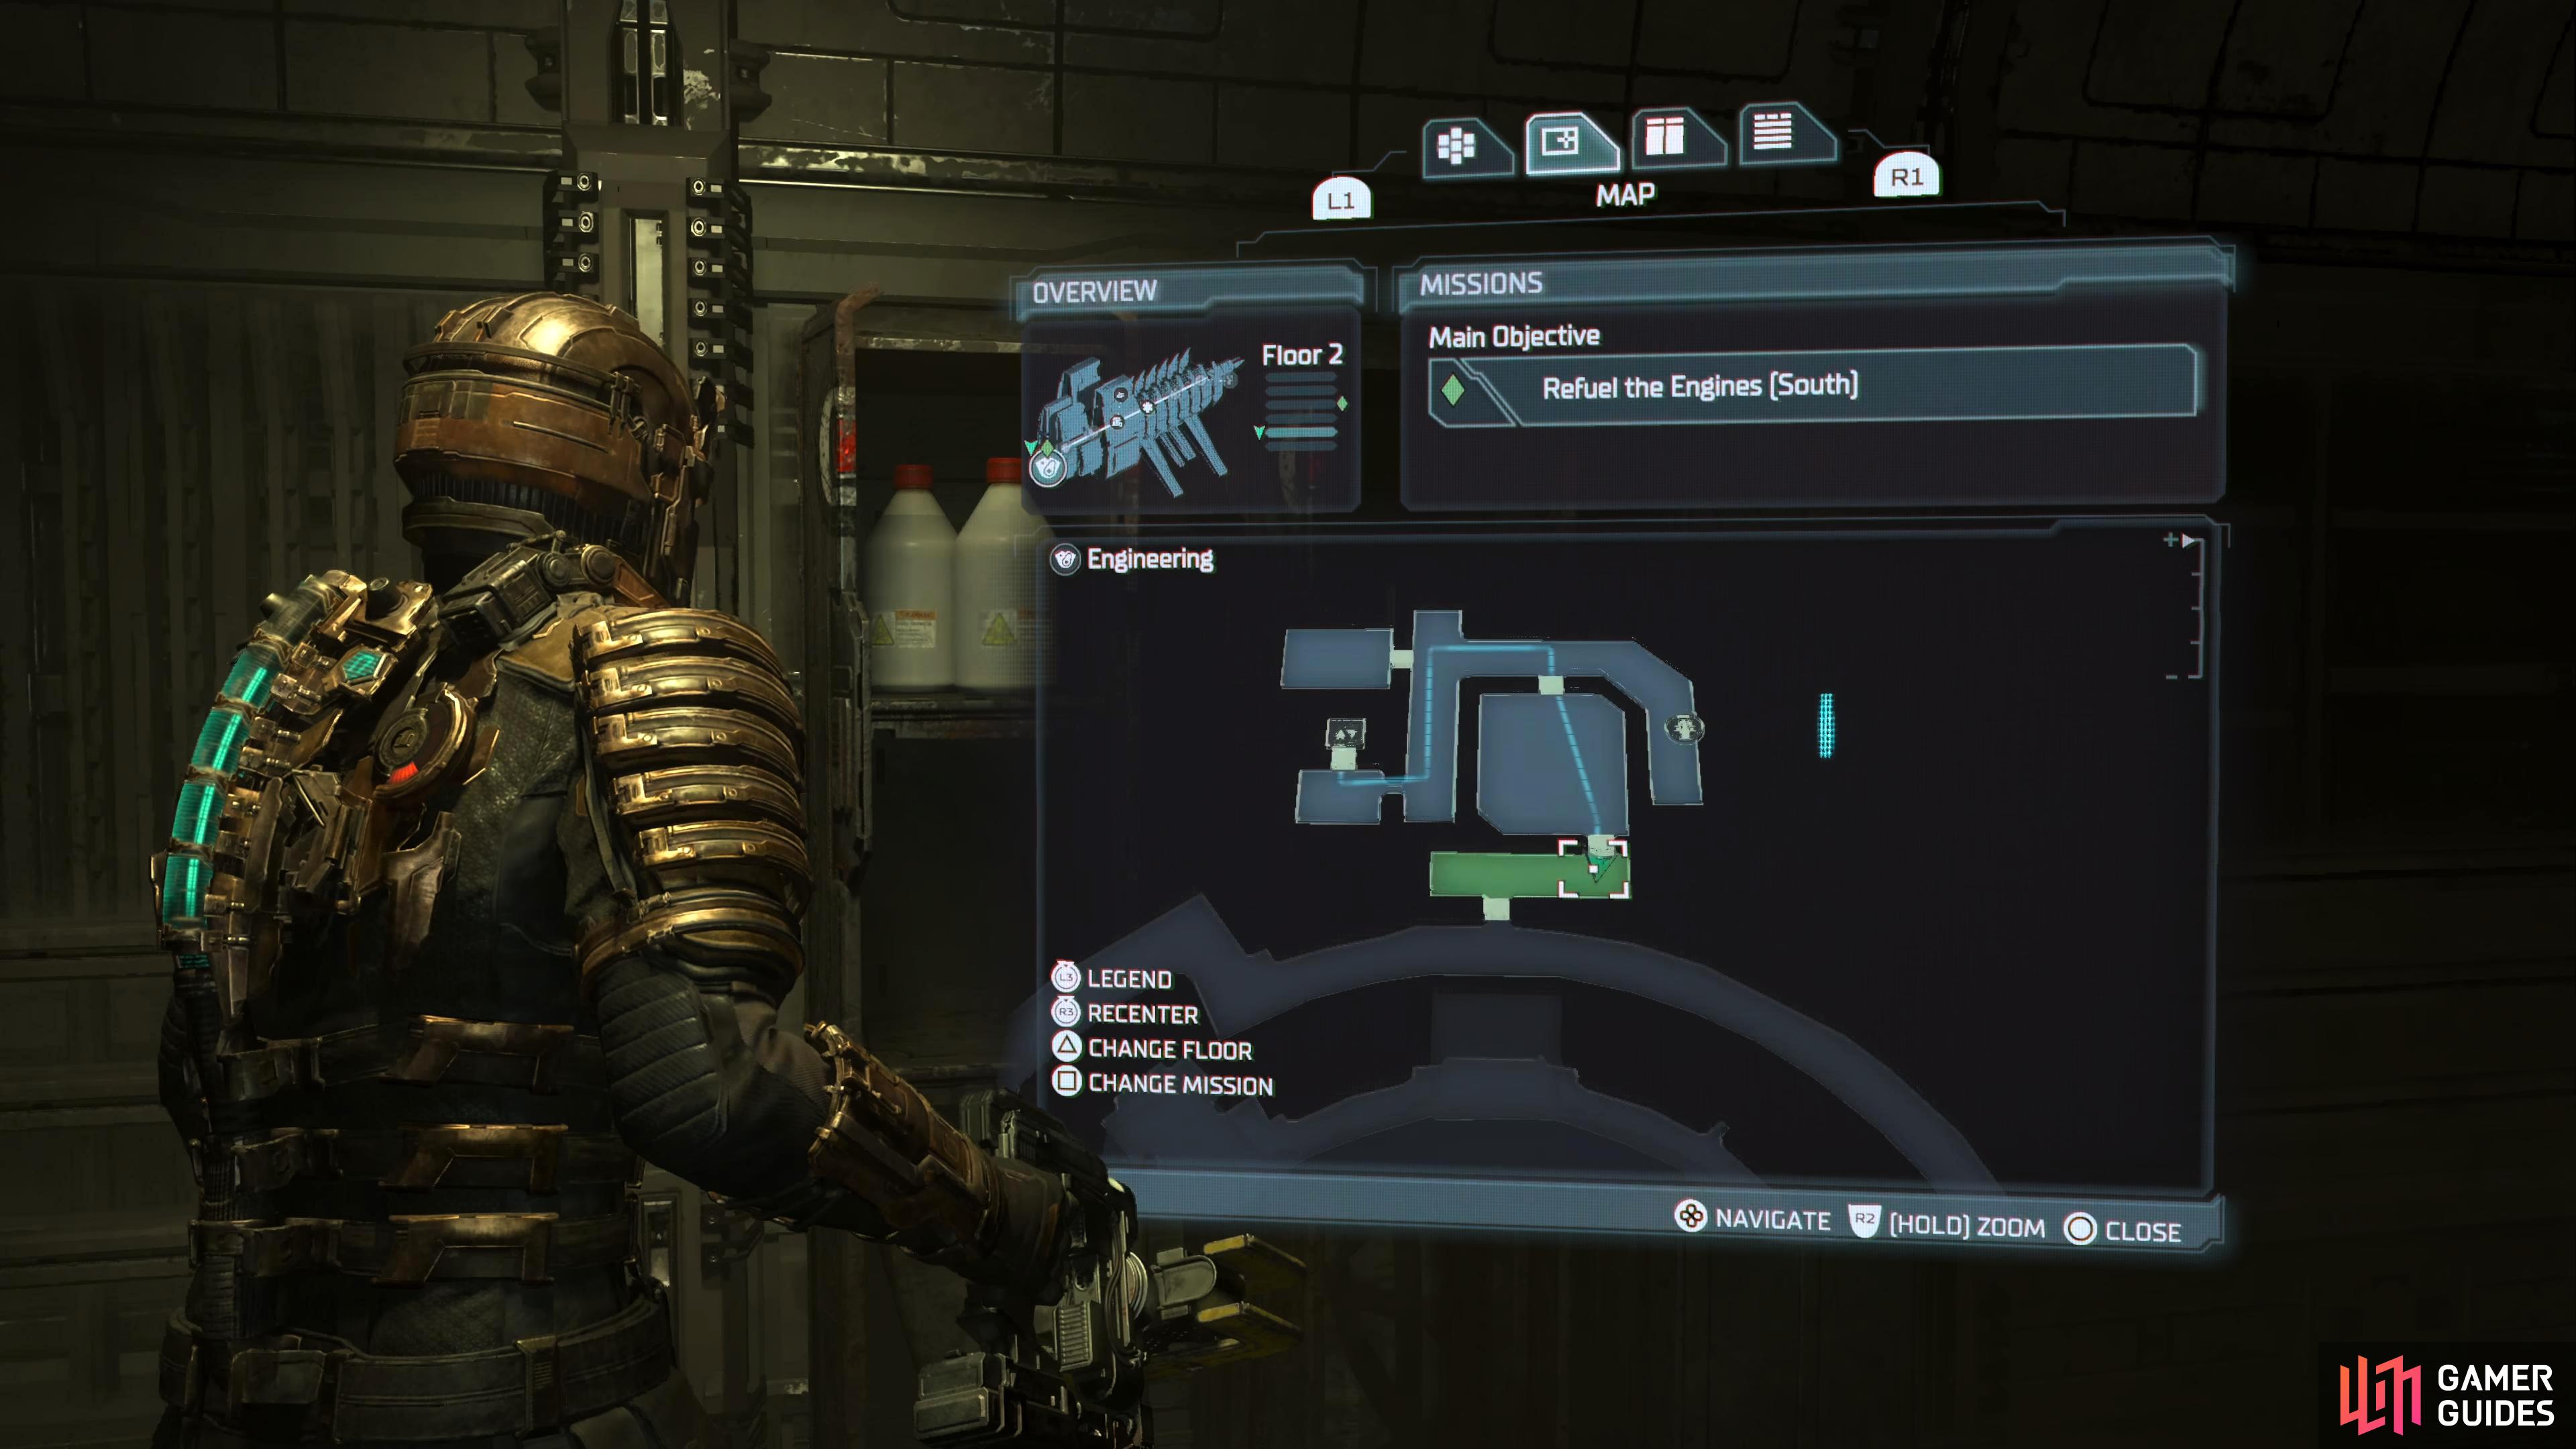
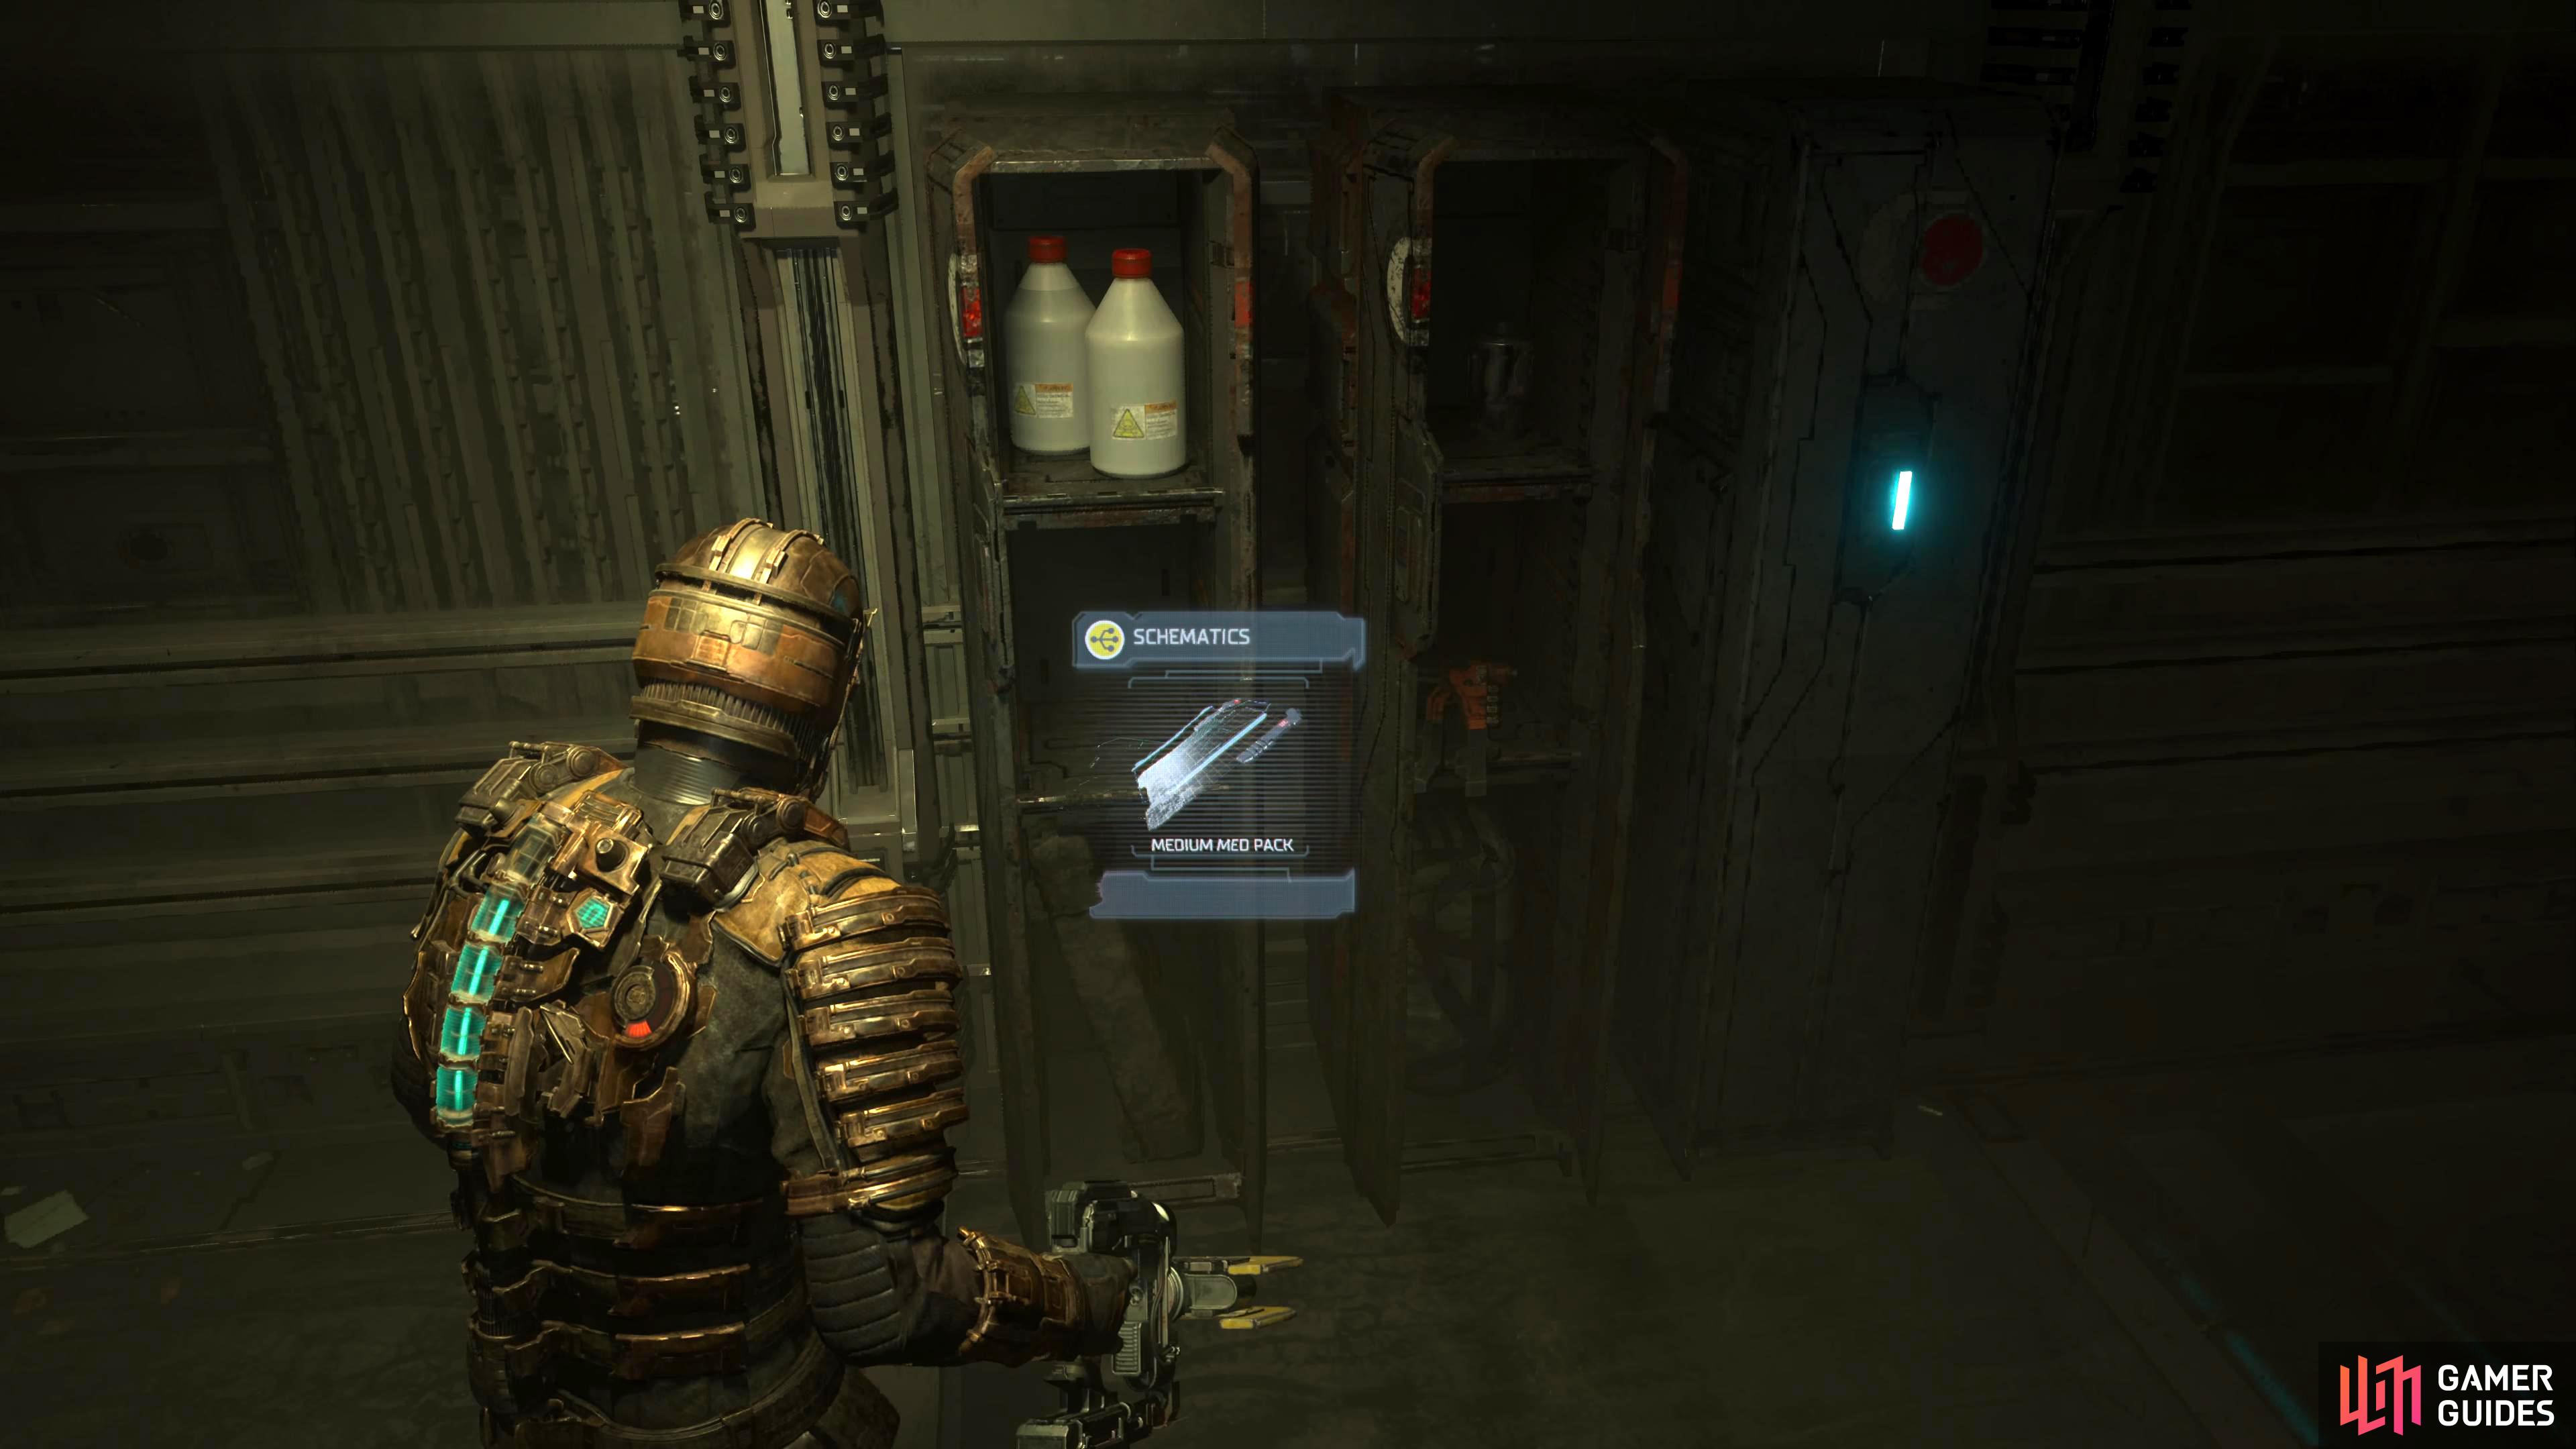
You’ll need to go through the Decontamination Room, and survive the quarantine to get to the schematic. (left), The Medium Med Pack Schematic can be found in an open locker directly after exiting the Decontamination Room on the Engineering Deck. (right)
For the Lurkers, use your Plasma Cutter with horizontal lasers to cut the tentacles off. Then you’ll want to switch to the Pulse Rifle to fire its Proximity mines at the Appendage and Leaper. To make things easier, use Stasis on the Leaper to slow its approach while you blast it with a proximity mine. Once the enemies have been defeated, the room will conveniently finish decontaminating.
Now that the doors are unlocked, head through the door displaying “To Centrifuge” where you’ll see an open locker directly in front of you with an item in it. This will be the schematic for the Medium Med Pack. This schematic allows you to purchase Medium Med Packs in the various Stores scattered throughout the Ishimura.
Schematics 2 – Ripper Blades
This schematics allows you to purchase ammo for the powerful Ripper Gun. This can be found in a small room in the Fuel Storage area of the Engineering Deck. Progress through the story objectives until you have to go to the engine room to “Manually Ignite the Engines”. At some point you’ll be in a room full of tentacles where you’ll need to shoot the pustules to make the tentacles disappear. After shooting the first pustule, you can take the small elevator down. When you get to the lower floor, you’ll be attacked by little insect-type creatures. Burn them with fire, and walk around the walkway where there will be a small room you can enter. The schematics will be to your left as you enter the room.
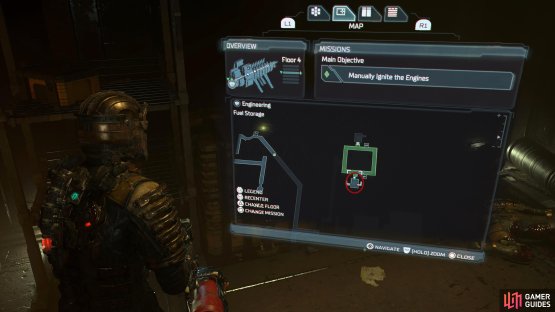
(1 of 2) You’ll need to progress Chapter 3 until you get the “Manually Ignite the Engines” objective. Then you can proceed to the Engine Room.
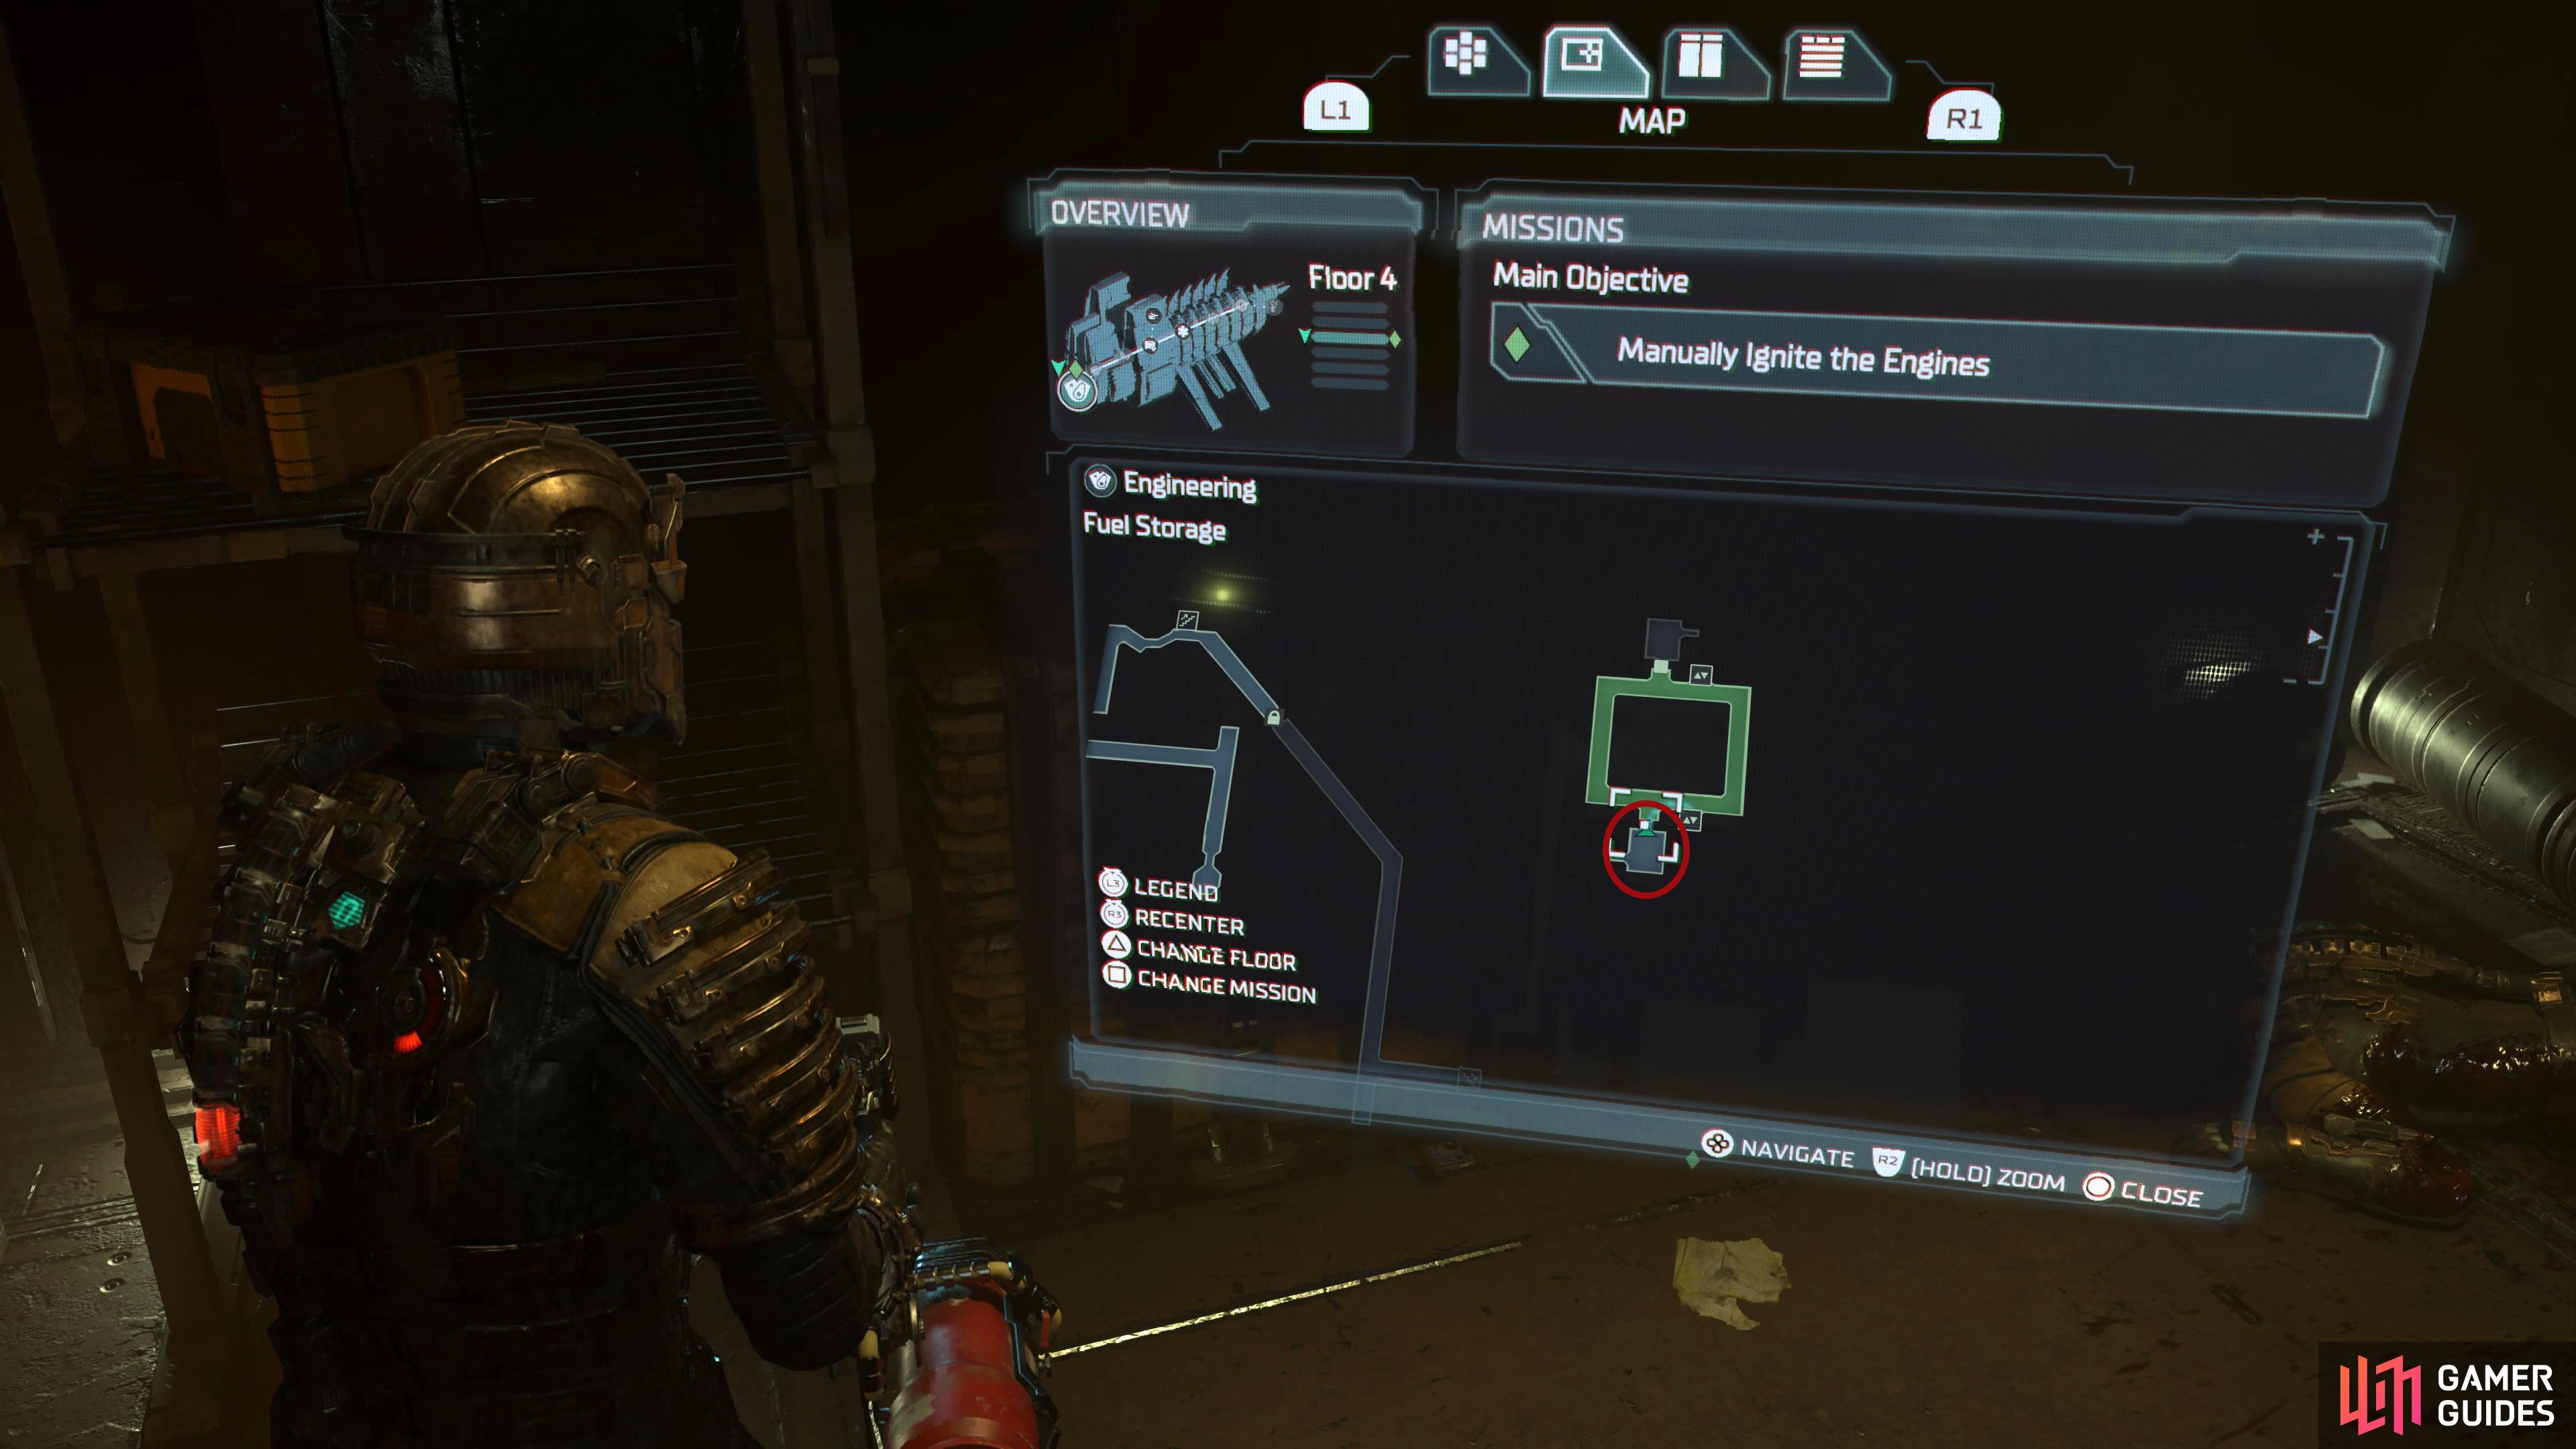

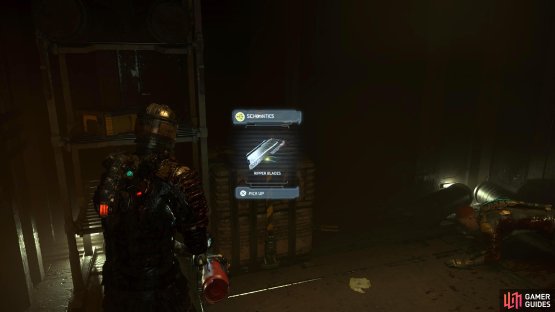
You’ll need to progress Chapter 3 until you get the “Manually Ignite the Engines” objective. Then you can proceed to the Engine Room. (left), The schematics will be in a small room where the tentacles have covered the place. Shoot the pustule, go down on the elevator, and go into the small room. (right)
Schematics 3 – Flamethrower Fuel
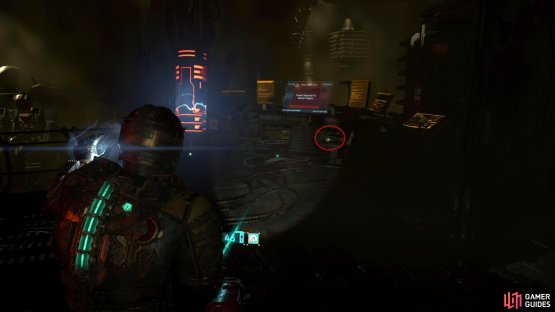
This schematic allows you to purchase fuel for the Flamethrower. You can find this next to the console to reignite the engines. Progress through the story and the last objective will be to “Manually Ignite the Engines”. Follow the objective until you reach the engine room where the Flamethrower Fuel schematic will be to the right of the console that you need to activate, on the chair.
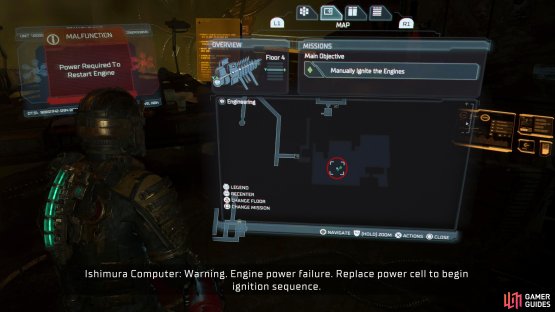
(1 of 2) You’ll need to get access to the Engine Room which requires you to progress to near the end of Chapter 3.

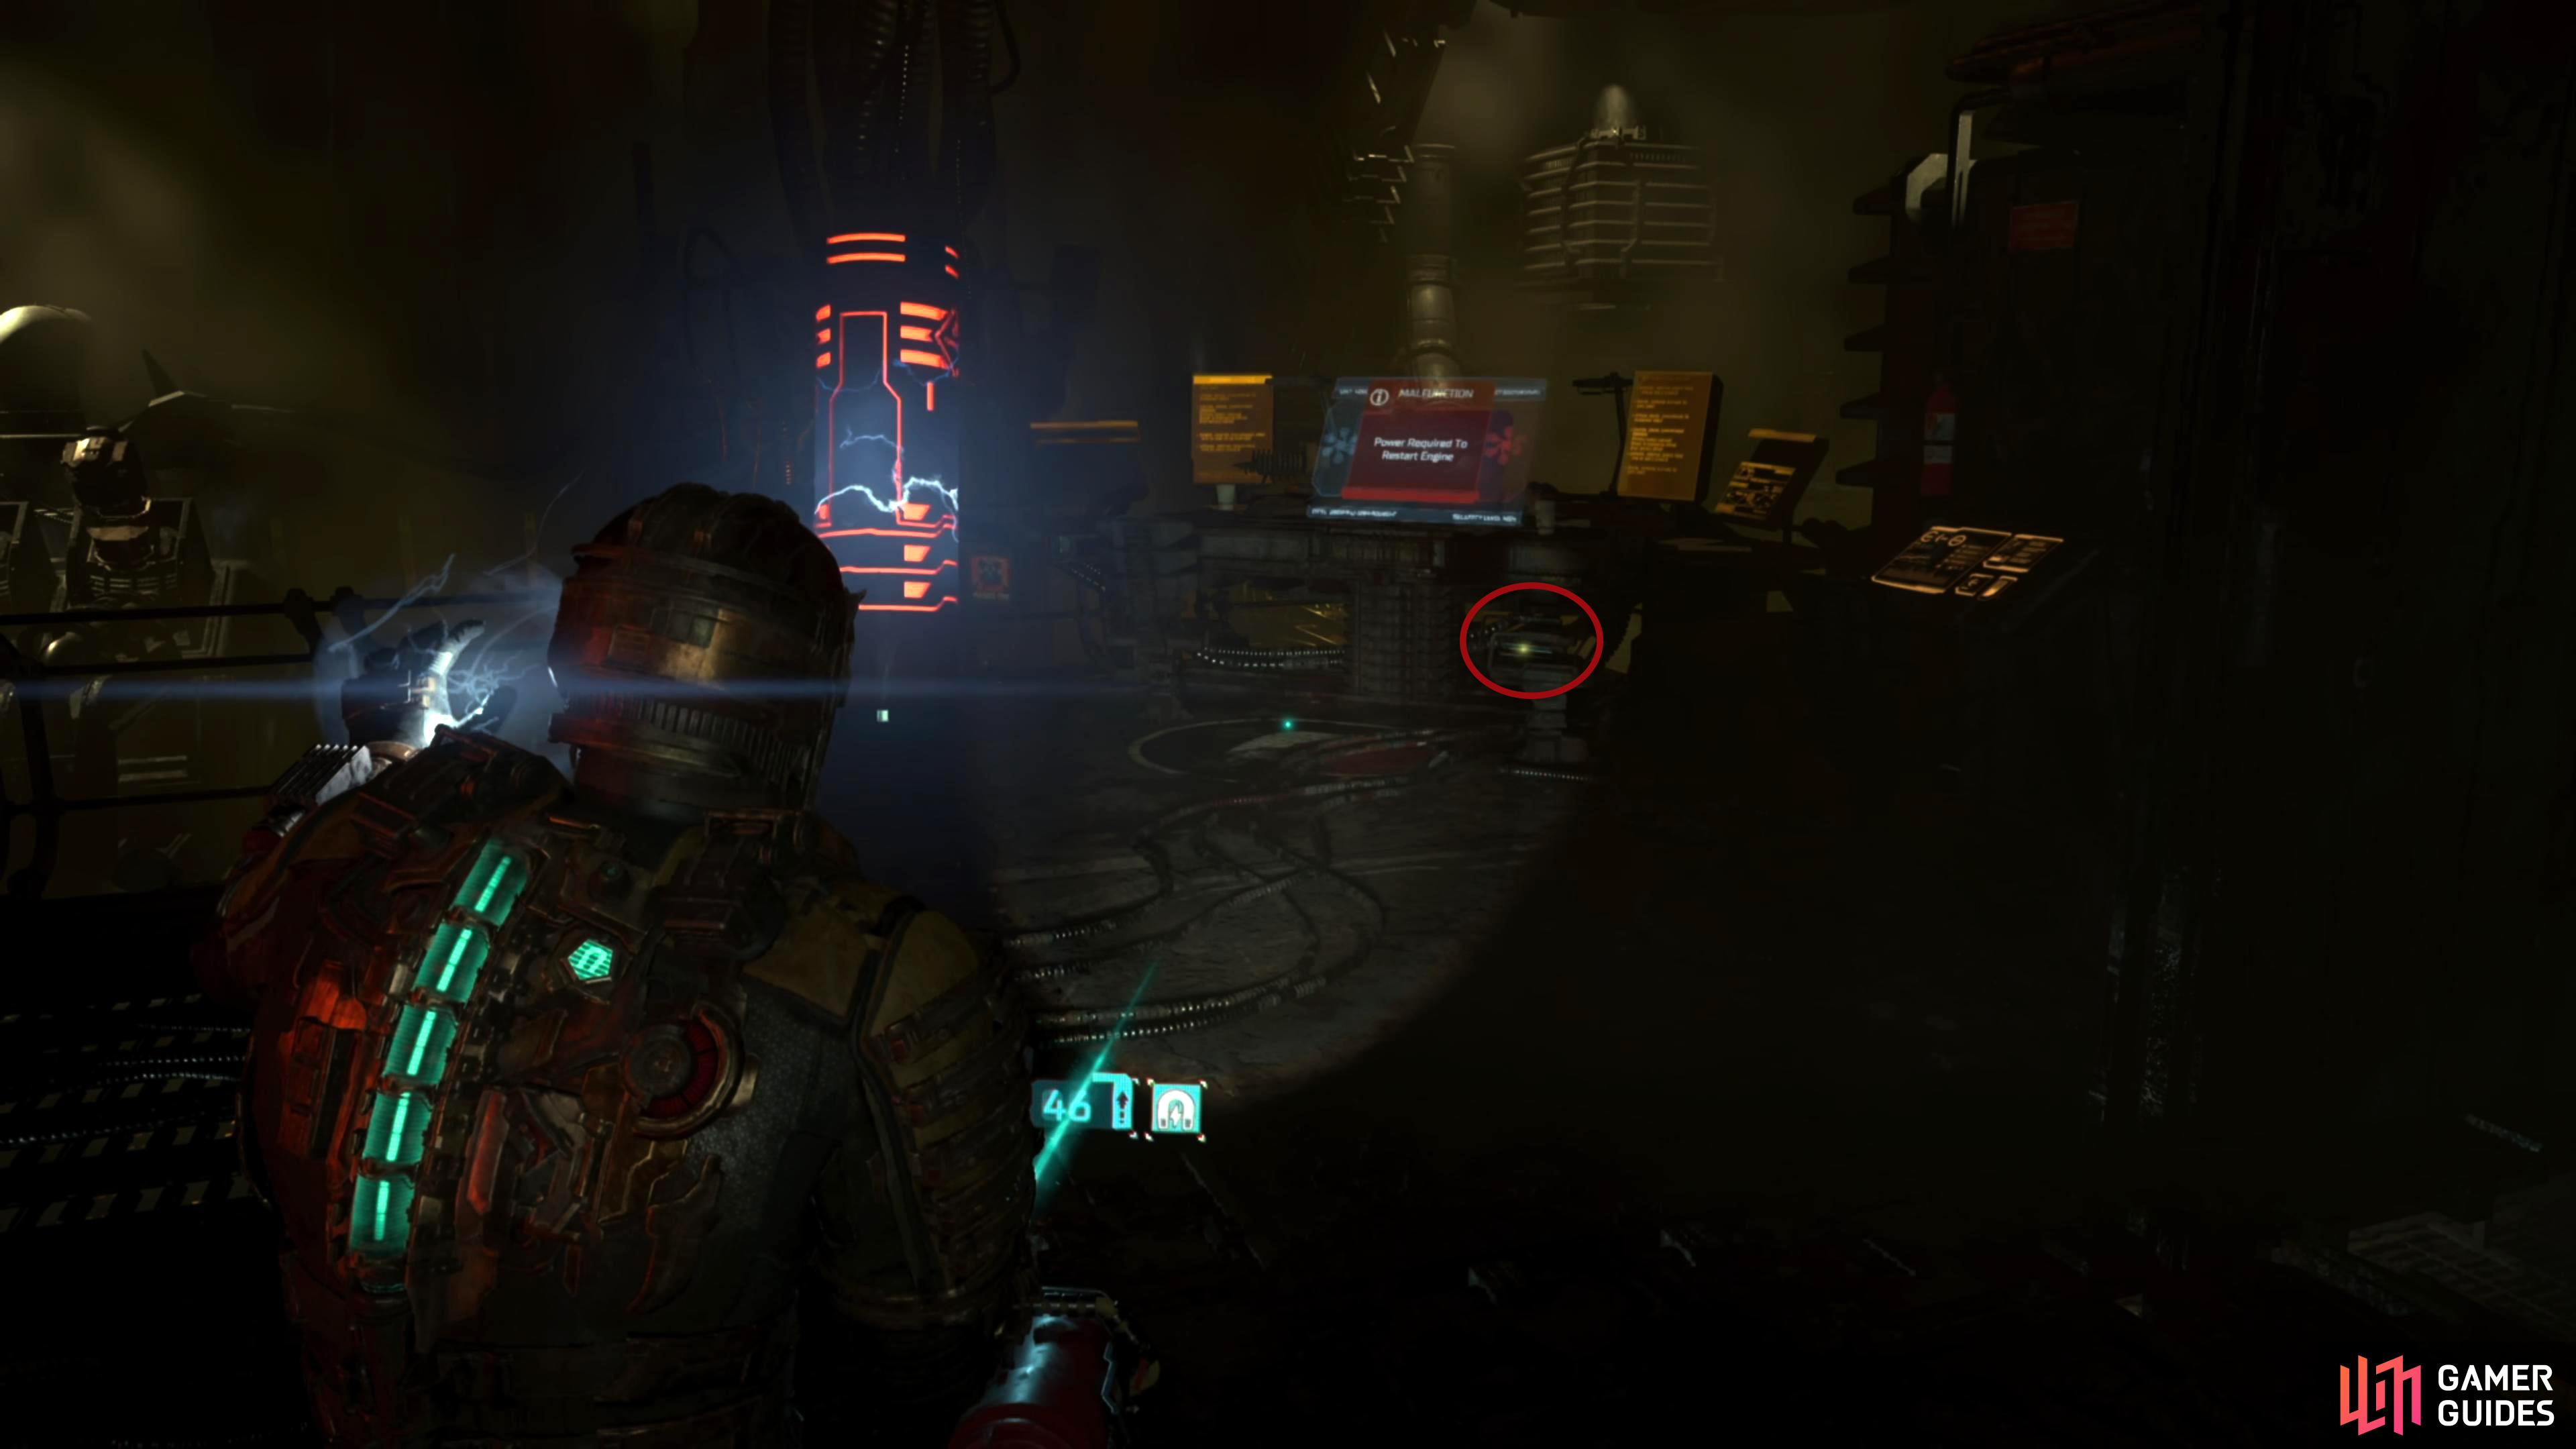
You’ll need to get access to the Engine Room which requires you to progress to near the end of Chapter 3. (left), The schematic will be on the chair to the right of the objective console. (right)
No Comments