When you’re fully prepared, approach the far end of the Altar of Darkness again to fight the final boss. Once you begin the final battle, you won’t be able to rest for a long time, so make sure you’ve got plenty of time to burn. If you struggled against the Evil One’s final form, you may wish to grind your party to get some better abilities under your belt.
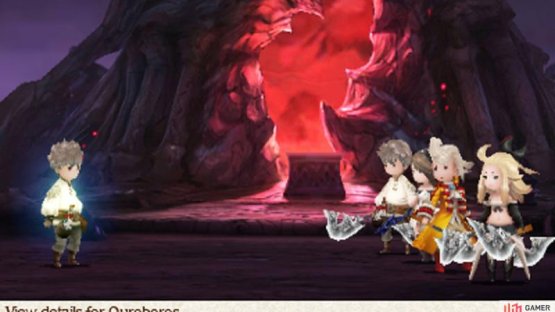
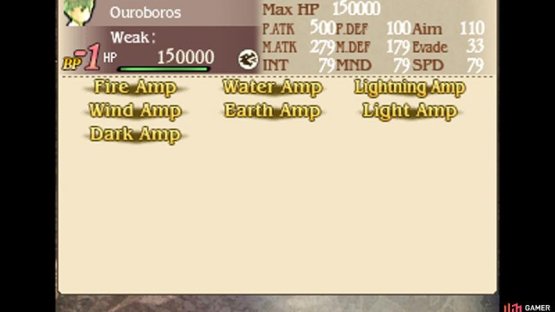
Boss: Ouroboros (human)
(1 of 2)
| Level | HP | Weak to |
|---|---|---|
| 80 | 150,000 | Water, Dragon |
In his human form, the God of Destruction fights using abilities that you can learn, such as the Ninja’s Shippujinrai, Pirate’s Torrent and Ranger’s Multi-Burst. He has a massive pool of abilities, so be prepared for anything; keep some BP in reserve in case he surprises you.
From our observations, most of his attacks are physical-based, so you can protect yourself with the Ninja’s Utsusemi or Templar‘s Rampart. For offense, water-based or dragon-slaying attacks will be effective; the Ama-no-Murakumo katana from Dimension’s Hasp is recommended because of it’s innate dragon-slaying property.
Chances are, before long, Ouroboros will use an ability that costs extra BP, rendering him immobile for a turn or two. When his HP drops, he will Brave once and go immobile for more turns–an excellent time to strike back (and heal if you took a pounding). Once you bring the mortal god down to about a quarter of his HP, he will call it a day and end the battle.
Succeed in holding Ouroboros back and he’ll applaud the Warriors of Light for the highly entertaining battle. Things drastically heat up as the malevolent god forcefully invites our heroes into the Infernal Realm that he calls home–and where his true form is contained.
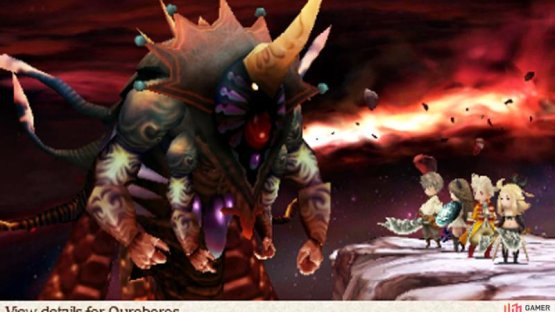
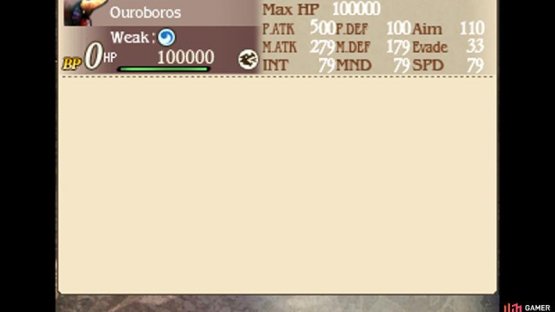
Boss: Ouroboros (god)
(1 of 2)
| Level | HP | Weak to |
|---|---|---|
| 80 | 100,000 | Water, Dragon |
No, not “Our Rob and Ross”; this is Ouroboros the God of Destruction, symbolized by the snake eating its tail–the symbol of infinity. True to its symbolism, Ouroboros will use Total Regeneration to heal all of its HP each turn. With your likely party, this means you’ll never get anywhere in the battle–at best you’ll be fighting endlessly; at worse you’ll run out of resources before long.
Don’t lose hope, though, as once you’ve dealt a certain amount of damage to Ouroboros (around half of its HP in total), the battle will end. So, when it’s safe, keep fighting the boss like you would normally, ignoring the effect of Total Regeneration.
The God of Destruction primarily attacks with physical hits, which you can easily block with Utsusemi or Rampart. Often, it will use Zero Dimension, which causes instant death to one–you can negate this annoying effect with the Safety Ring.
To cause major damage to the immortal, you can target the same water and dragon weakness as its mortal form, or fall back on powerful moves like the Pirate’s Amped Strike or Time Mage’s Meteor.
As the party struggles to put a dent in Ouroboros, help arrives. Thanks to a cruel twist of fate, they manage to seal away Ouroboros’s regenerating core. Now you can continue the good fight and do some proper damage to the god!
Boss: Ouroboros (god; core sealed)
| Level | HP | Weak to |
|---|---|---|
| 80 | 150,000 | Water, Dragon |
This battle is the same as the one that just ended prematurely, except the God of Destruction has learned a new trick! Now he will occasionally use Demon Touch, which drops everyone’s BP by 1. Demon Touch is physical, so you can evade it with Utsusemi (gaining 1 BP with Turn Tables!); otherwise, try to refrain from ending your turn with -1 BP or less.
Bring Ouroboros down to roughly half HP and the battle will end early again, but by Ouroboros’s will this time.
The God of Destruction doesn’t fool around and shows the Warriors of Light just how exactly it earned its title. Afterwards, Ouroboros will be completely renewed and more than ready to bring ruin upon our heroes…
Boss: Ouroboros (god; world-destroyer)
| Level | HP | Weak to |
|---|---|---|
| 80 | 200,000 | Water, Dragon |
The God of Destruction now has slightly more HP and a new move, Celestial Touch, which raises its physical and magic attack by 50%. As soon as you can, use Dispel or abilities that reduce stats, such as the Pirate’s Defang or Skull Bash or the Vampire‘s Absorb Stats or you’ll really feel the pain later…
Take him down to about half HP and prepare for a most unpleasant experience; the next turn, Ouroboros will use Armageddon, which deals heavy non-elemental magic damage to your party, while restoring his HP to full. Be sure to Default around this time; if Celestial Touch is in effect, you’ll take greater damage, so best you get rid of it or boost your magic defense.
Ouroboros will use Armageddon a total of three times in this battle, fully restoring his HP each time. If you Examine Ouroboros, you can keep an eye on his current HP, so you know when to anticipate an Armageddon and get into a bracing position. Otherwise, try to have two characters Default each turn, so at least two characters will survive the impact.
Once you’ve seen the third Armageddon, the battle will end early again.
At this point, things are looking dangerously grim for our heroes and they’re all but ready to give in. Just when all hope seems lost, a helping hand comes from the most unexpected place. The end result is that Ouroboros’s power will be greatly crippled–now is the time to end him!
Boss: Ouroboros (god; bringer of ruin)
| Level | HP | Weak to |
|---|---|---|
| 80 | 200,000 | Water, Dragon |
This is it–no more tricks; Ouroboros is going down! Near the beginning of the battle, Ouroboros will declare that the Celestial Realm–that he seeks to invade–is almost within his grasp. If you haven’t noticed it already, stare into the backdrop and you can see the Celestial Realm, in the space previously occupied by the alternate Luxendarcs. Pretty neat huh?
Anyway, battle plans, anyone? The God of Destruction no longer uses Armageddon and instead uses the almost equally destructive Disaster. Just fantastic! Be extra vigilant with your healing and try to have at least two characters Default each turn to weather any Disaster your way.
His other new trick is Divergence, which separates your character from this world, disabling all commands except Default and Summon Friend. Up to two characters can be affected by Divergence, so it’s a good idea to bring along a back up healer (like a Vampire with White Wind) or Megalixirs in case your healer is disabled.
If you survived Ouroboros up to now, you should be perfectly capable of defeating him. Just be wary that your party is probably reeling from Armageddon from the previous battle, so be sure your healer has high Speed to quickly patch up your party. You may also need ways to restock your MP, given that you’ve fought Ouroboros many times already with no breaks between.
Finally, there’s no better time than now to summon your otherworldly friends, especially for your party members hit by Divergence… Also, don’t forget the power of Bravely Second; while time stops, you can bypass the 9999 damage cap with your own Special Moves, potentially dealing some serious damage–be your own God of Destruction!
What Next?
Now two extra options will be unlocked in the start menu.
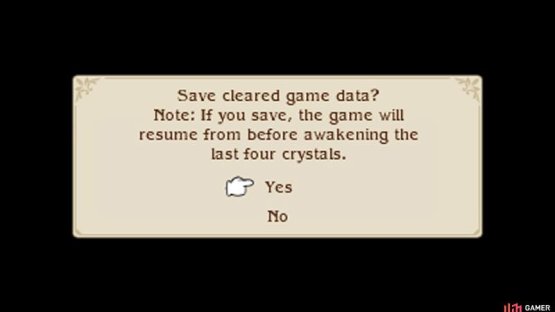
(1 of 2) Don’t neglect to save your game after your long and arduous battle!
Don’t neglect to save your game after your long and arduous battle! (left), (right)
Should you load up your completed save file normally, you will be taken back to the start of Chapter 8, before you visited any crystals. From here, you can do the True Ending route again or the Normal Ending route.
If you haven’t obtained the Normal Ending, it’s still worth doing because there are a few changes; you can also get the Vestal Garb costume for Agnes.


No Comments