Updated Title Publisher
Updated Title
Published Title Score Editor's Choice Publisher
Published Title Publisher
Table of Contents
Expand All

Bravely Default

Temple of Water

By
Vincent Lau
Post a Comment

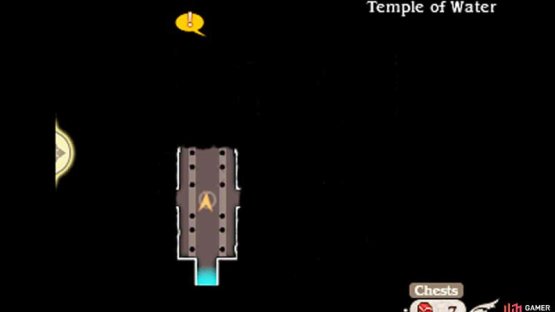
(1 of 2) Normally, we’d warn you about the terrible monsters lurking inside, but it’s rather quiet in this temple. Too quiet, maybe…

Normally, we’d warn you about the terrible monsters lurking inside, but it’s rather quiet in this temple. Too quiet, maybe… (left), (right)

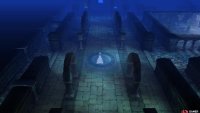
Our trip to this crystal temple will be pretty brief. Unlike the Temple of Wind there are no enemies here at all, nor a boss at the end, so relax. The layout of the temple is identical to the Temple of Wind too, except there are no upstairs or downstairs.

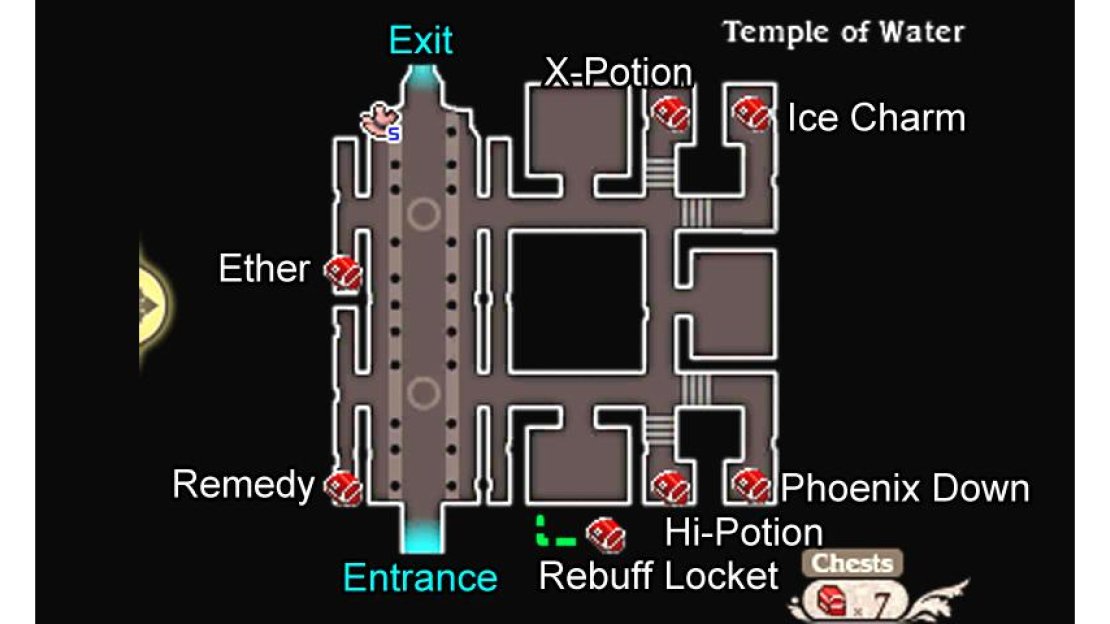
If you’re curious, inspect the rooms to learn more about the temple’s state. You’ll also find a number of chests, in the bottom-left corner (Remedy), top-left corner (Ether), top-right corner (Ice Charm), bottom-right corner (Phoenix Down), left from the top-right corner (X-Potion) and left from the bottom-right corner (Hi-Potion).

Once you’ve seen enough of the temple, head straight up from the entrance, where the Adventurer and the exit awaits. Through the exit, you’ll be in front of the altar of water as well as the Water Crystal. Though the crystal here is just as dull as the Wind Crystal once was, the difference is that there’s a magical barrier surrounding this one.

While Agnes can dispel the barrier just fine and awaken the crystal, she wishes for Olivia–the Water Crystal’s vestal–to perform this sacred duty instead. Trouble is Olivia has gone AWOL and the Temple of Water offered absolutely zero clues of her whereabouts. Guess there’s nothing to be done besides heading back to Florem to report your findings to the Matriarch.

No Comments
No Upvotes
User profile pic

Comment submission error:

The comment must be at least 1 character in length.

Guide Information
  • Publisher
    Square Enix
  • Platforms,
    3DS
  • Genre
    RPG
  • Guide Release
    14 February 2014
  • Last Updated
    23 January 2021
    Version History
  • Guide Author
    Vincent Lau

Share this free guide:

Welcome to the most comprehensive guide to the Final Fantasy-esque JRPG from RPG veterans Square-Enix. Inside our essential guide to the entire game we’re leaving no stone unturned as we show you:

  • A complete breakdown of the combat and game mechanics.
  • How to rebuild Norende in record time (for the very best upgrades).
  • All of the Jobs and the craziest combinations to destroy all enemies with.
  • How to conquer the main story (and get the true ending).
  • Easy-to-follow tricks to pummel every boss into the ground with!
  • Every single item, weapon or piece of armor in the game.
  • A complete enemy bestiary (and what items you can steal from them).
  • Killer tricks needed to beat all of the ultra-tough Nemeses bosses.
  • Exclusive 720p HD videos.

Get a Gamer Guides Premium account:

GG logo

Register to continue…

Already have an account?

Log in to continue…

Forgot?
Gamer Guides Premium


Get access to this feature and a lot more by upgrading to a premium account.

Find out more

Already subscribed?