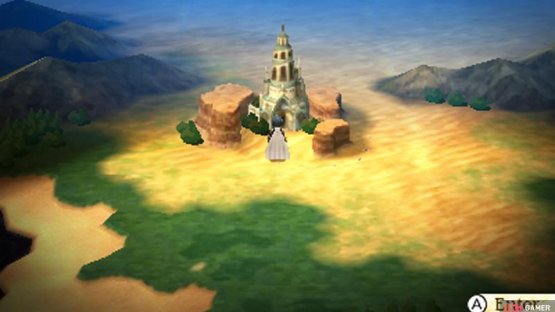
(1 of 2) Originally Agnes’s home, the Temple of Wind has since become overrun with fearsome creatures…
Originally Agnes’s home, the Temple of Wind has since become overrun with fearsome creatures… (left), (right)
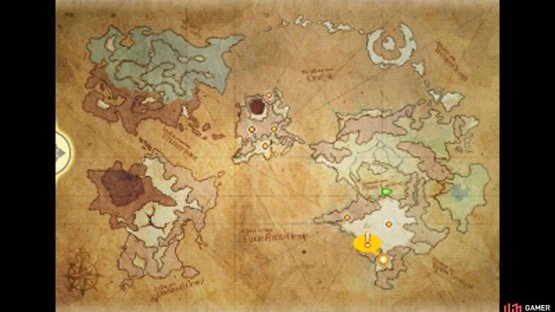
To reach this hallowed site, travel directly south from the city of Ancheim, towards the orange exclamation mark as always.
Floor 1
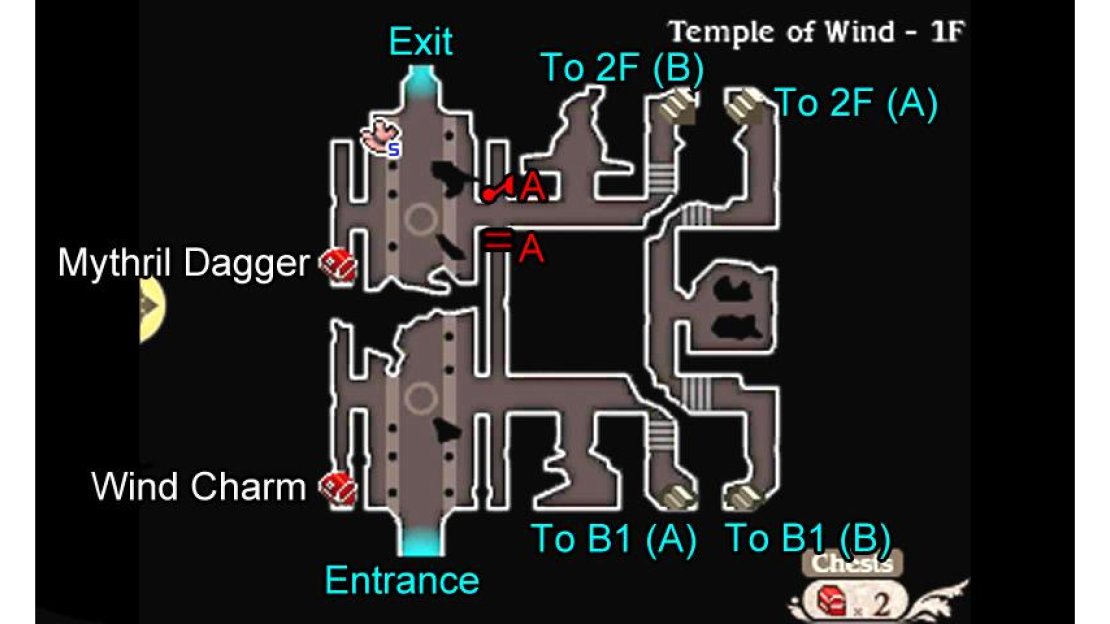
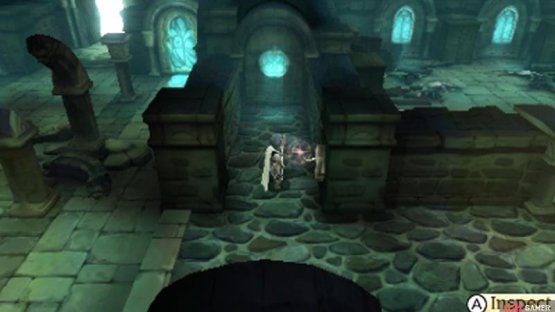
Once inside, you’ll find a chest towards the left containing a Wind Charm. Next, make your way right; inspect the room along the way for some extra backstory. At the end, there is a flight of stairs leading down to the temple’s basement.
Basement Level 1
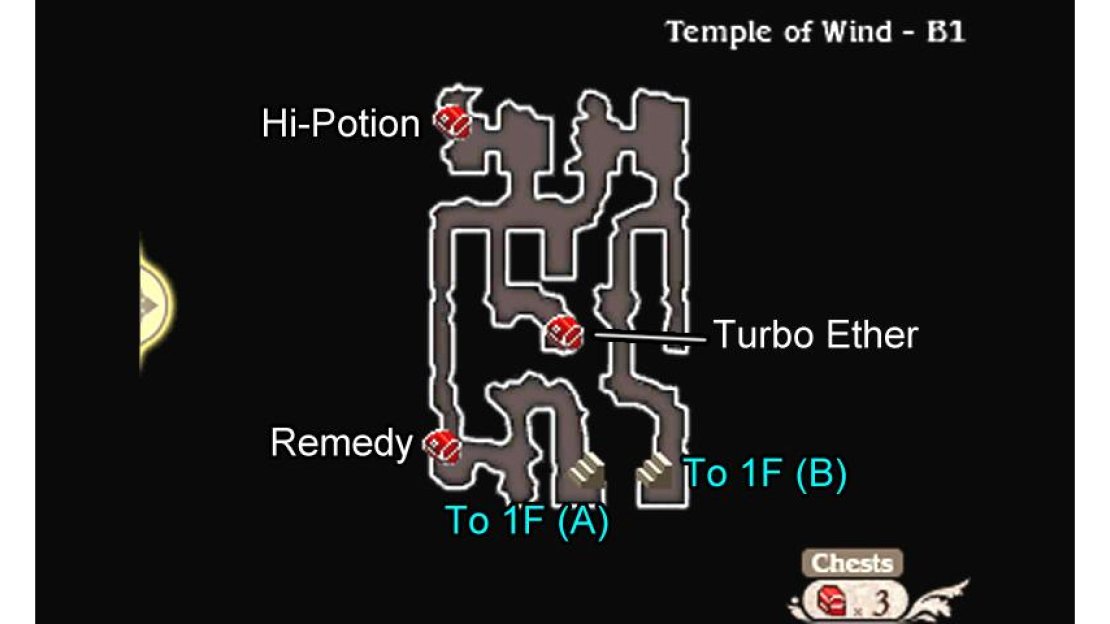
Downstairs, there’s a lot of rubble blocking your way; near the beginning, there’s only a linear path, but do use the map on the bottom screen to determine which passages are passable if you’re uncertain.
In the bottom-left corner, there’s a chest containing an useful Remedy (cures most ailments). Not long after this corner, the path splits into three ways. Go north to find a chest with a Hi-Potion inside or go south to find a chest with a Turbo Ether.
Continue east and you’ll find another split after the corner; directly down is a dead end, so follow the other direction. Once you reach the bottom-right corner, you’ll find a flight of stairs leading back upstairs. In the first floor again, you’ll find another set of stairs nearby, in the top-right corner, taking you up to a new floor.
Floor 2
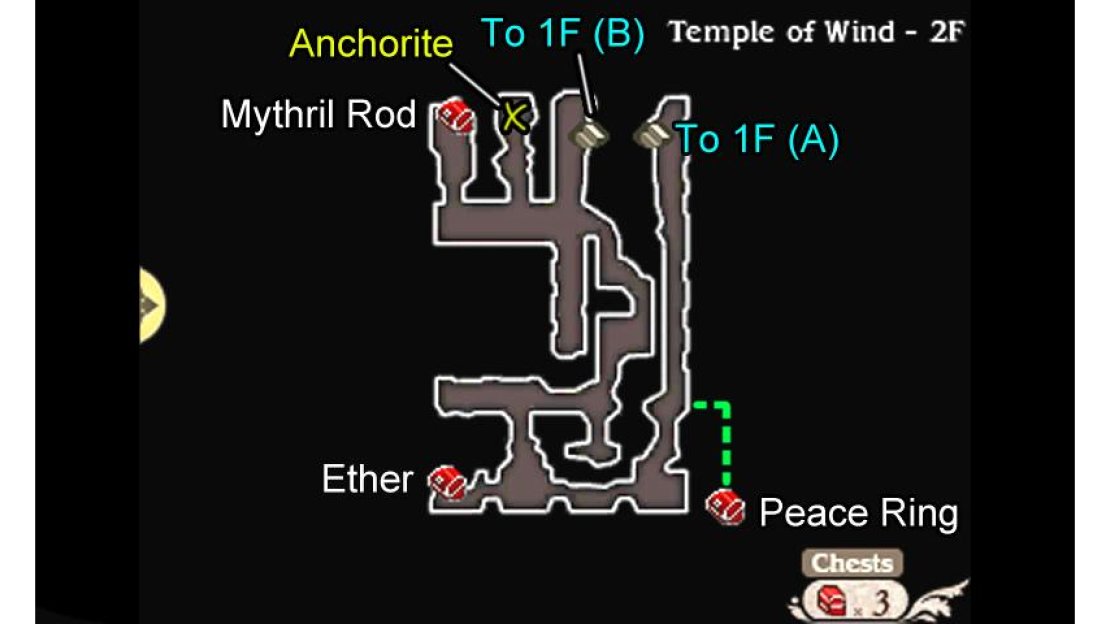
Elsewhere on the floor, you’ll find a chest in the bottom-left corner containing one Ether and one in the top-left corner containing a Mythril Rod.
Waiting in the chamber to the right of the Mythril Rod chest is the Anchorite of Wind. At the moment, you can’t do anything with him, but make a mental note of his location for later (even though we’ll remind you anyway). To the right of the Anchorite’s chamber are stairs leading down to the first floor.
Floor 1 (Final Stretch)
Back downstairs, there will be a forced cutscene as you approach the room to the left, but nothing to get panicked about. When you regain control, continue left to find a super-obvious shiny lever–pull this down to open the small gate below, creating a shortcut back to the temple’s entrance. Further left, there’s a chest containing a Mythril Dagger and near the exit, the ever-conspicuous Adventurer.
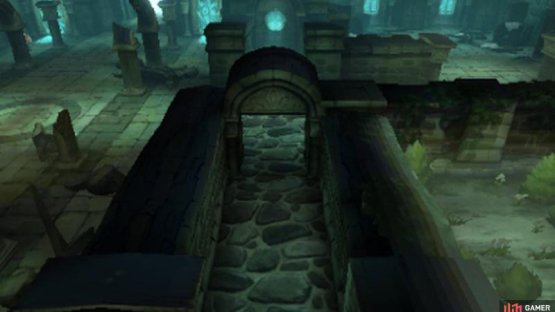
(1 of 2) One pull of a lever saves a whole lot of backtracking!
One pull of a lever saves a whole lot of backtracking! (left), (right)
Exit the temple ahead to emerge in the Wind Altar, but sadly there’s nothing to be done about the gloomy Wind Crystal. Return to the room with the forced cutscene earlier and Agnes will recover the Vestal Garb needed to awaken the crystal… or what’s left of it rather.
While it would be interesting (for Ringabel at least) for Agnes to perform the rite of awakening with in the garb in that state, it probably wouldn’t work anyway. All hope isn’t lost though, as Agnes remembers there’s somebody who can repair the garb–an old man who’s holed himself up in Yulyana Woods.

No Comments